
Here you can see the wiring harness and the vertical power unit. It still looks a bit like spaghetti, but it’s coming together! This was the combined effort of several days in-between waiting for coats of PolyBrush and PolySpray to dry.
Here you can see the wiring harness and the vertical power unit. It still looks a bit like spaghetti, but it’s coming together! This was the combined effort of several days in-between waiting for coats of PolyBrush and PolySpray to dry.
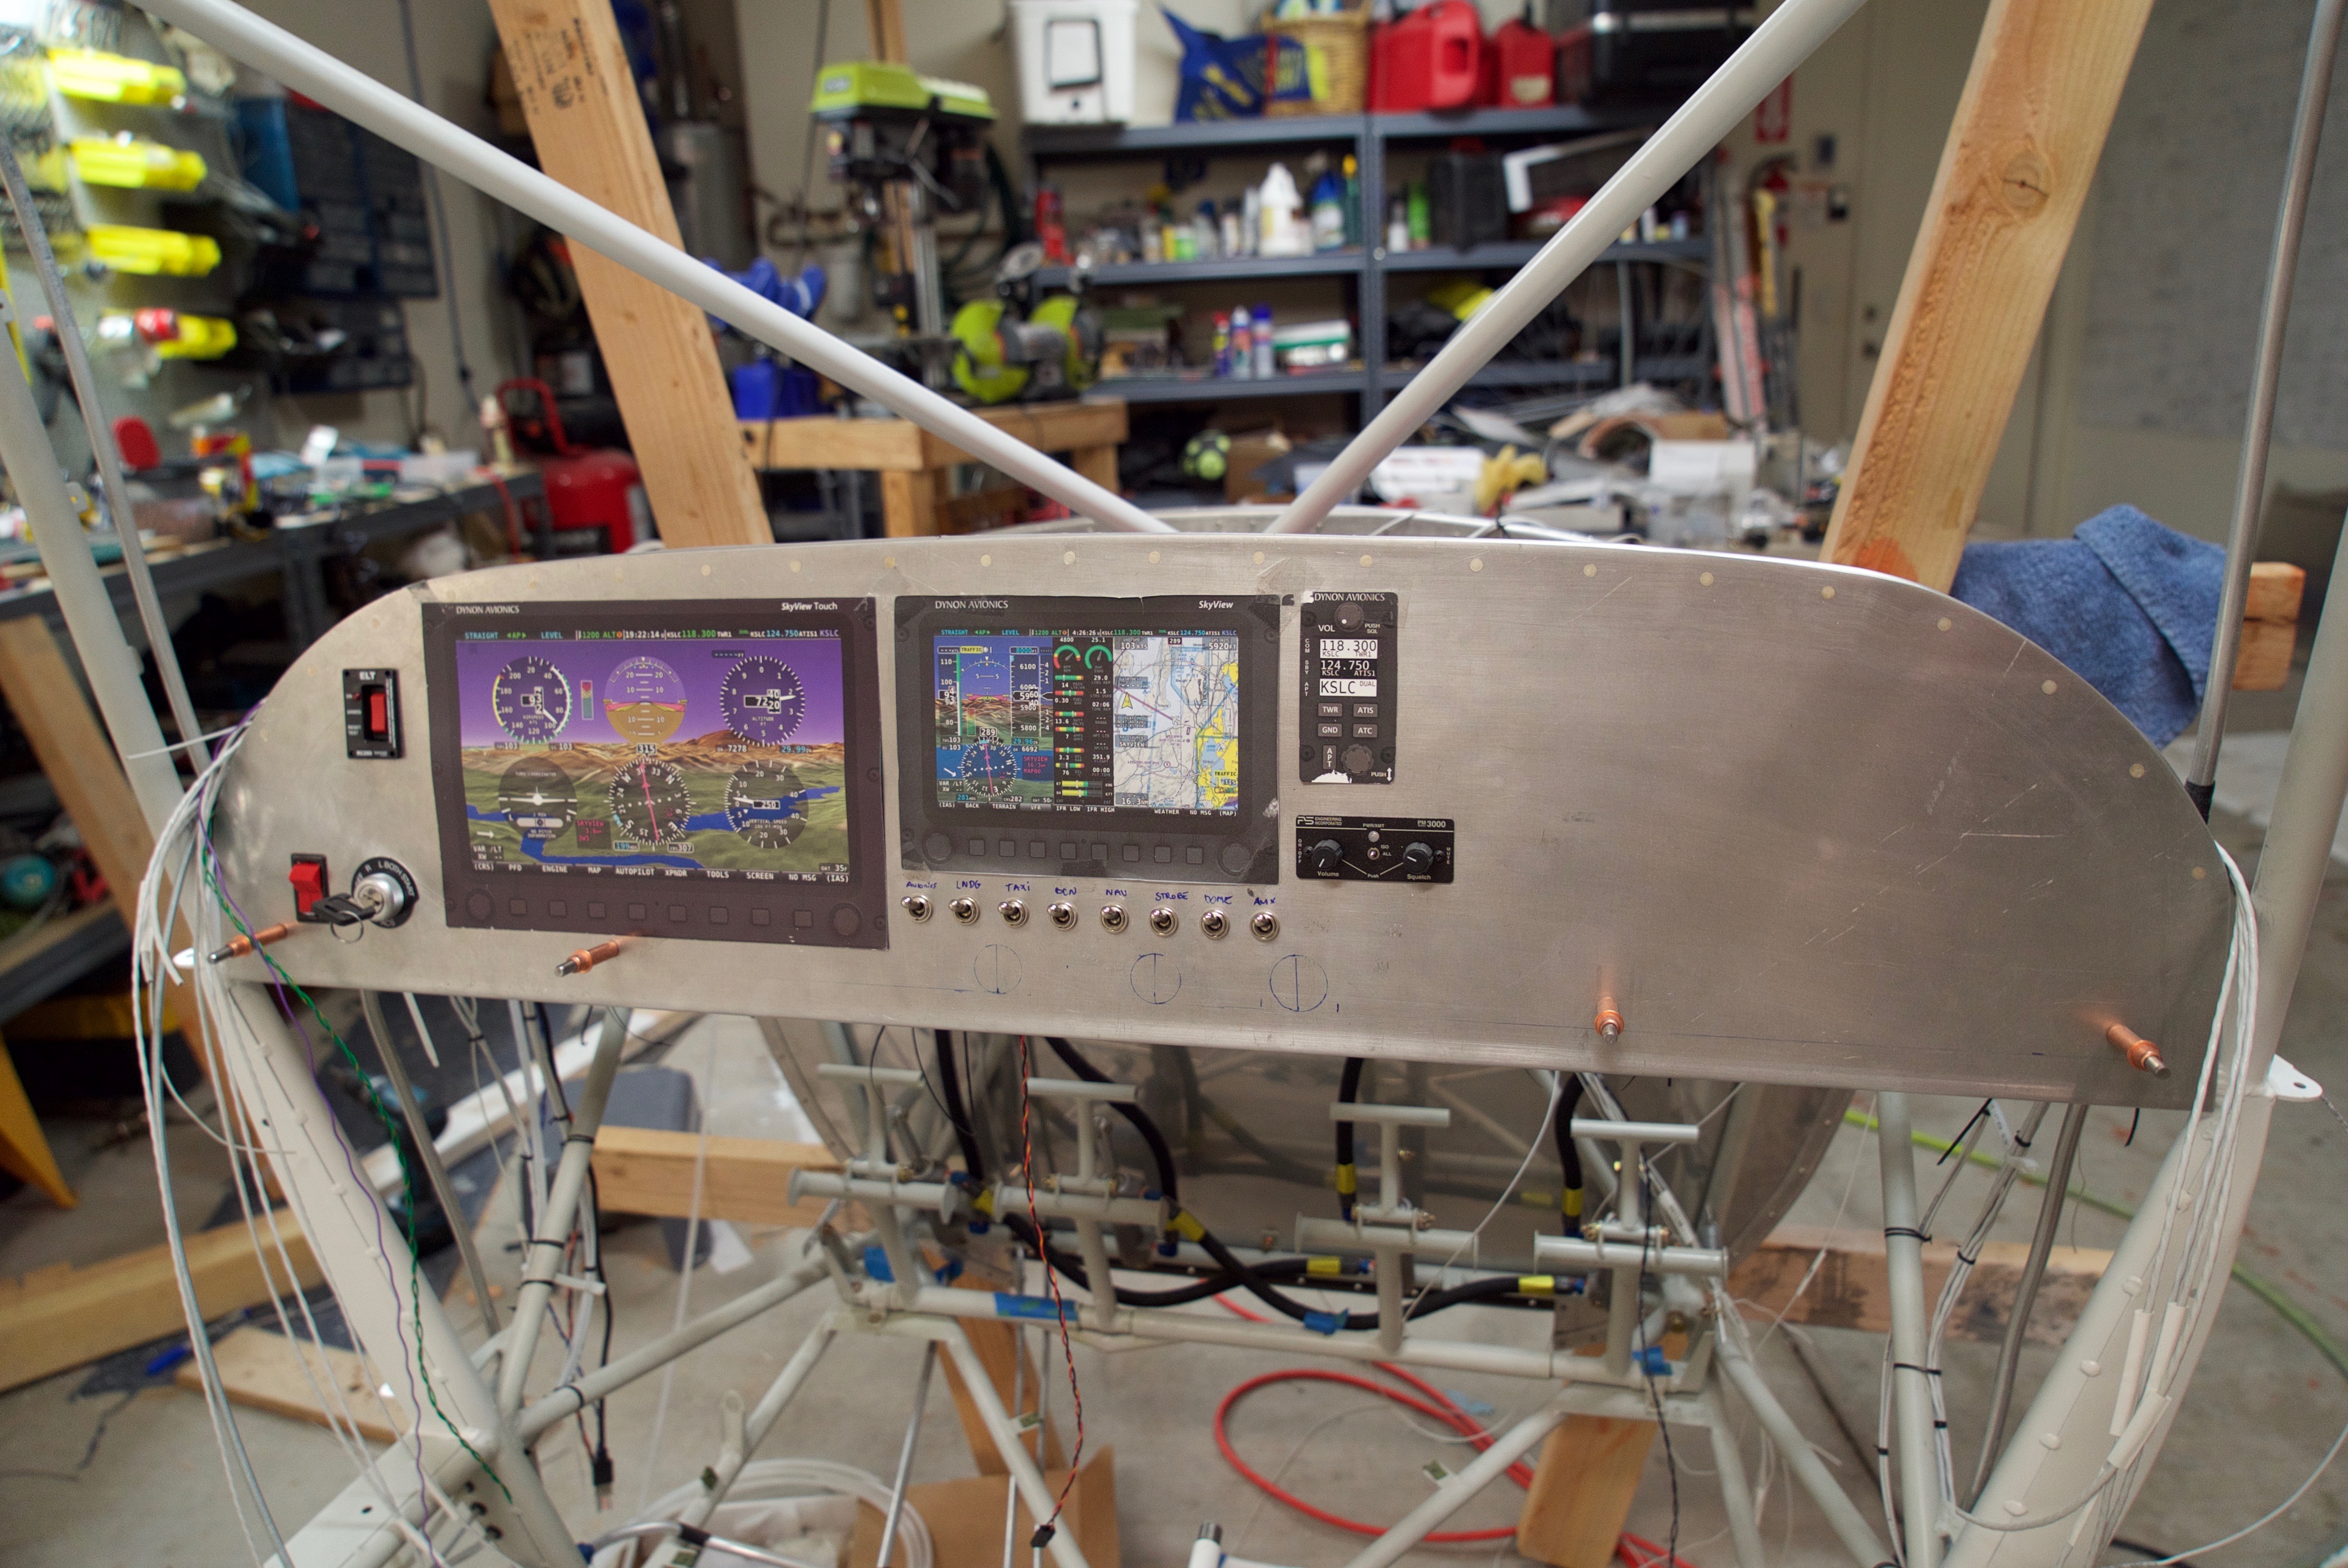
After a lot of thinking, scheming and planning, I decided on a panel layout. I started measuring everything then started figuring out how to drill square holes.
In this picture you can see the master switches, ignition switch, ELT, toggle switches and intercom have all been drilled and mounted.
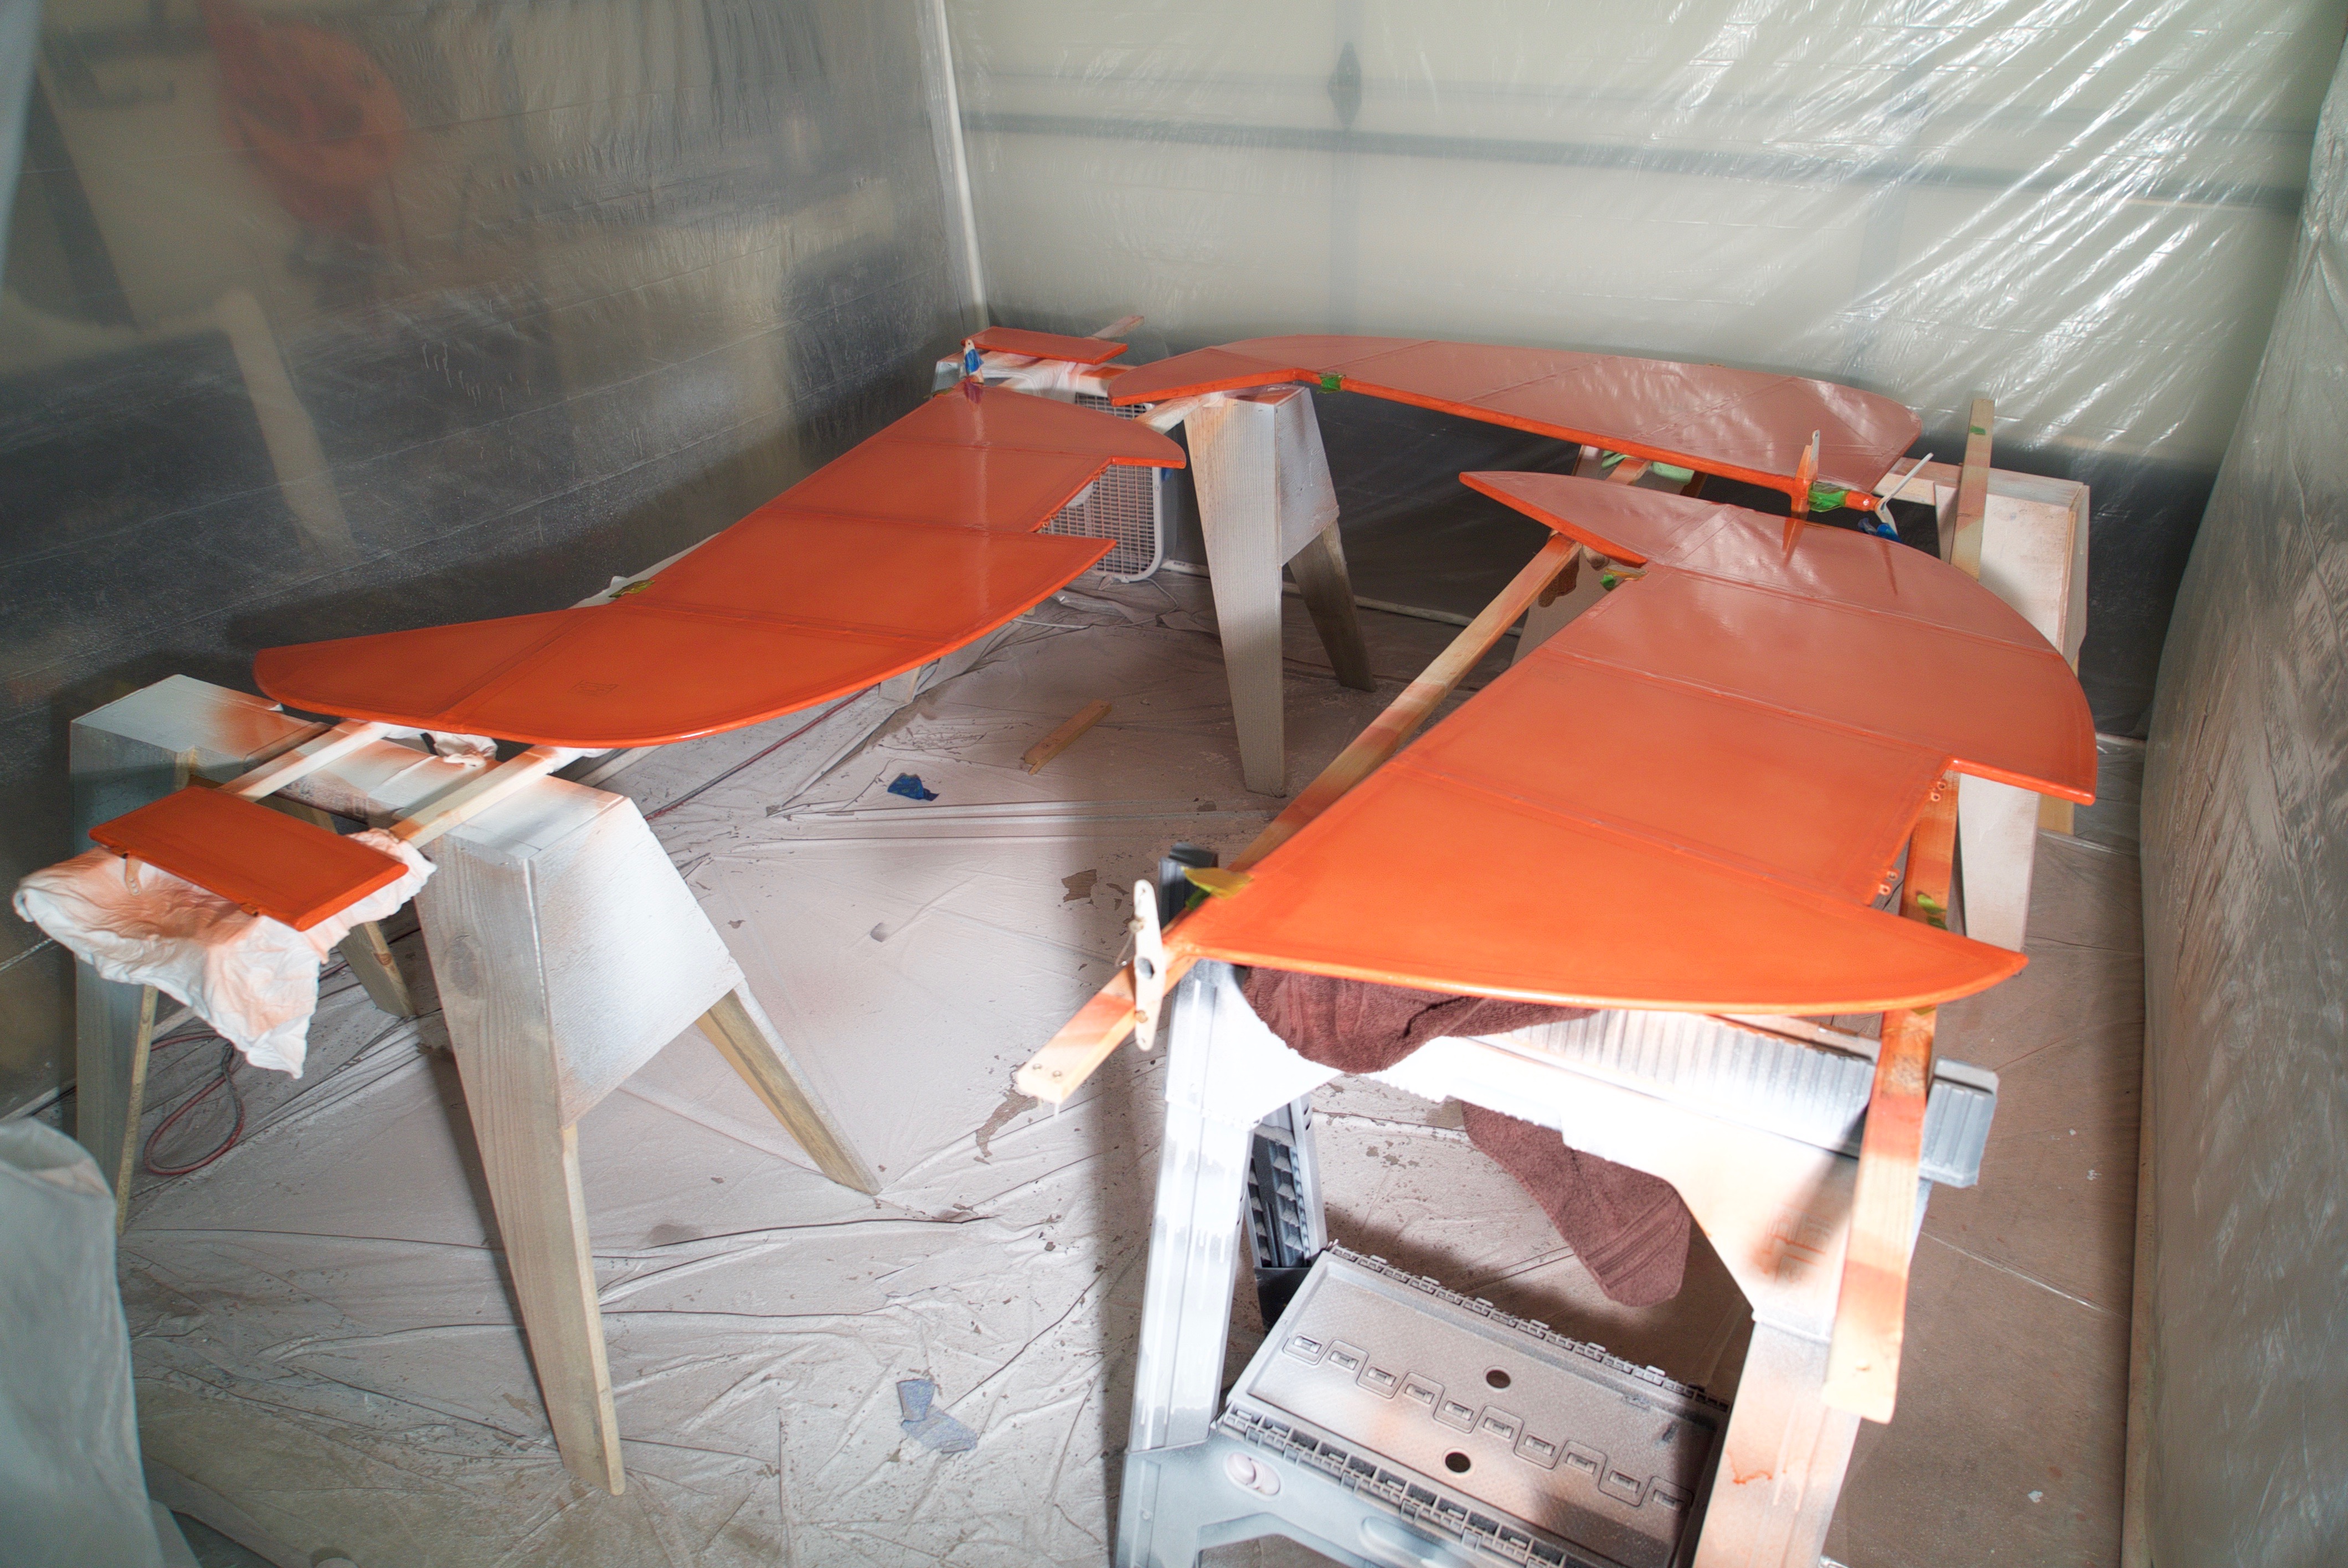
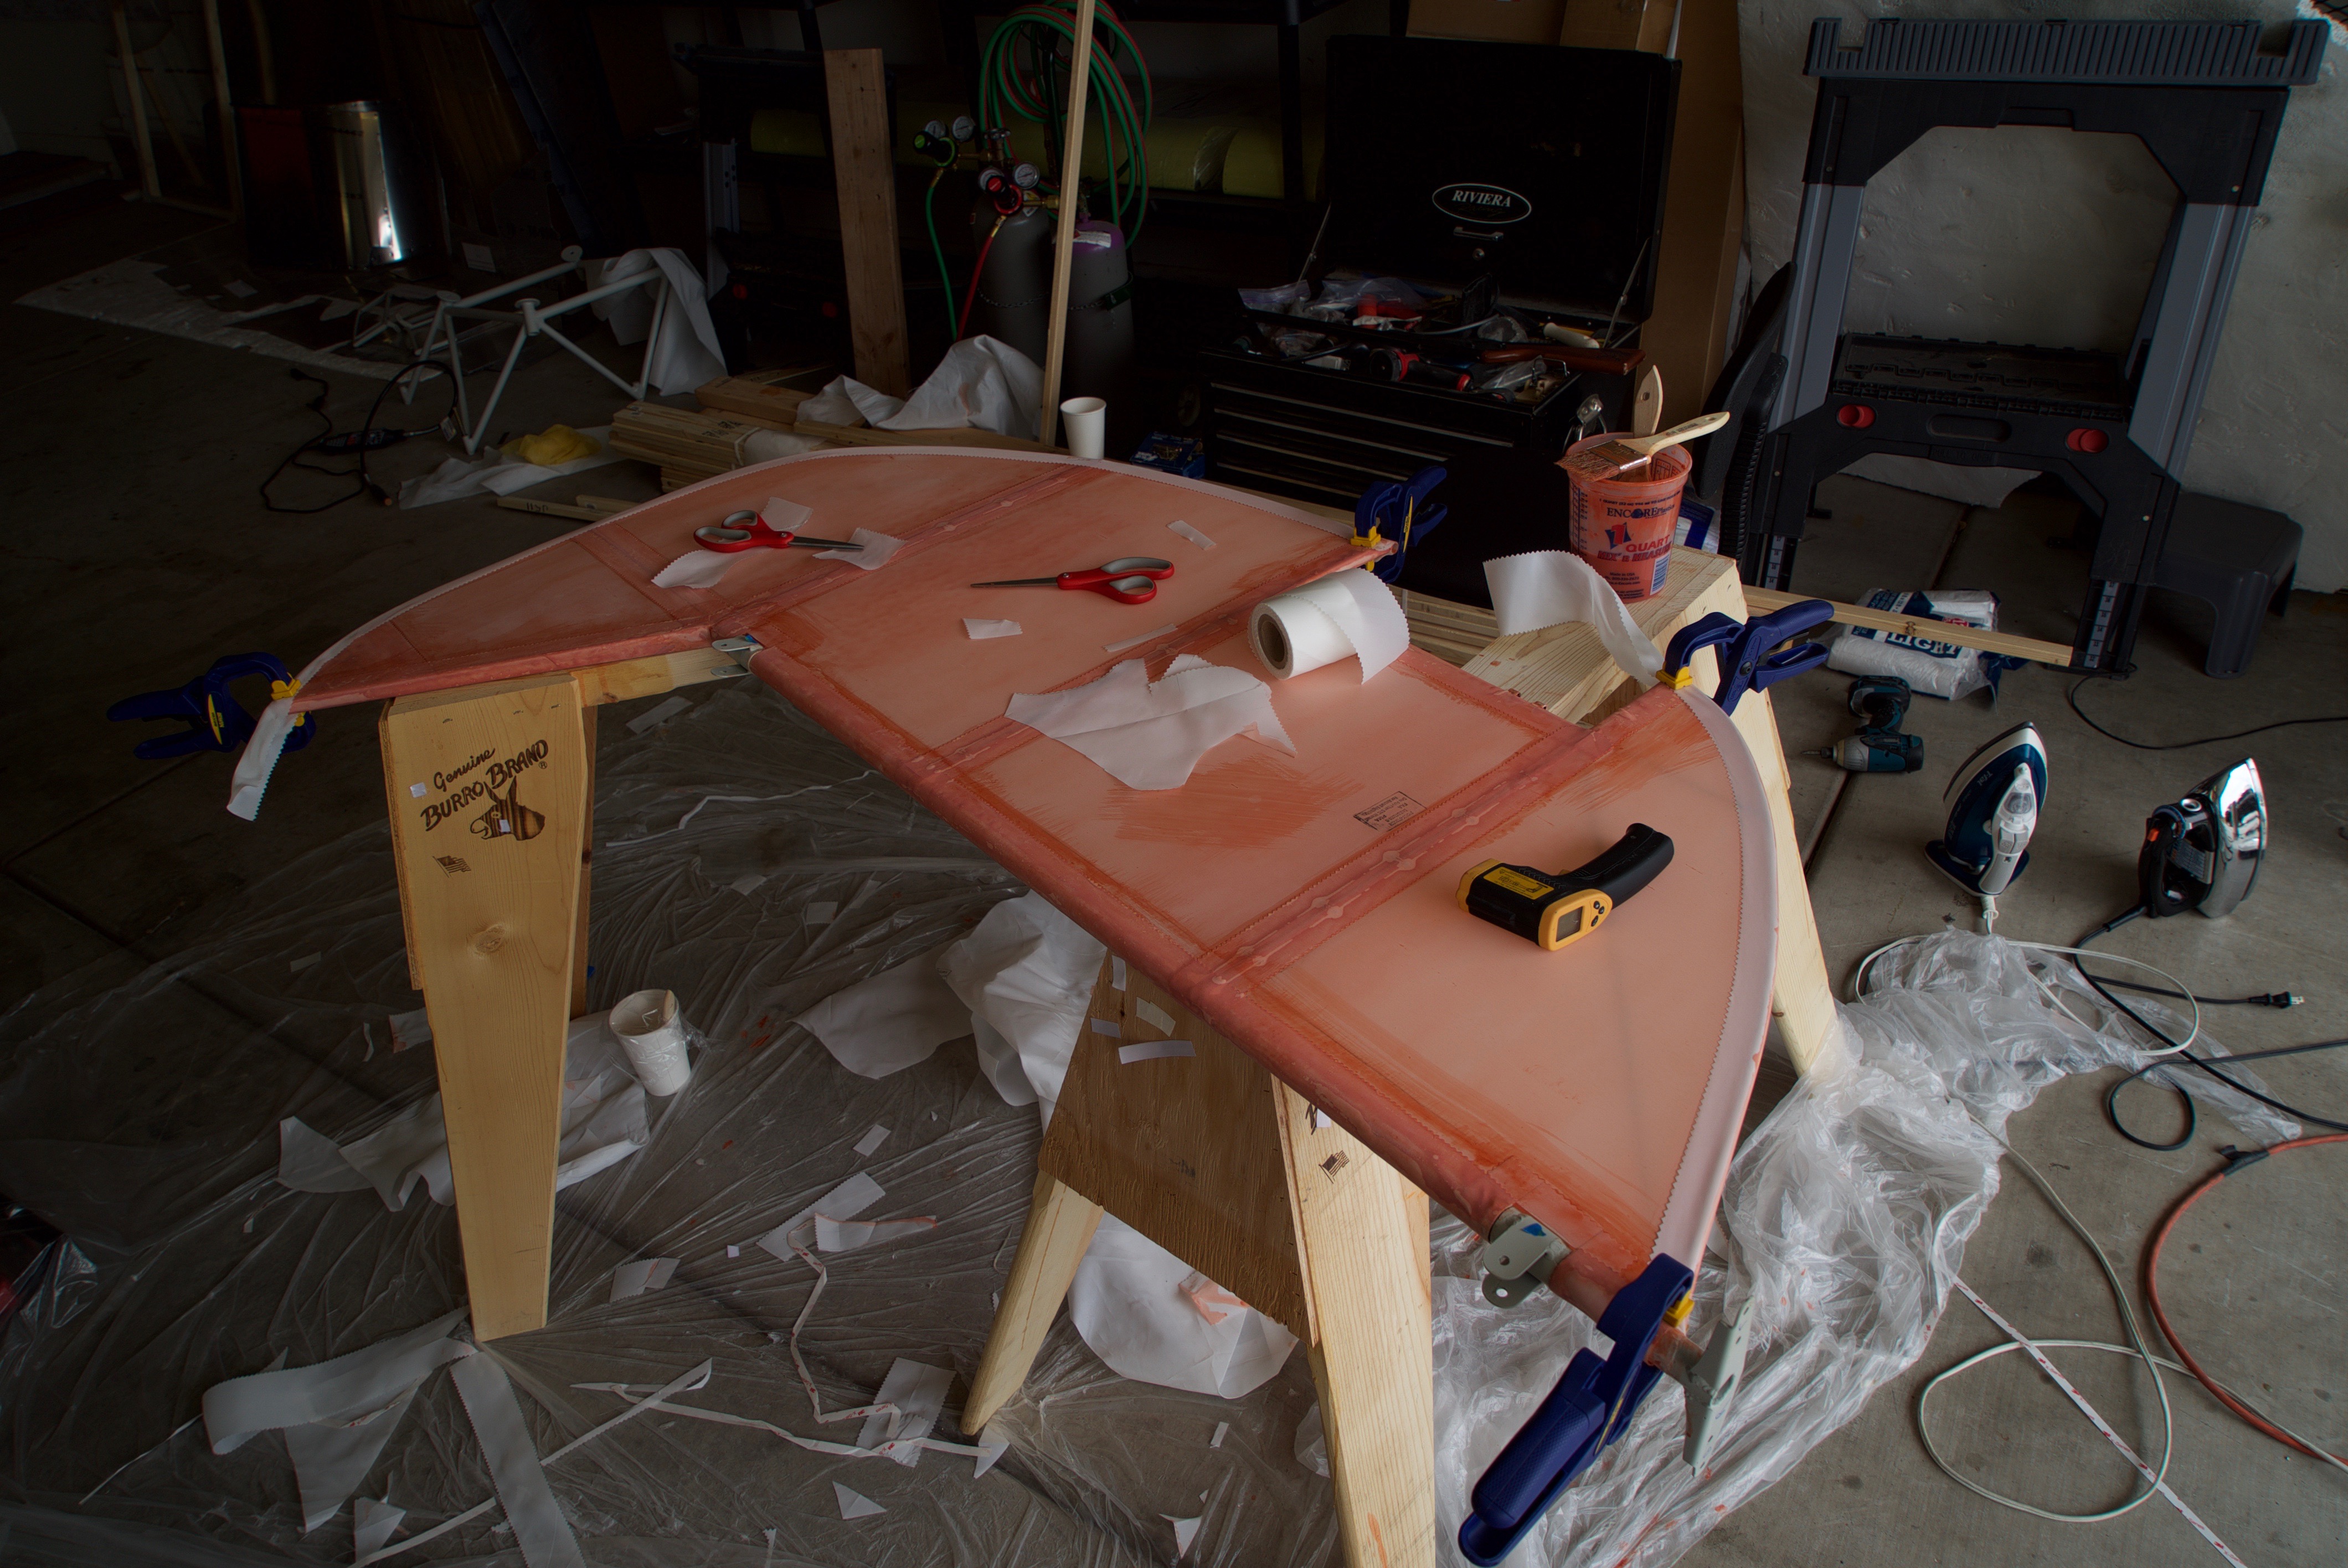
Here you can see the elevator and rudder after 2 sprayed coats of PolyBrush.
Today Ron Decandia came over to do our first tech visit. He did a very thorough inspection and spent a lot of time asking me questions about how I’ve done things. He had a few very good suggestions.
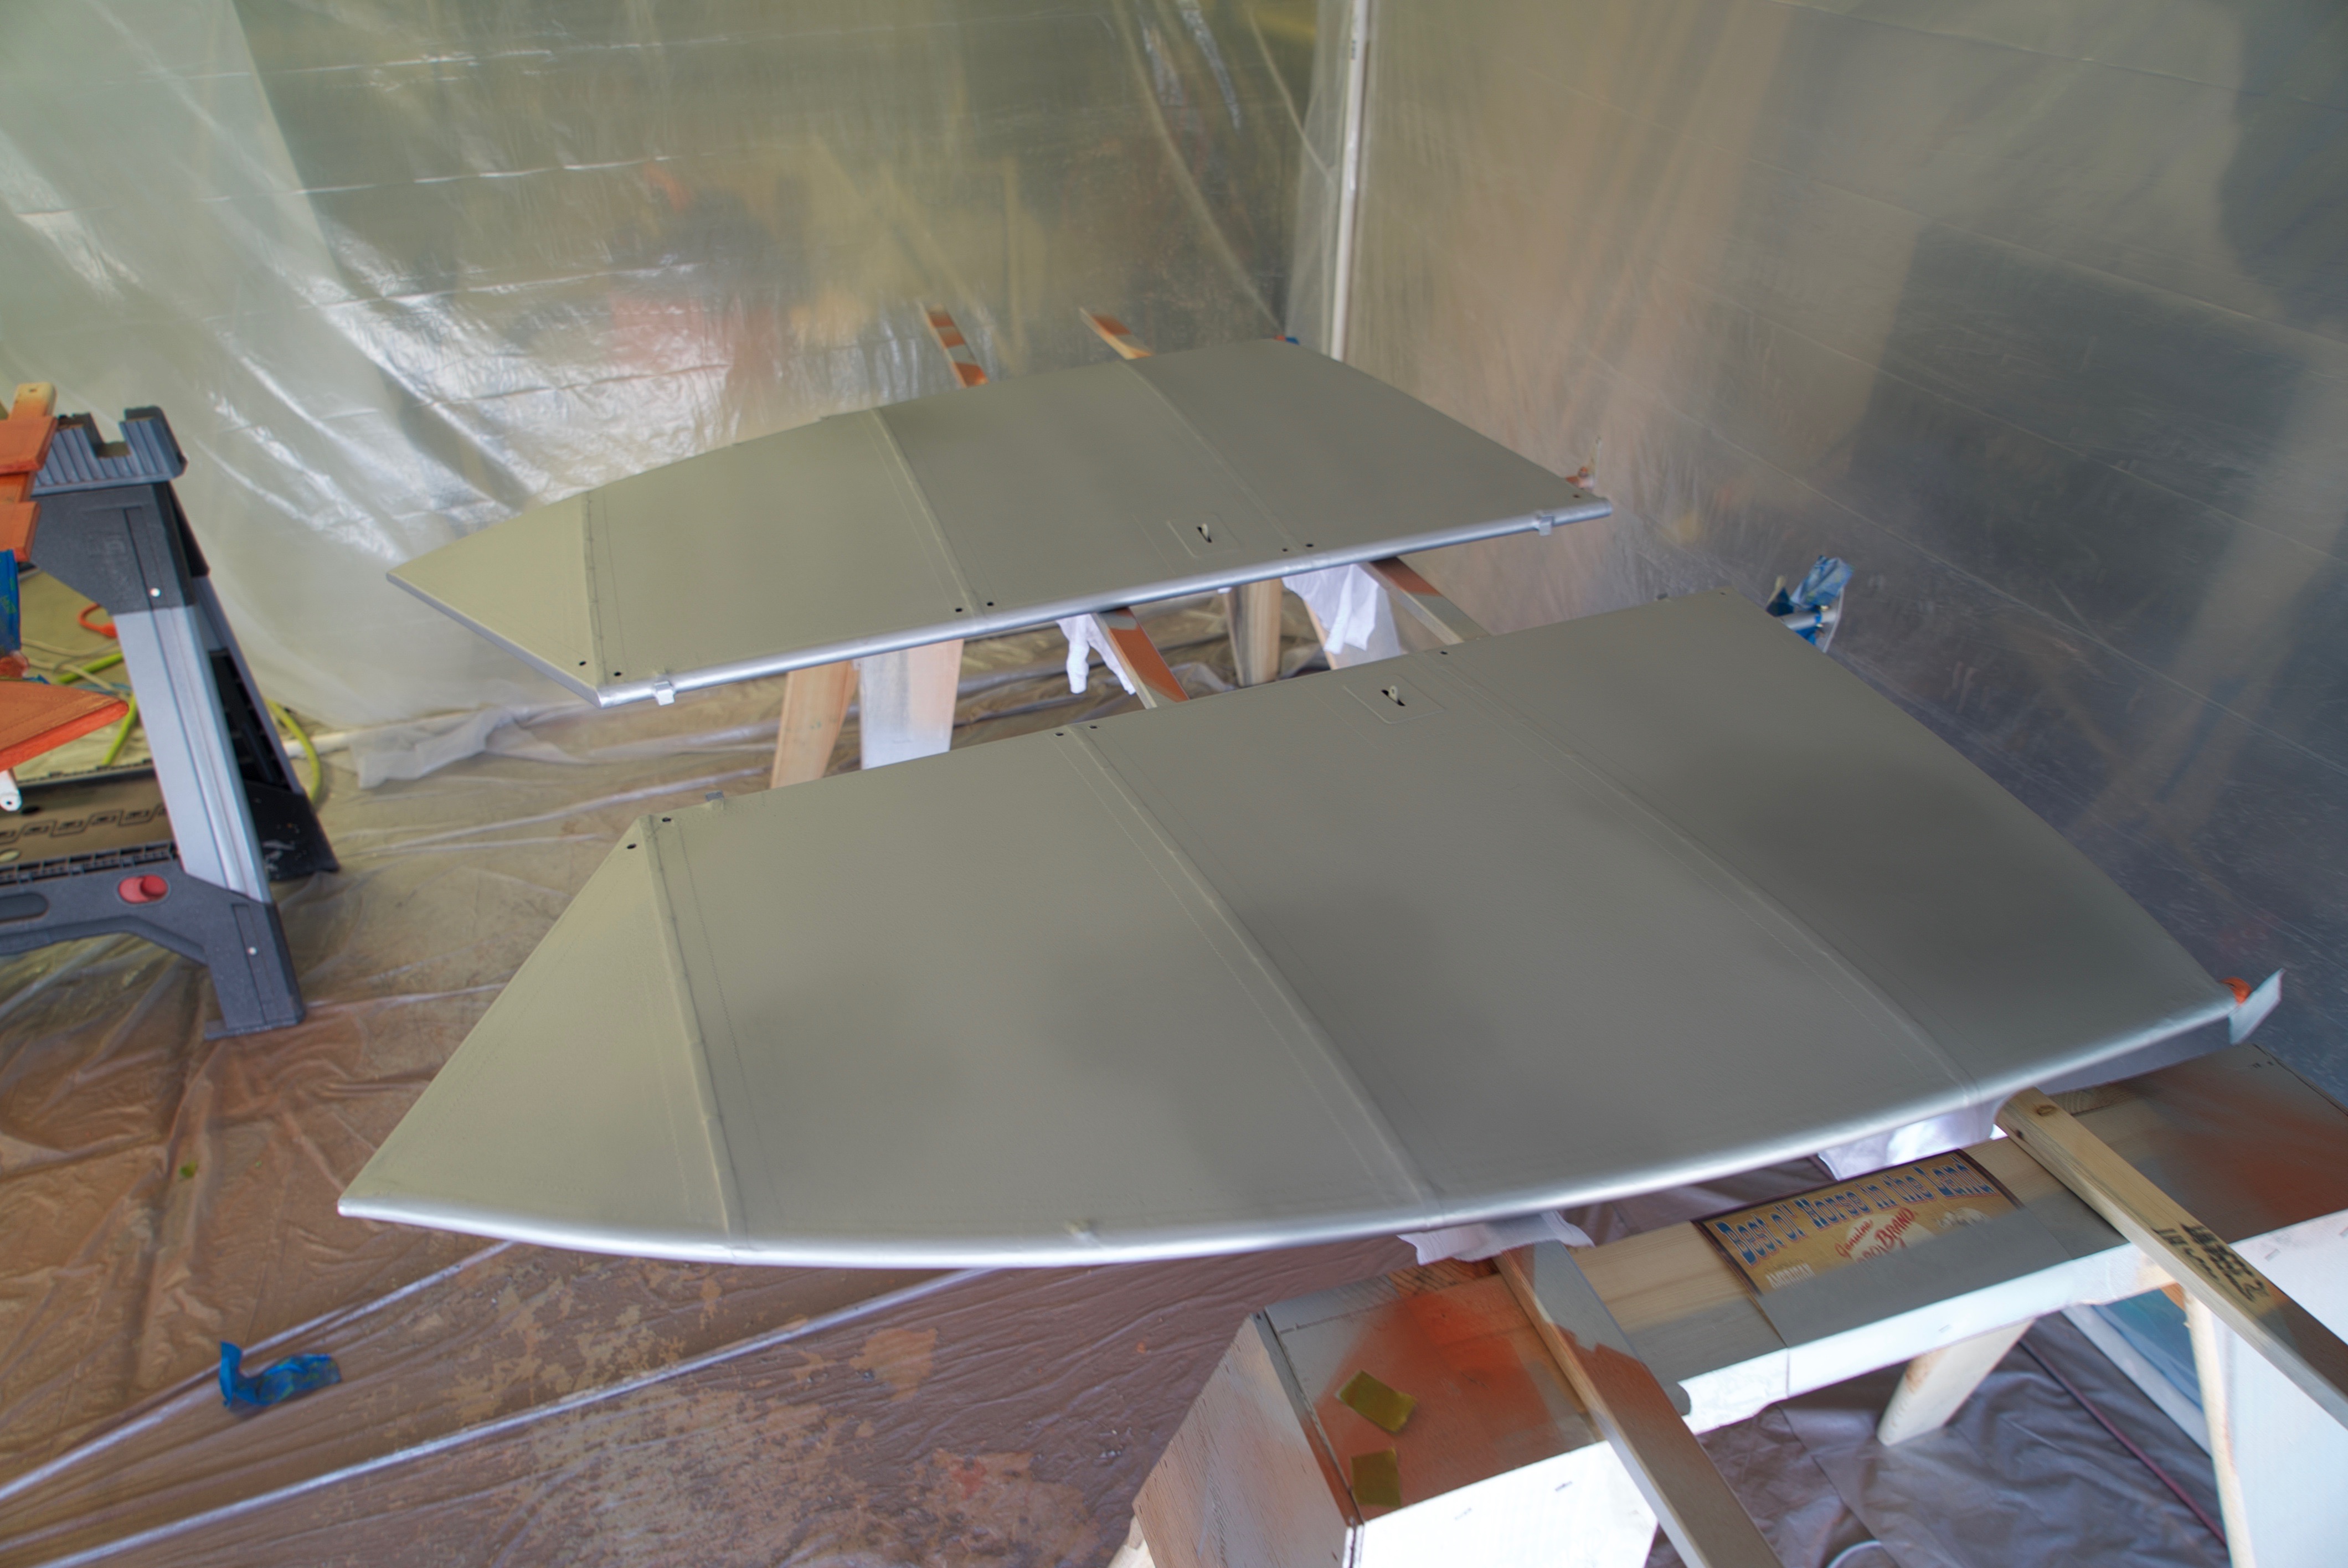
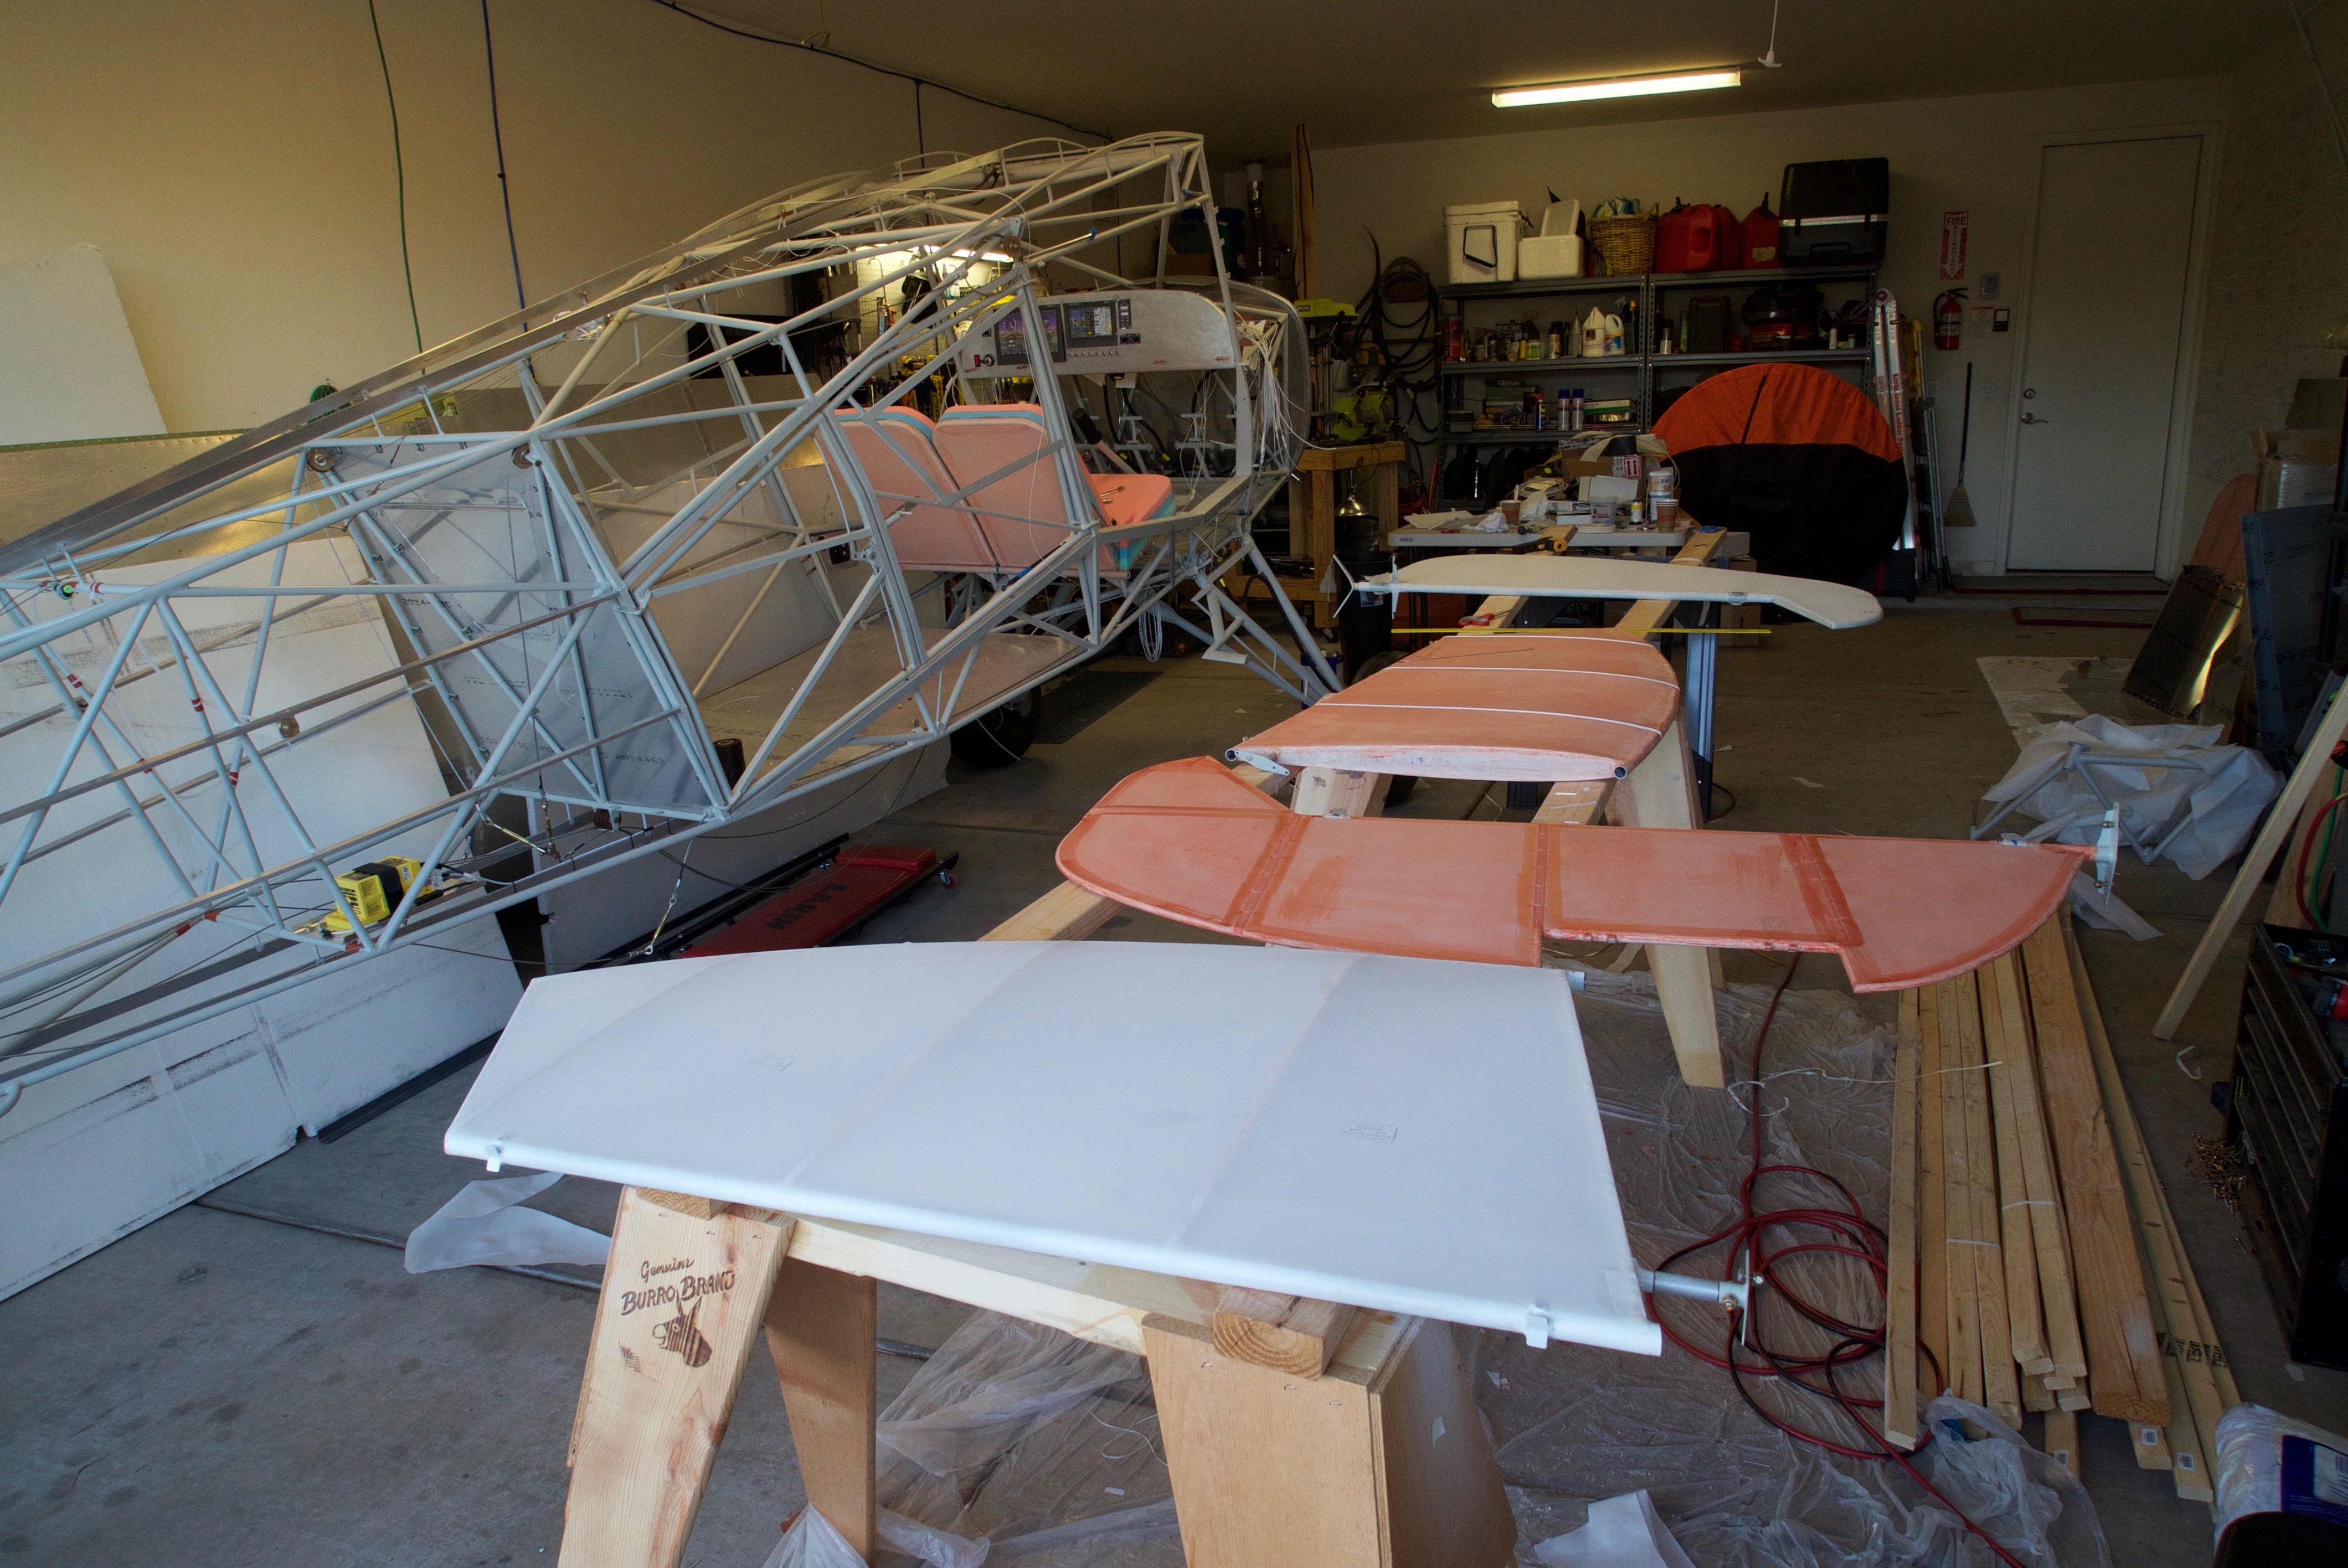
After the paint booth was constructed, I started spraying the horizontal stabs. I started with the coats of PolyBrush then with the PolySpray. I did no more than 2 coats a day with Paint Surface Cleaner and a tac rag between coats.
After I sprayed 2 cross coats of PolySpray, I took them inside and sanded out what I din’t like. Then sprayed 3rd cross coat.
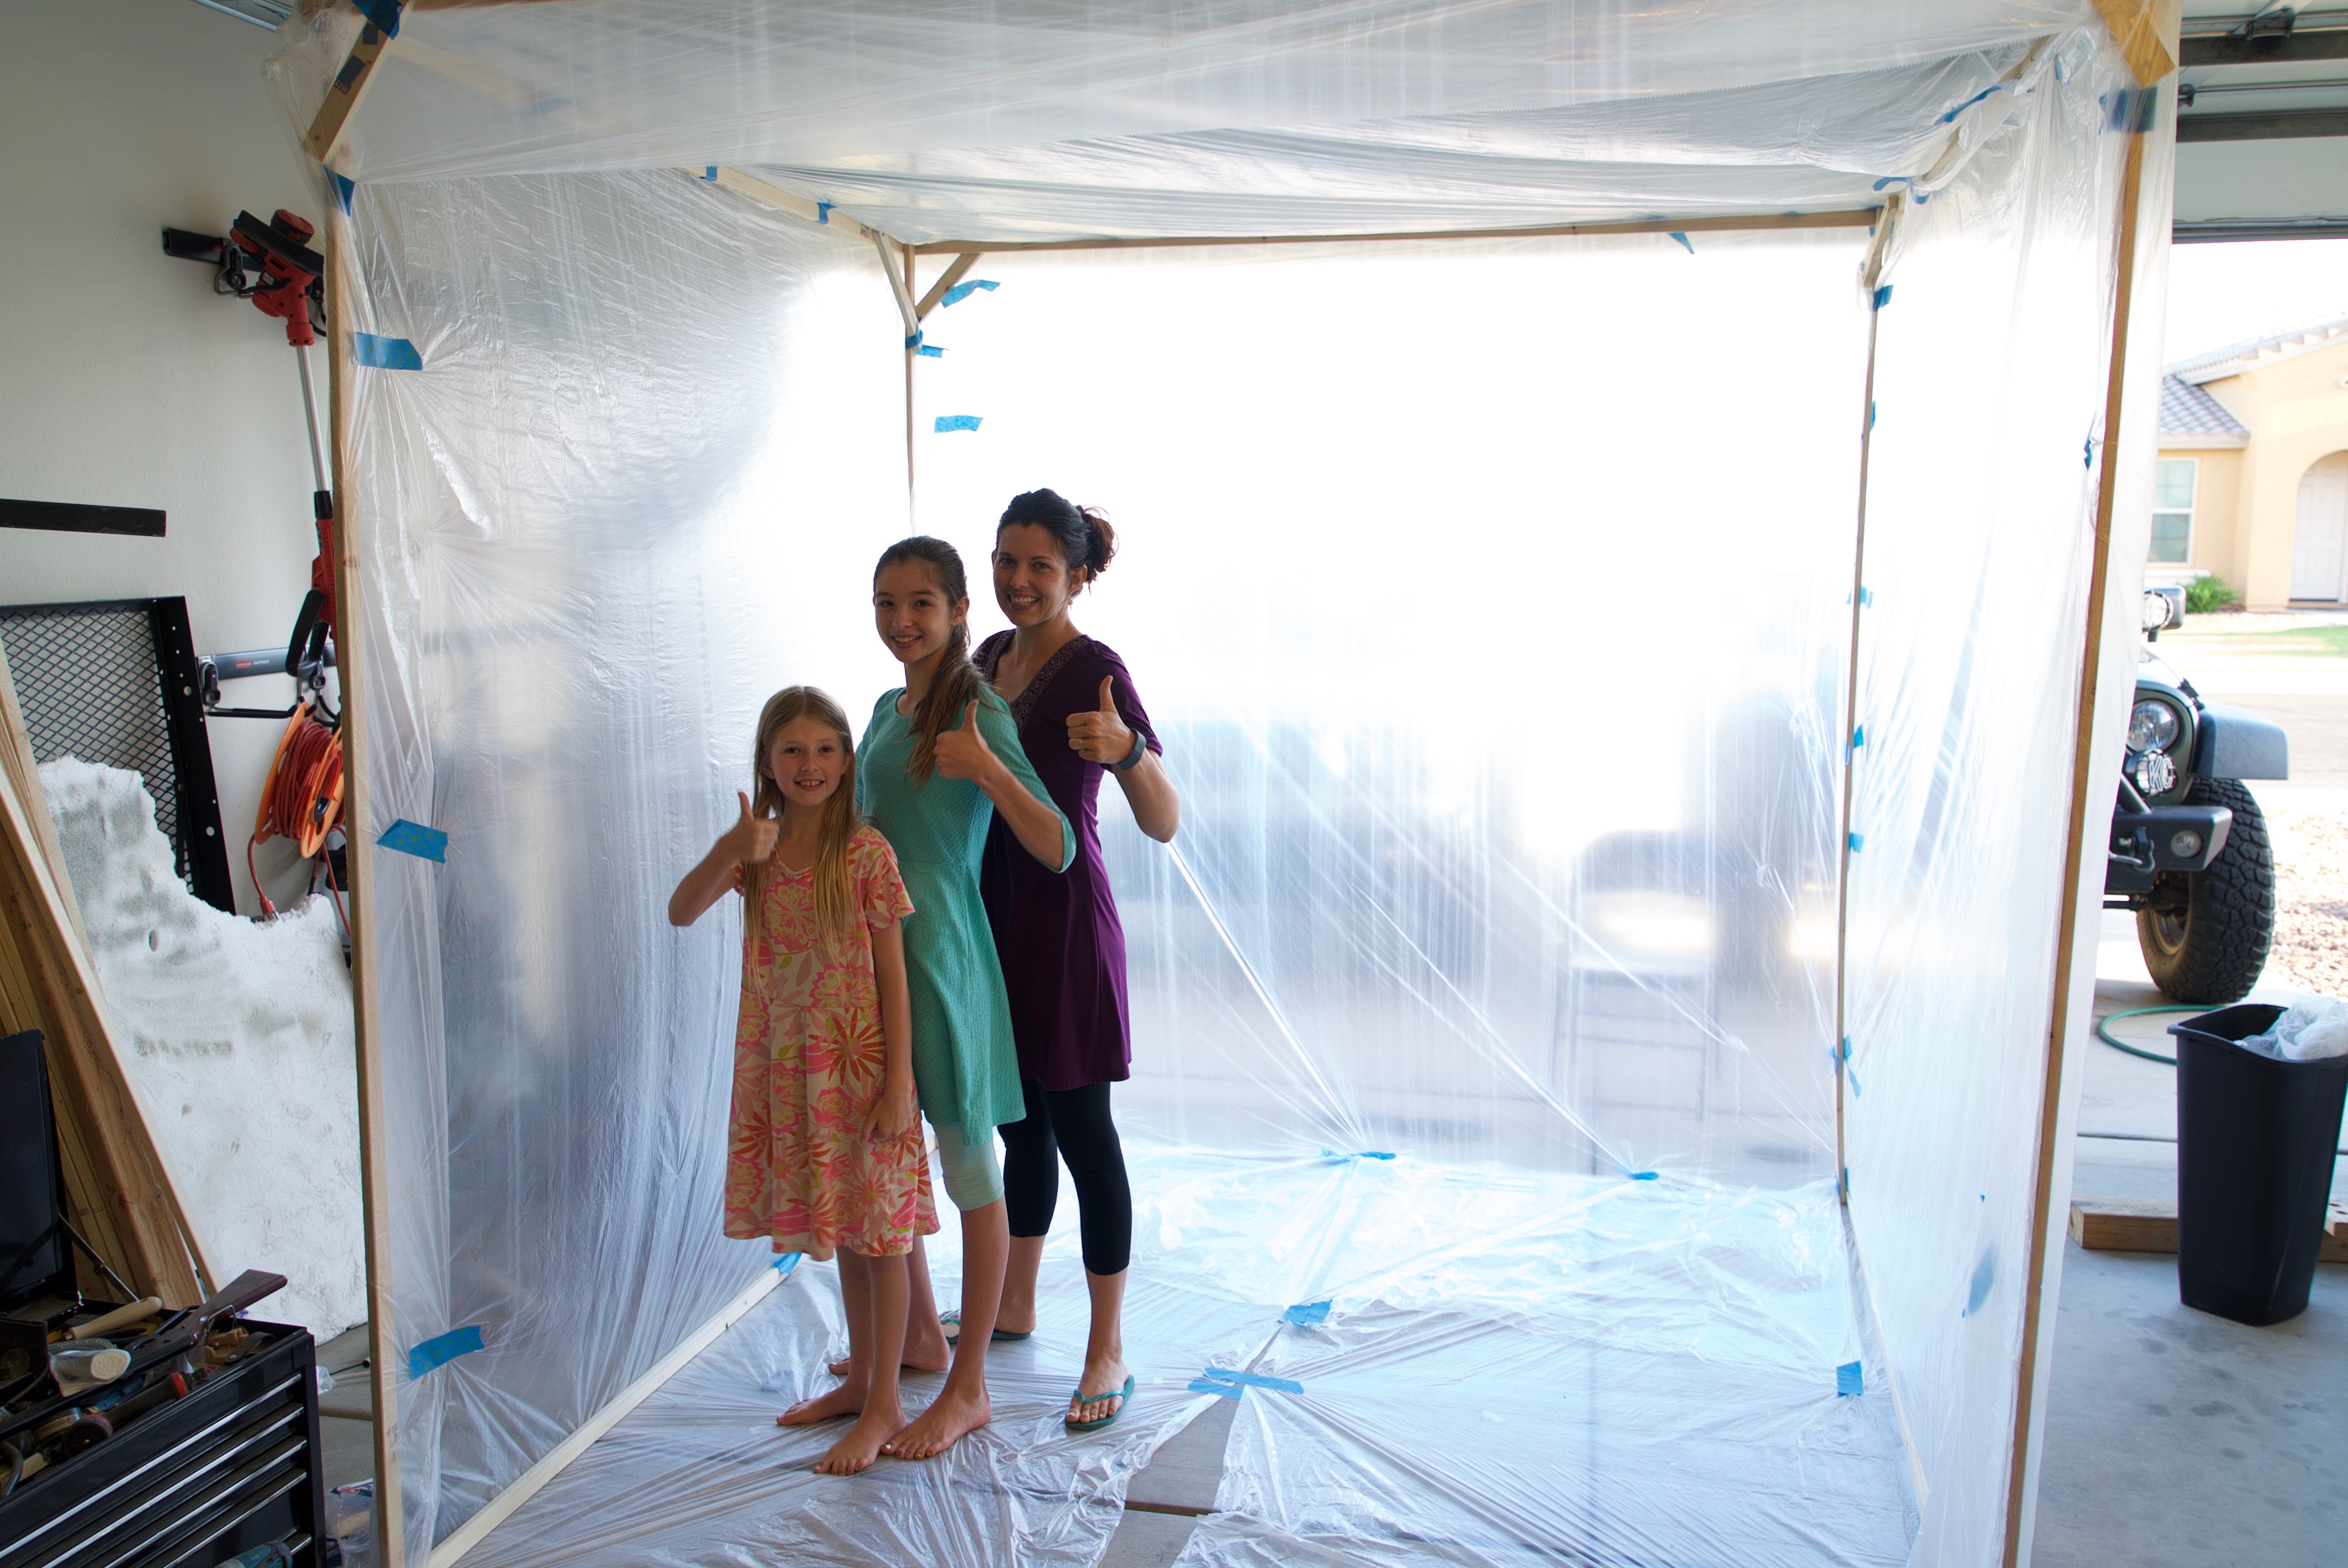
I needed to start priming some aluminum and spraying the PolyFiber coatings, so I built a paint booth. Nothing fancy, but it works. I later added a fan and a filter.
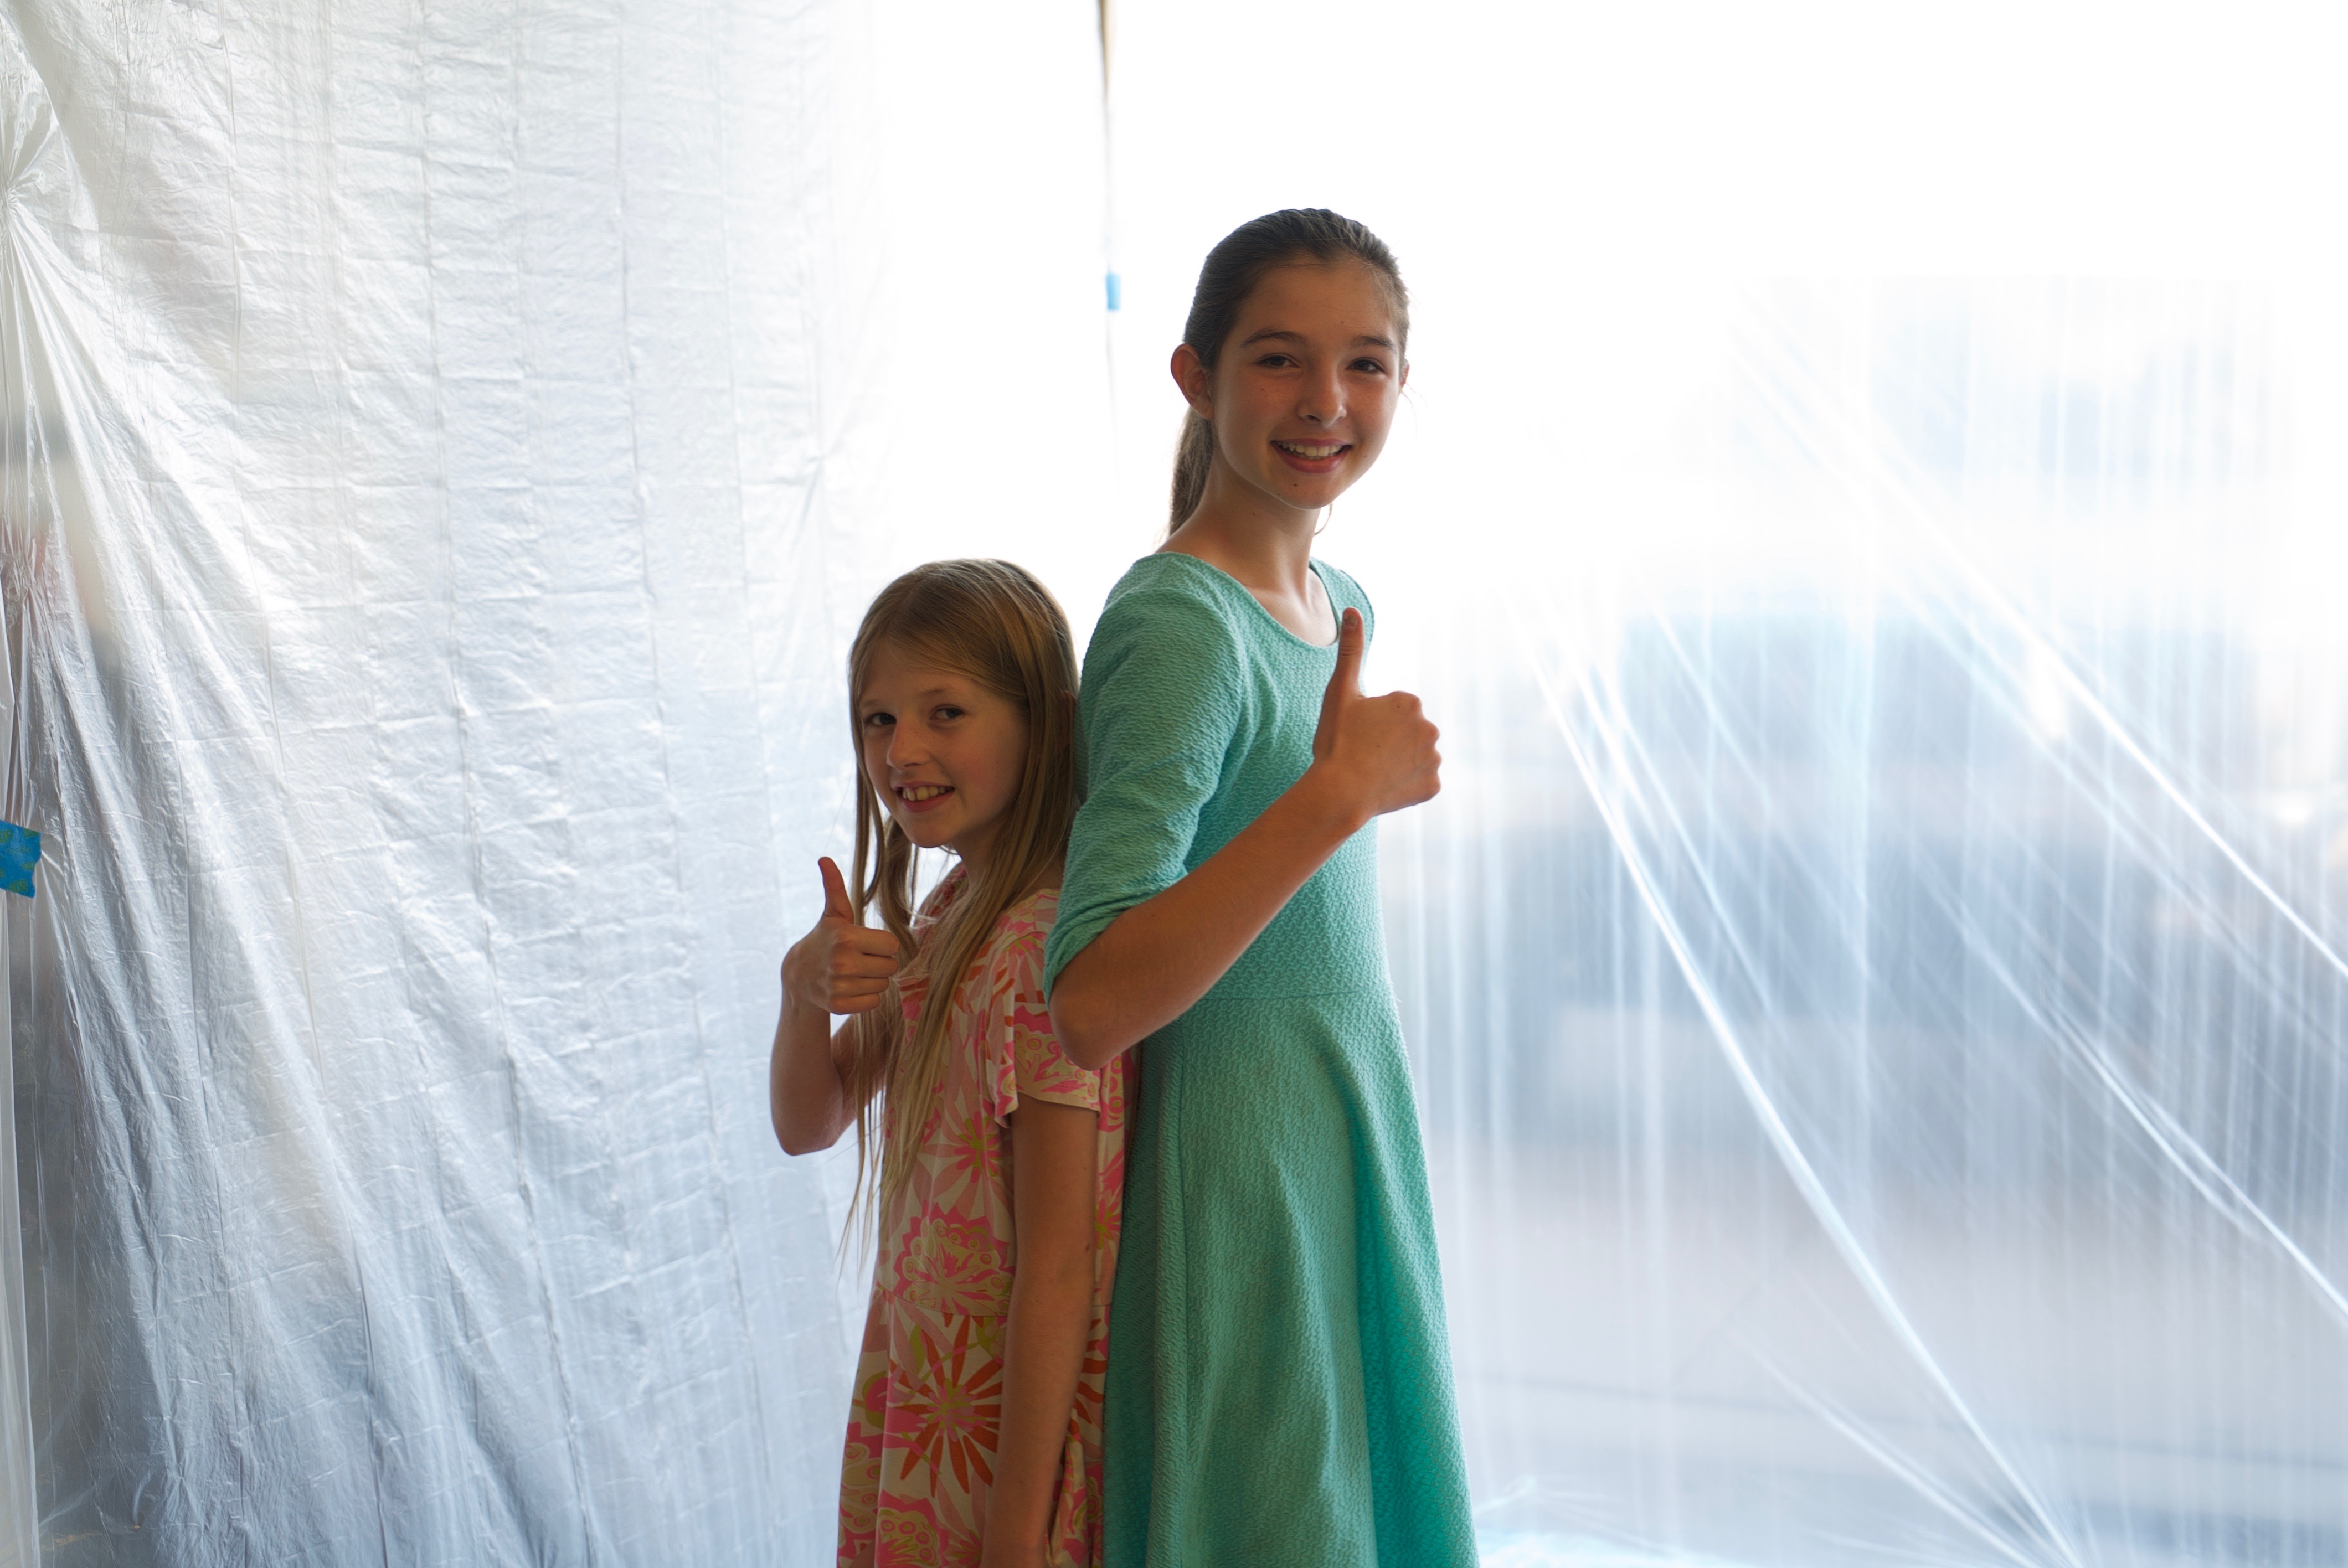
The girls got home just in time to approve my work!
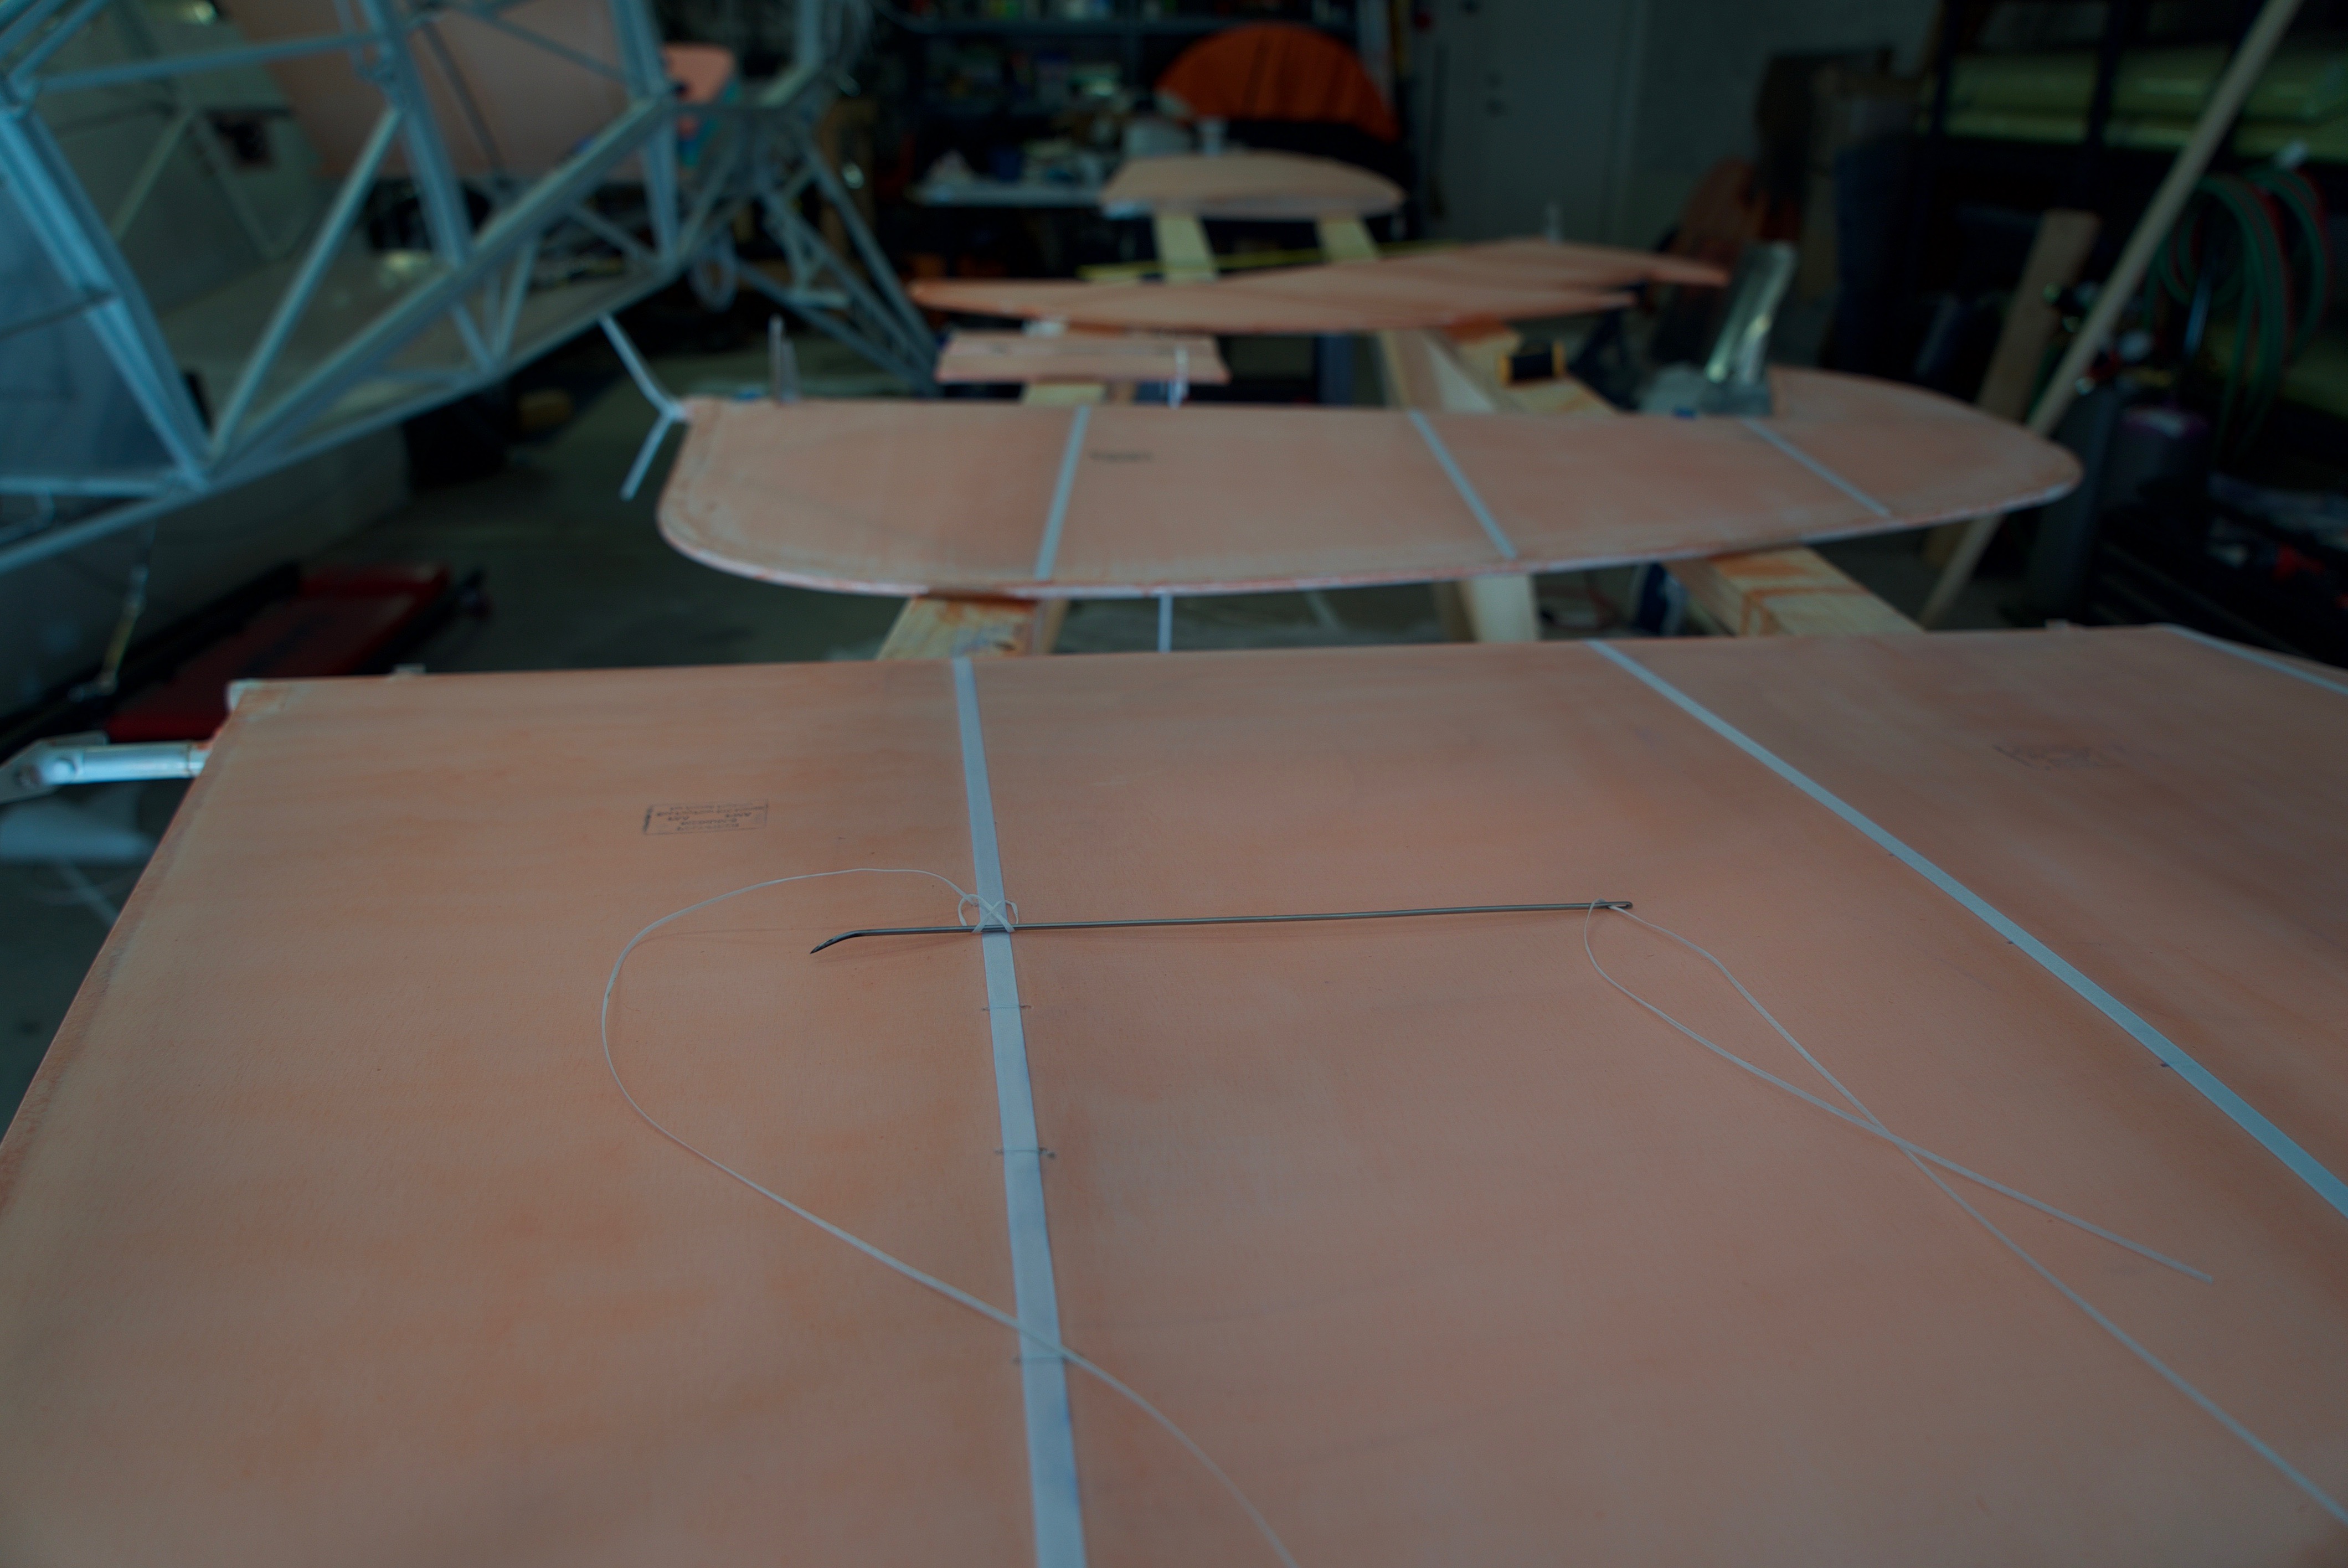
I finished covering, PolyBrushing, rib stitching and taping the remaining tail feathers. Wow, that’s a lot of work!
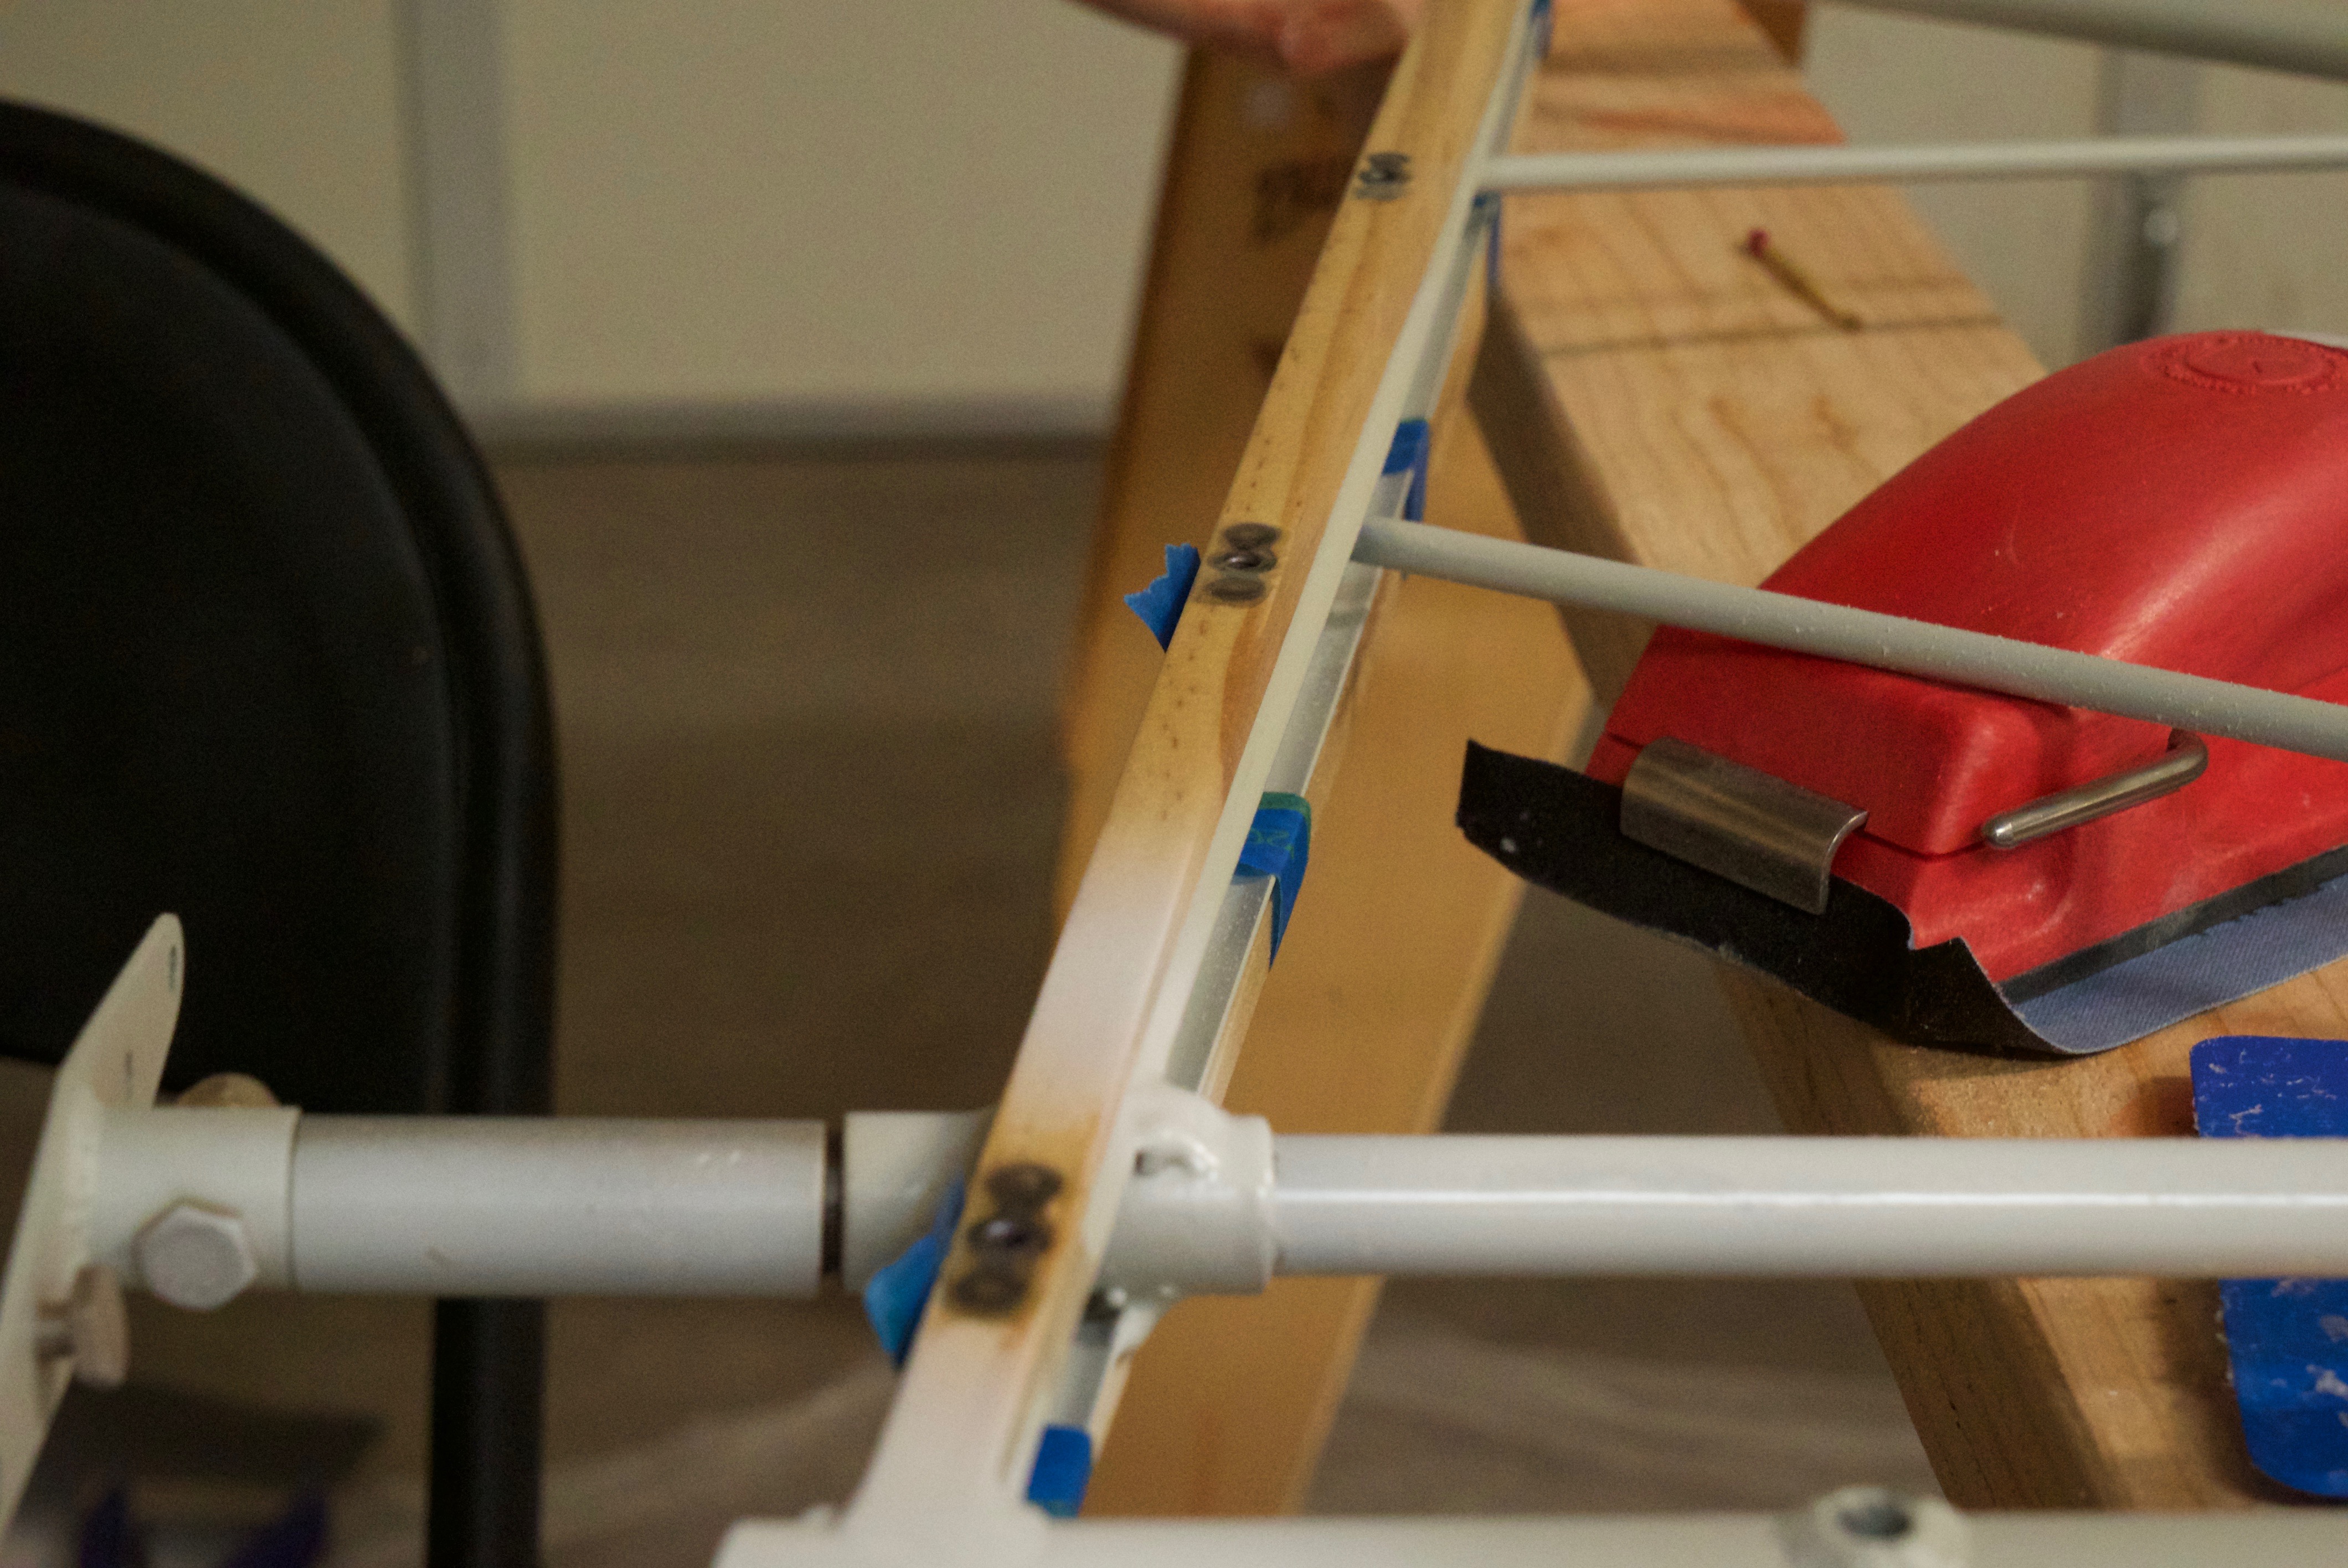
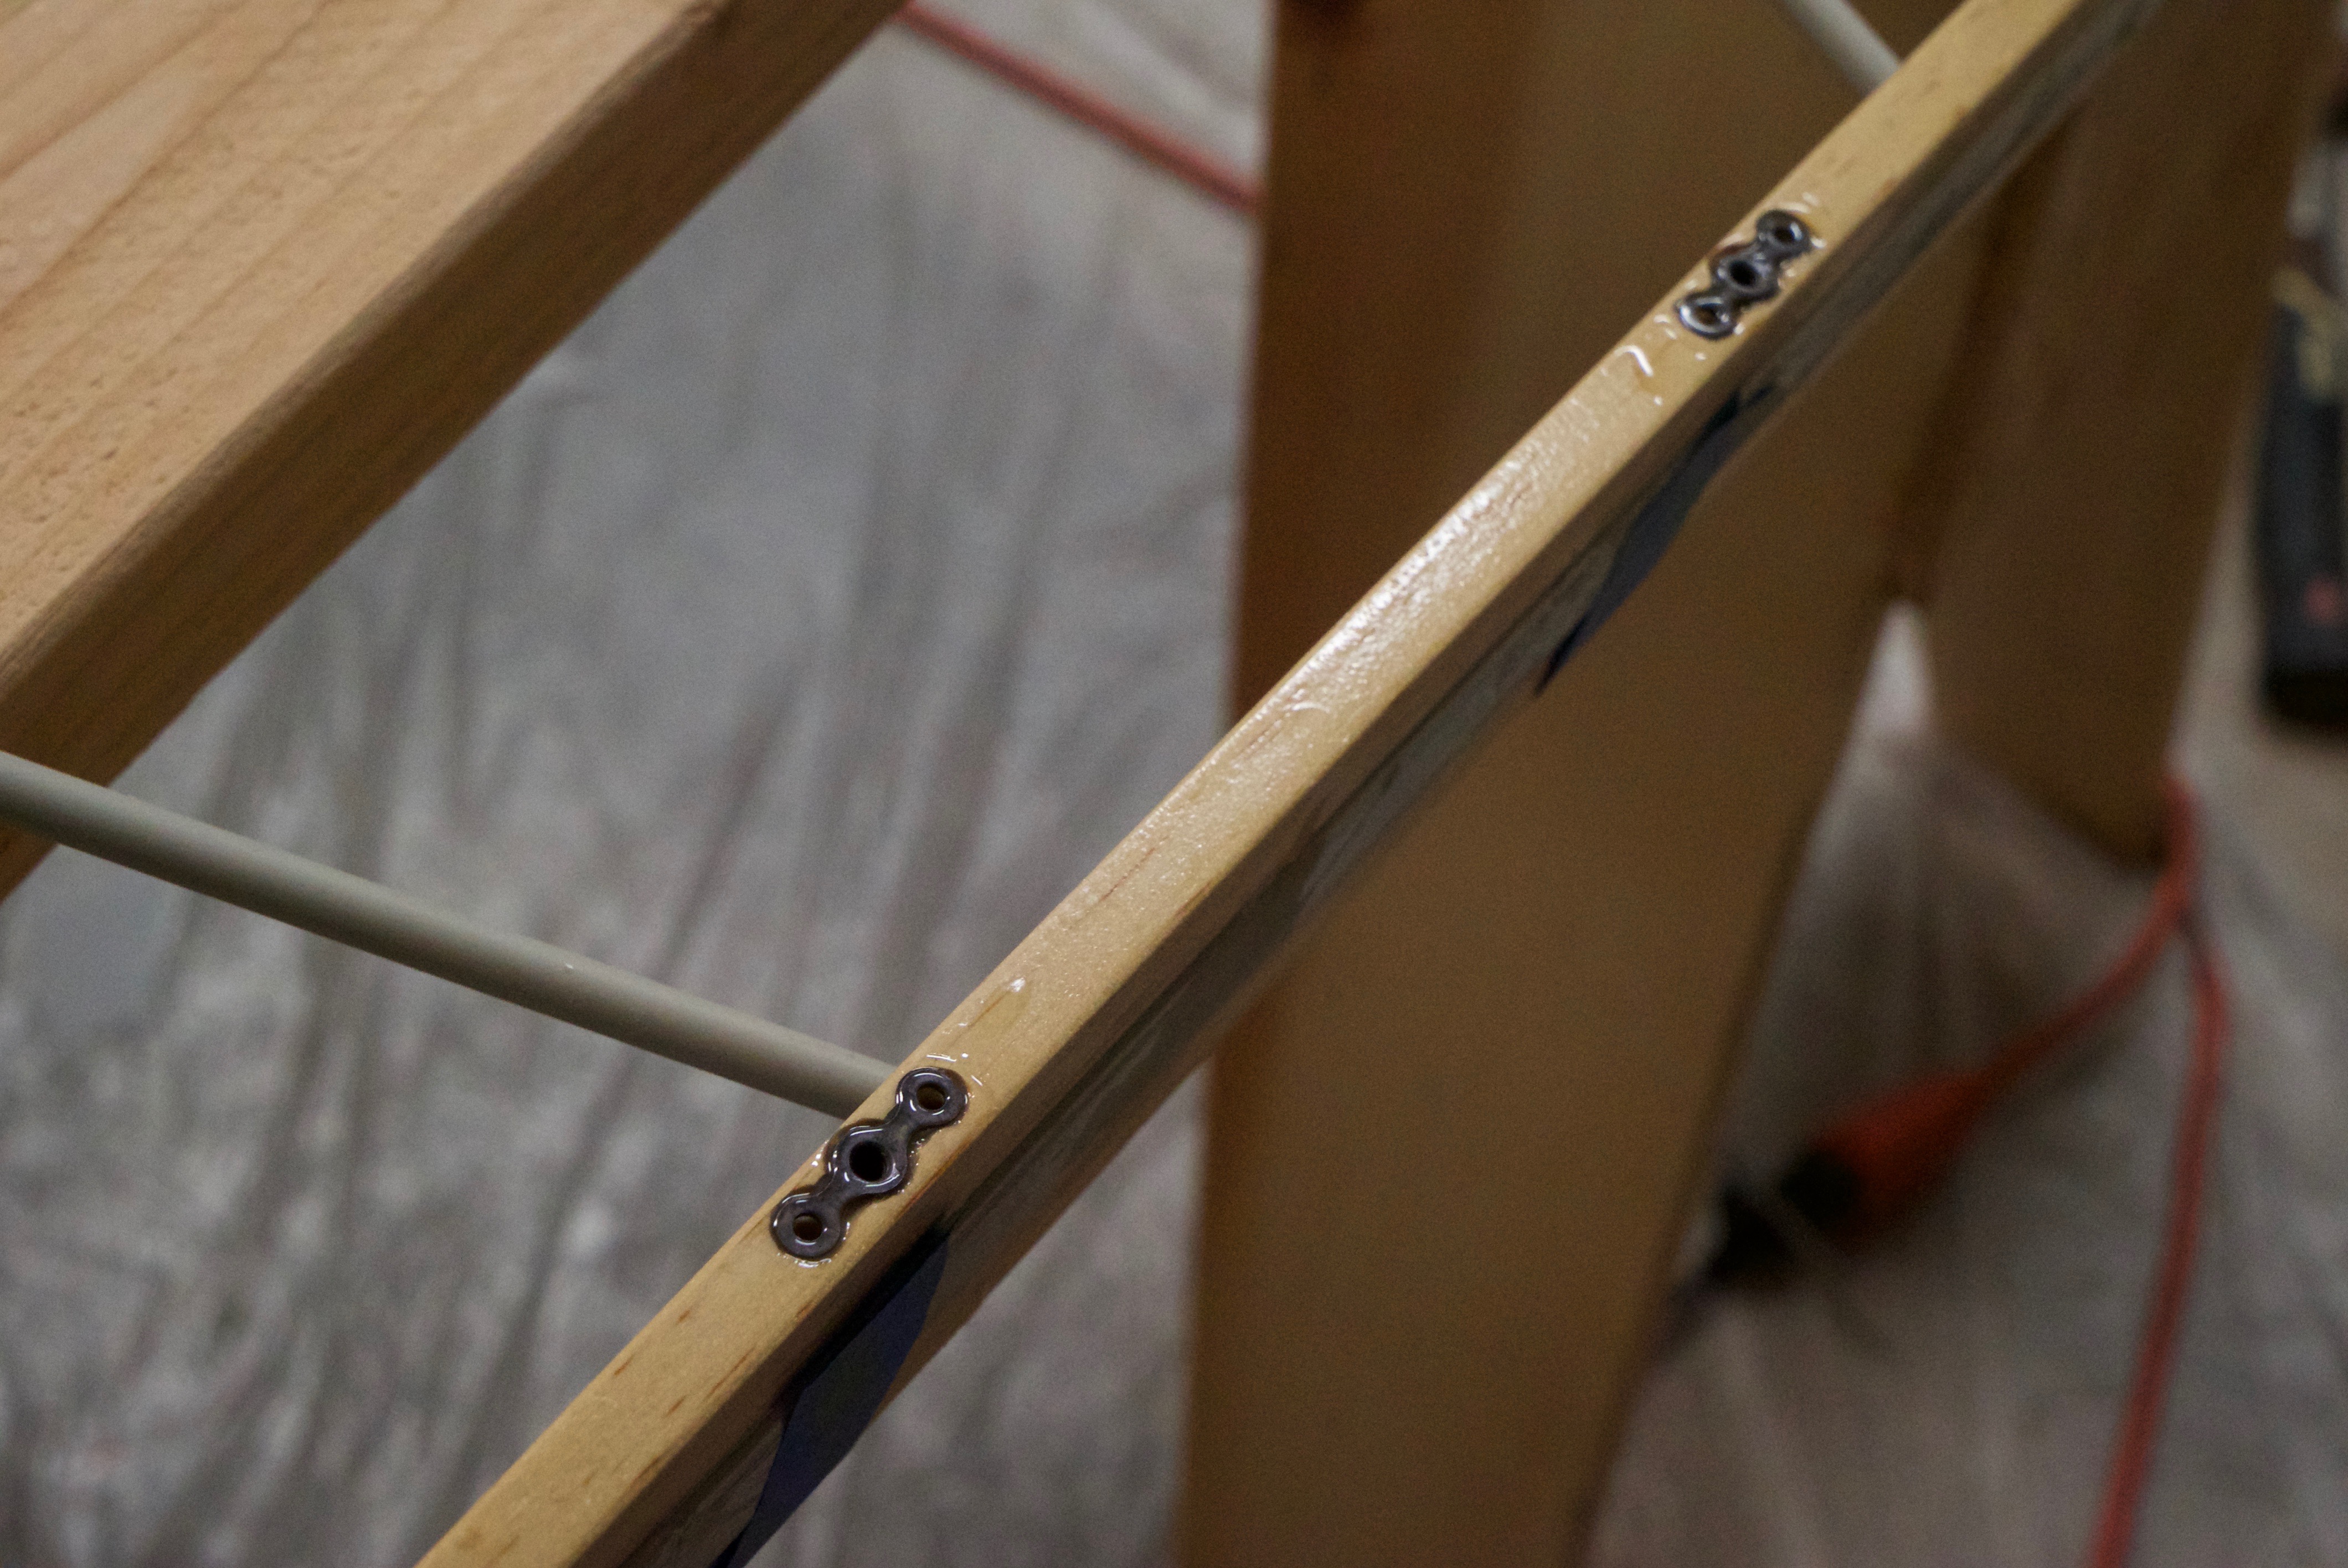
I almost got carried away with covering and forgot to install nut plates in the rib for the fairings.
I used a dremel tool recess the area for the nut plates, then epoxied them in with T-88 epoxy. After I took these photos, I decided to also use blind rivets to hold them in place even better.
This is kind of a messy photo, but that’s how it gets when you start doing tapes. You can see the bias tape being stretched around the curves here.

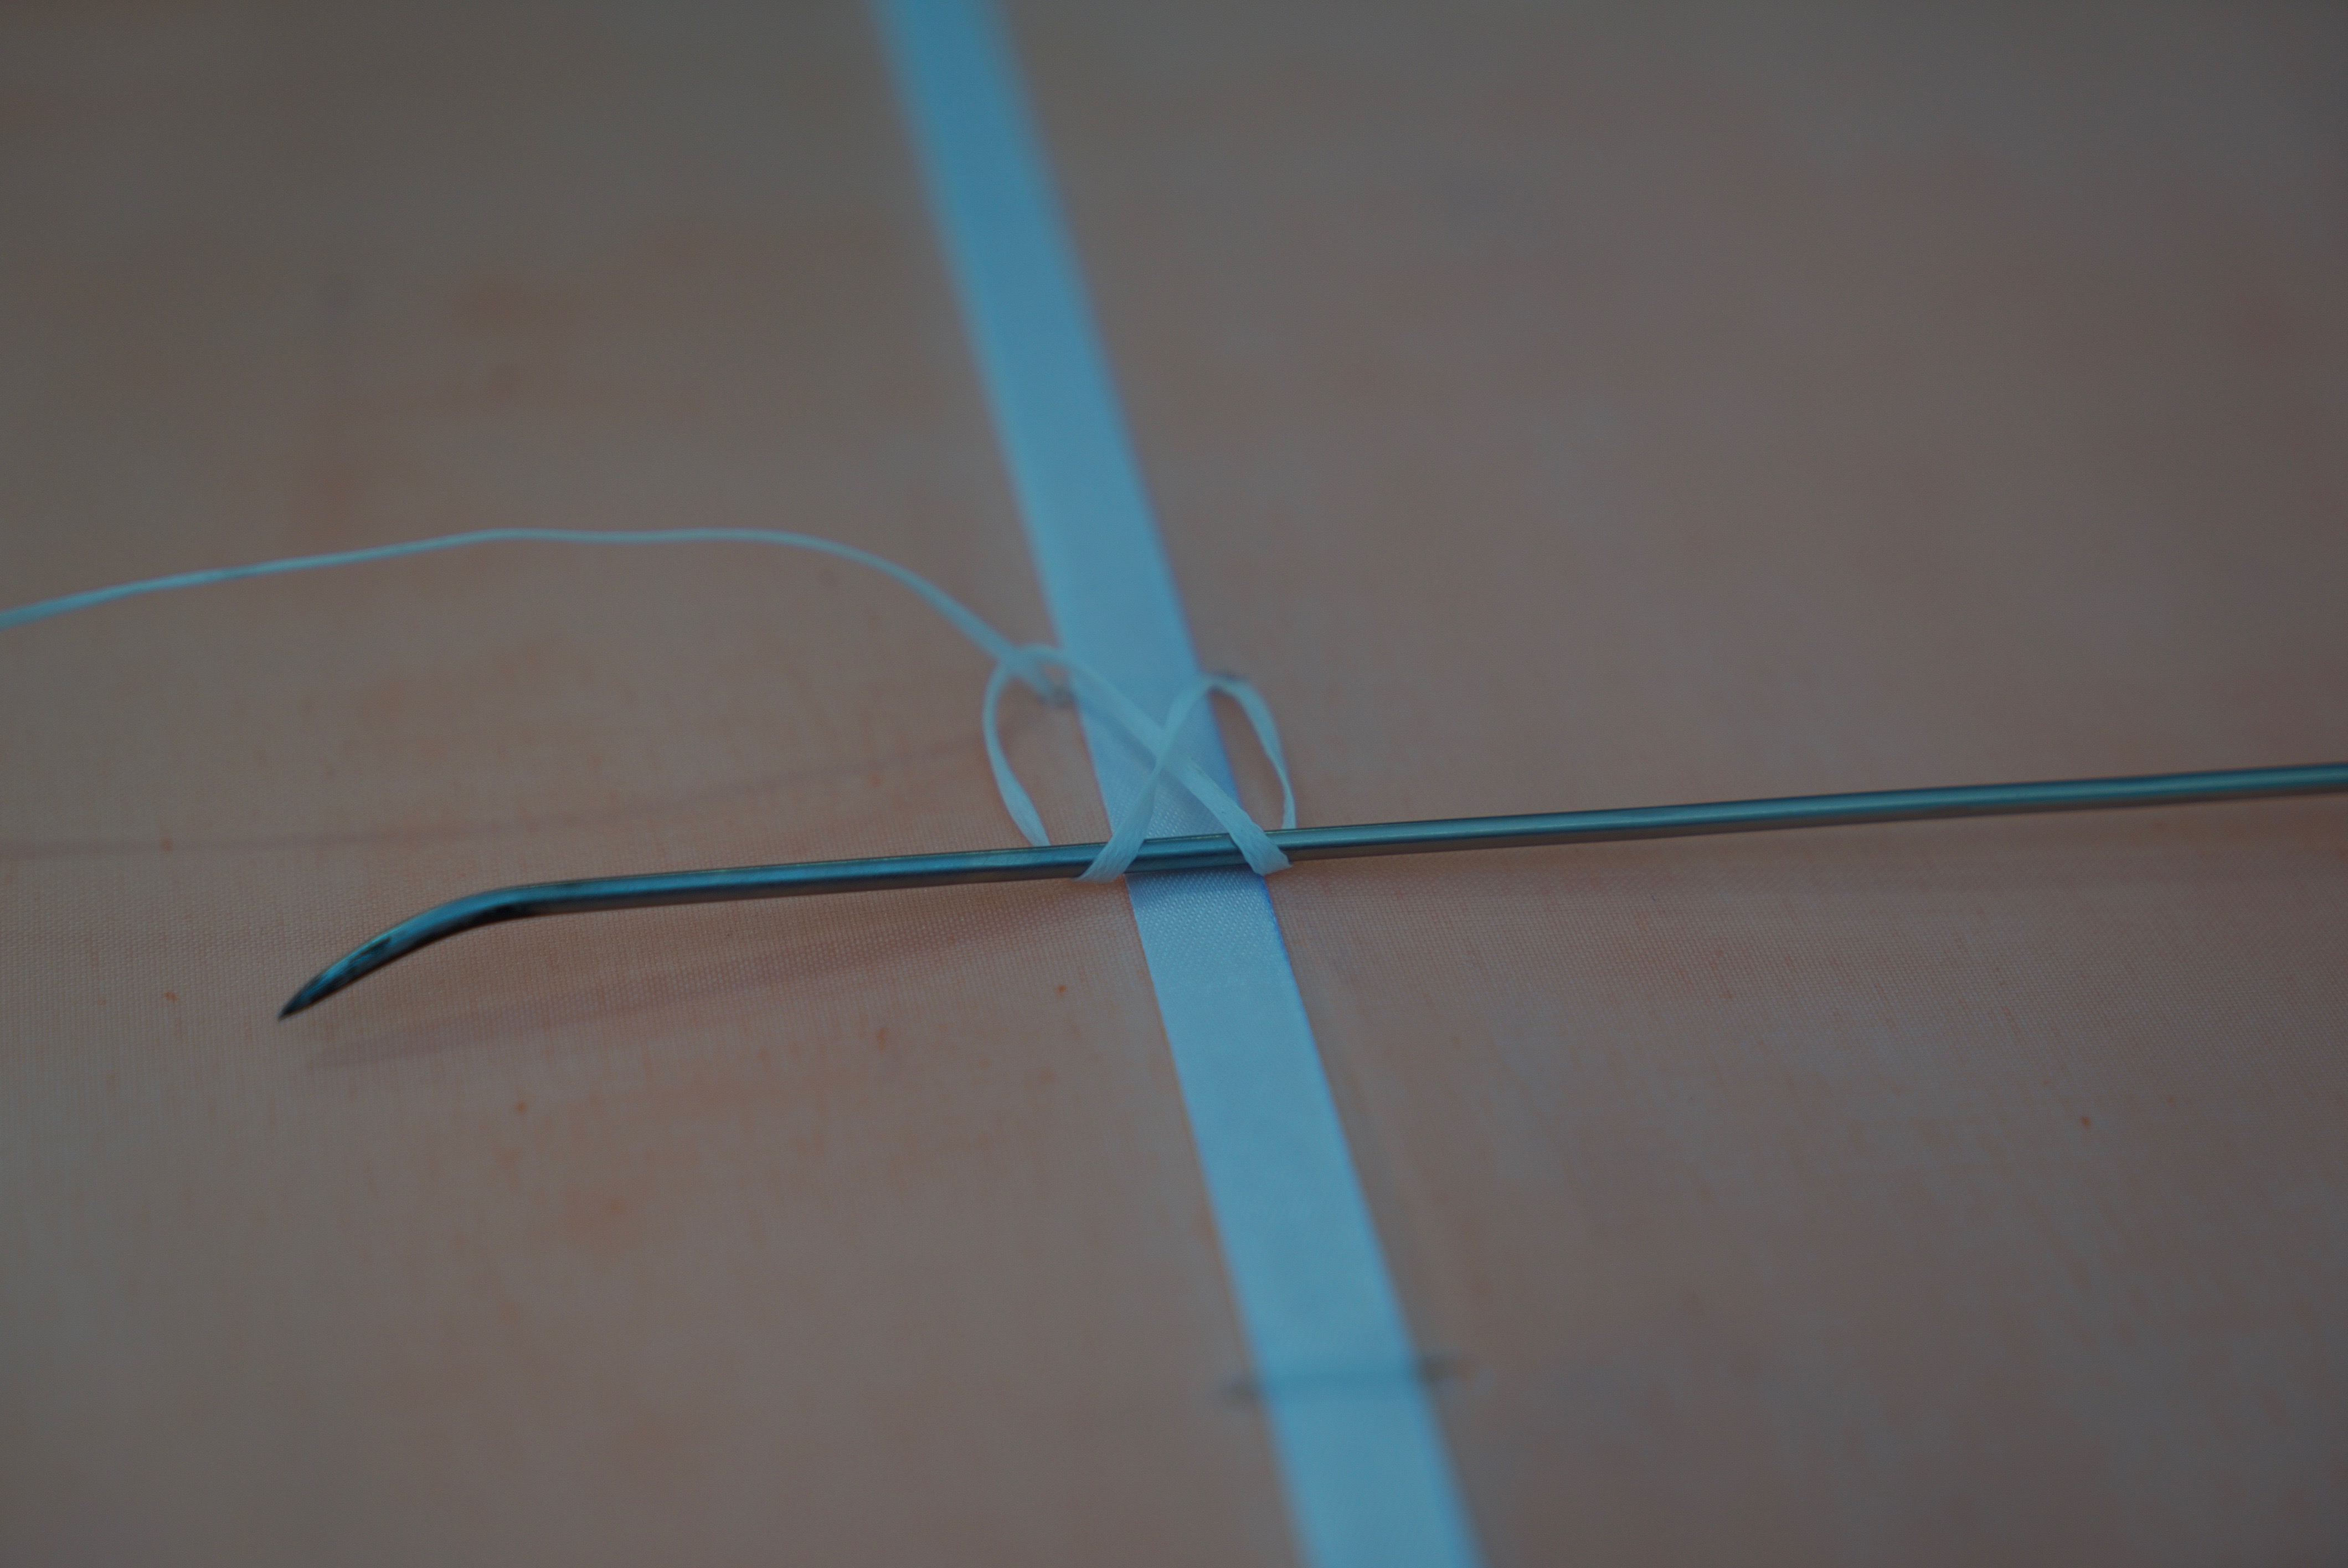
Like I mentioned before, I took the EAA Sport Air workshop on covering. We got plenty of practice at rib stitching, but I got the book out and made sure I was doing it correctly. Once you get going it’s pretty easy.
I don’t have any pictures of it, but my youngest daughter Tori would sit below the elevator and pass the needle back up. This made things go substantially faster!