Drilling Axels

Building an airplane includes a lot of little steps and very big steps.  The big ones are easy to keep track of.  Wings, engine, landing gear, etc.  Those are hard to miss.  However, all the small things could slip thought the cracks if you’re not organized.

So as I’ve gone along, I’ve made a list of things that need to done as I see/think about them.  Drilling the gear axels was on that list, so today I drilled them for the big castle nut and cotter pins.

More wiring harness

DSC05342

Here you can see the wiring harness and the vertical power unit.  It still looks a bit like spaghetti, but it’s coming together!  This was the combined effort of several days in-between waiting for coats of PolyBrush and PolySpray to dry.

Brake Calipers

DSC05062

Today I mounted the brake calipers.  They’re the Grove 66-152.  The manual says to mount them straight ahead to slightly down.  As you can see they’re slightly down.  After mounting them I would have preferred them to point a little more forward or even slightly up.  I emailed Mark Goldberg to ask his opinion and he said they’re fine where they are.


DSC05063

The mounting plates for the brakes had holes for AN 6 bolts.  I would have had clearance issues with them that size so I ended up bushing them down to AN 5.

Landing Gear

DSC05058

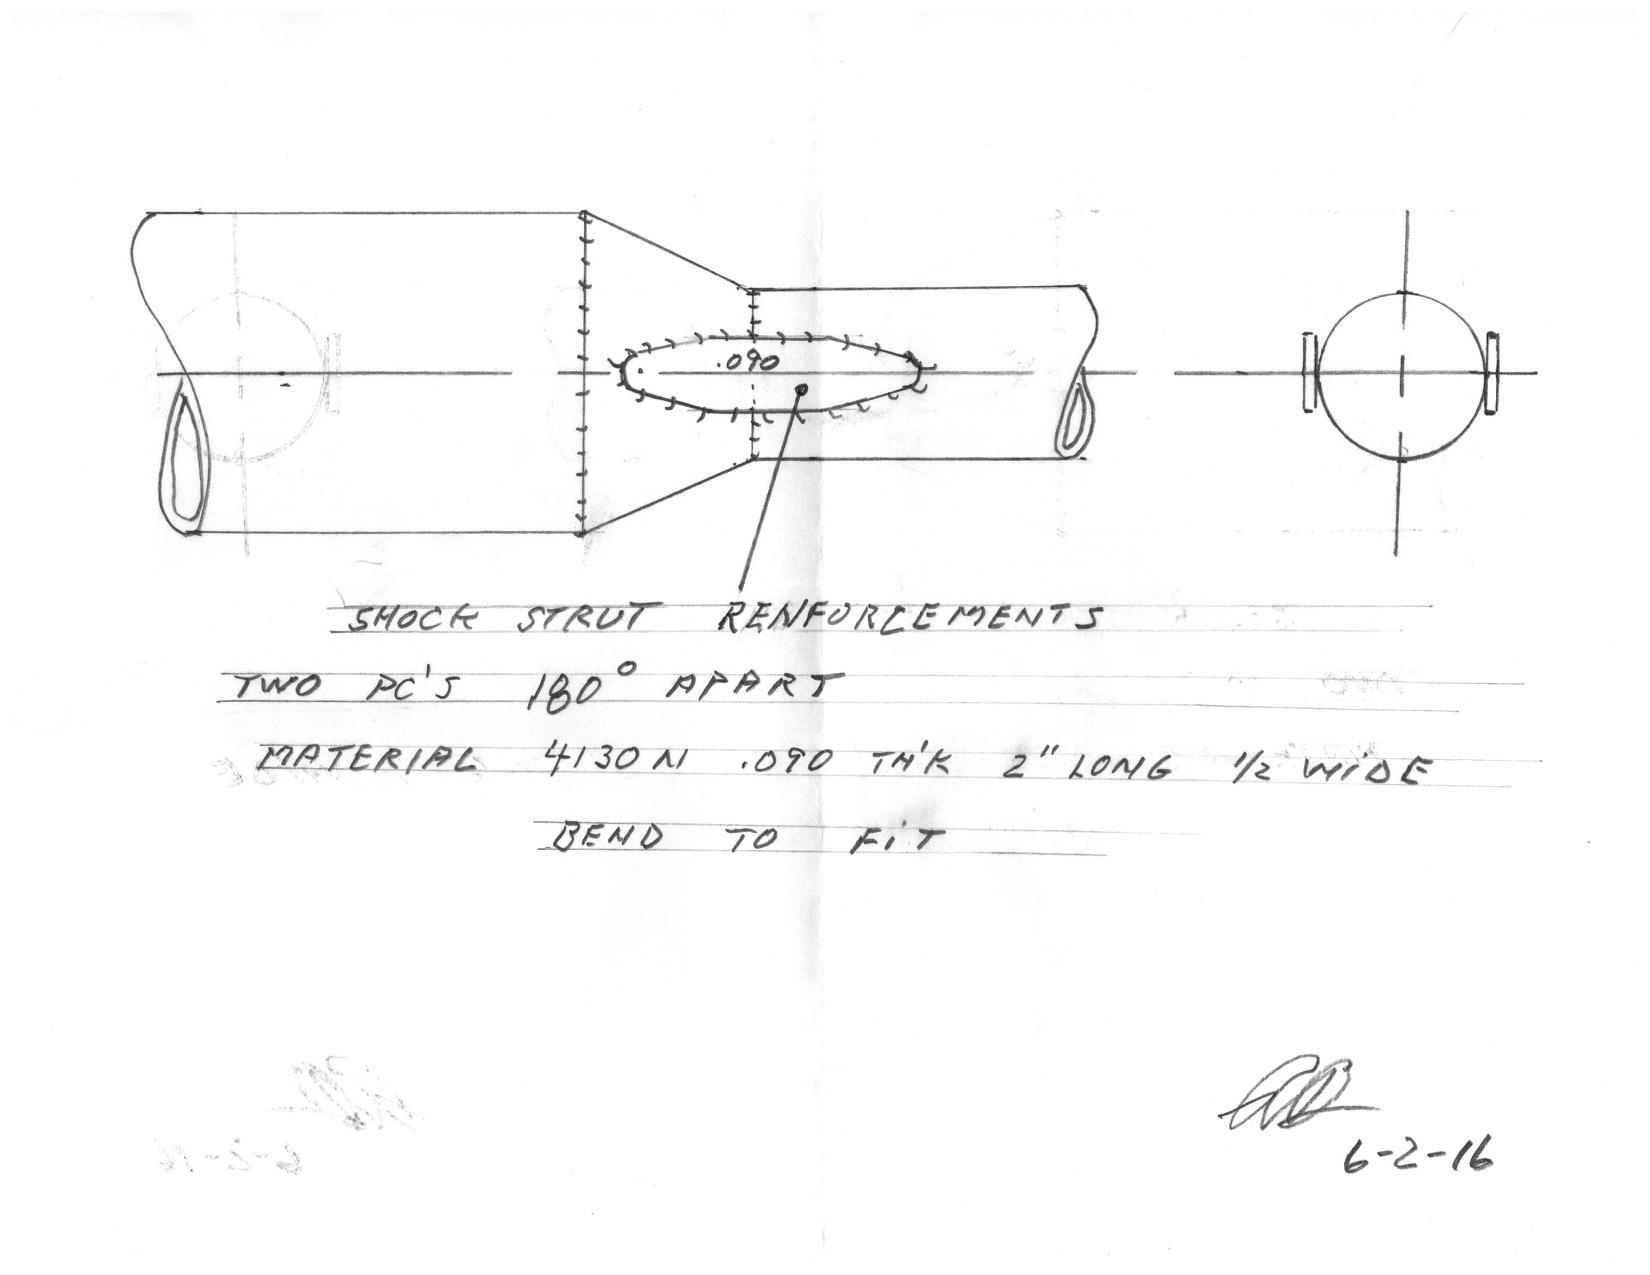
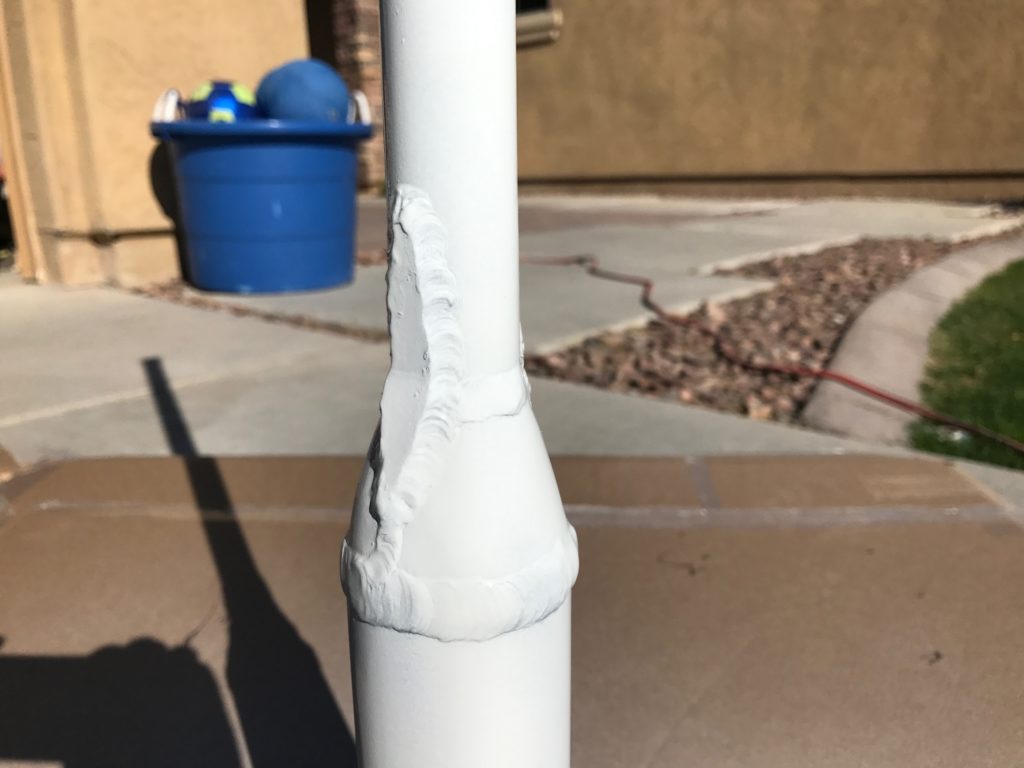
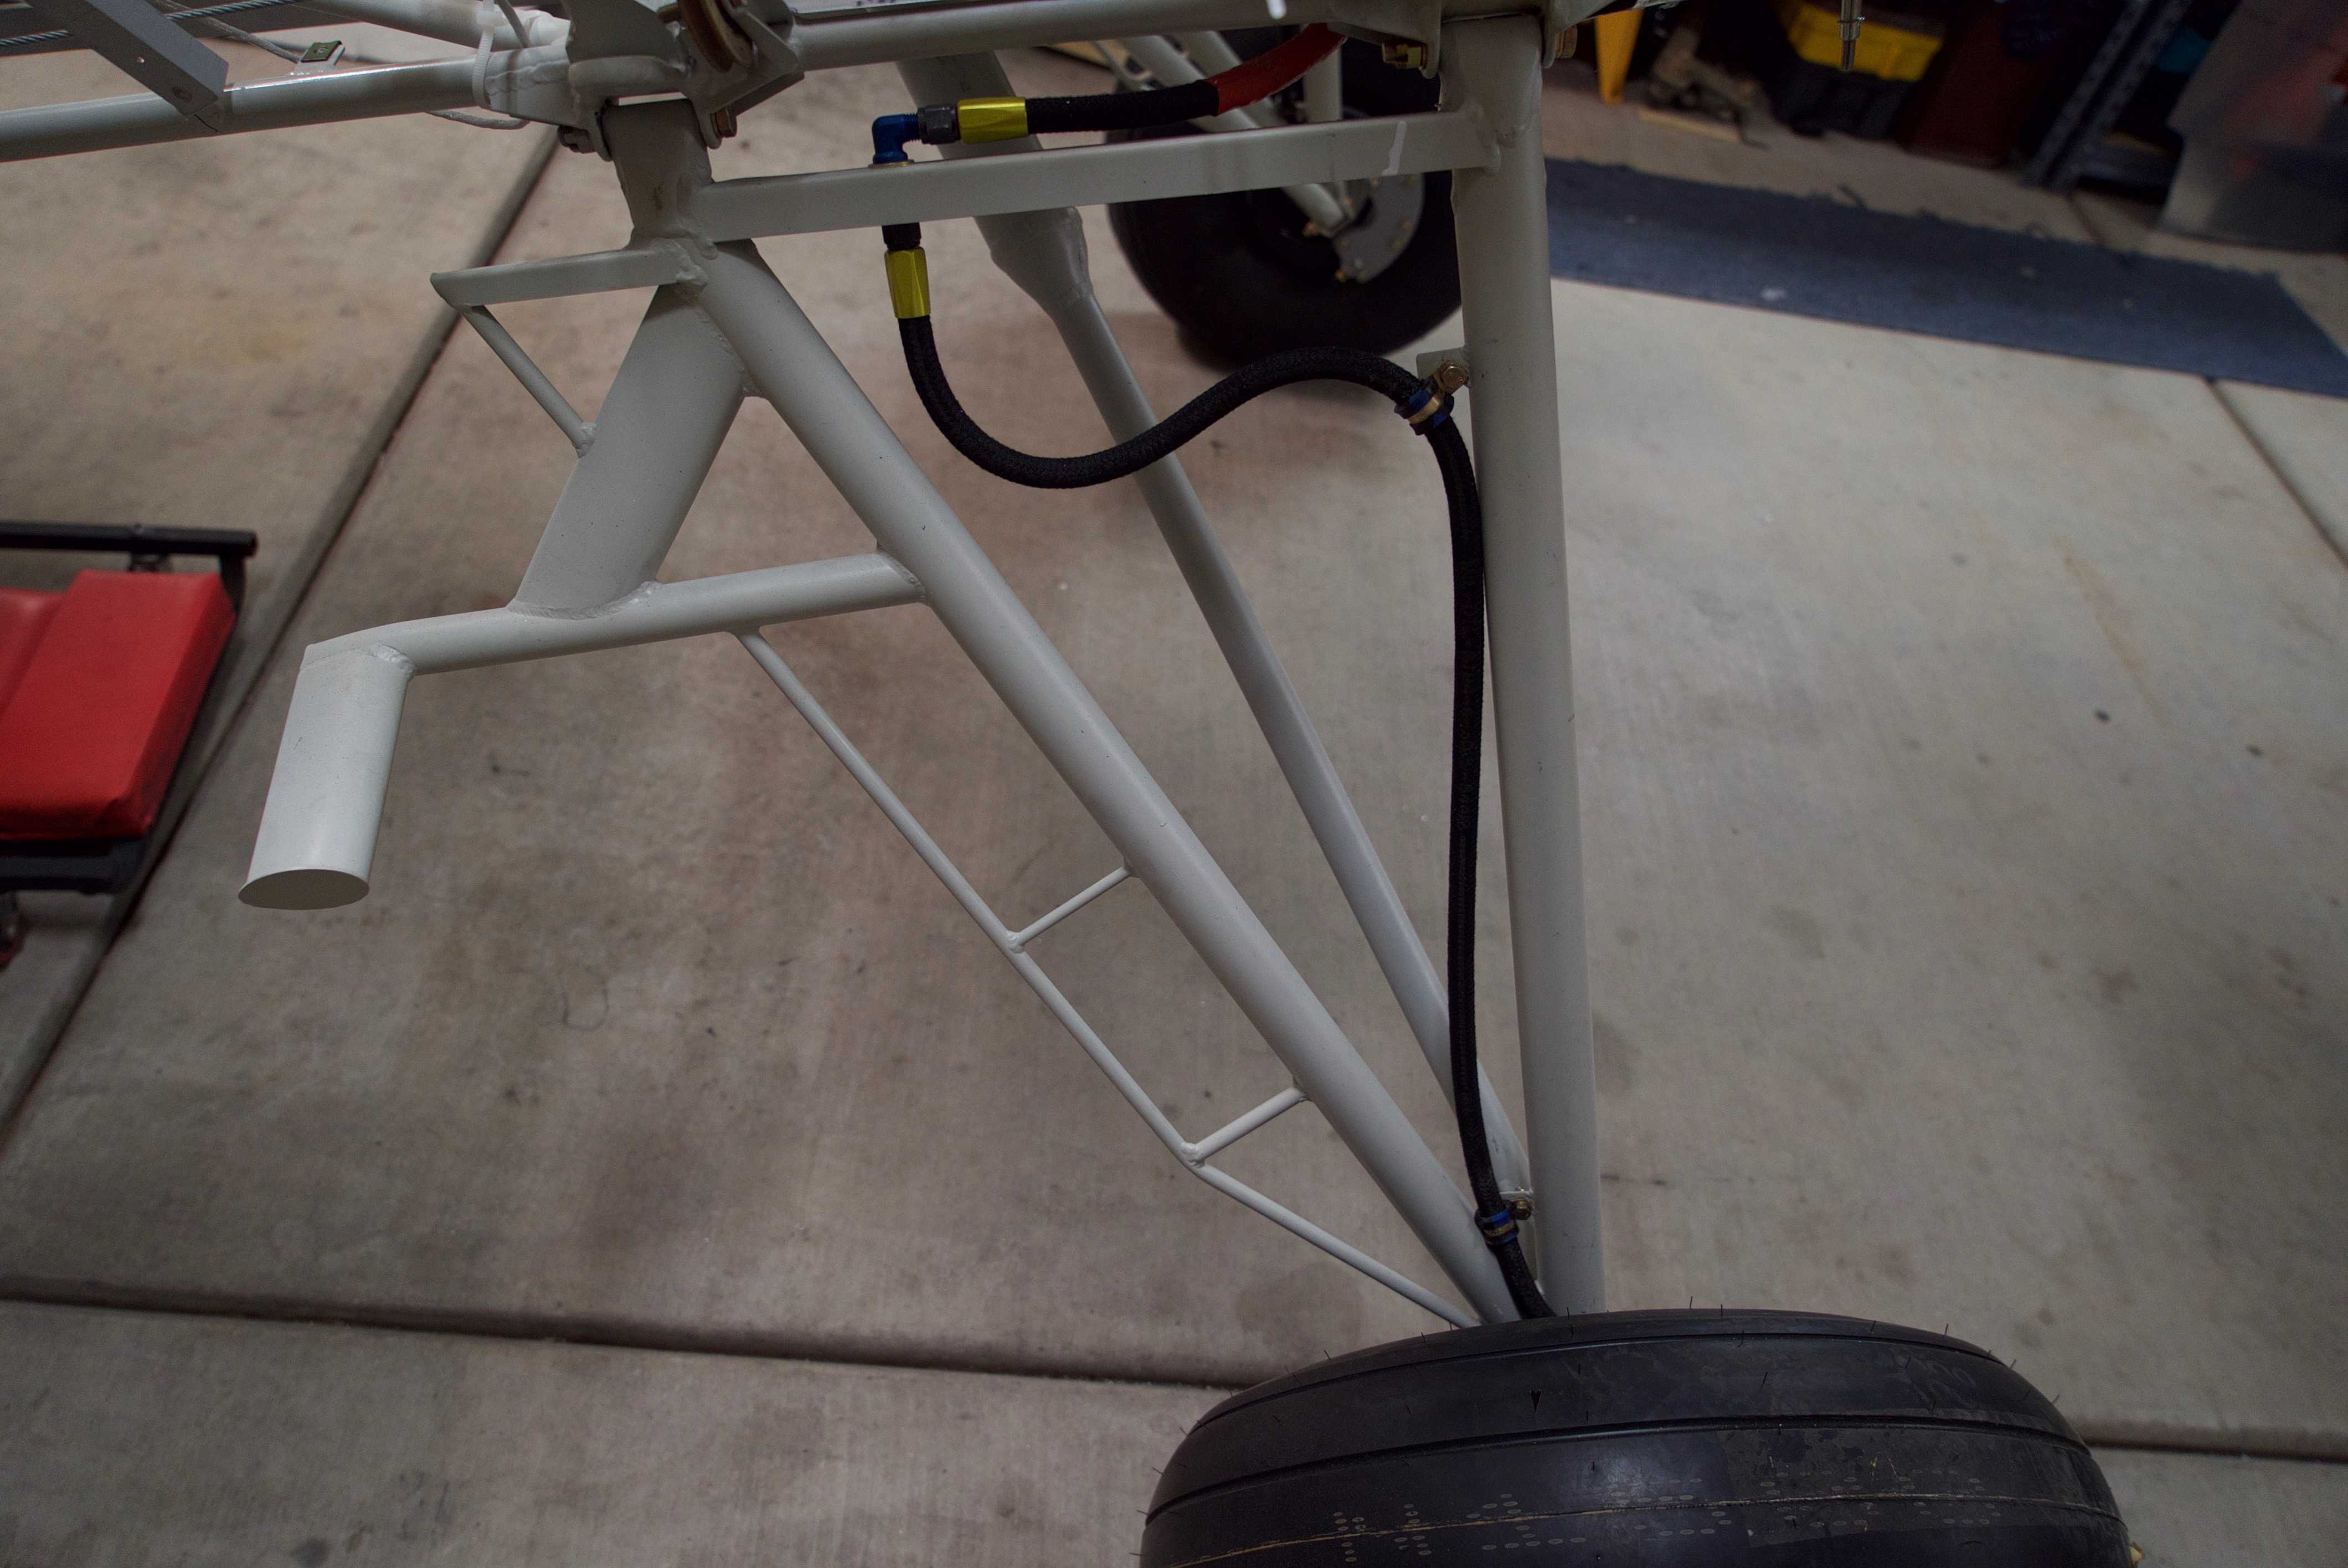
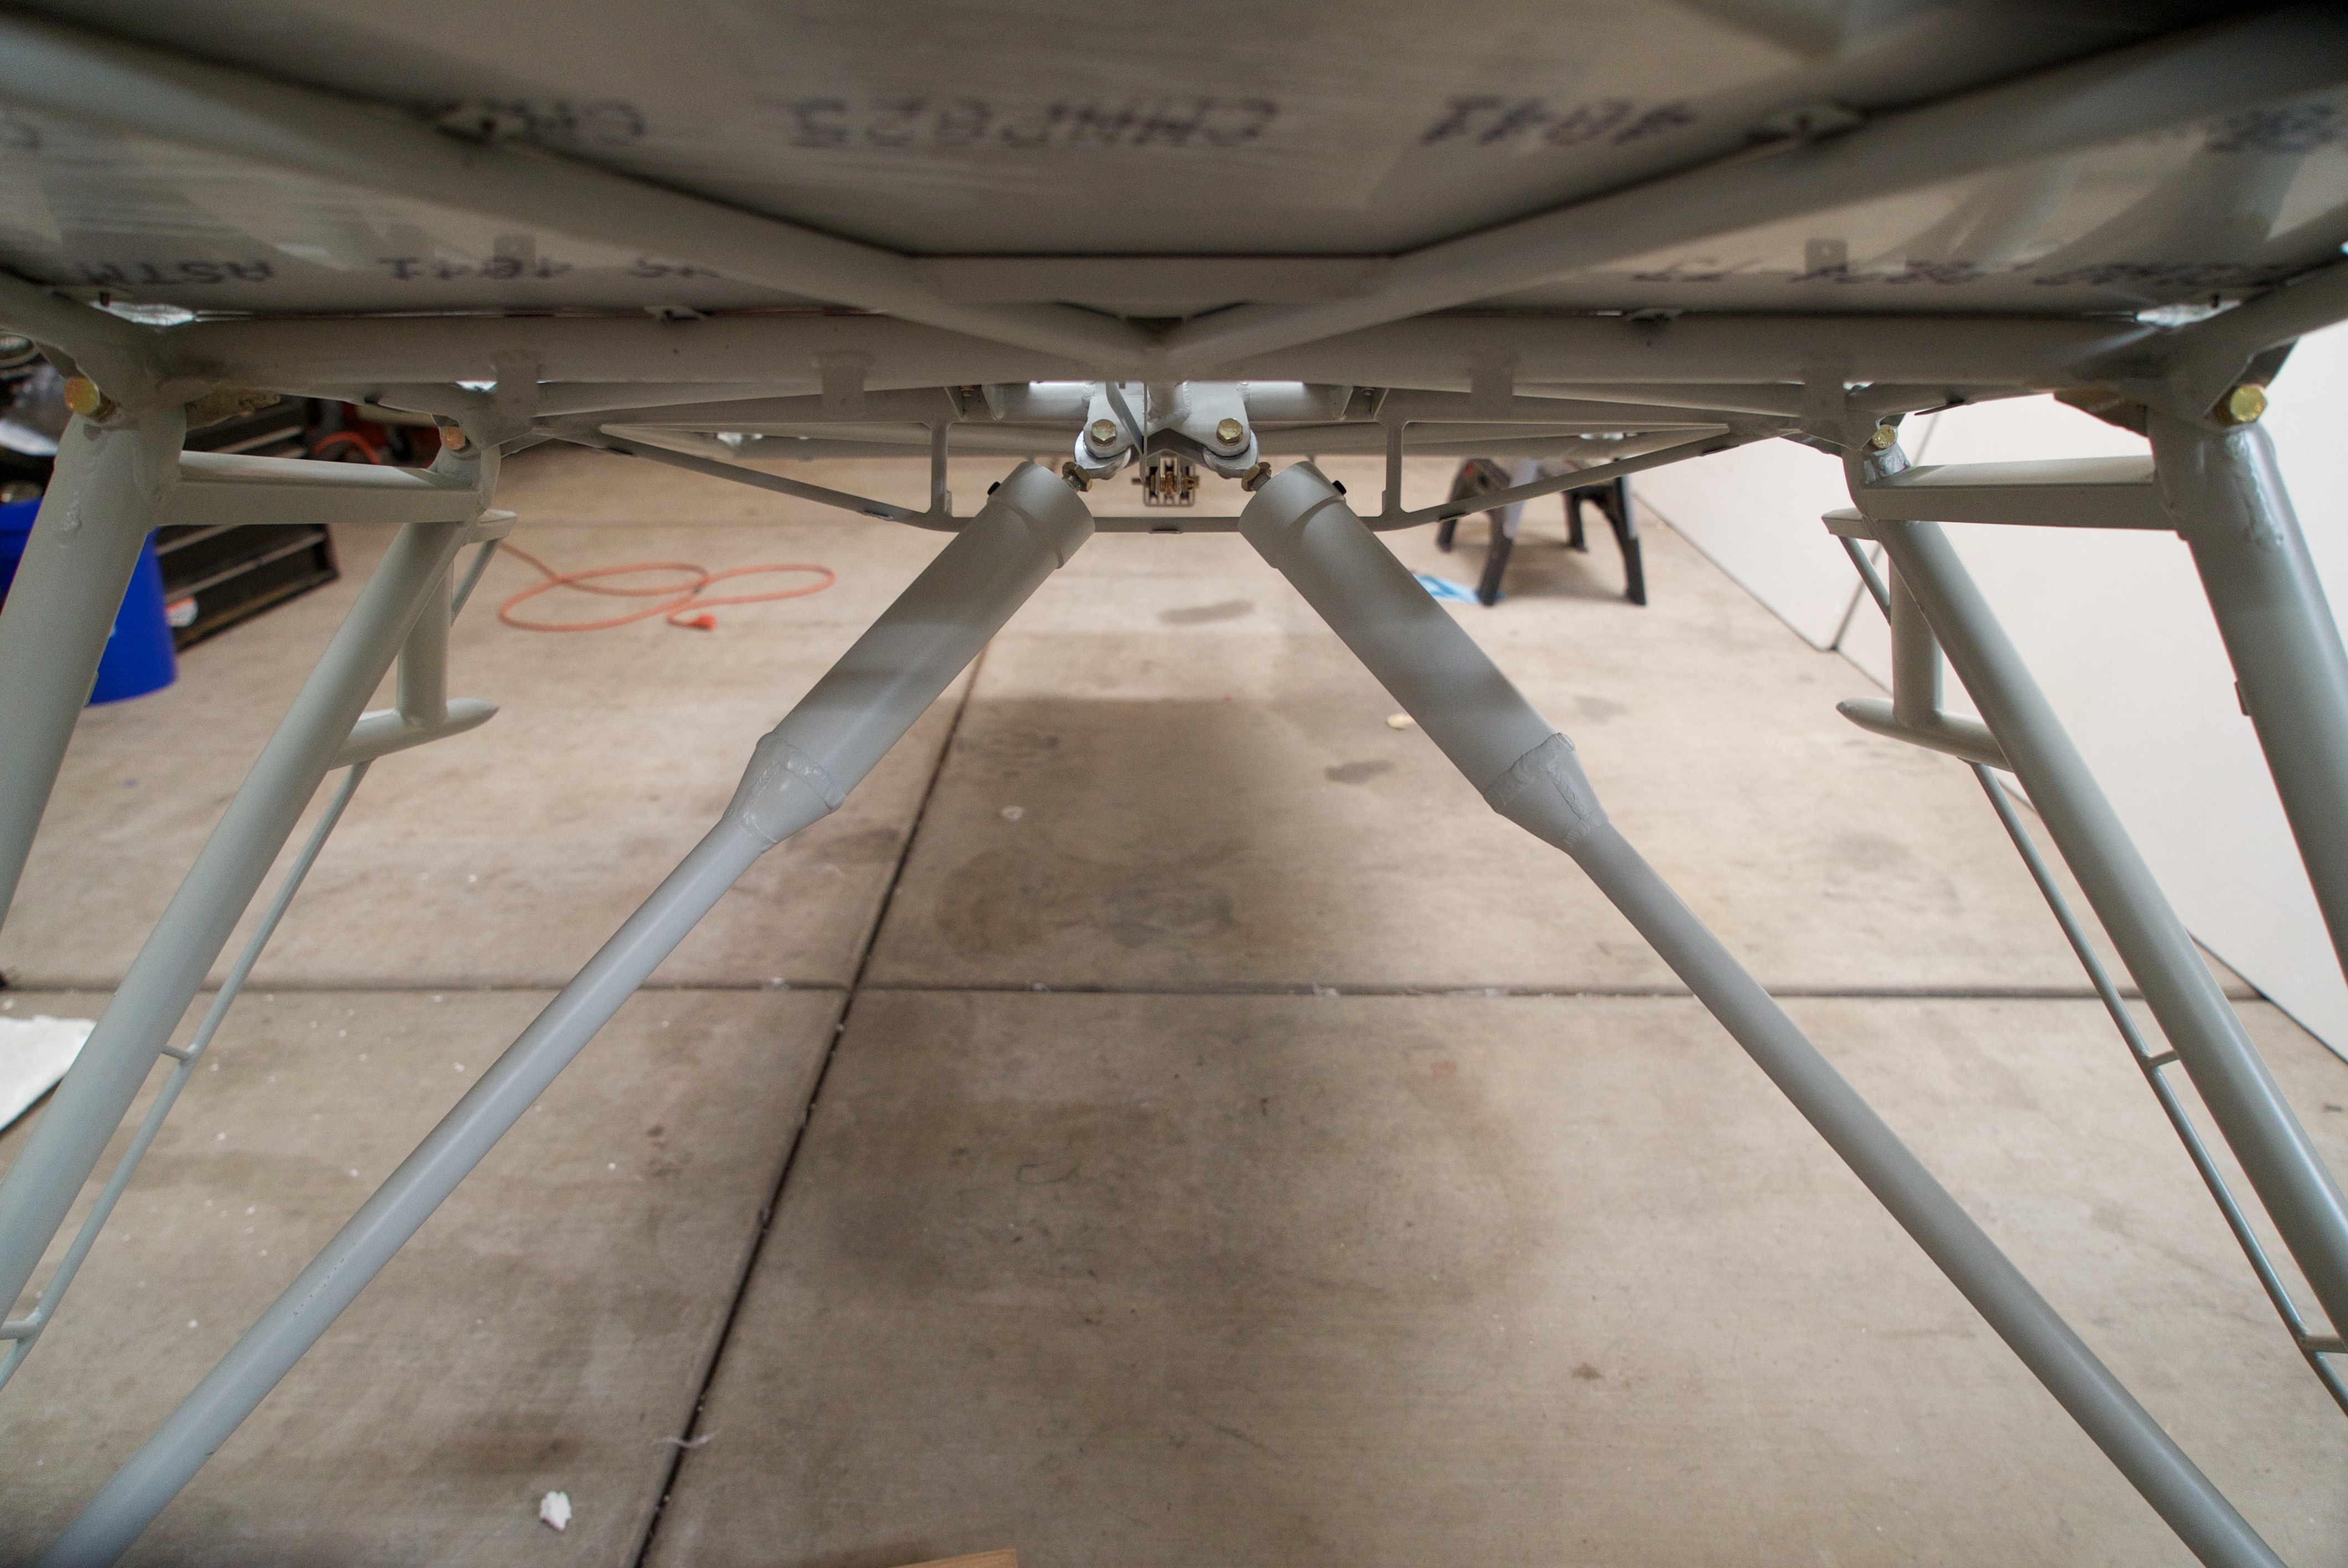
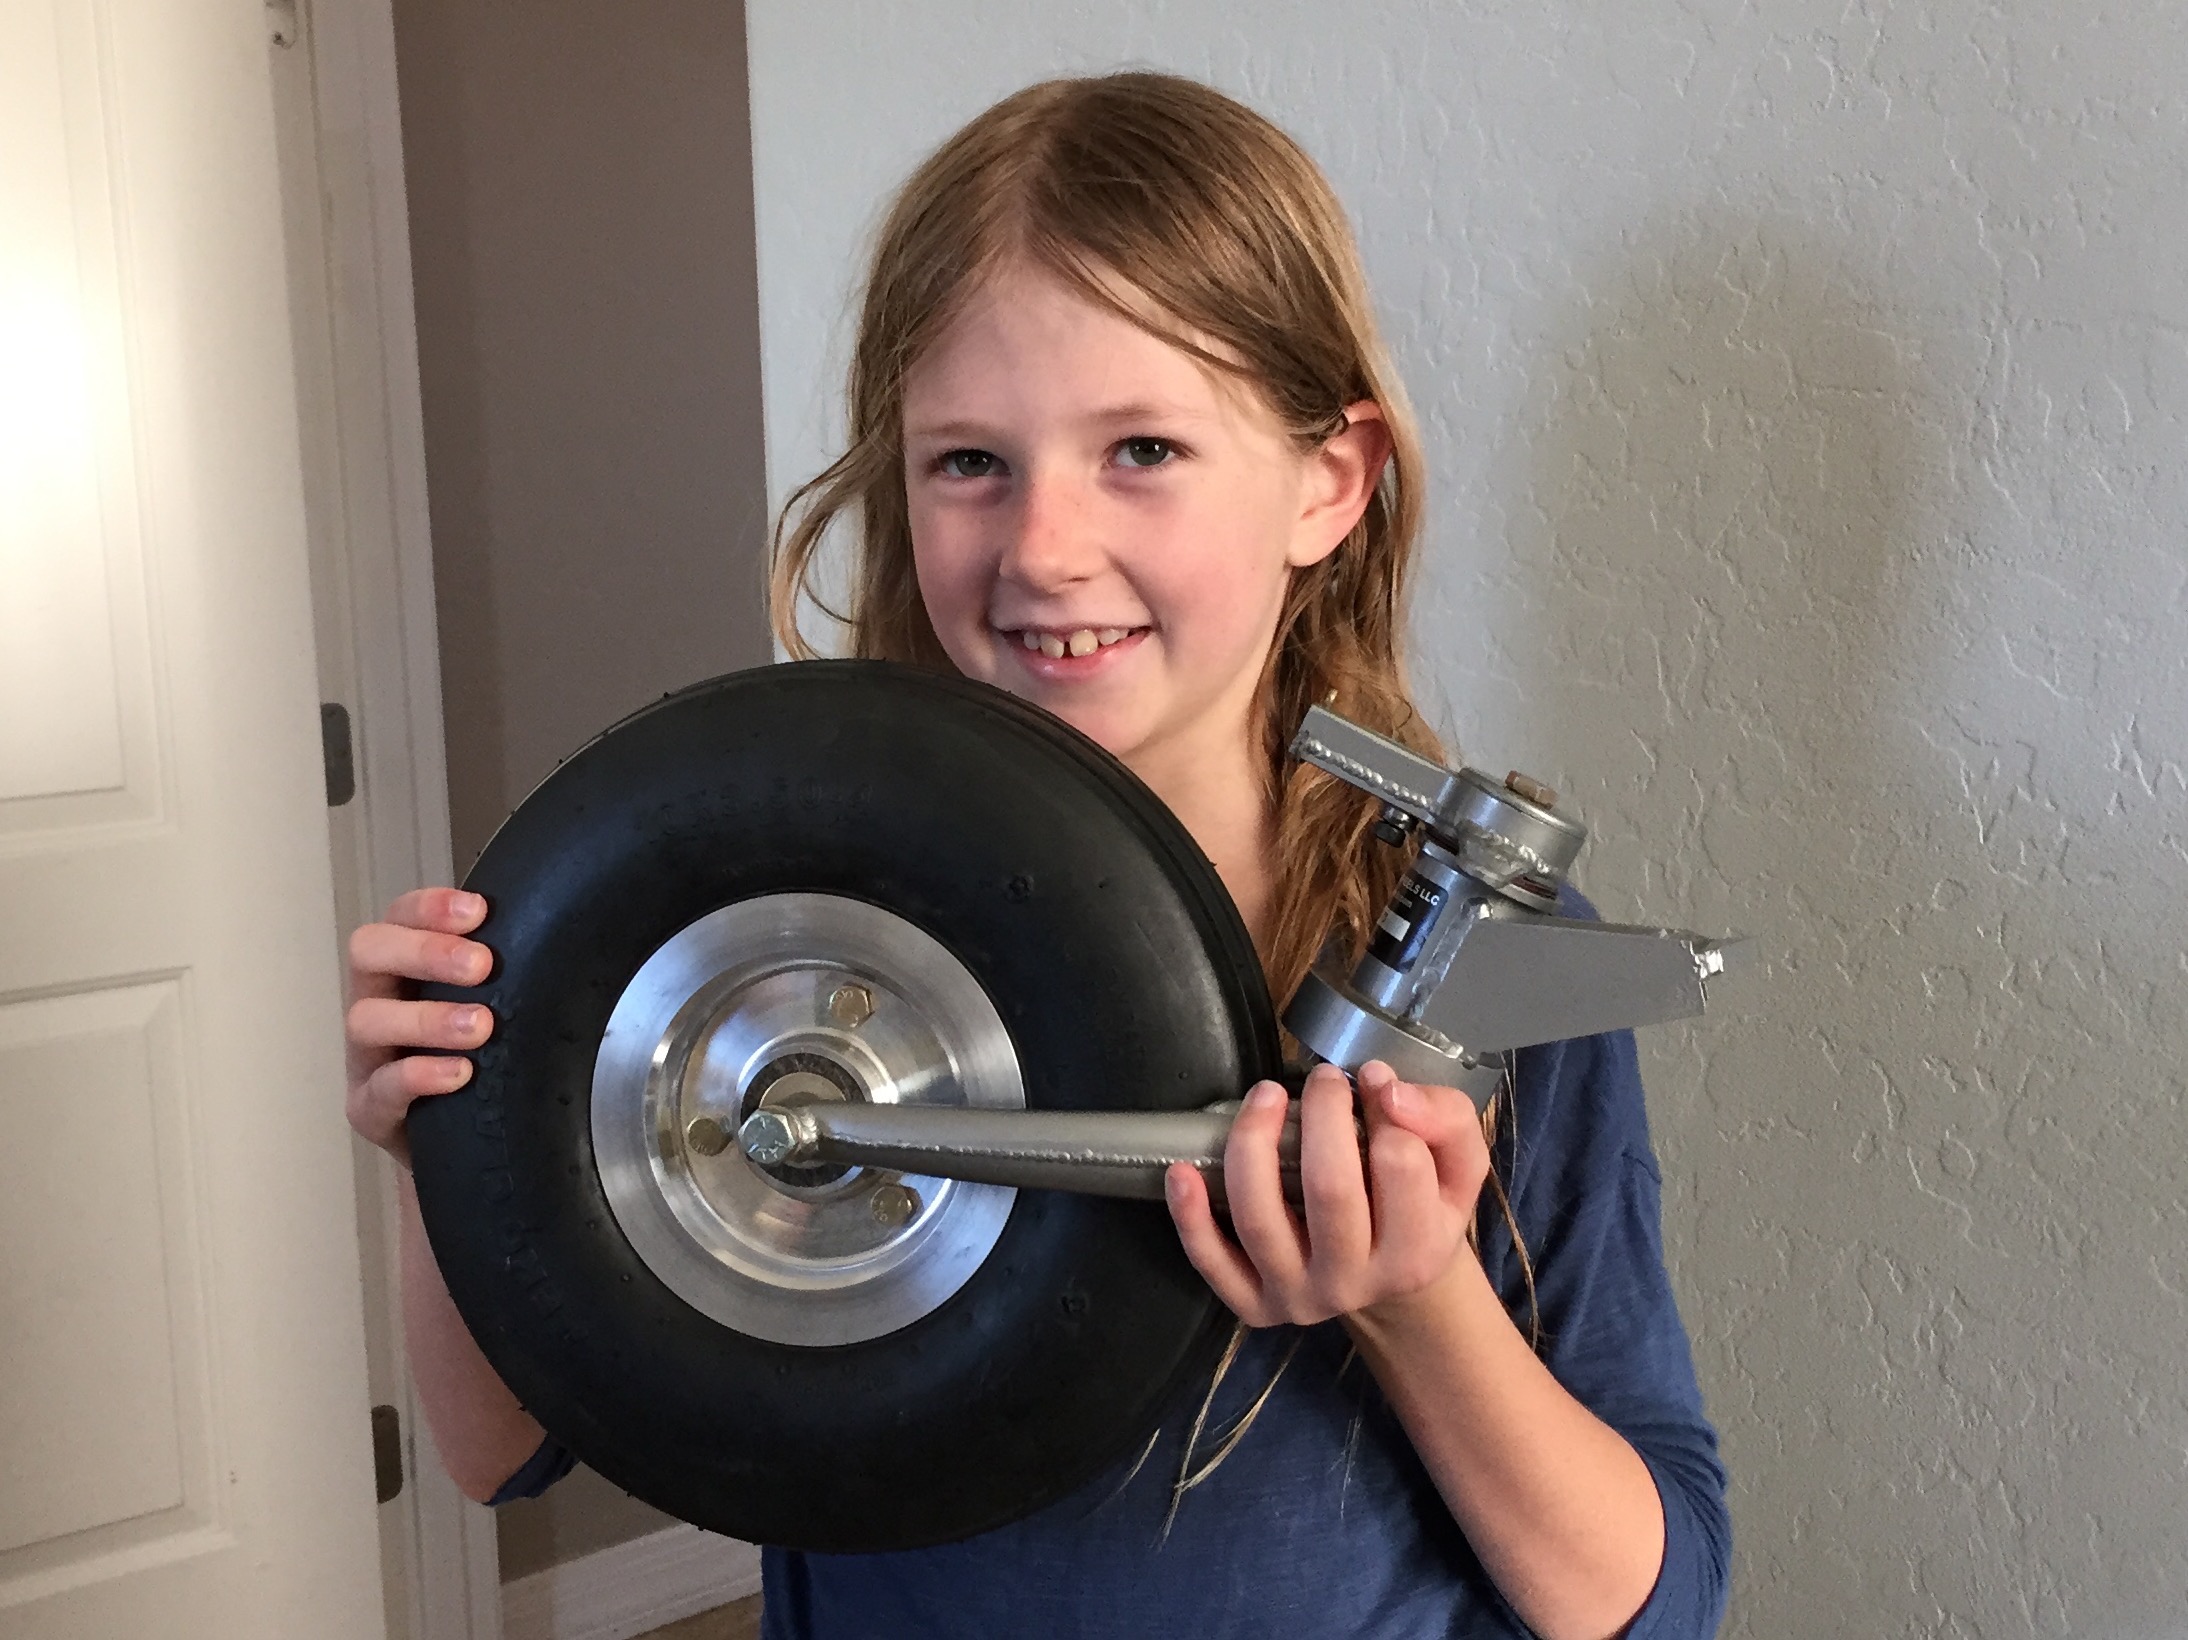
The Bearhawk normally comes with streamlined (airfoil shaped) landing gear struts.  Some people have noted that in a severe ground loop the normal strut could collapse.  So Mark Goldberg was kind enough to swap those out for these round ones at no additional charge.

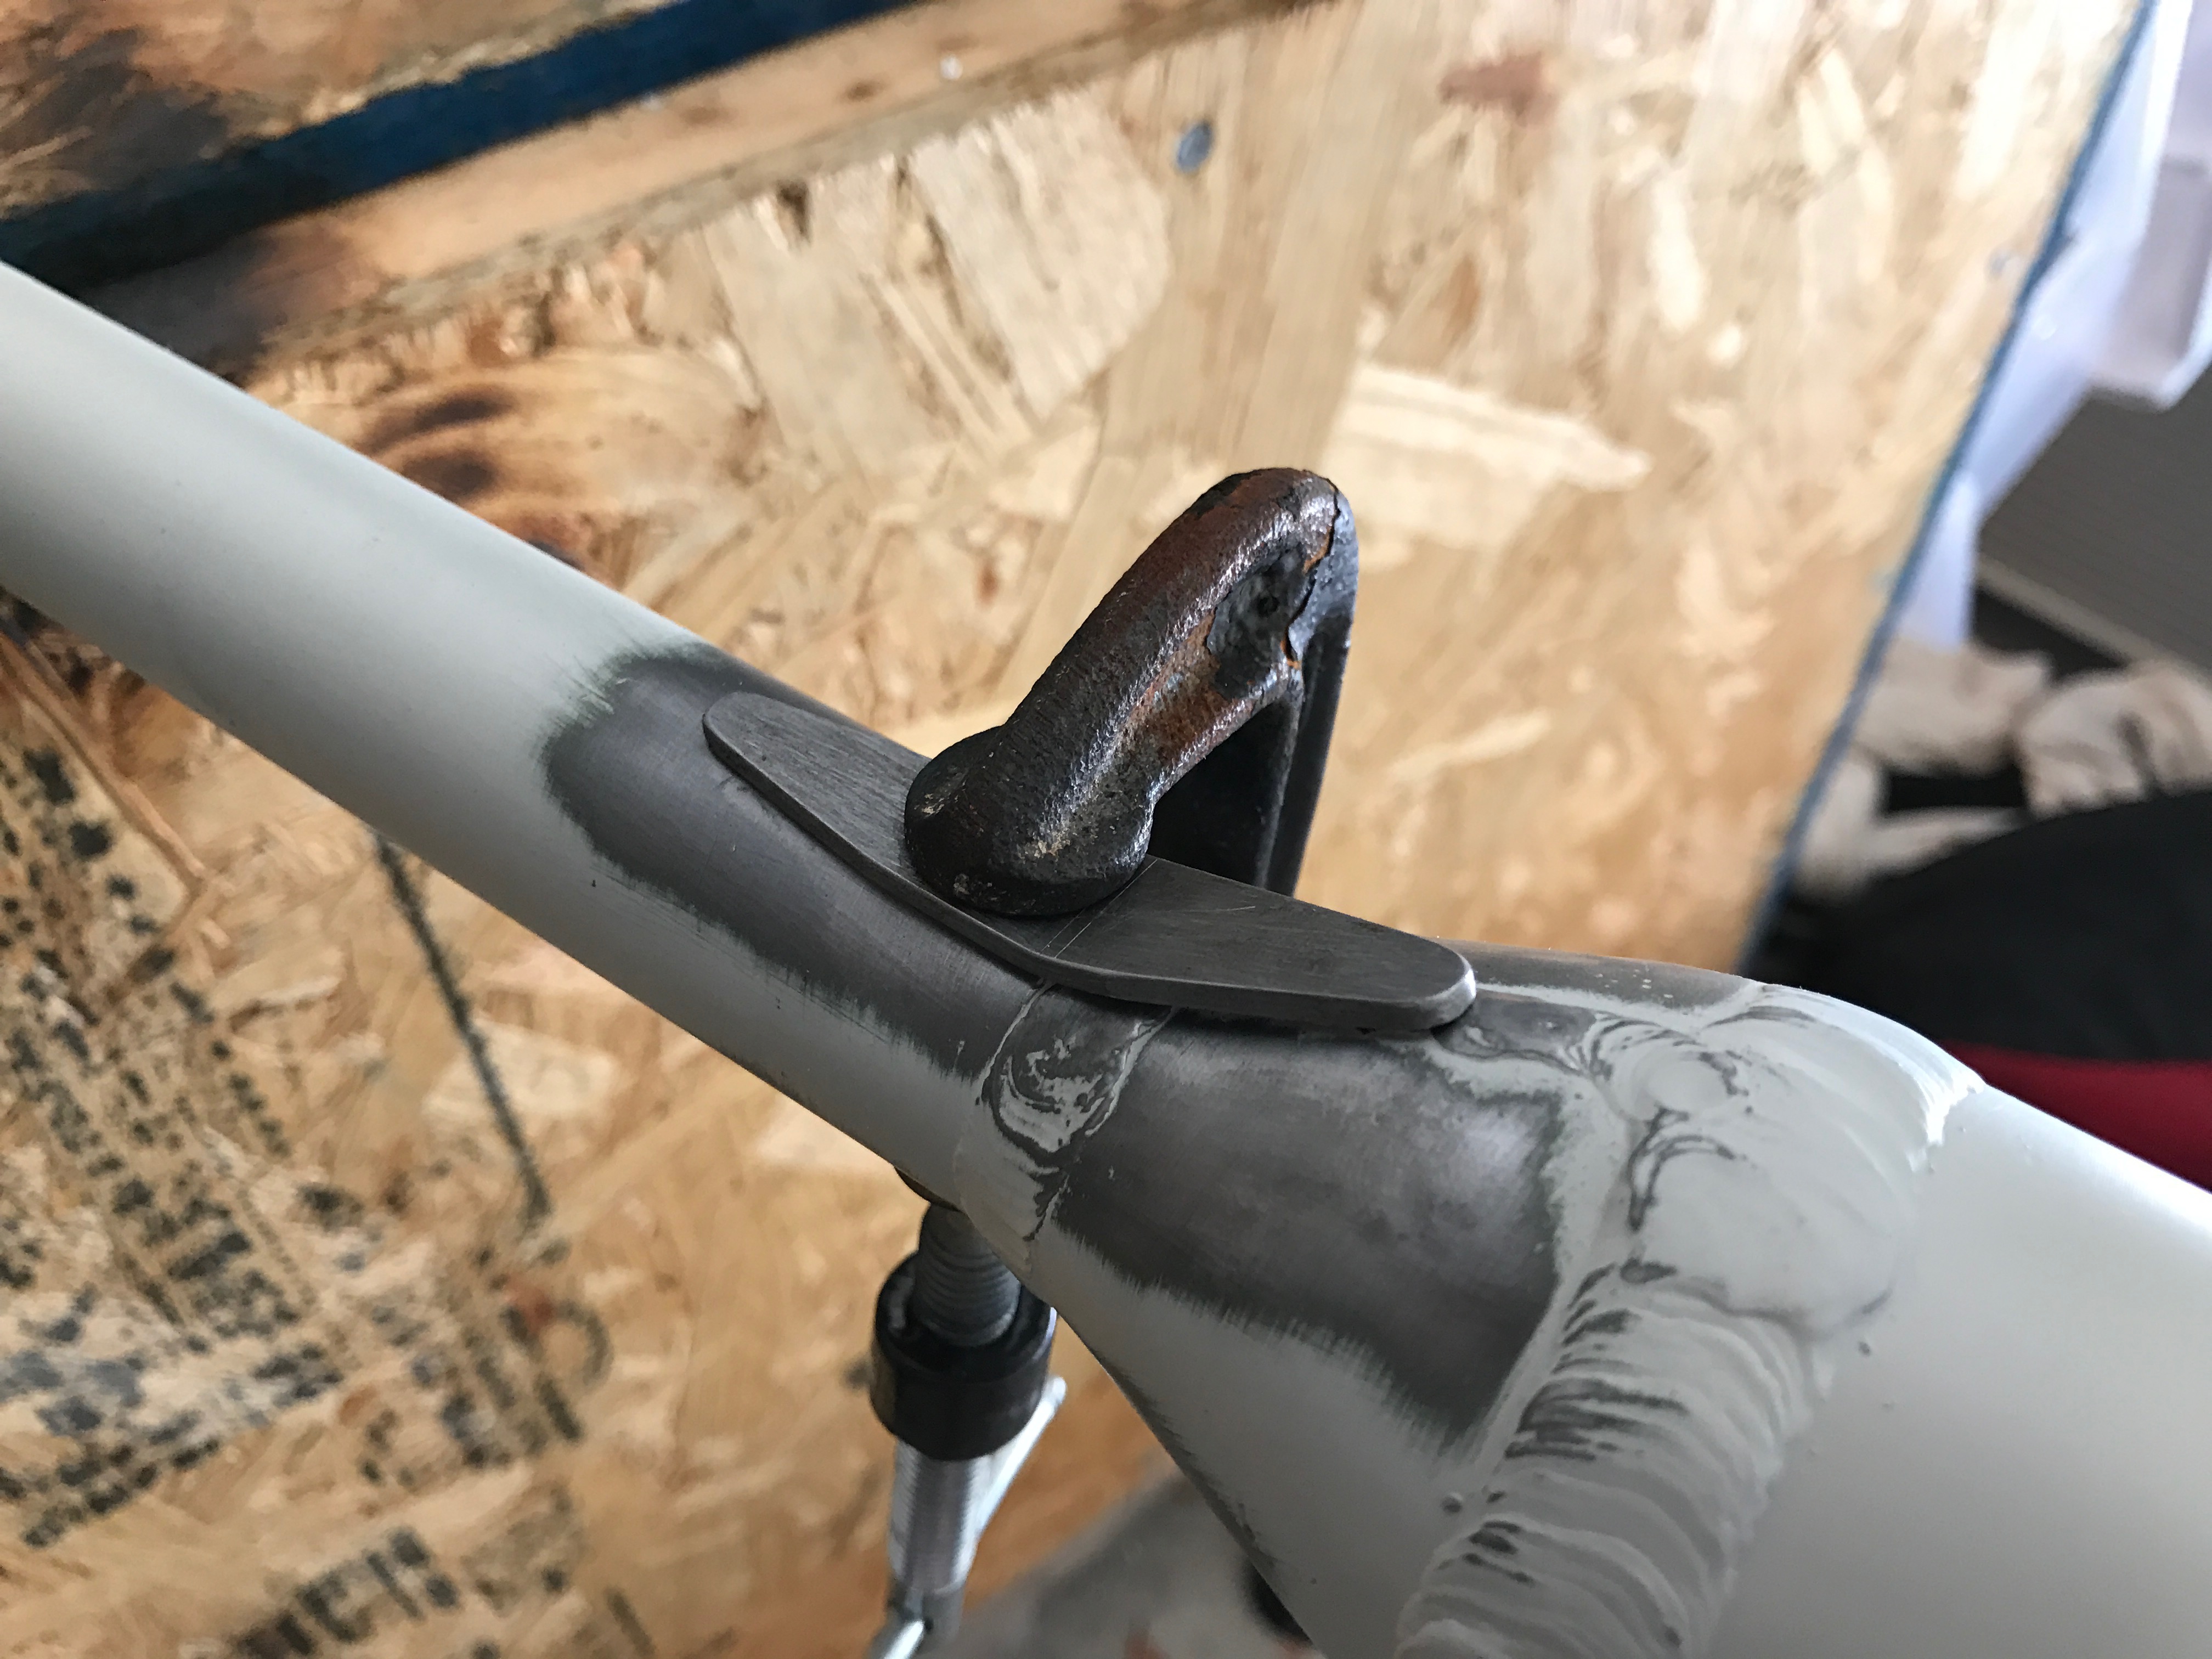
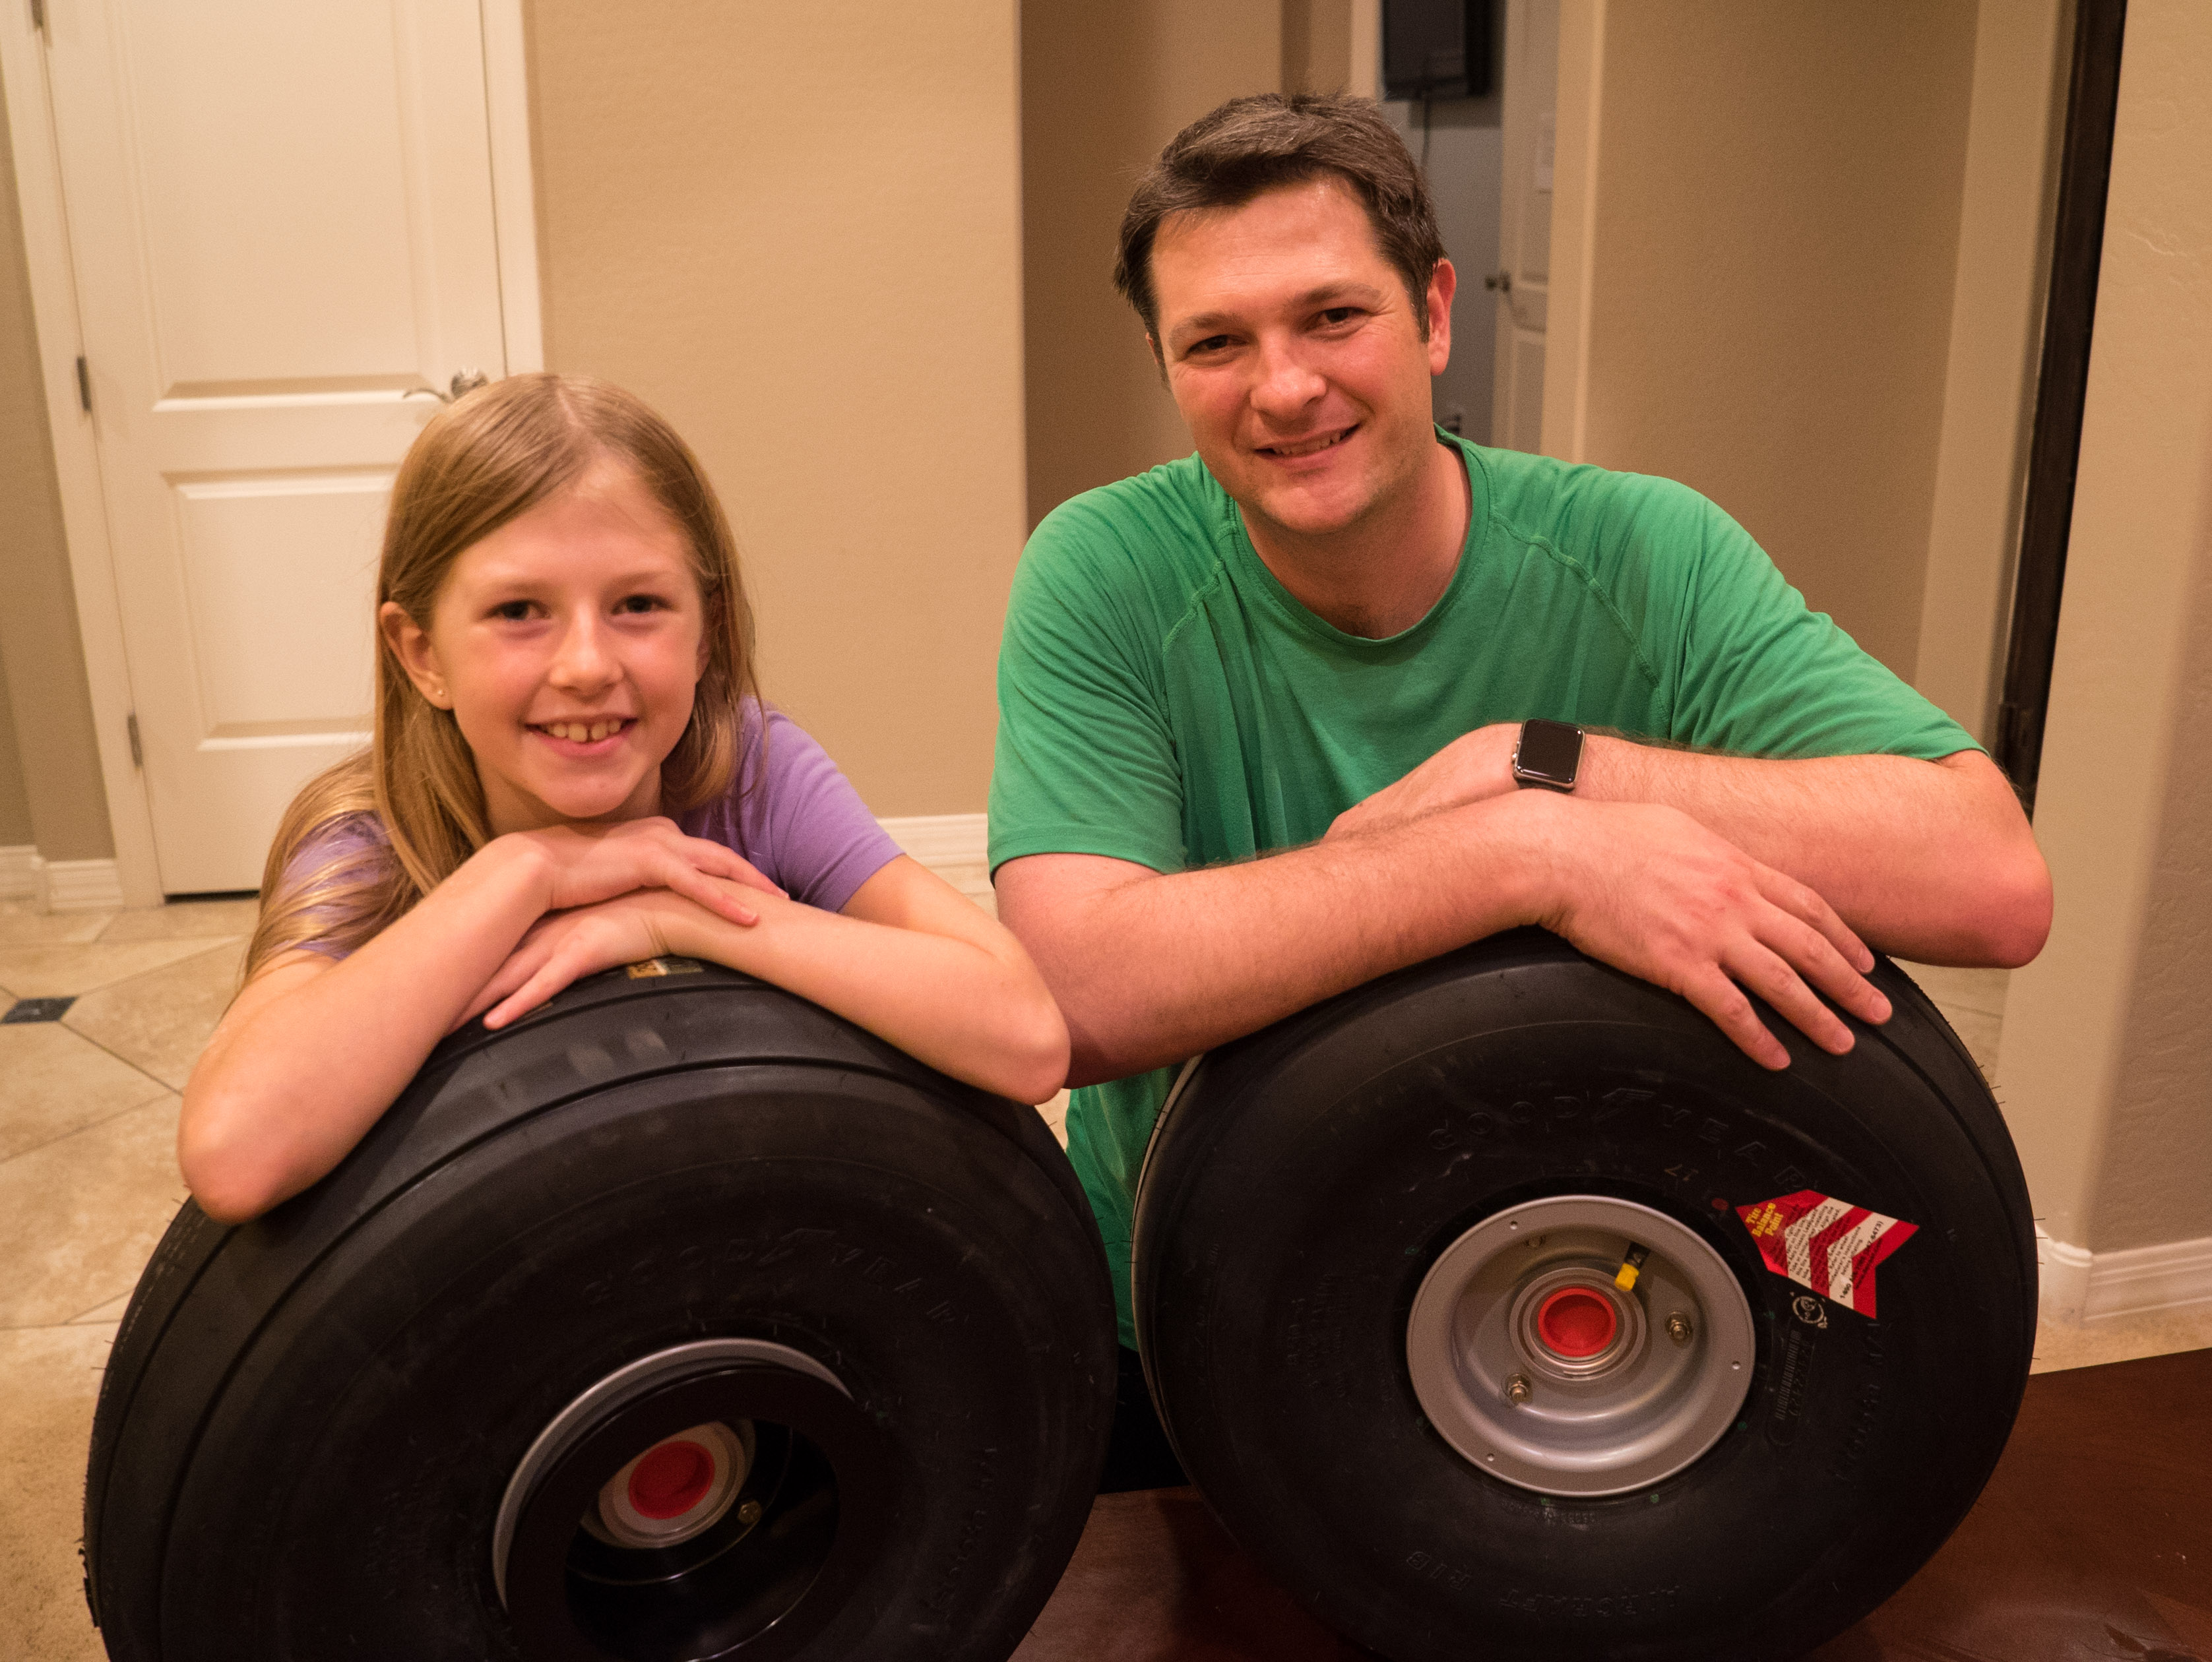
These upgraded struts will beef up the landing gear substantially!  I will need to put some kind of airfoil fairing on them eventually.

DSC05056

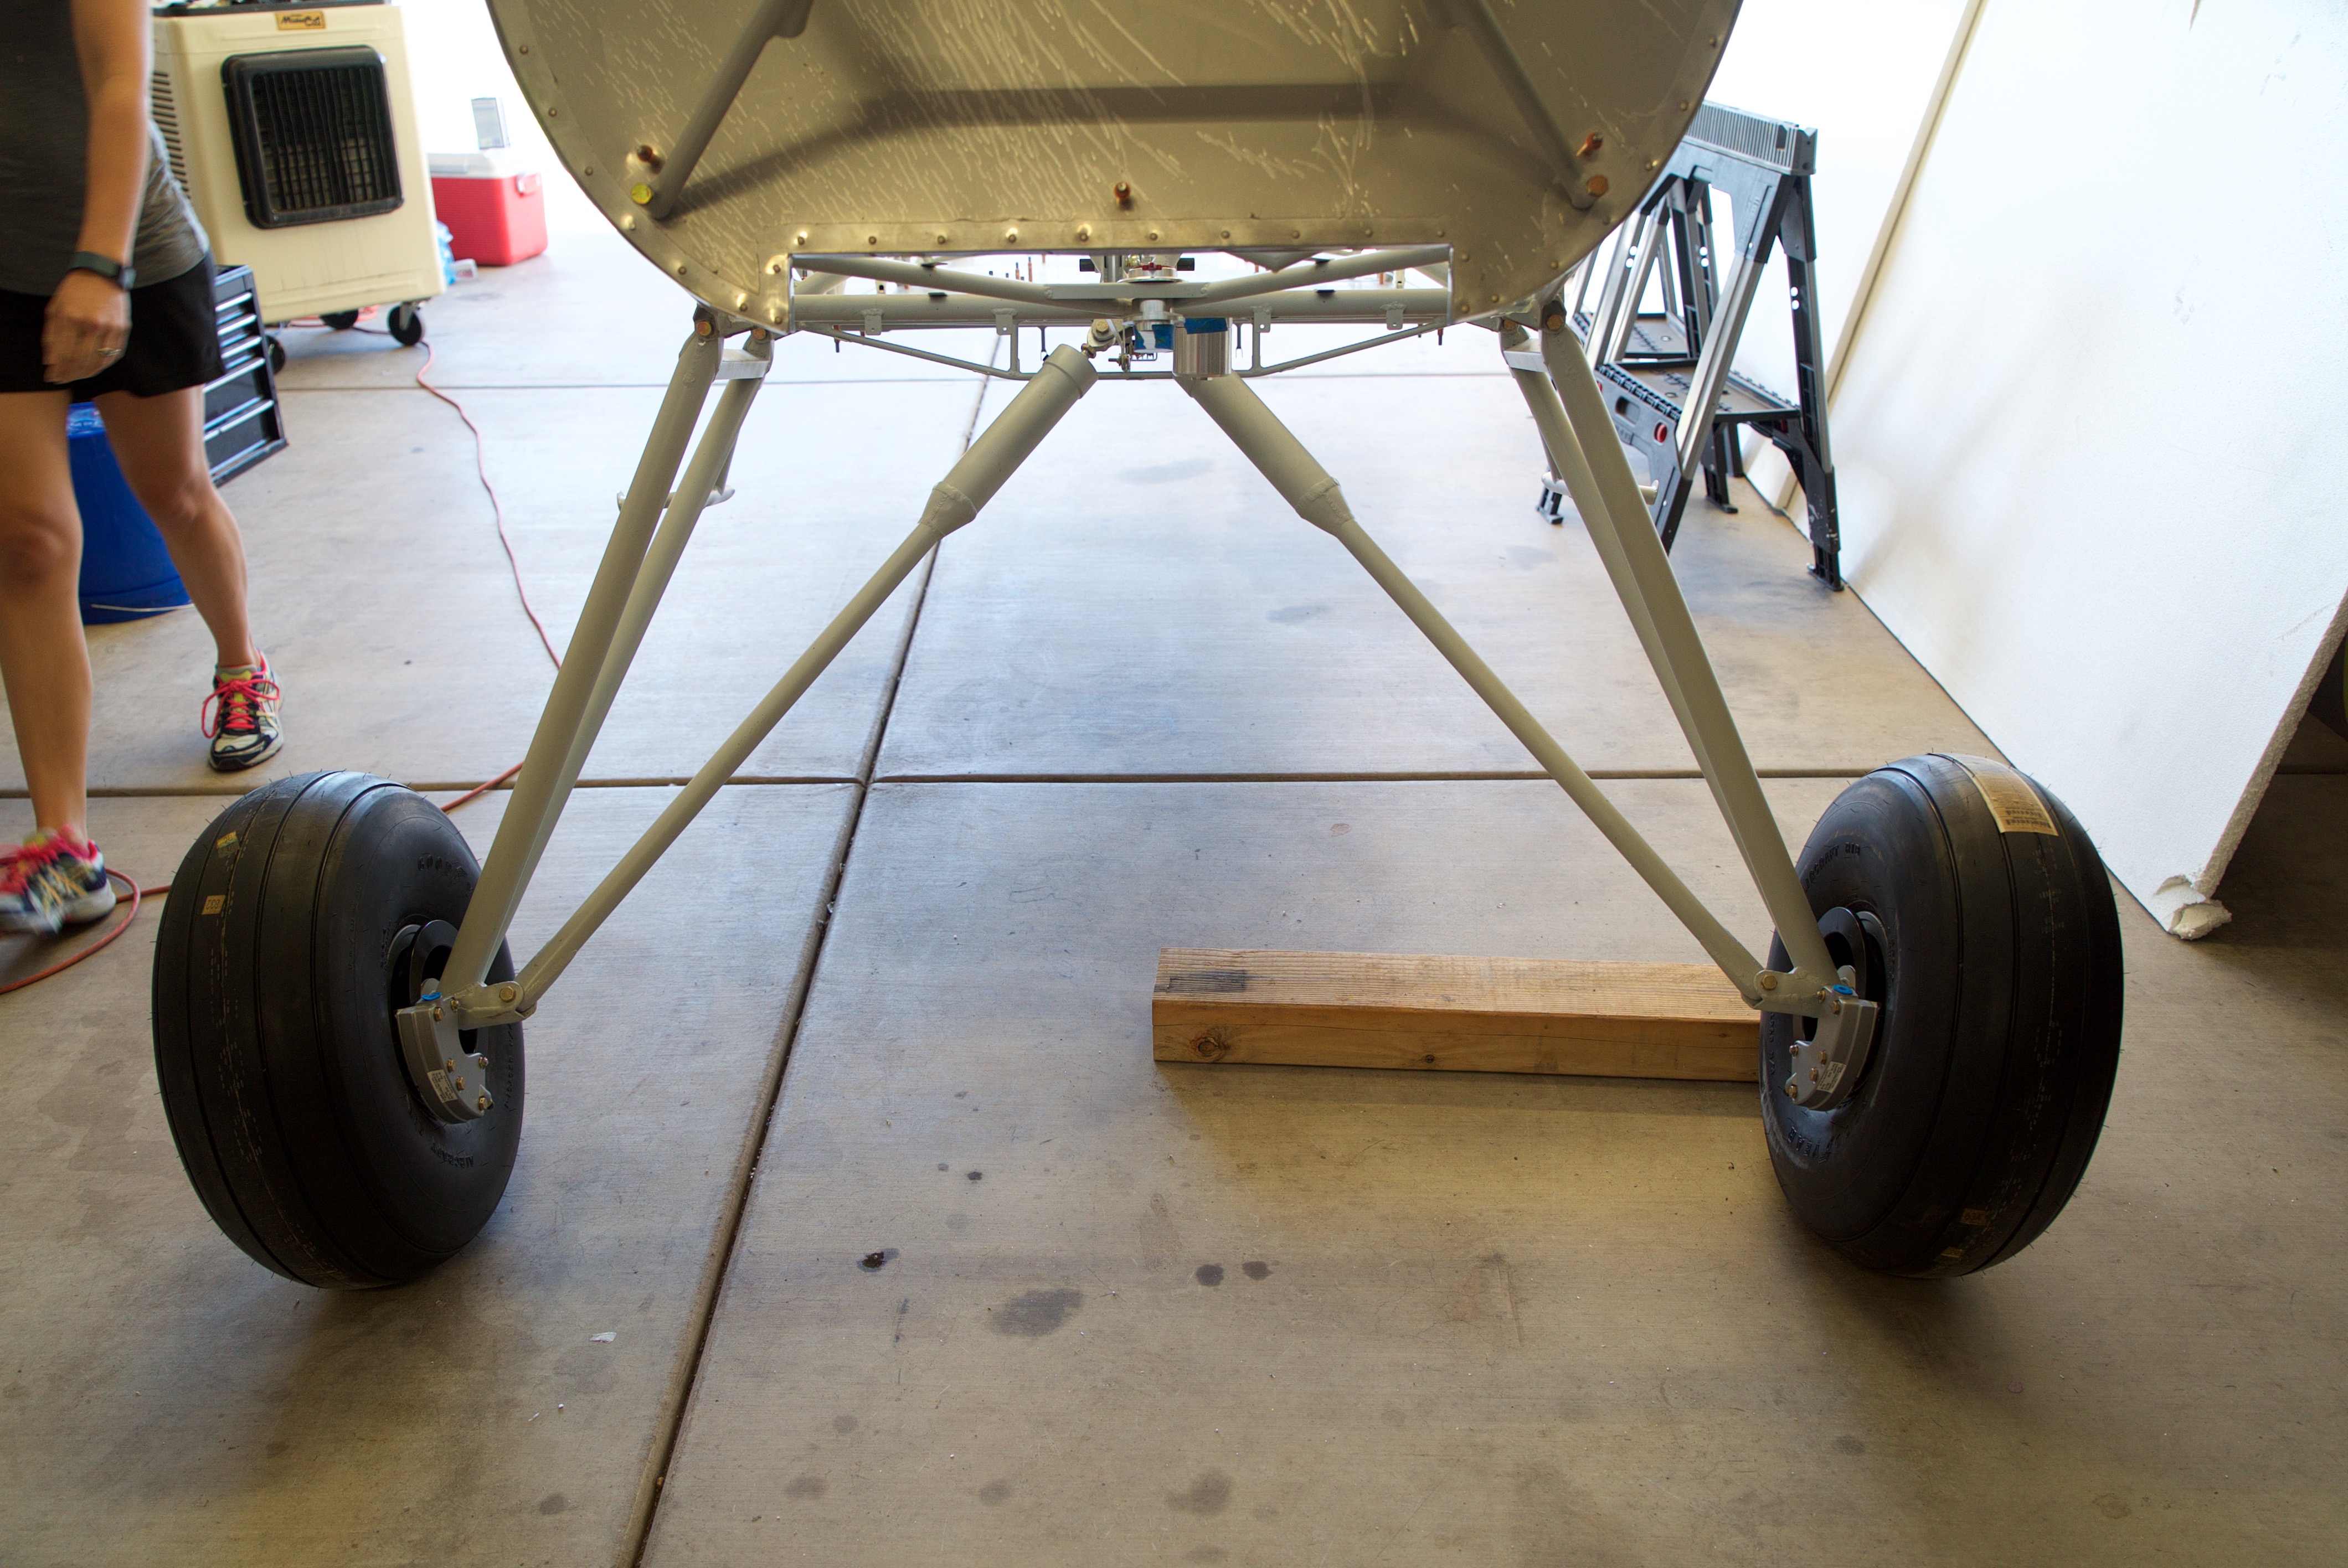
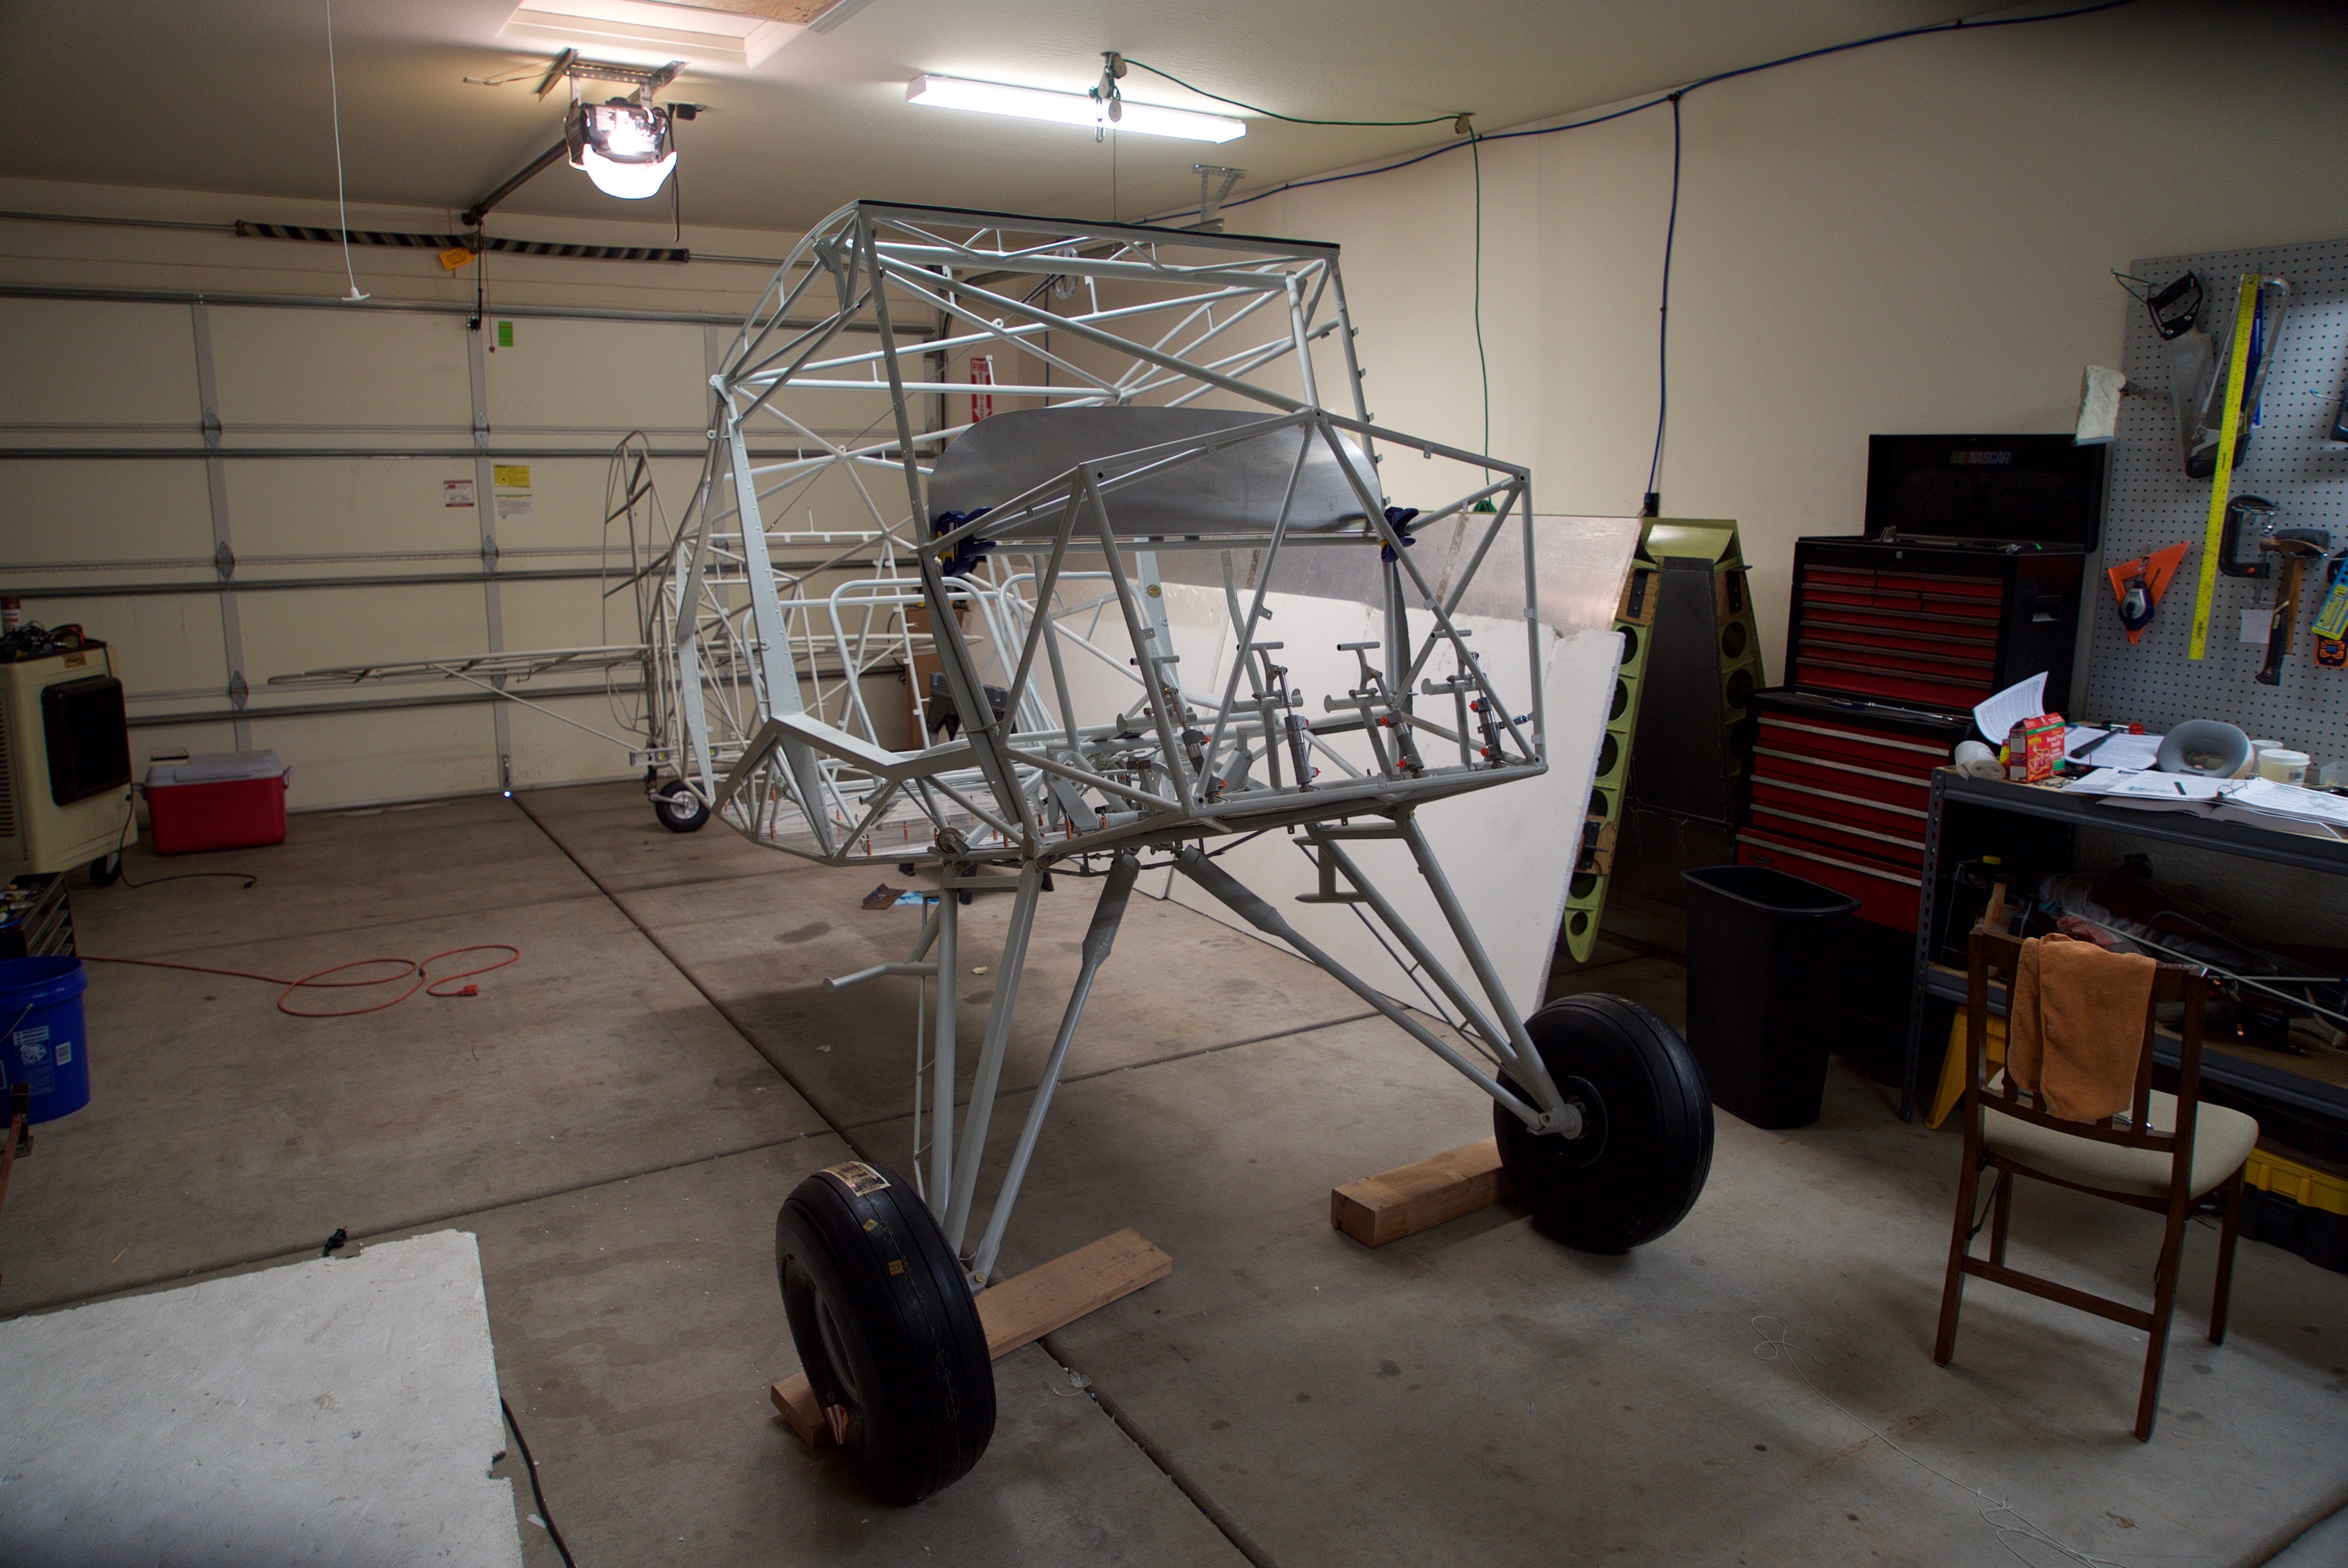
It looks pretty good sitting on it’s own landing gear now!  As you can probably see, the landing gear looks rather narrow.  This is because it doesn’t have full weight on wheels yet.  It will eventually widen the gear an extra 10″ once full weight is on it.

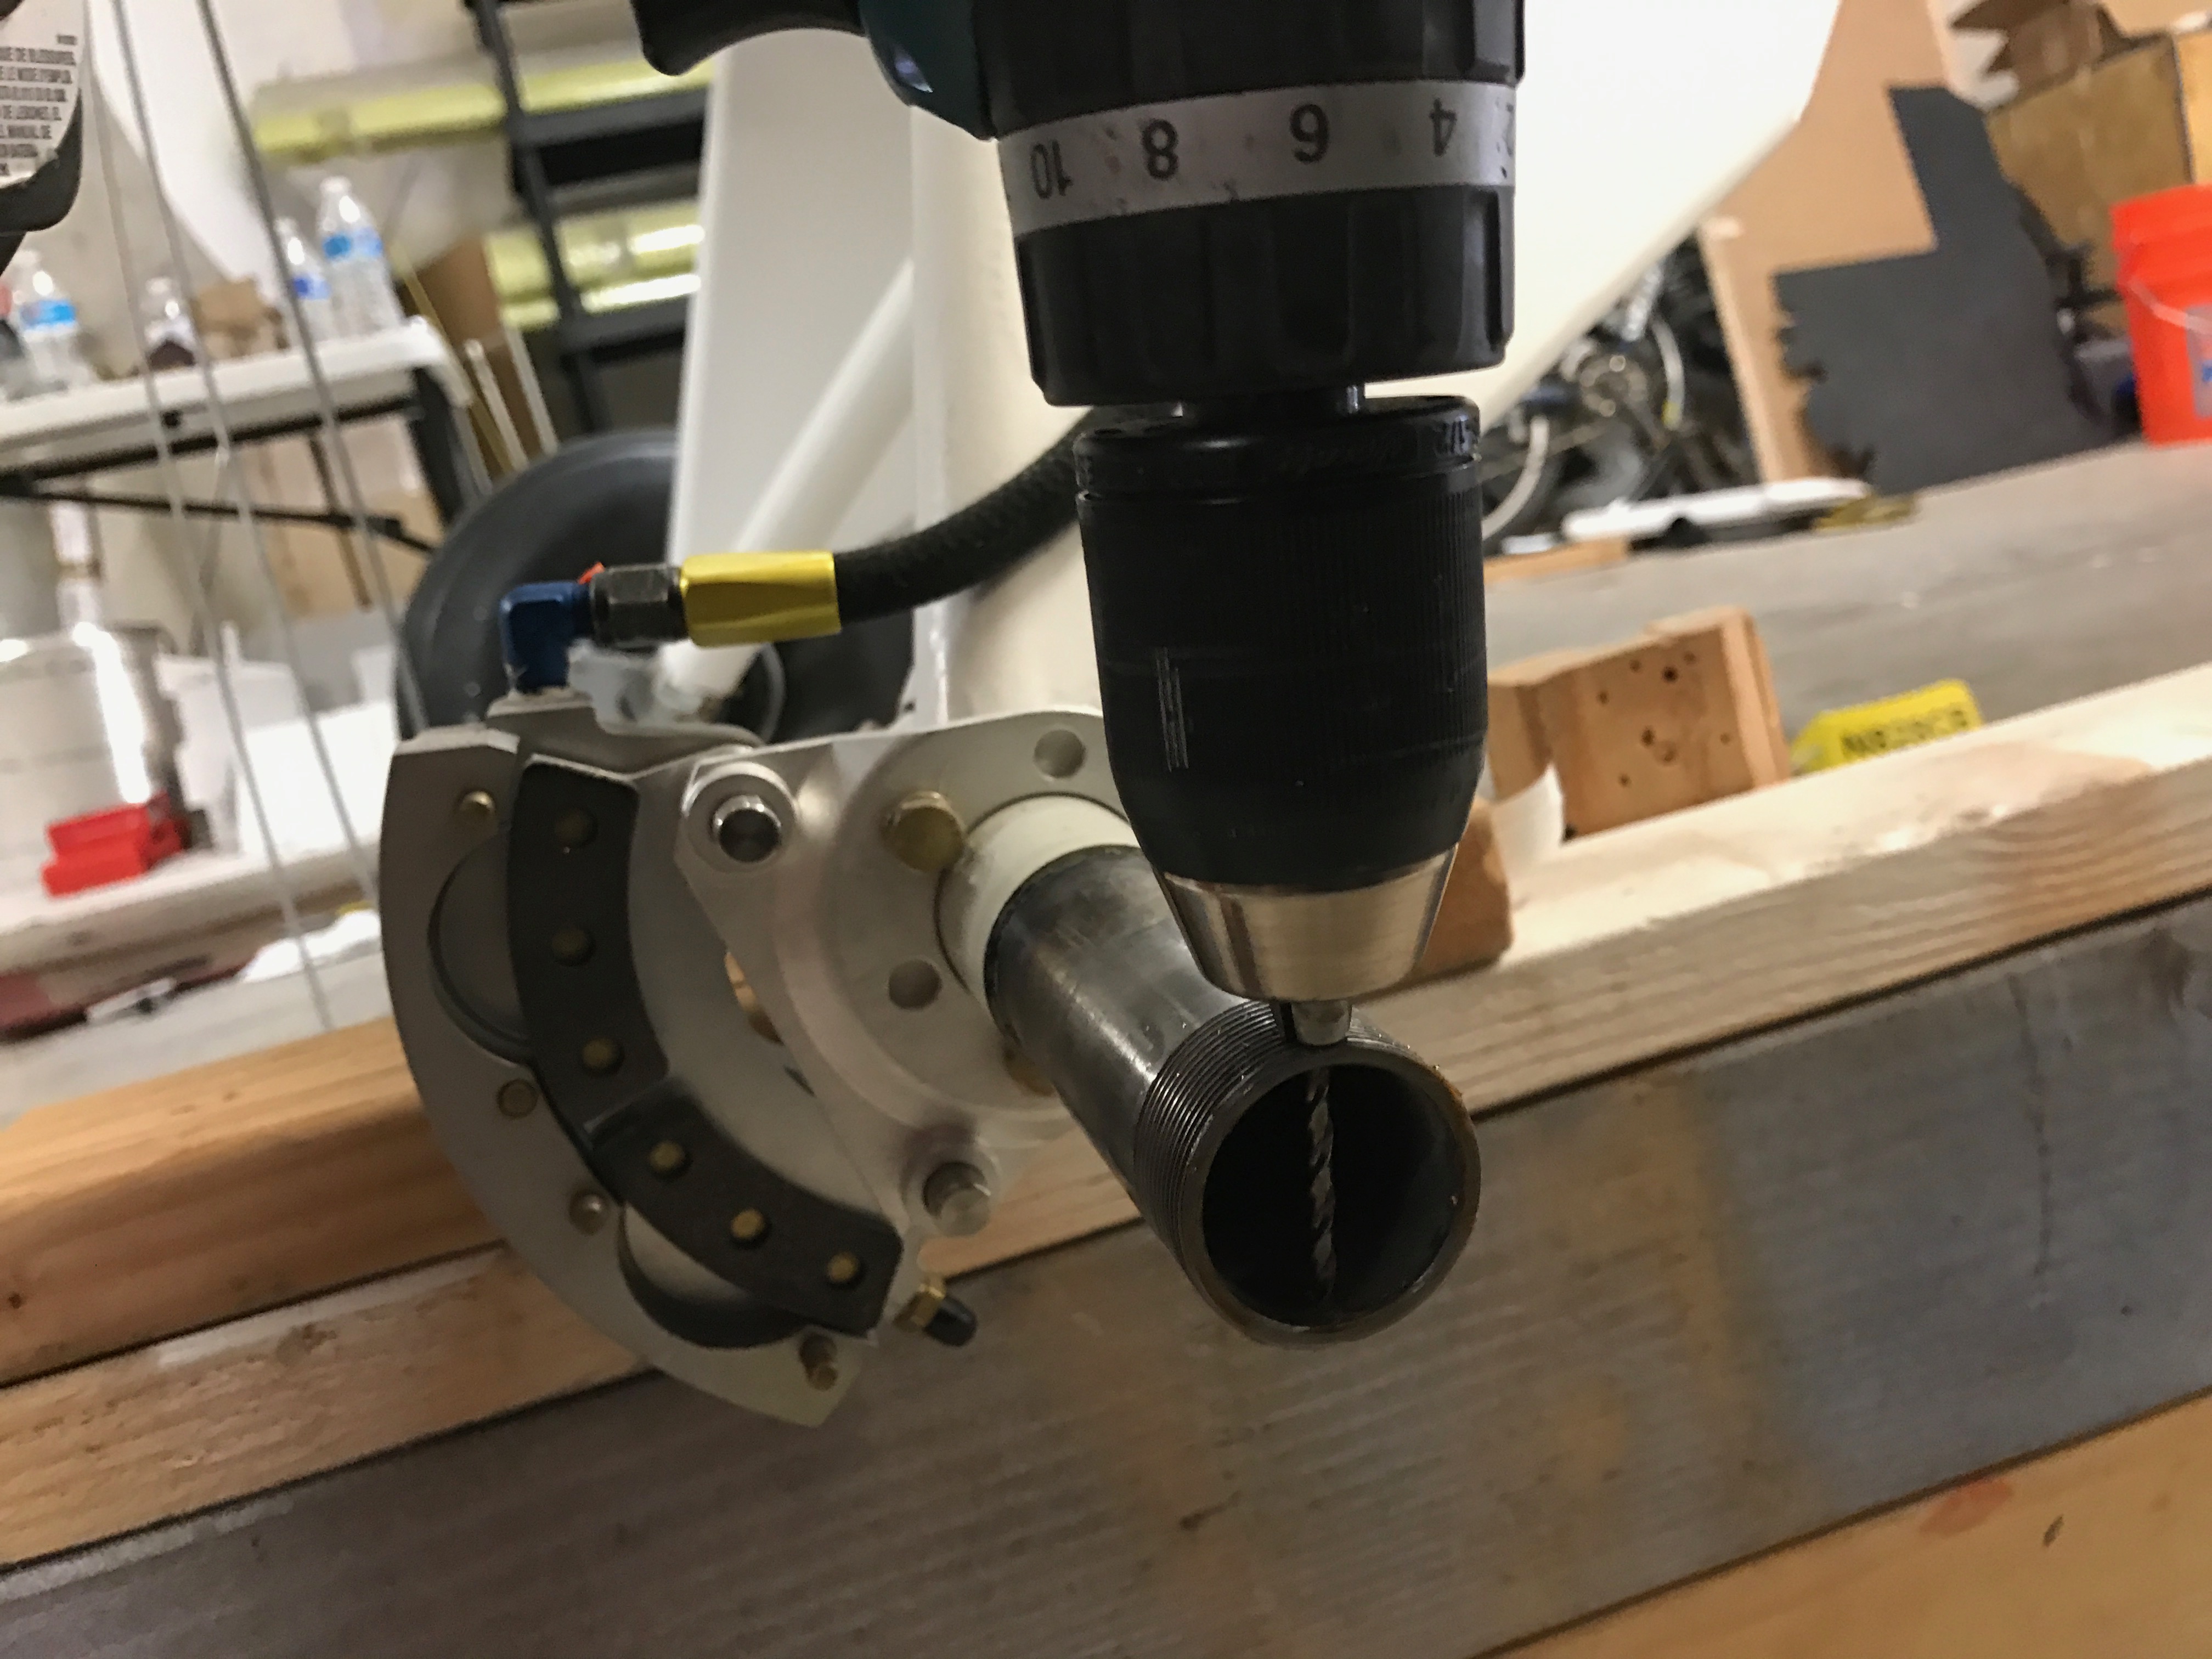
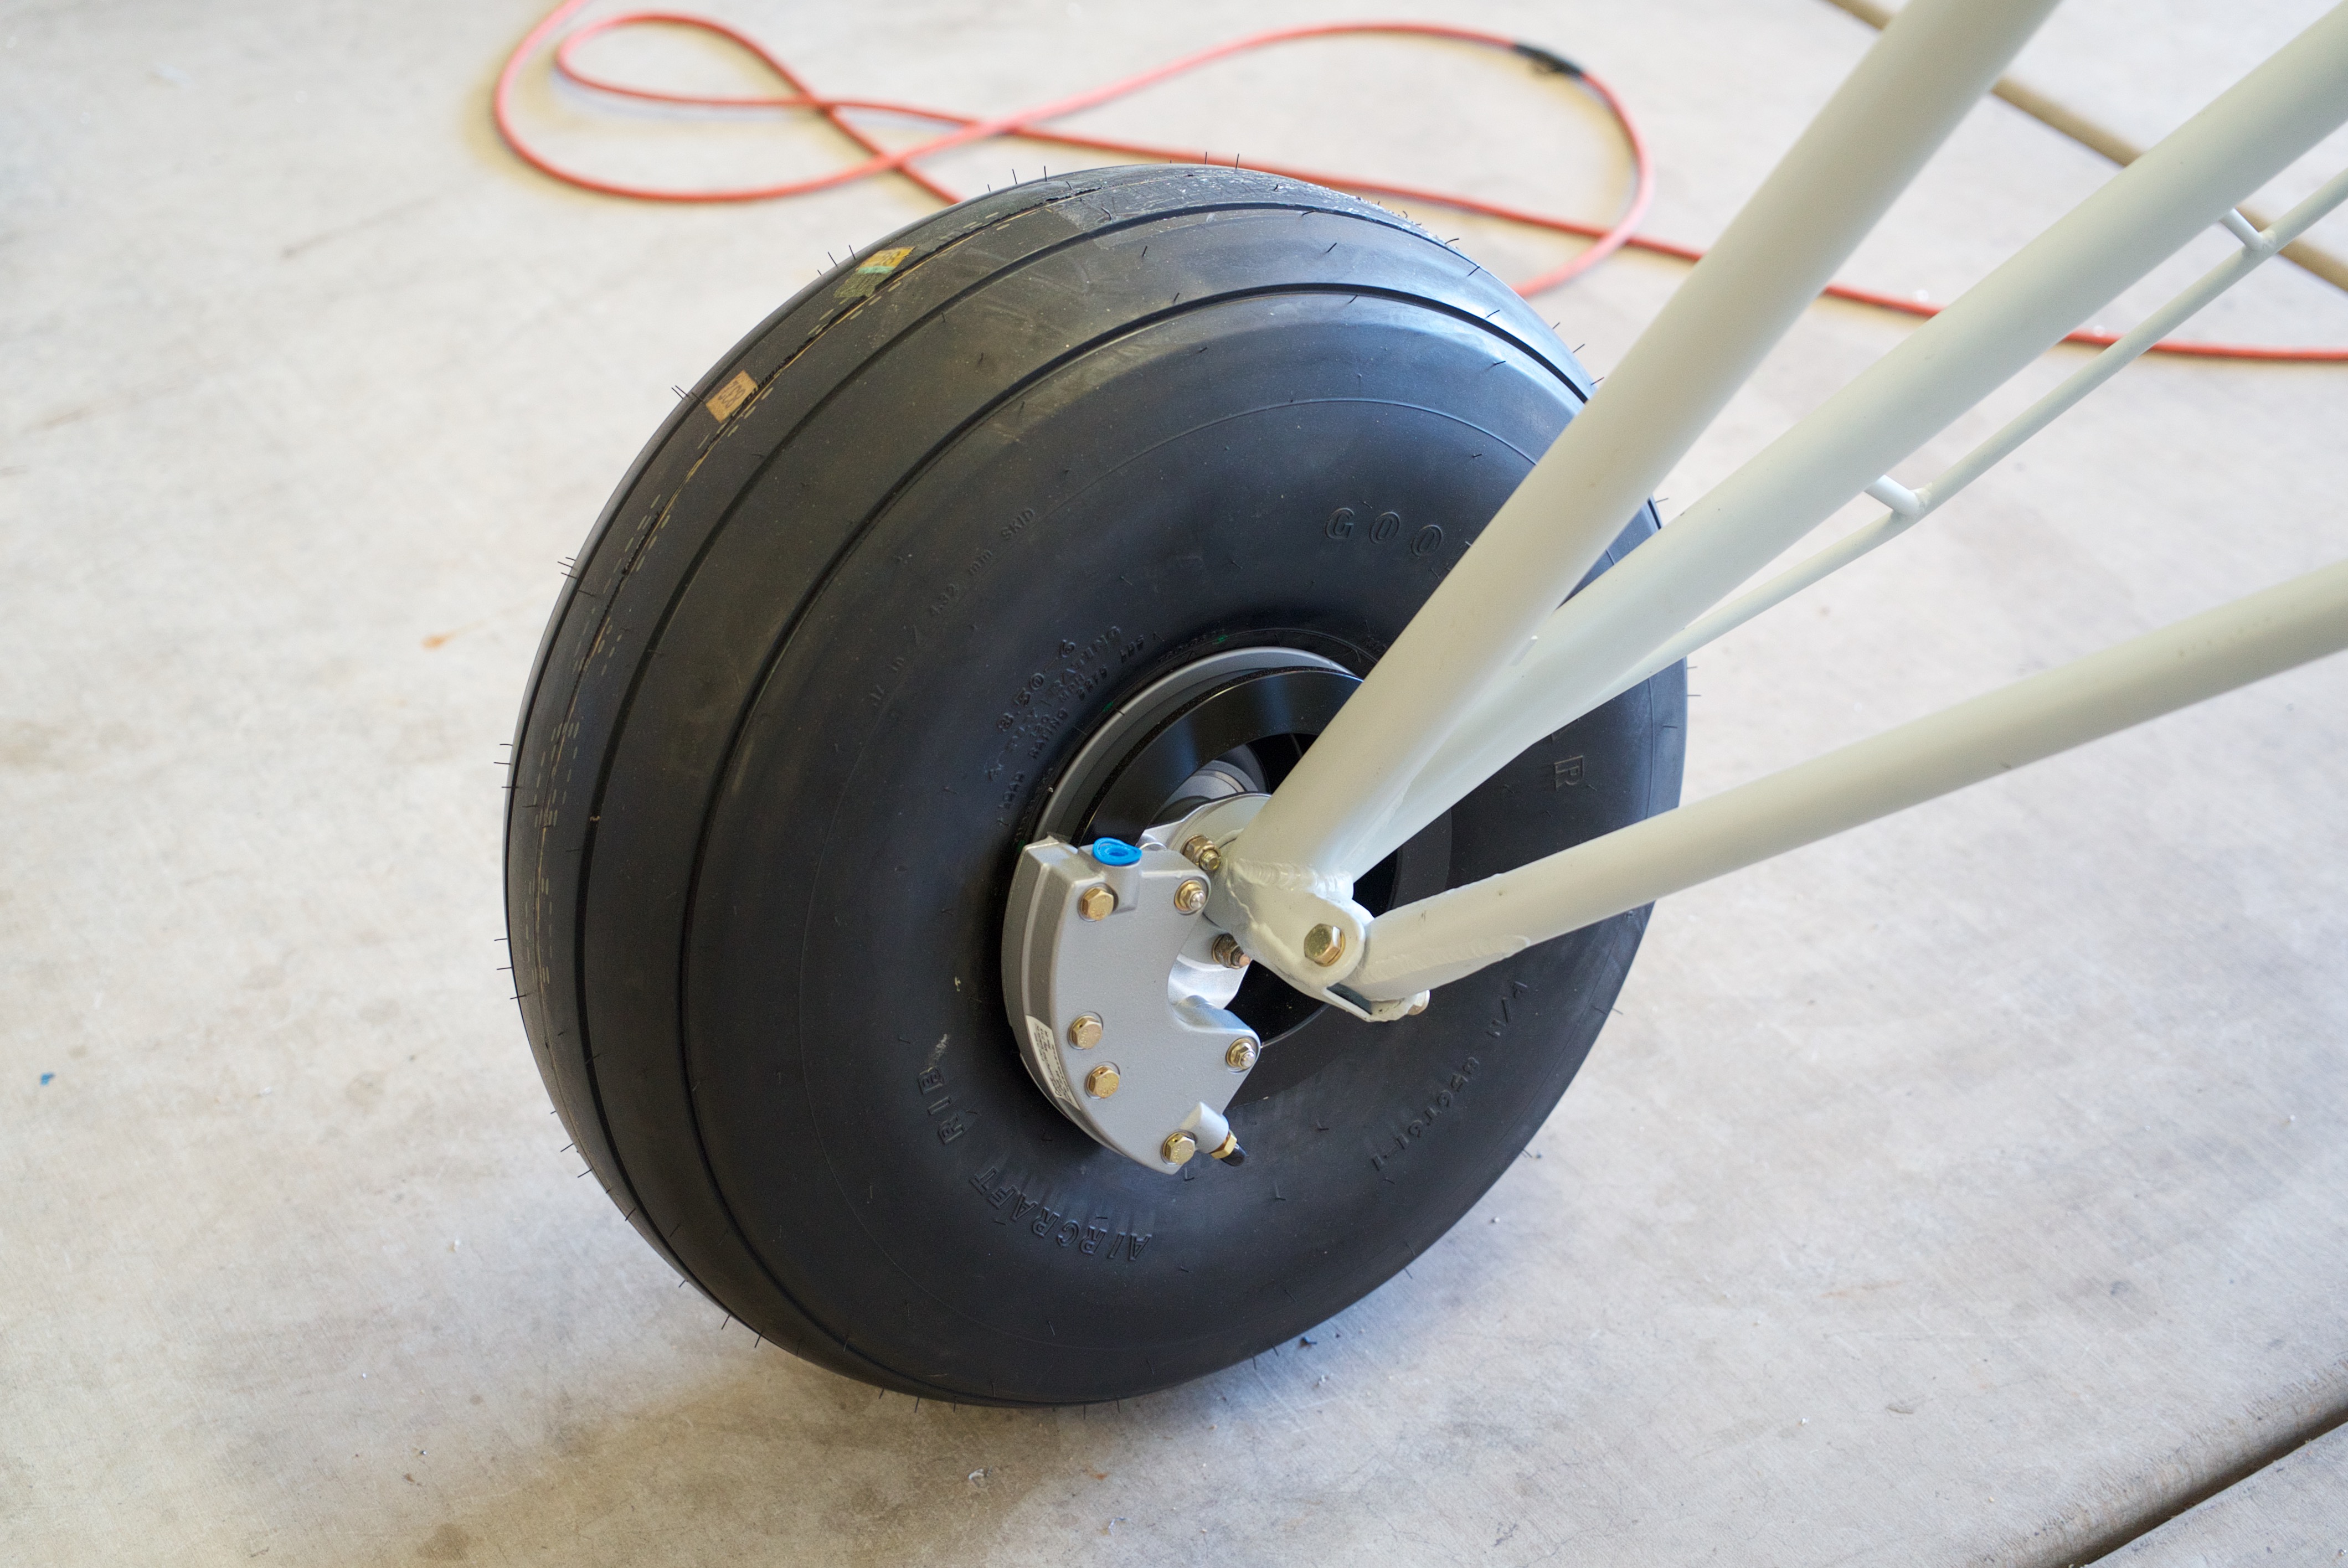
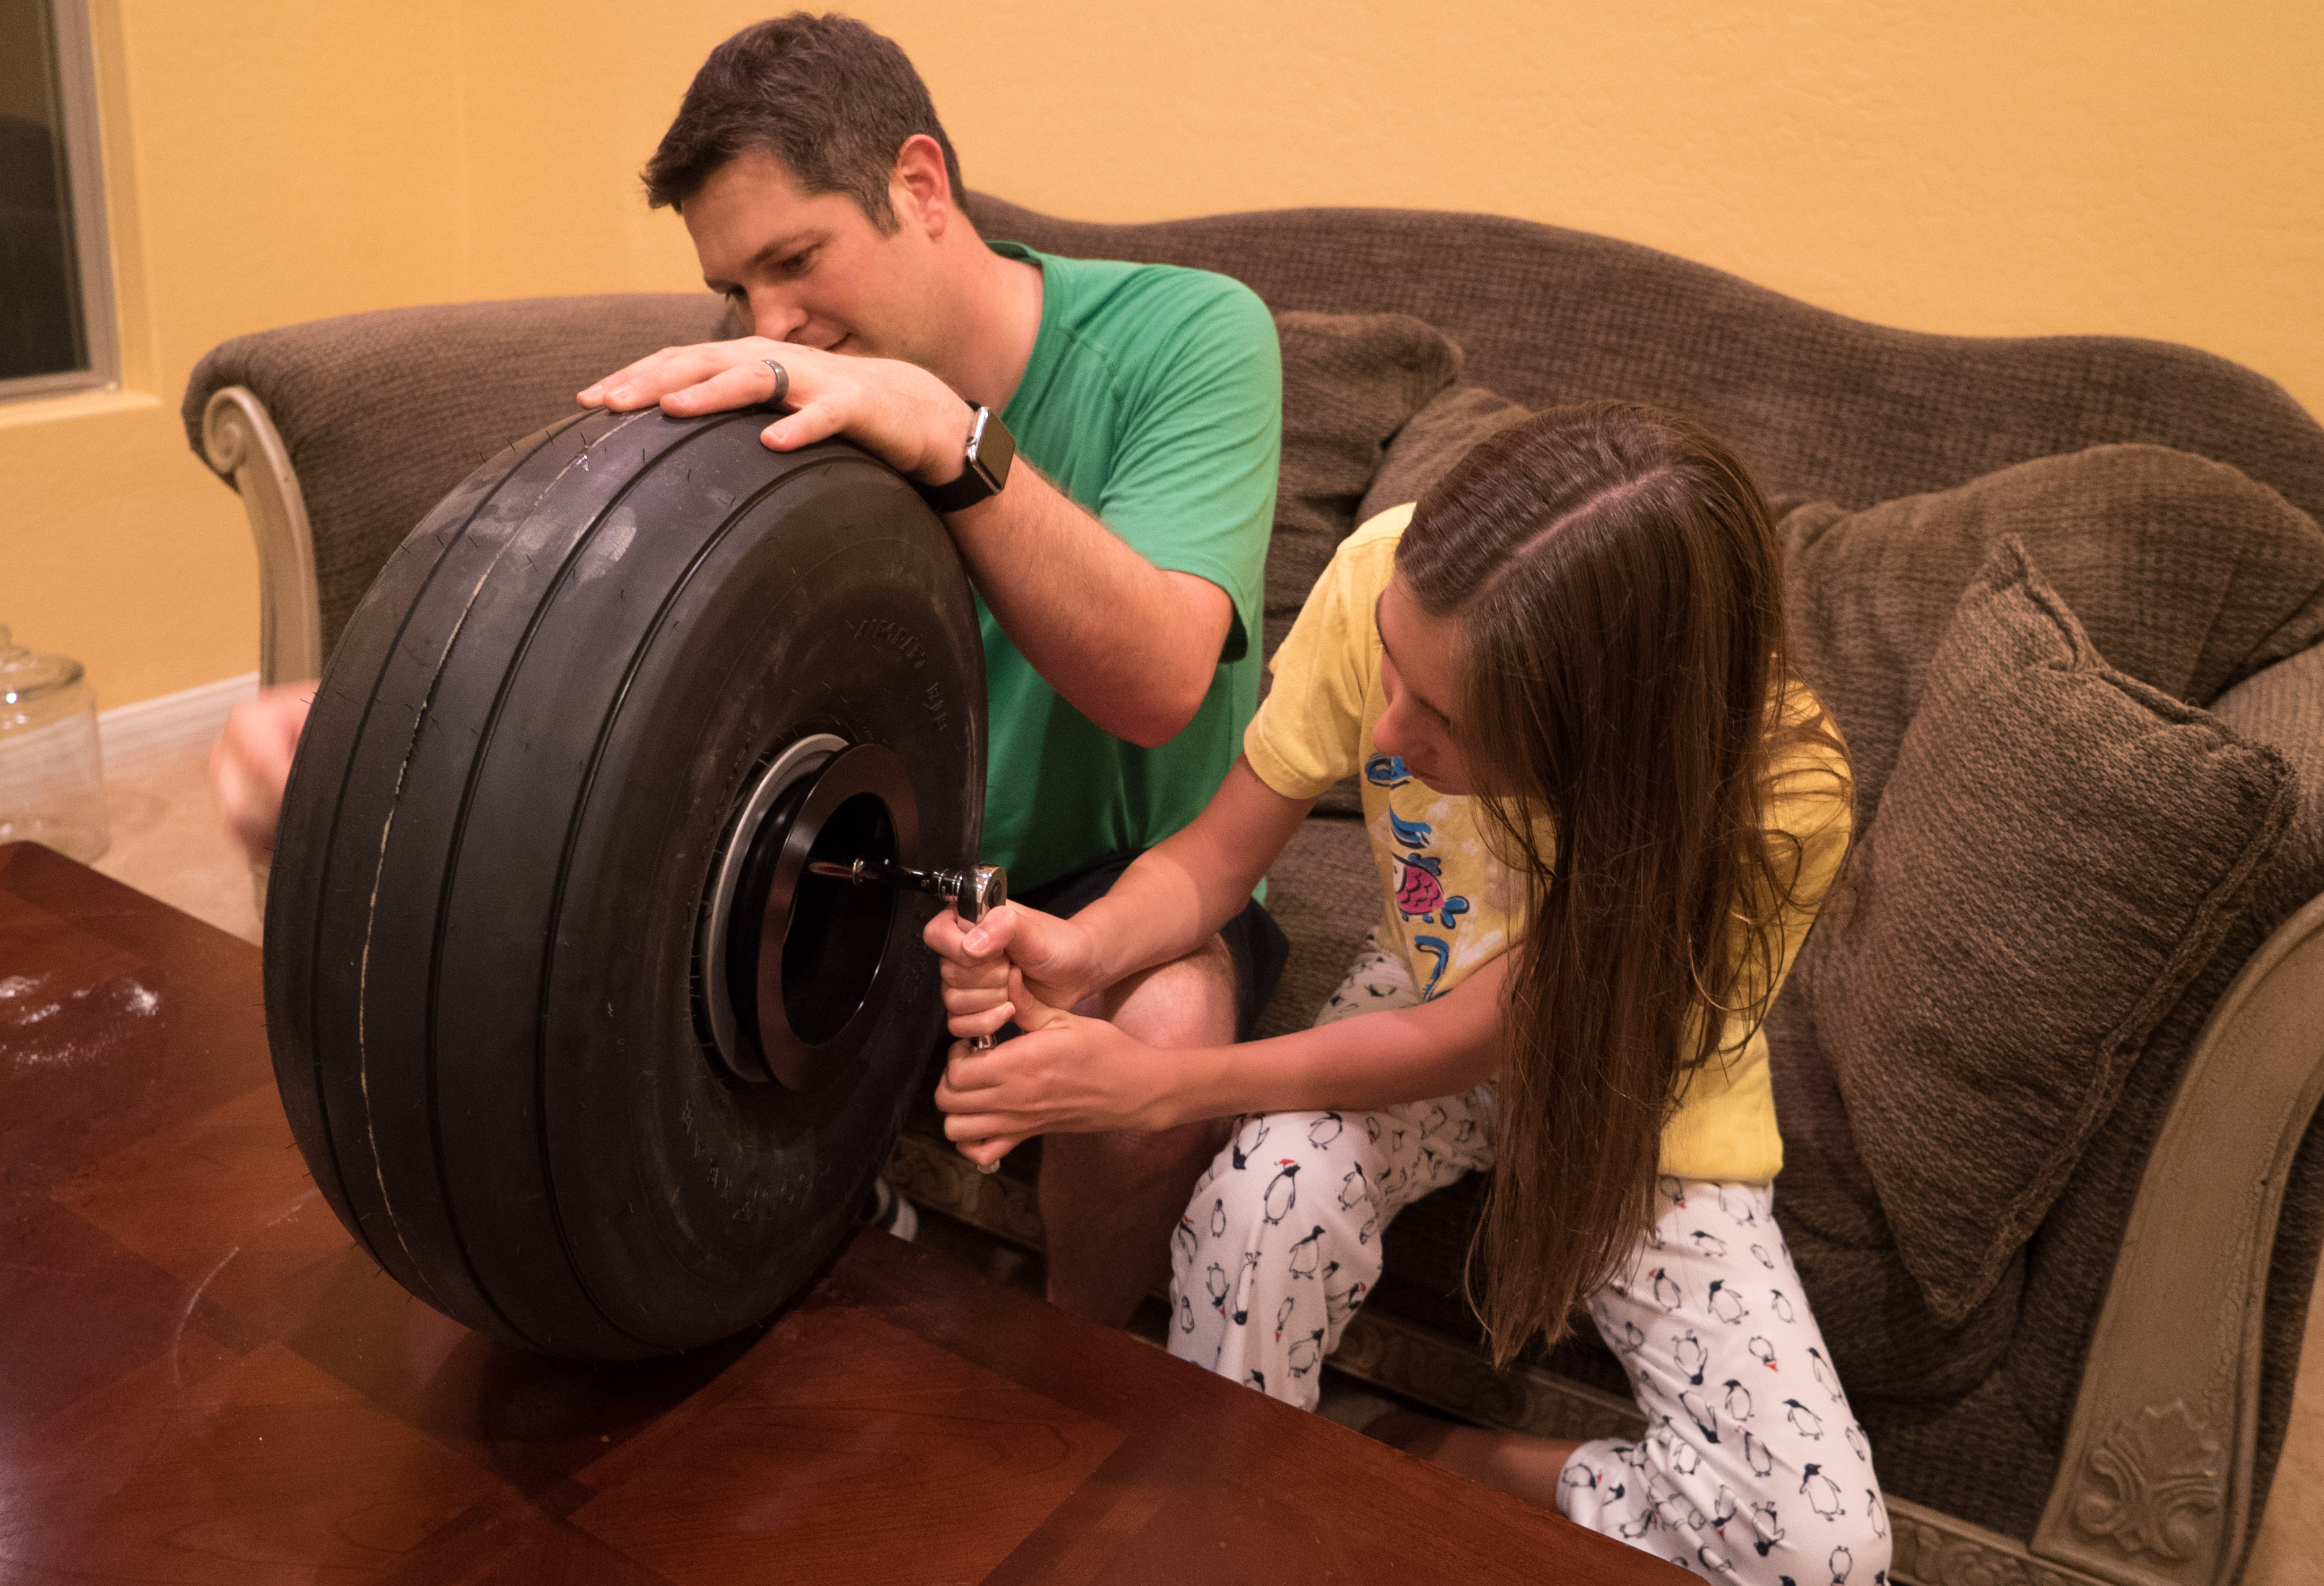
The landing gear went together rather easily.  The only problems I ran into was not having beefy enough retaining ring pliers and the rod ends not threading into the piston.  So I had to make a quick run to AutoZone to pick up some heavy duty retaining ring pliers.  Then I made a trip to Ace Hardware to pick up a tap for the threads.  I had never tapped or cleaned up threads before, but EAAVideo.org has great videos for these kinds of things.  The threads cleaned up nicely.

Bearhawk Tailwheel arrived!

Our first order of business was to start ordering parts.  We started with the tailwheel.  After quite a bit of research, we settled on the Bob Barrows designed Bearhawk tailwheel built by Eric Newton of Bearhawk Tailwheels LLC.  http://bhtailwheels.com.  Eric was great to do business with.  He answered all my questions and creates a flawless product.

Since I’m planning on going with the 8.50 x 6.00 main tires, I decided on the 10″ tailwheel.

IMG_0271

Our tailwheel arrived today and Tori was excited to help take it out of the box!