Wing and tail root fairings

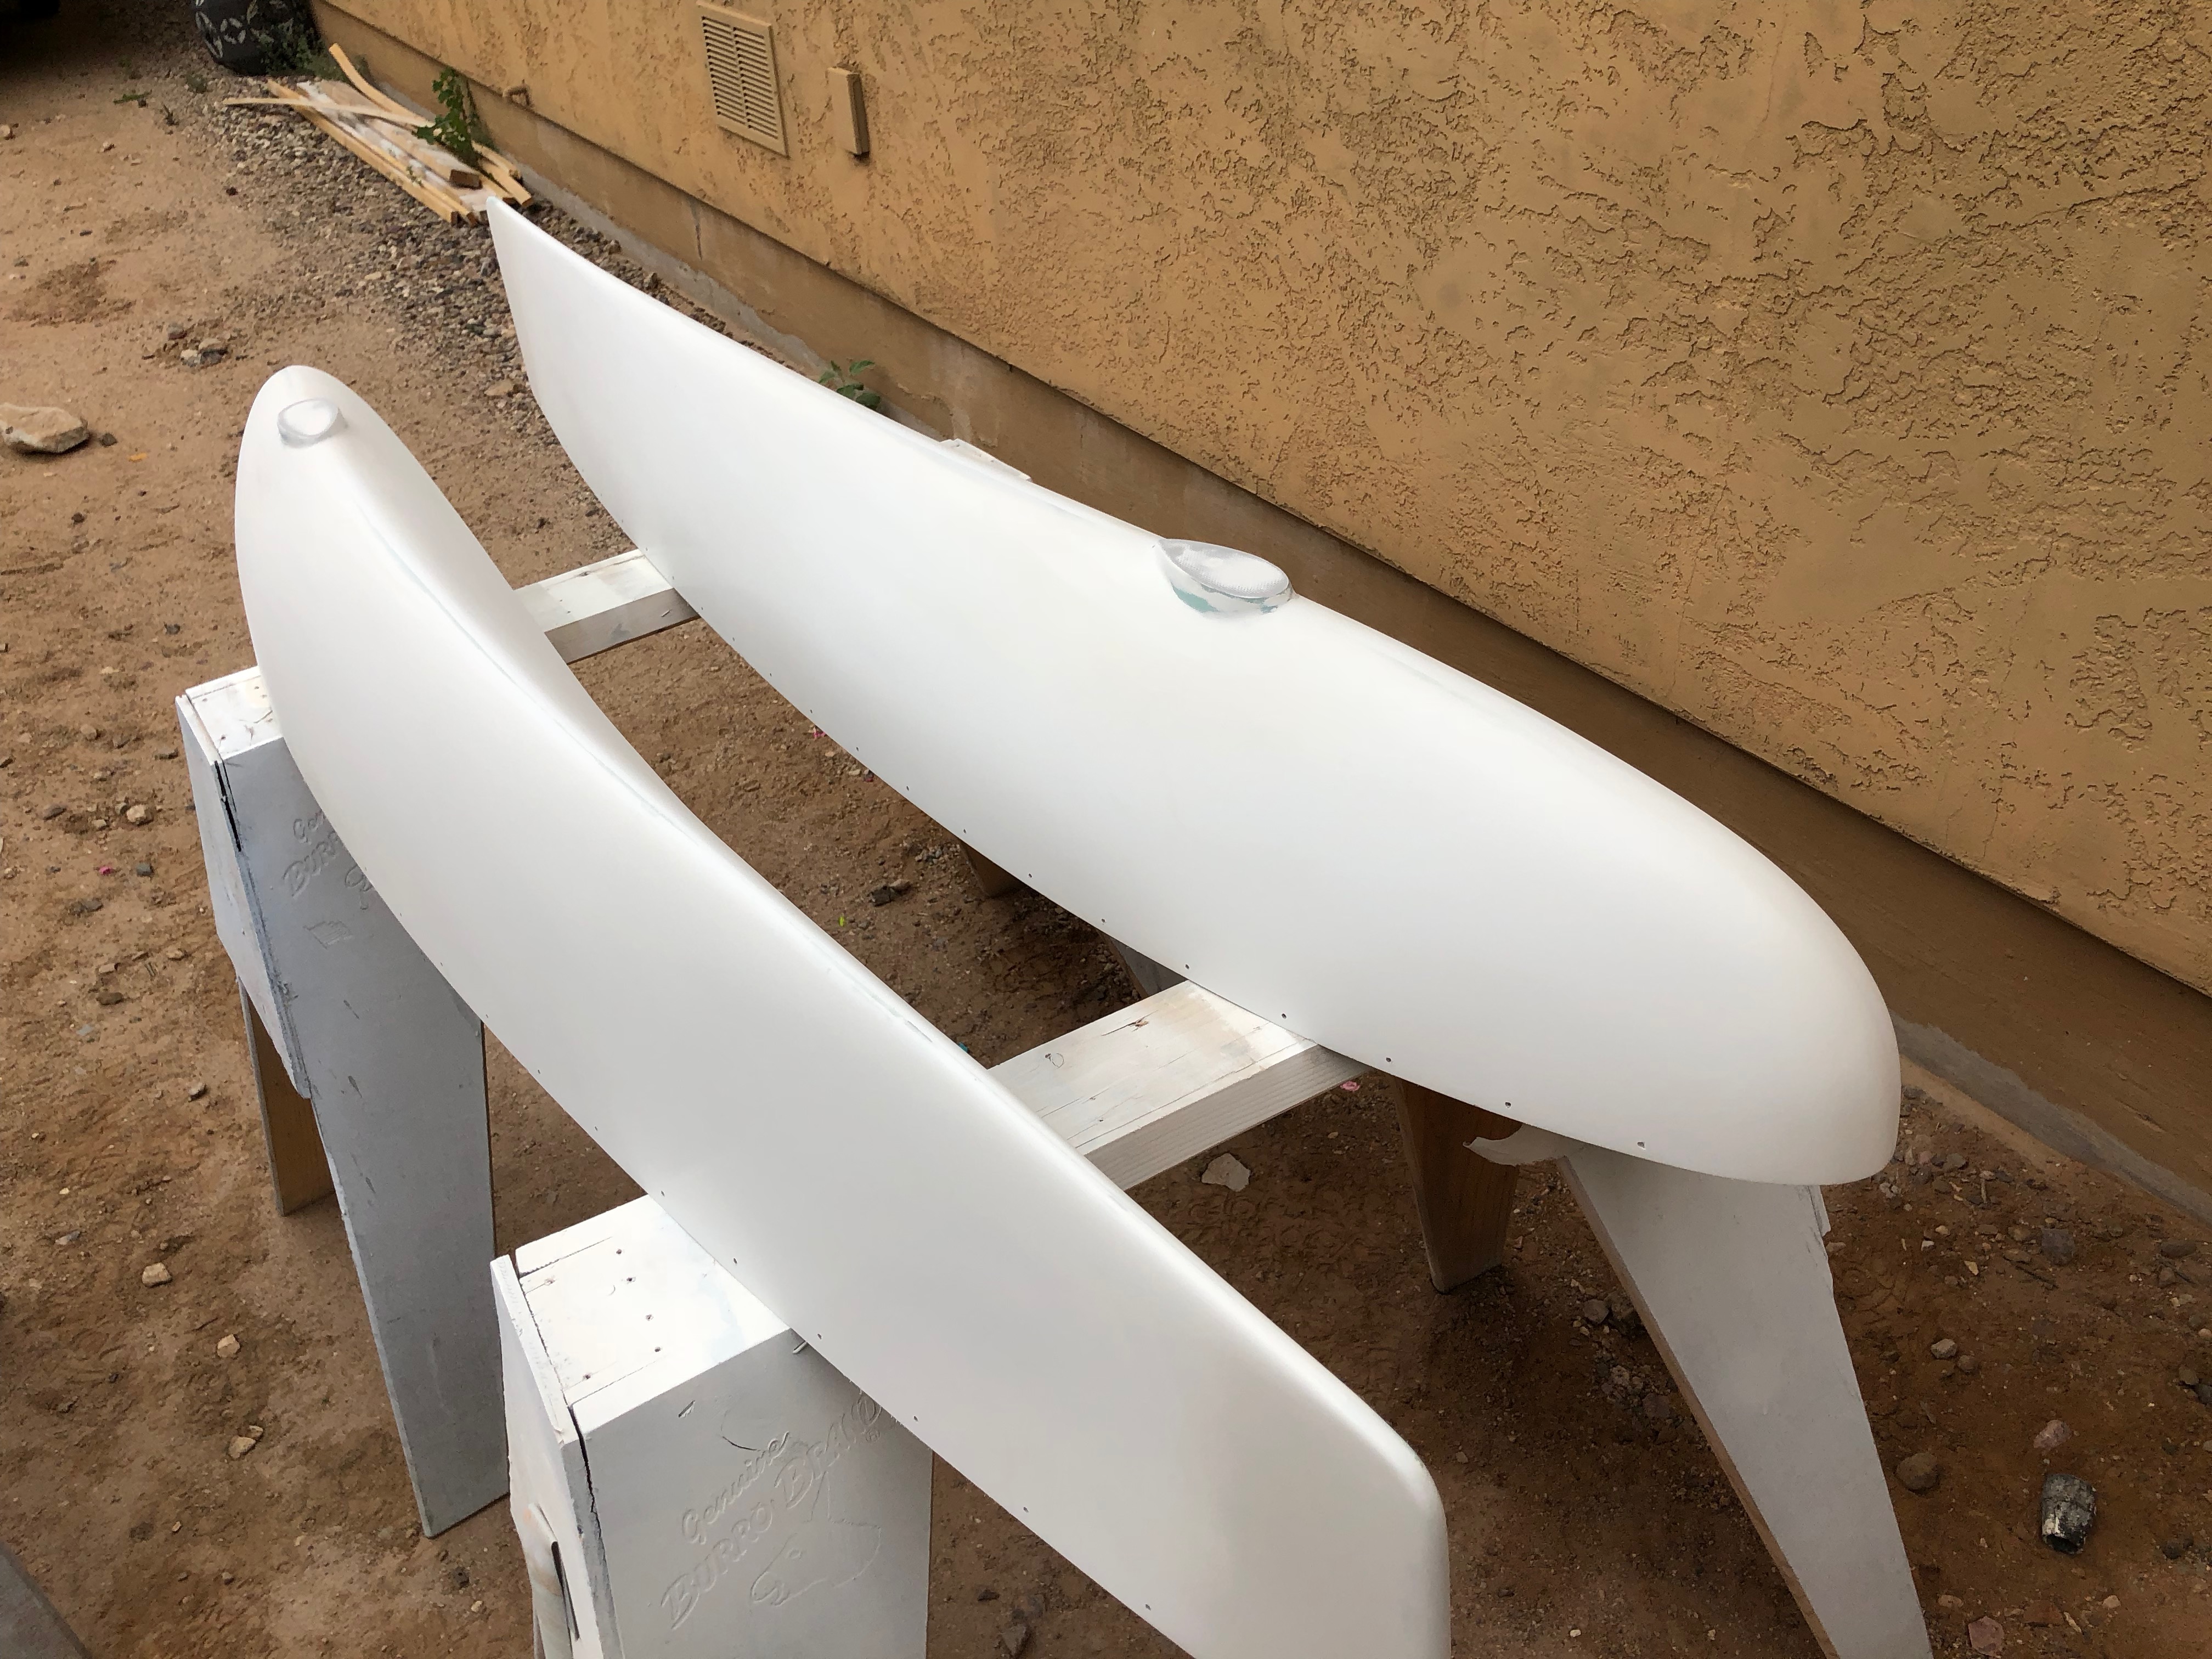
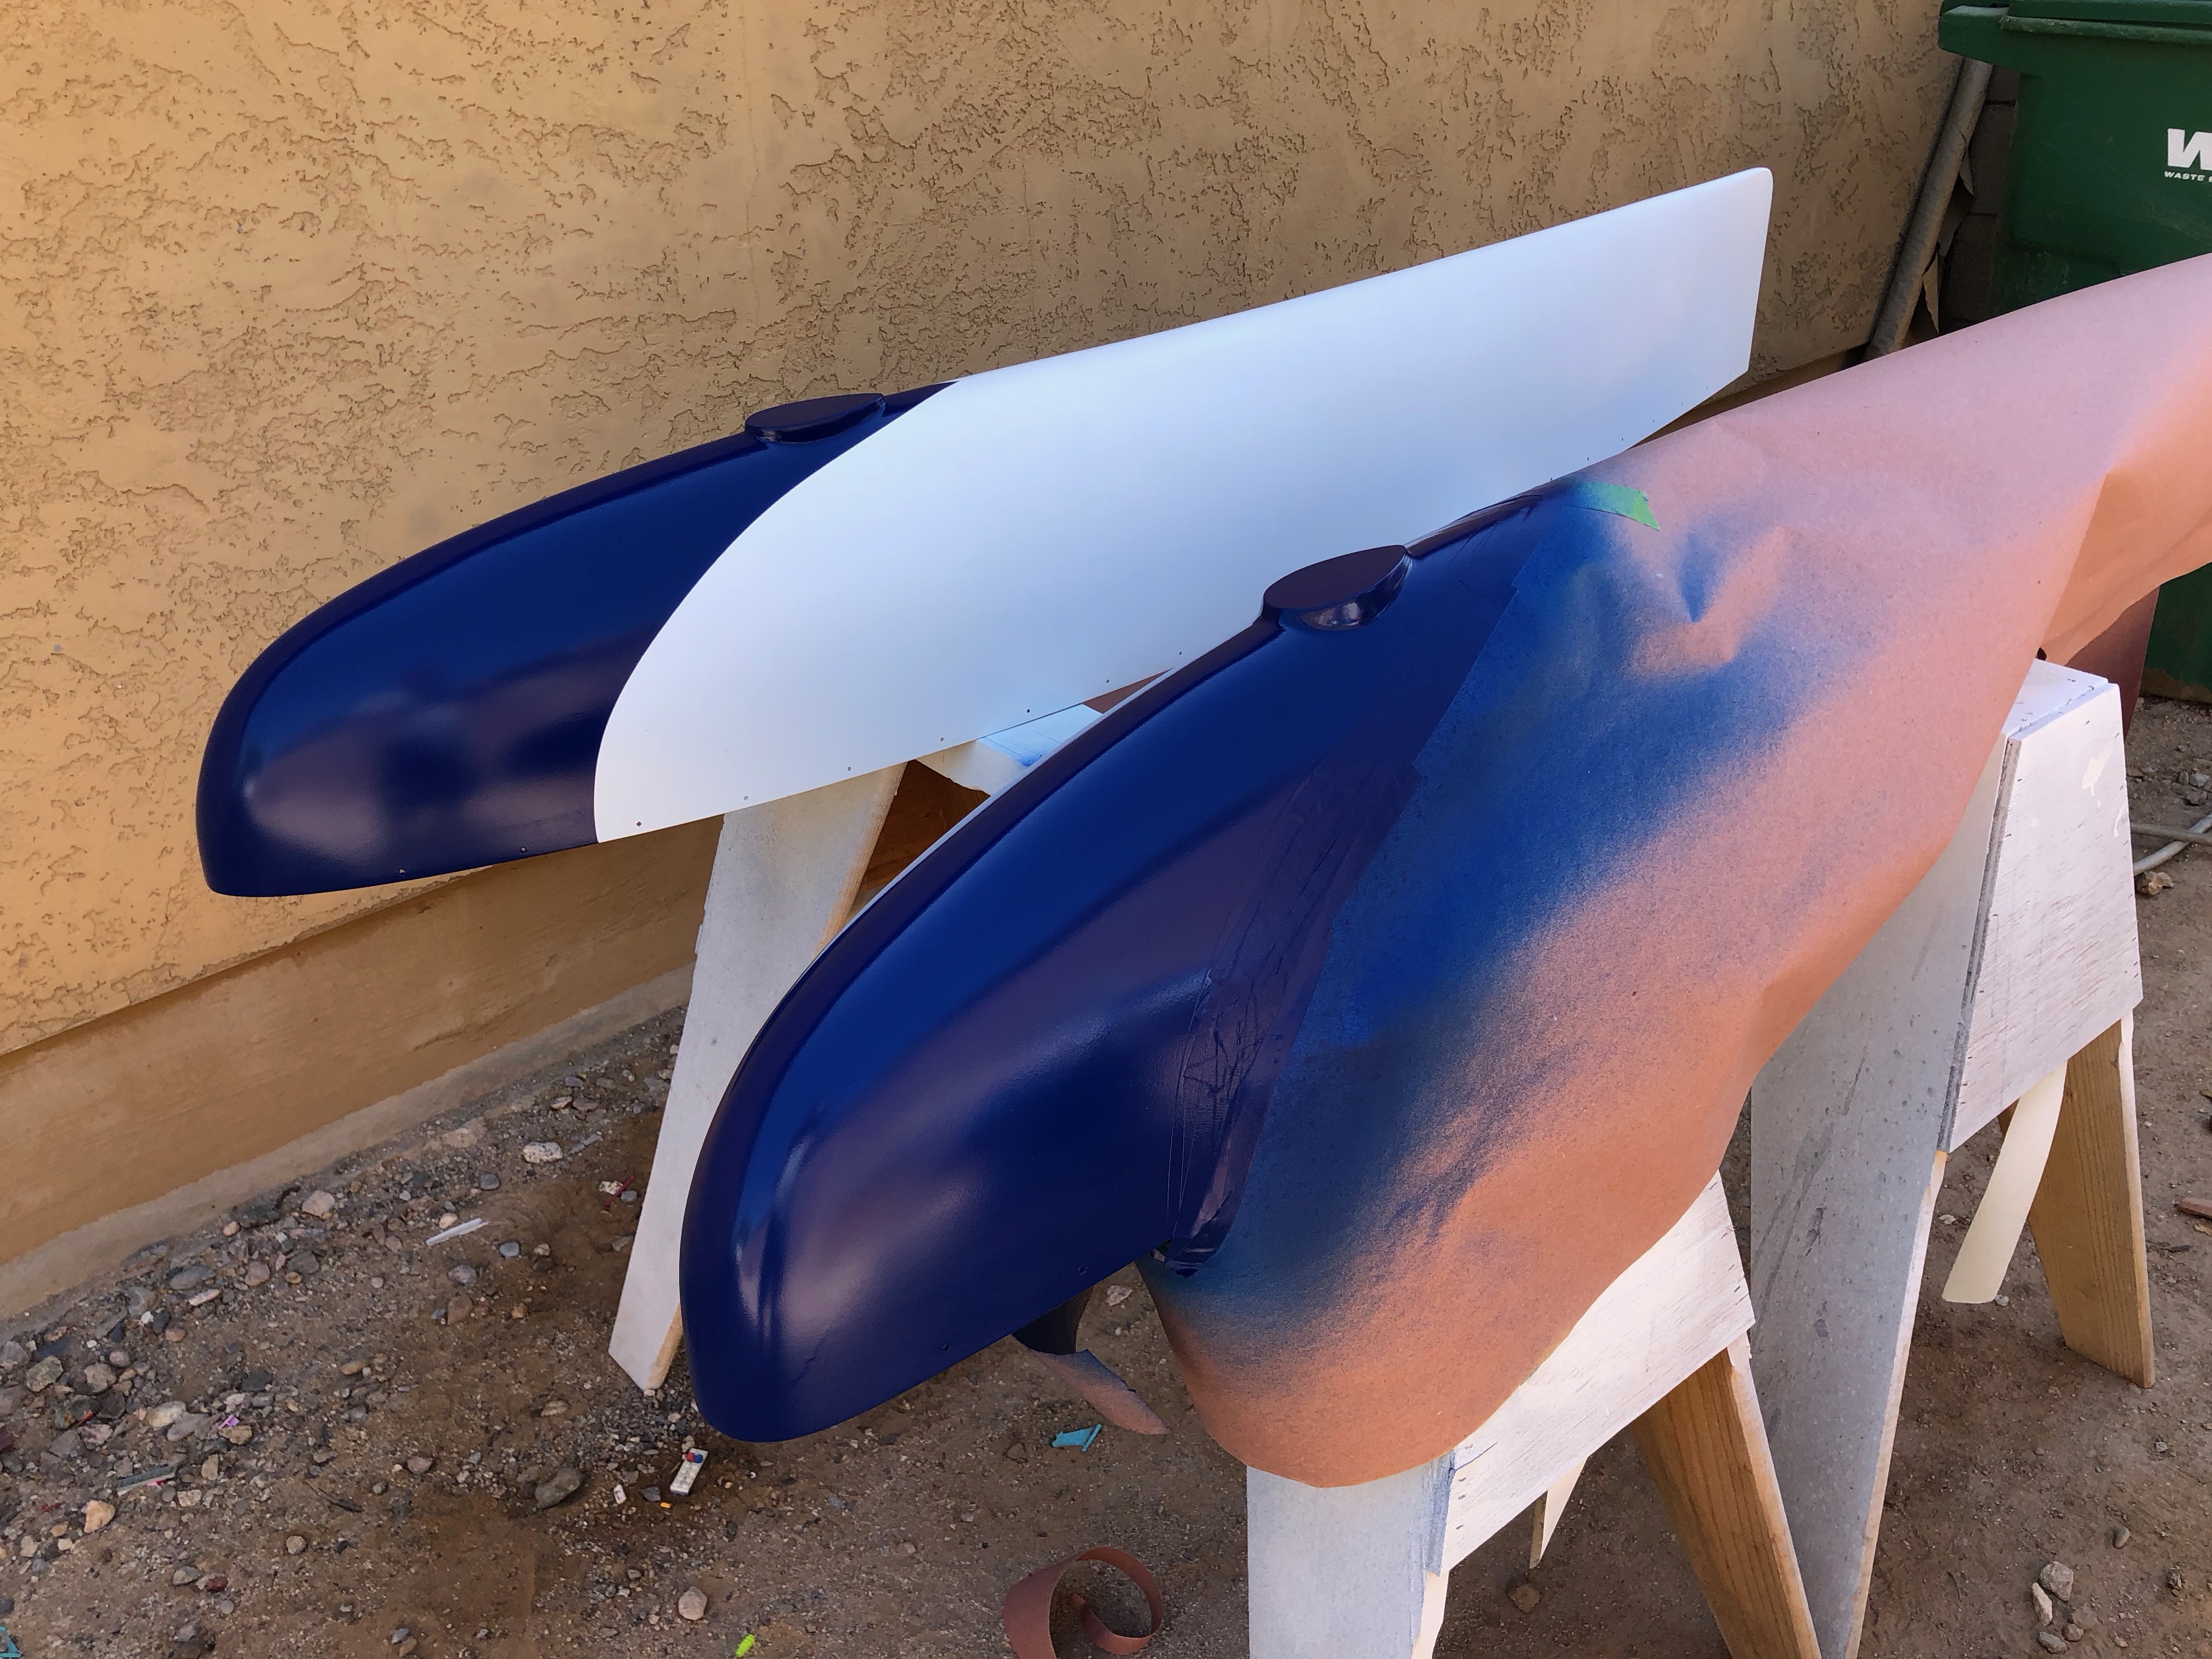
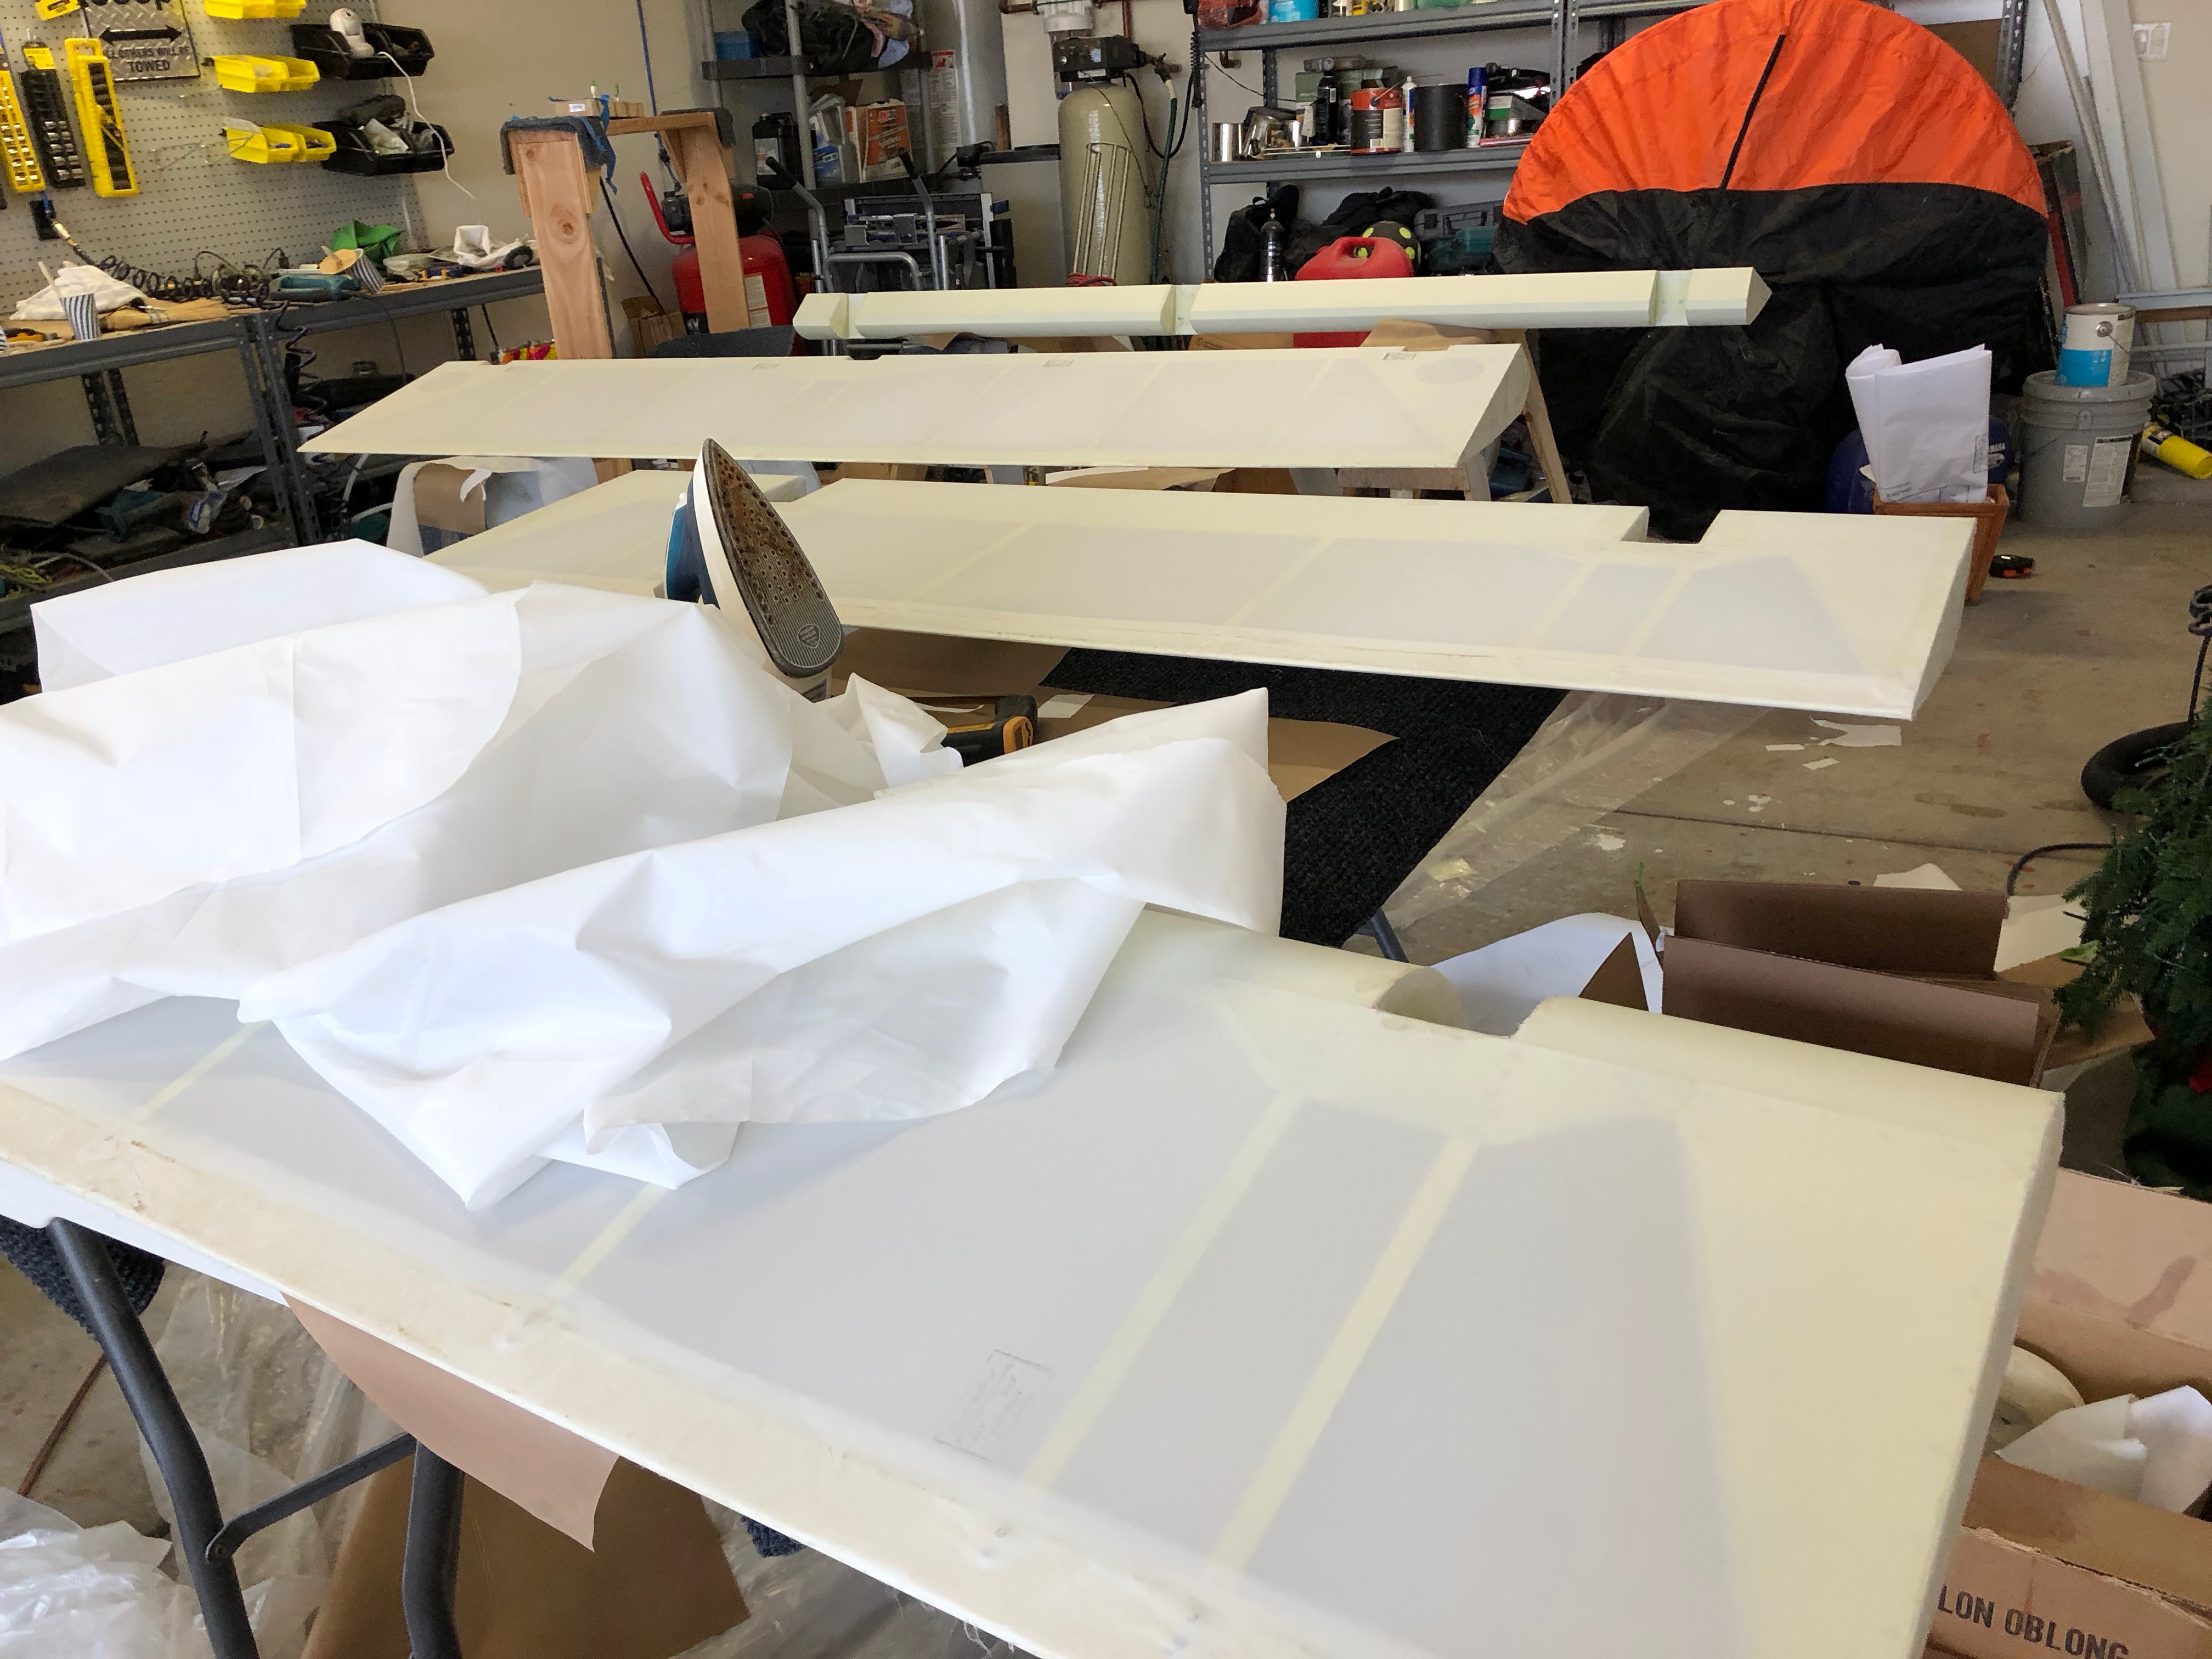
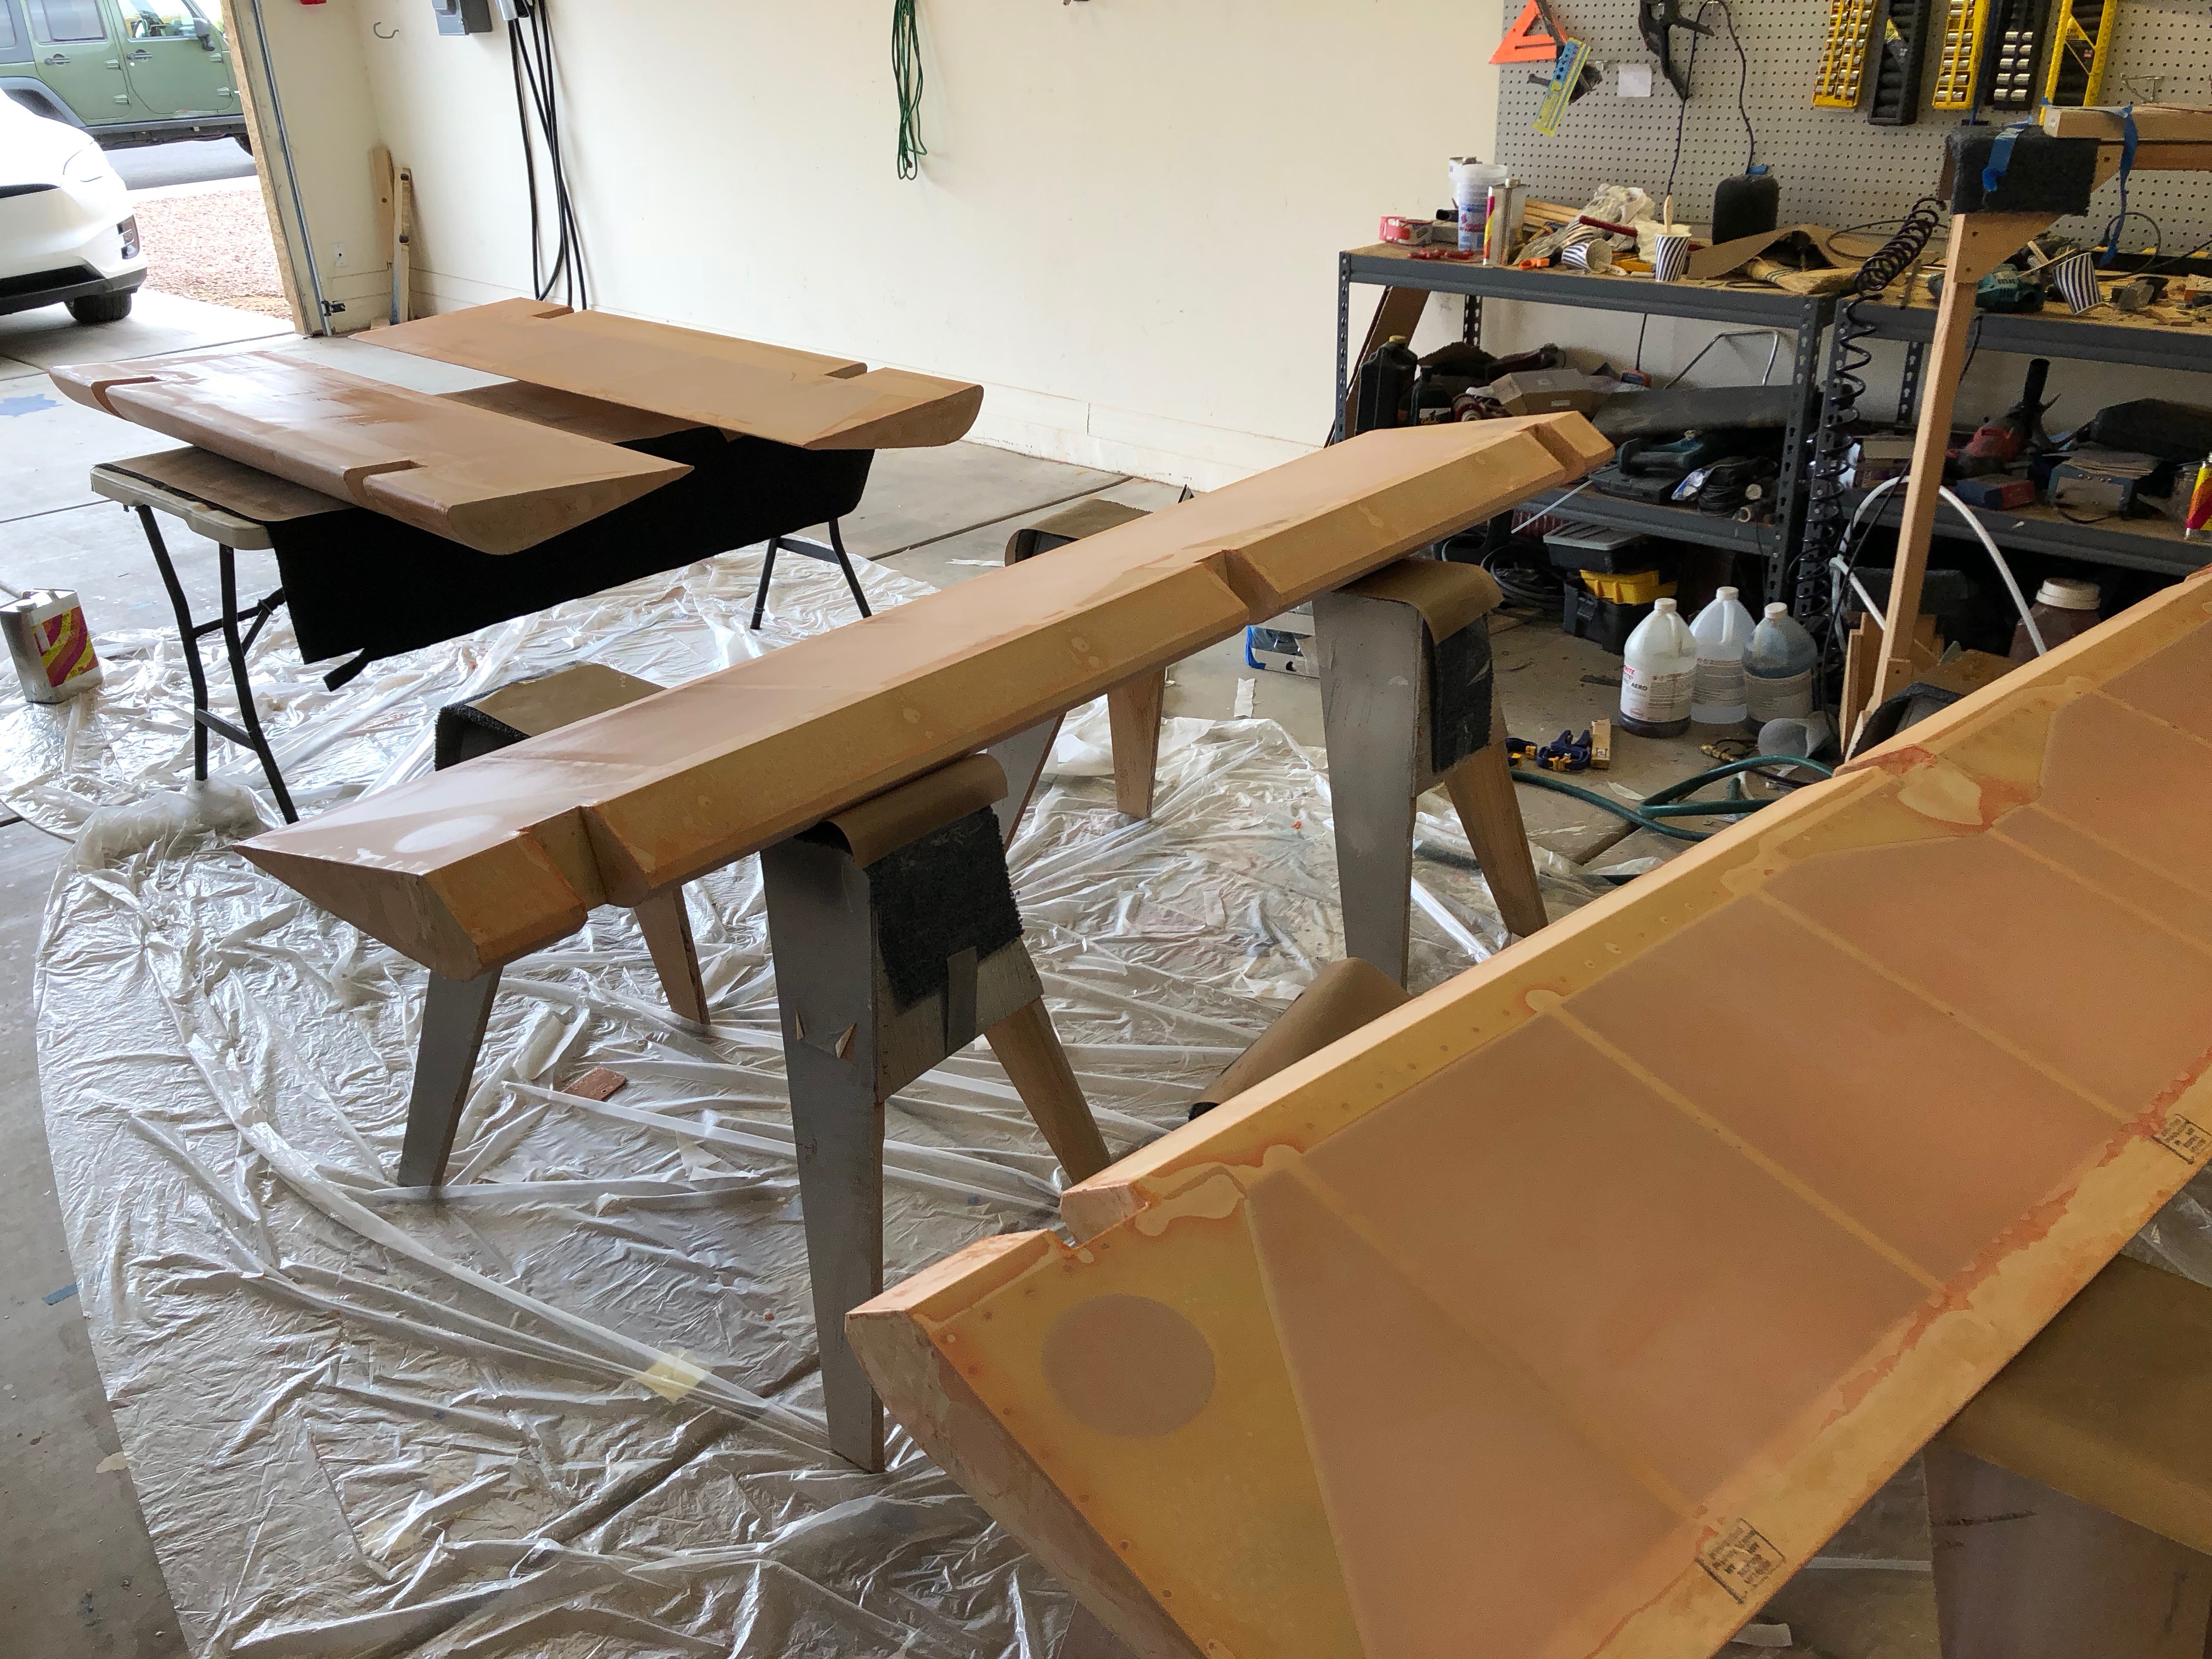
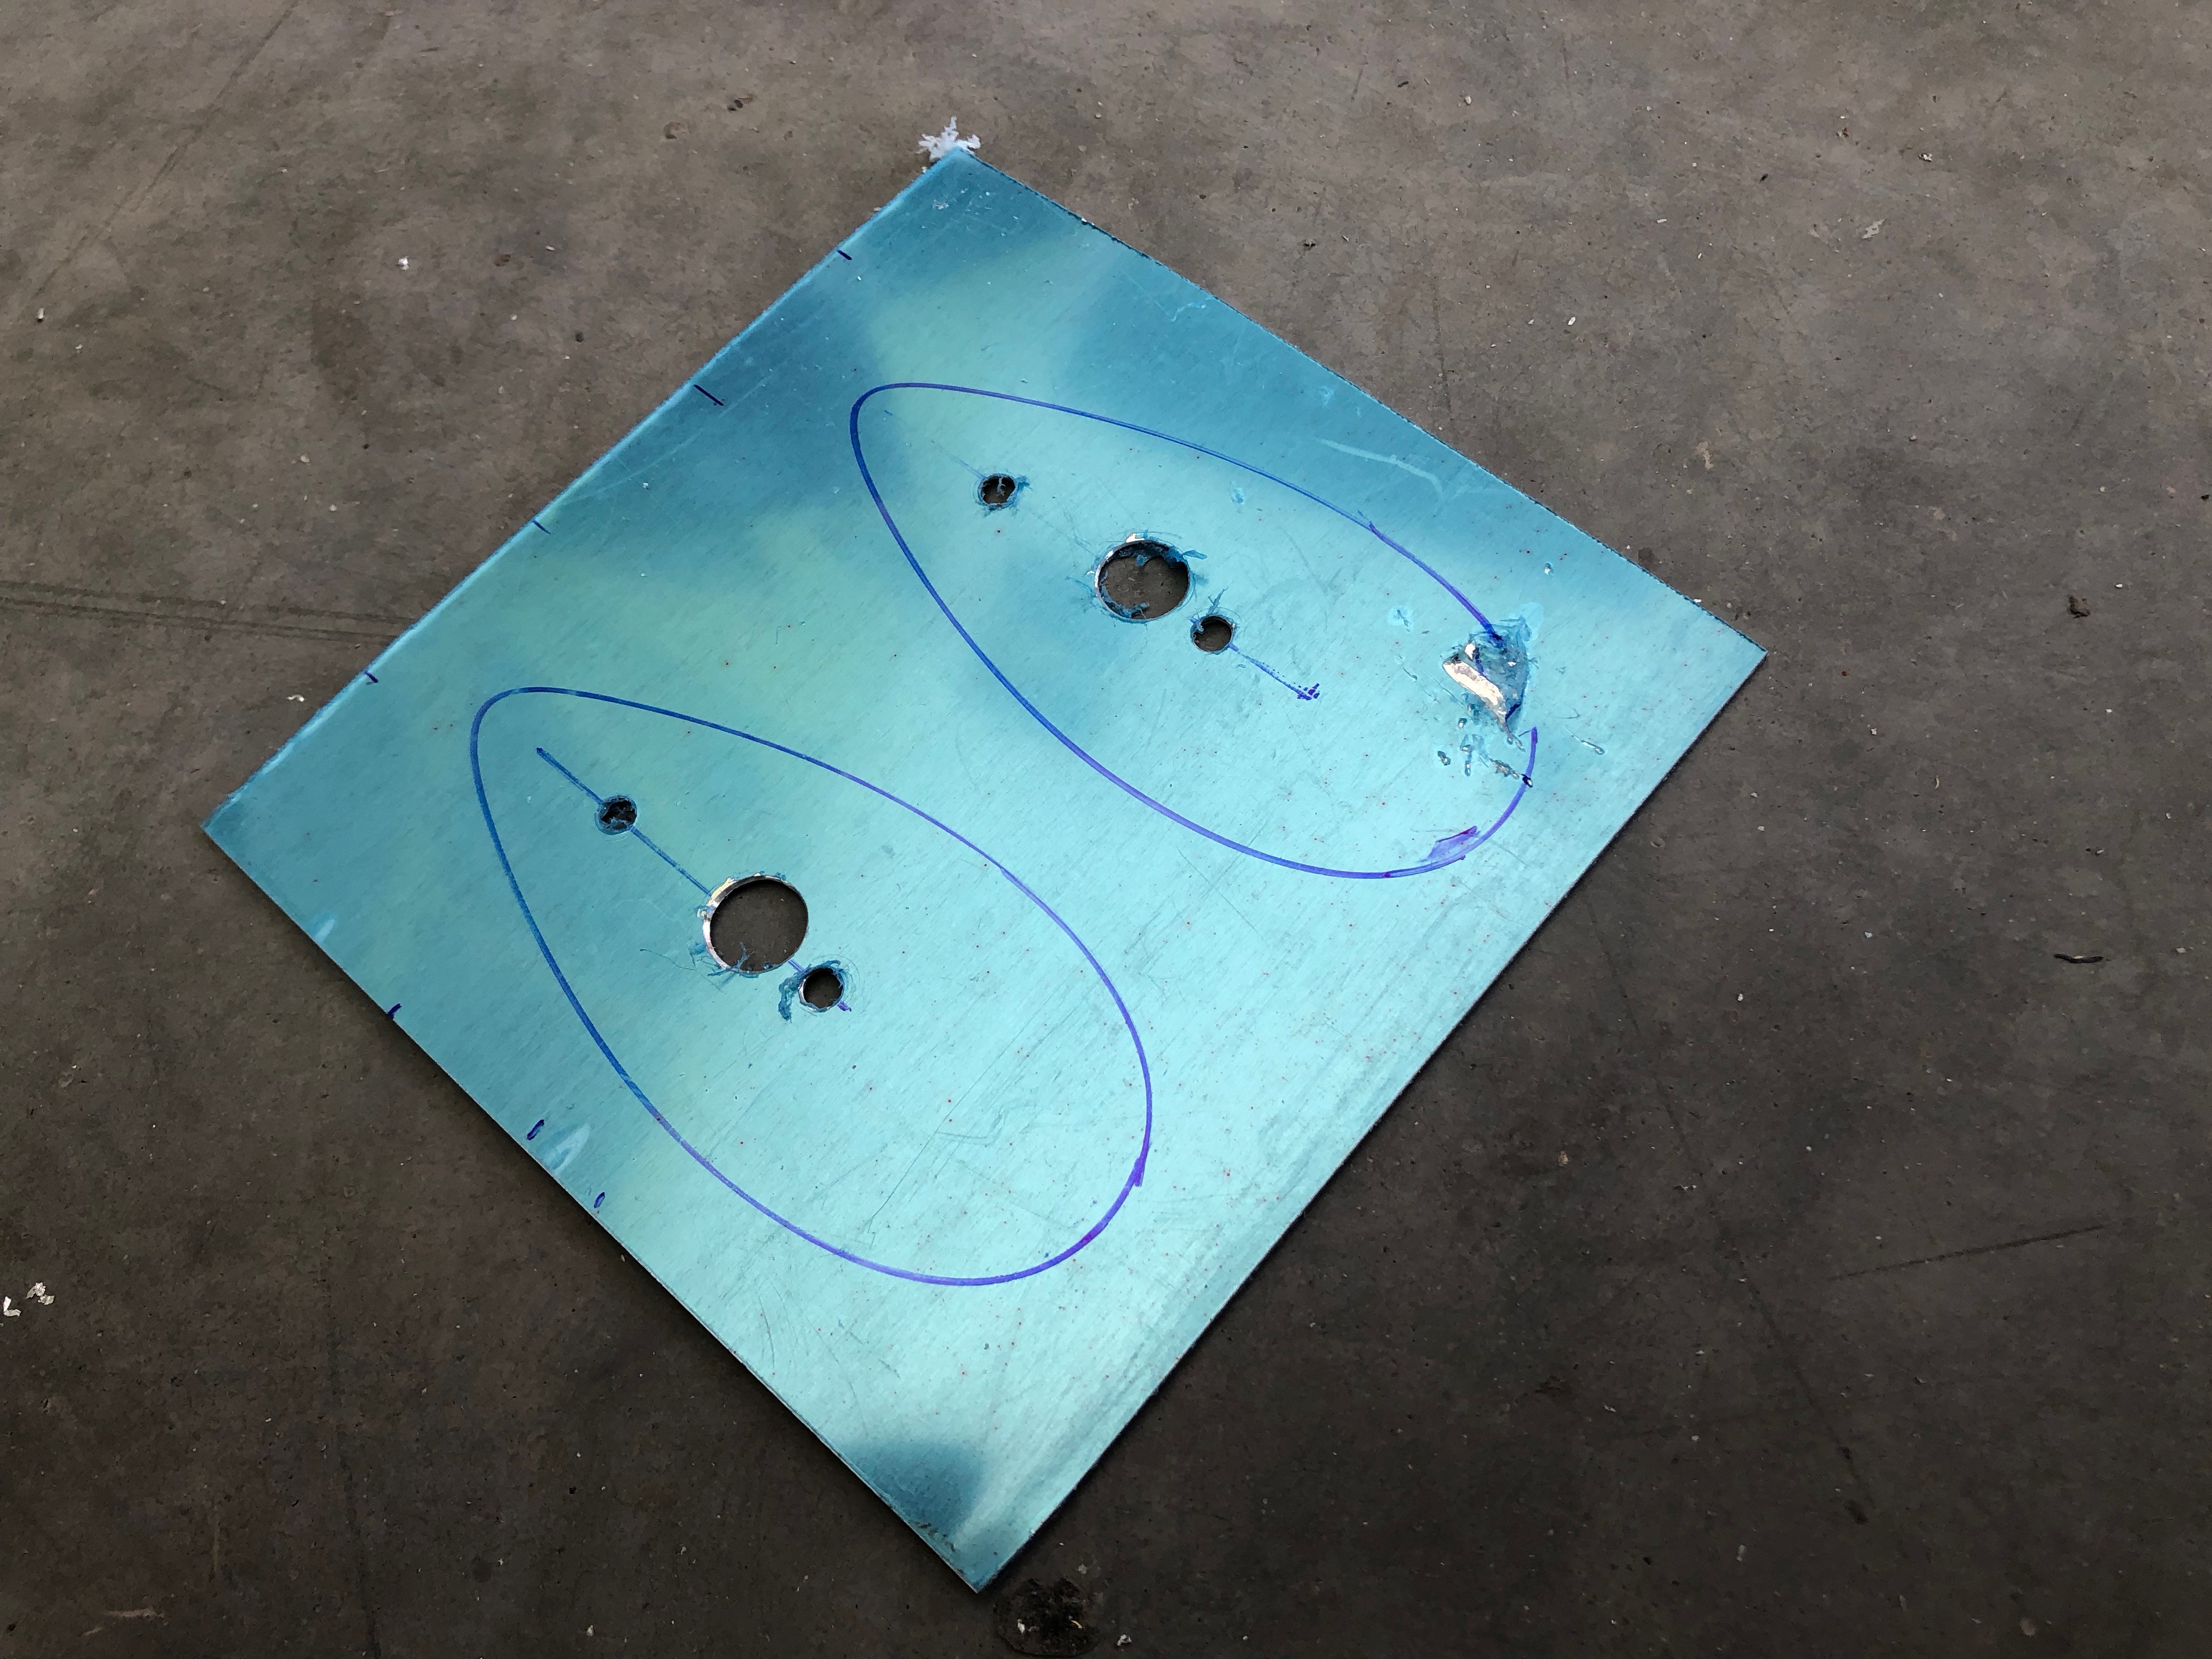
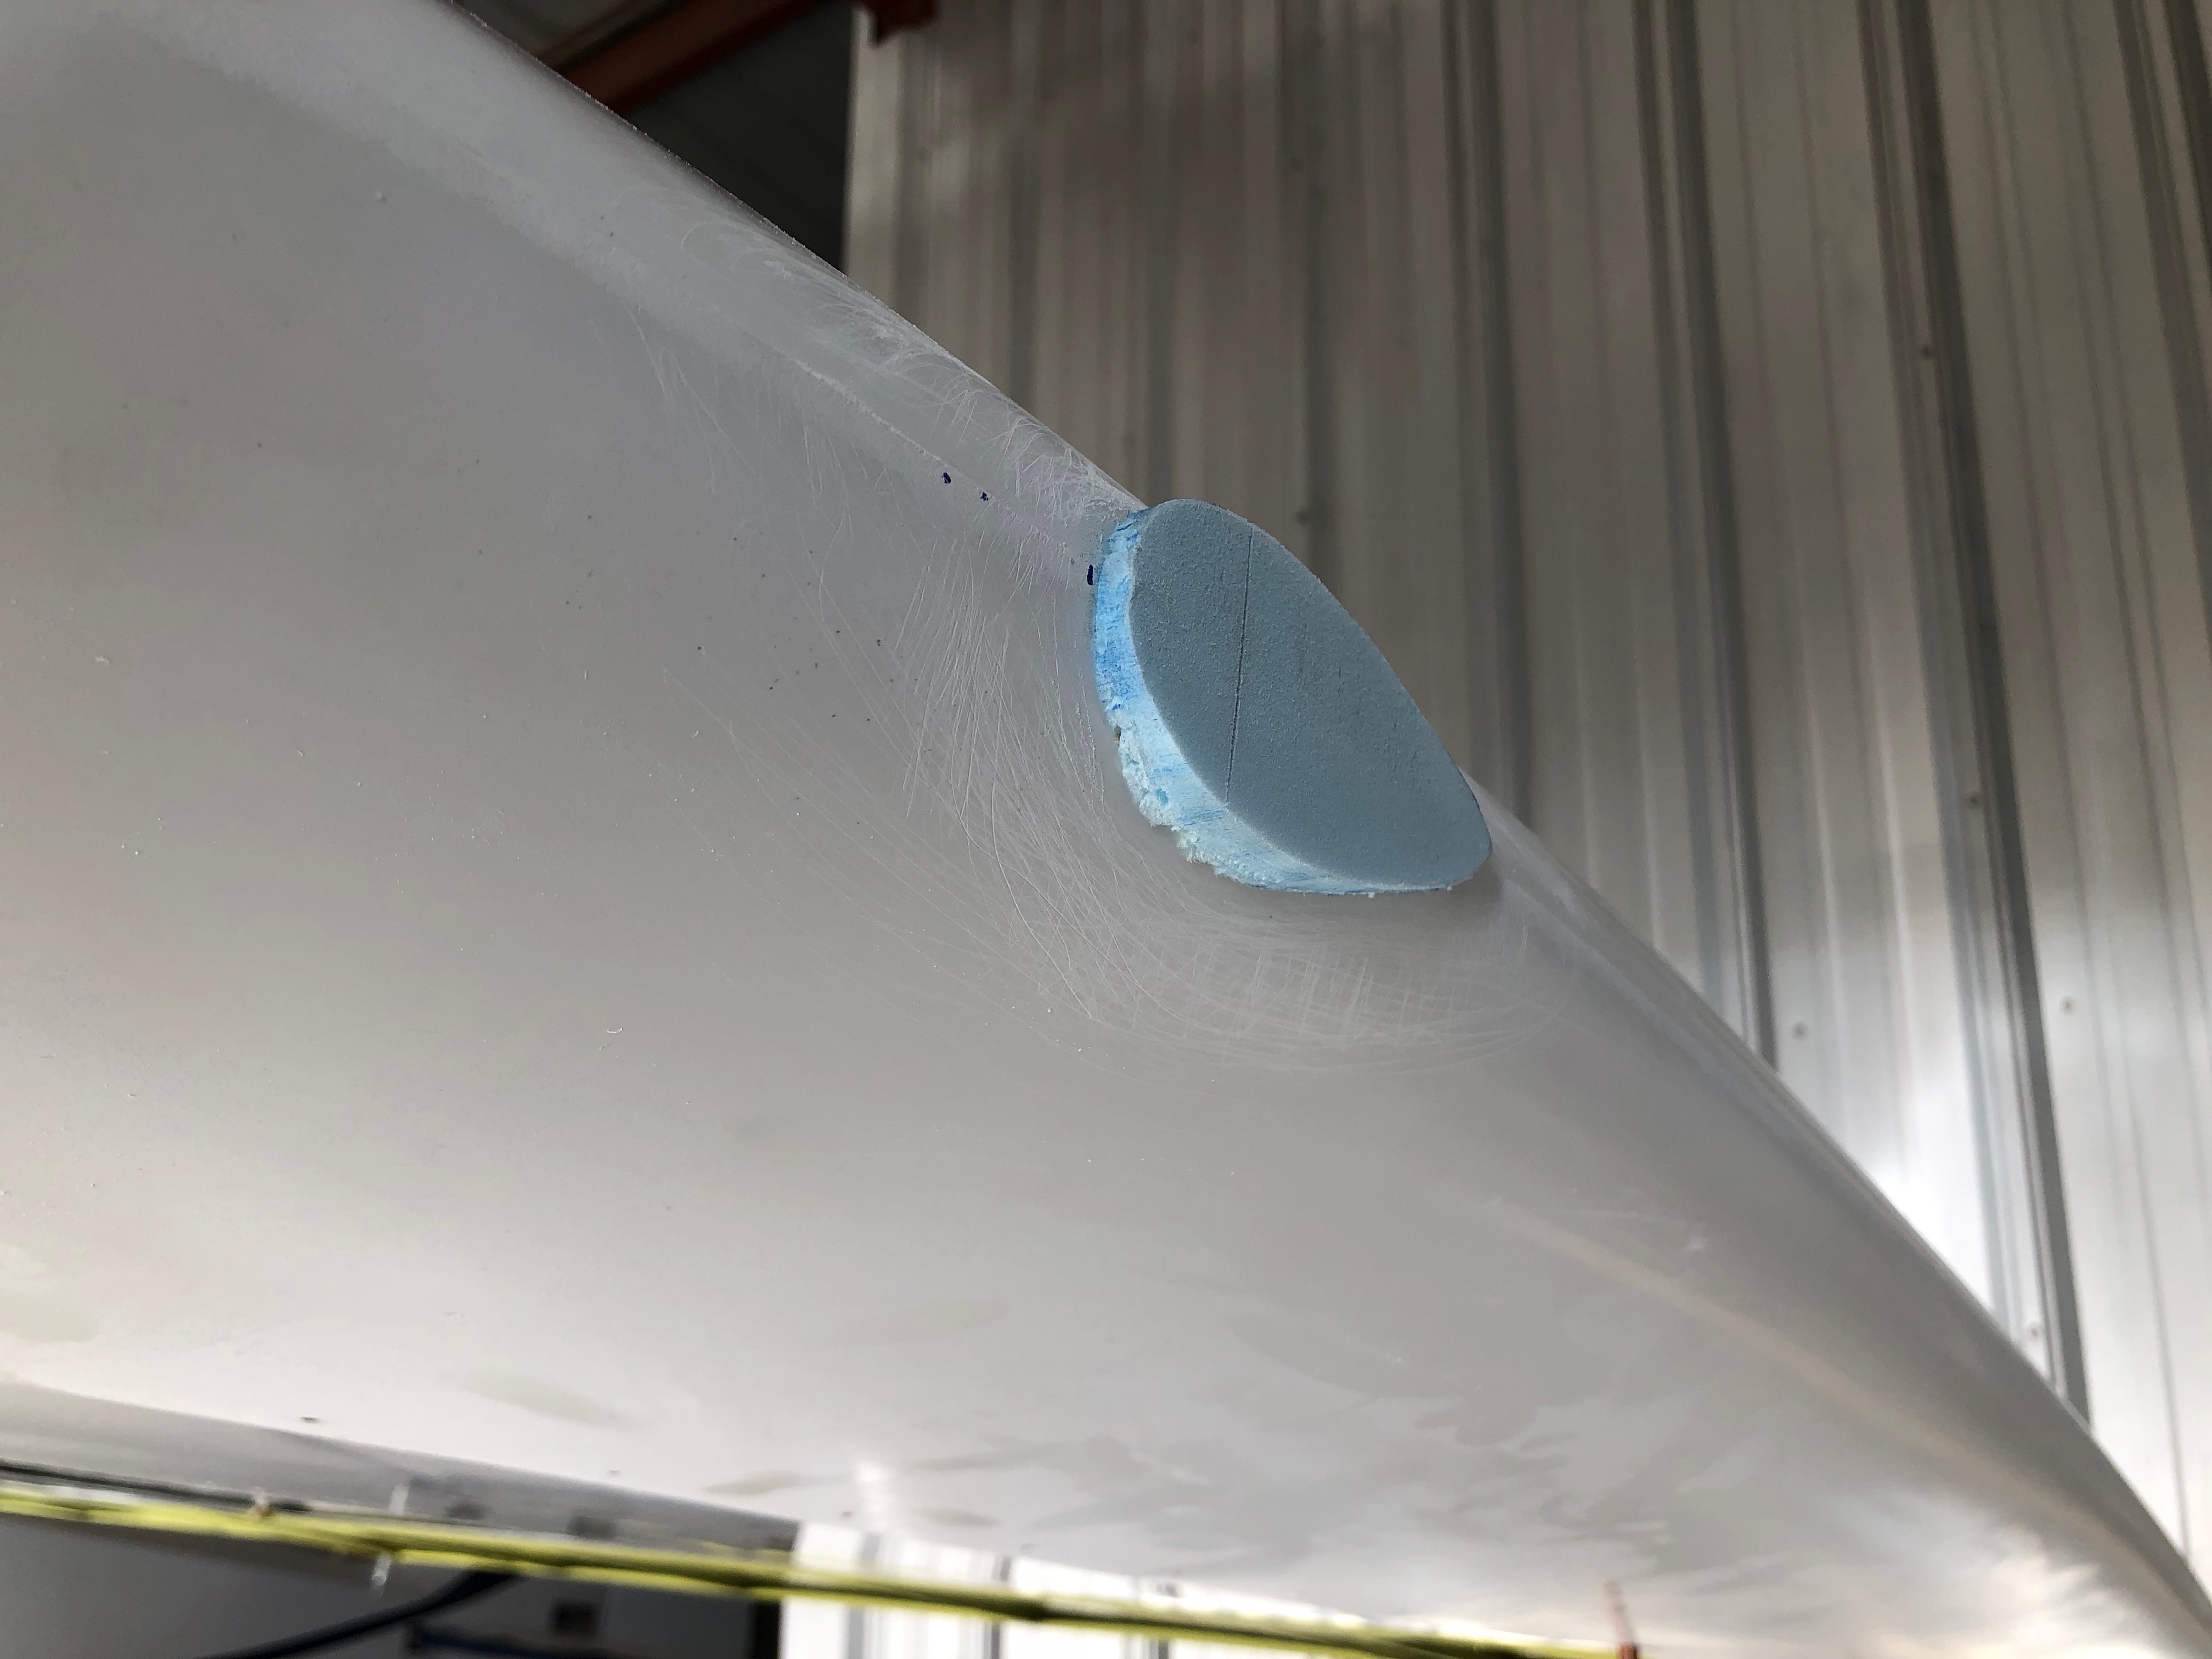
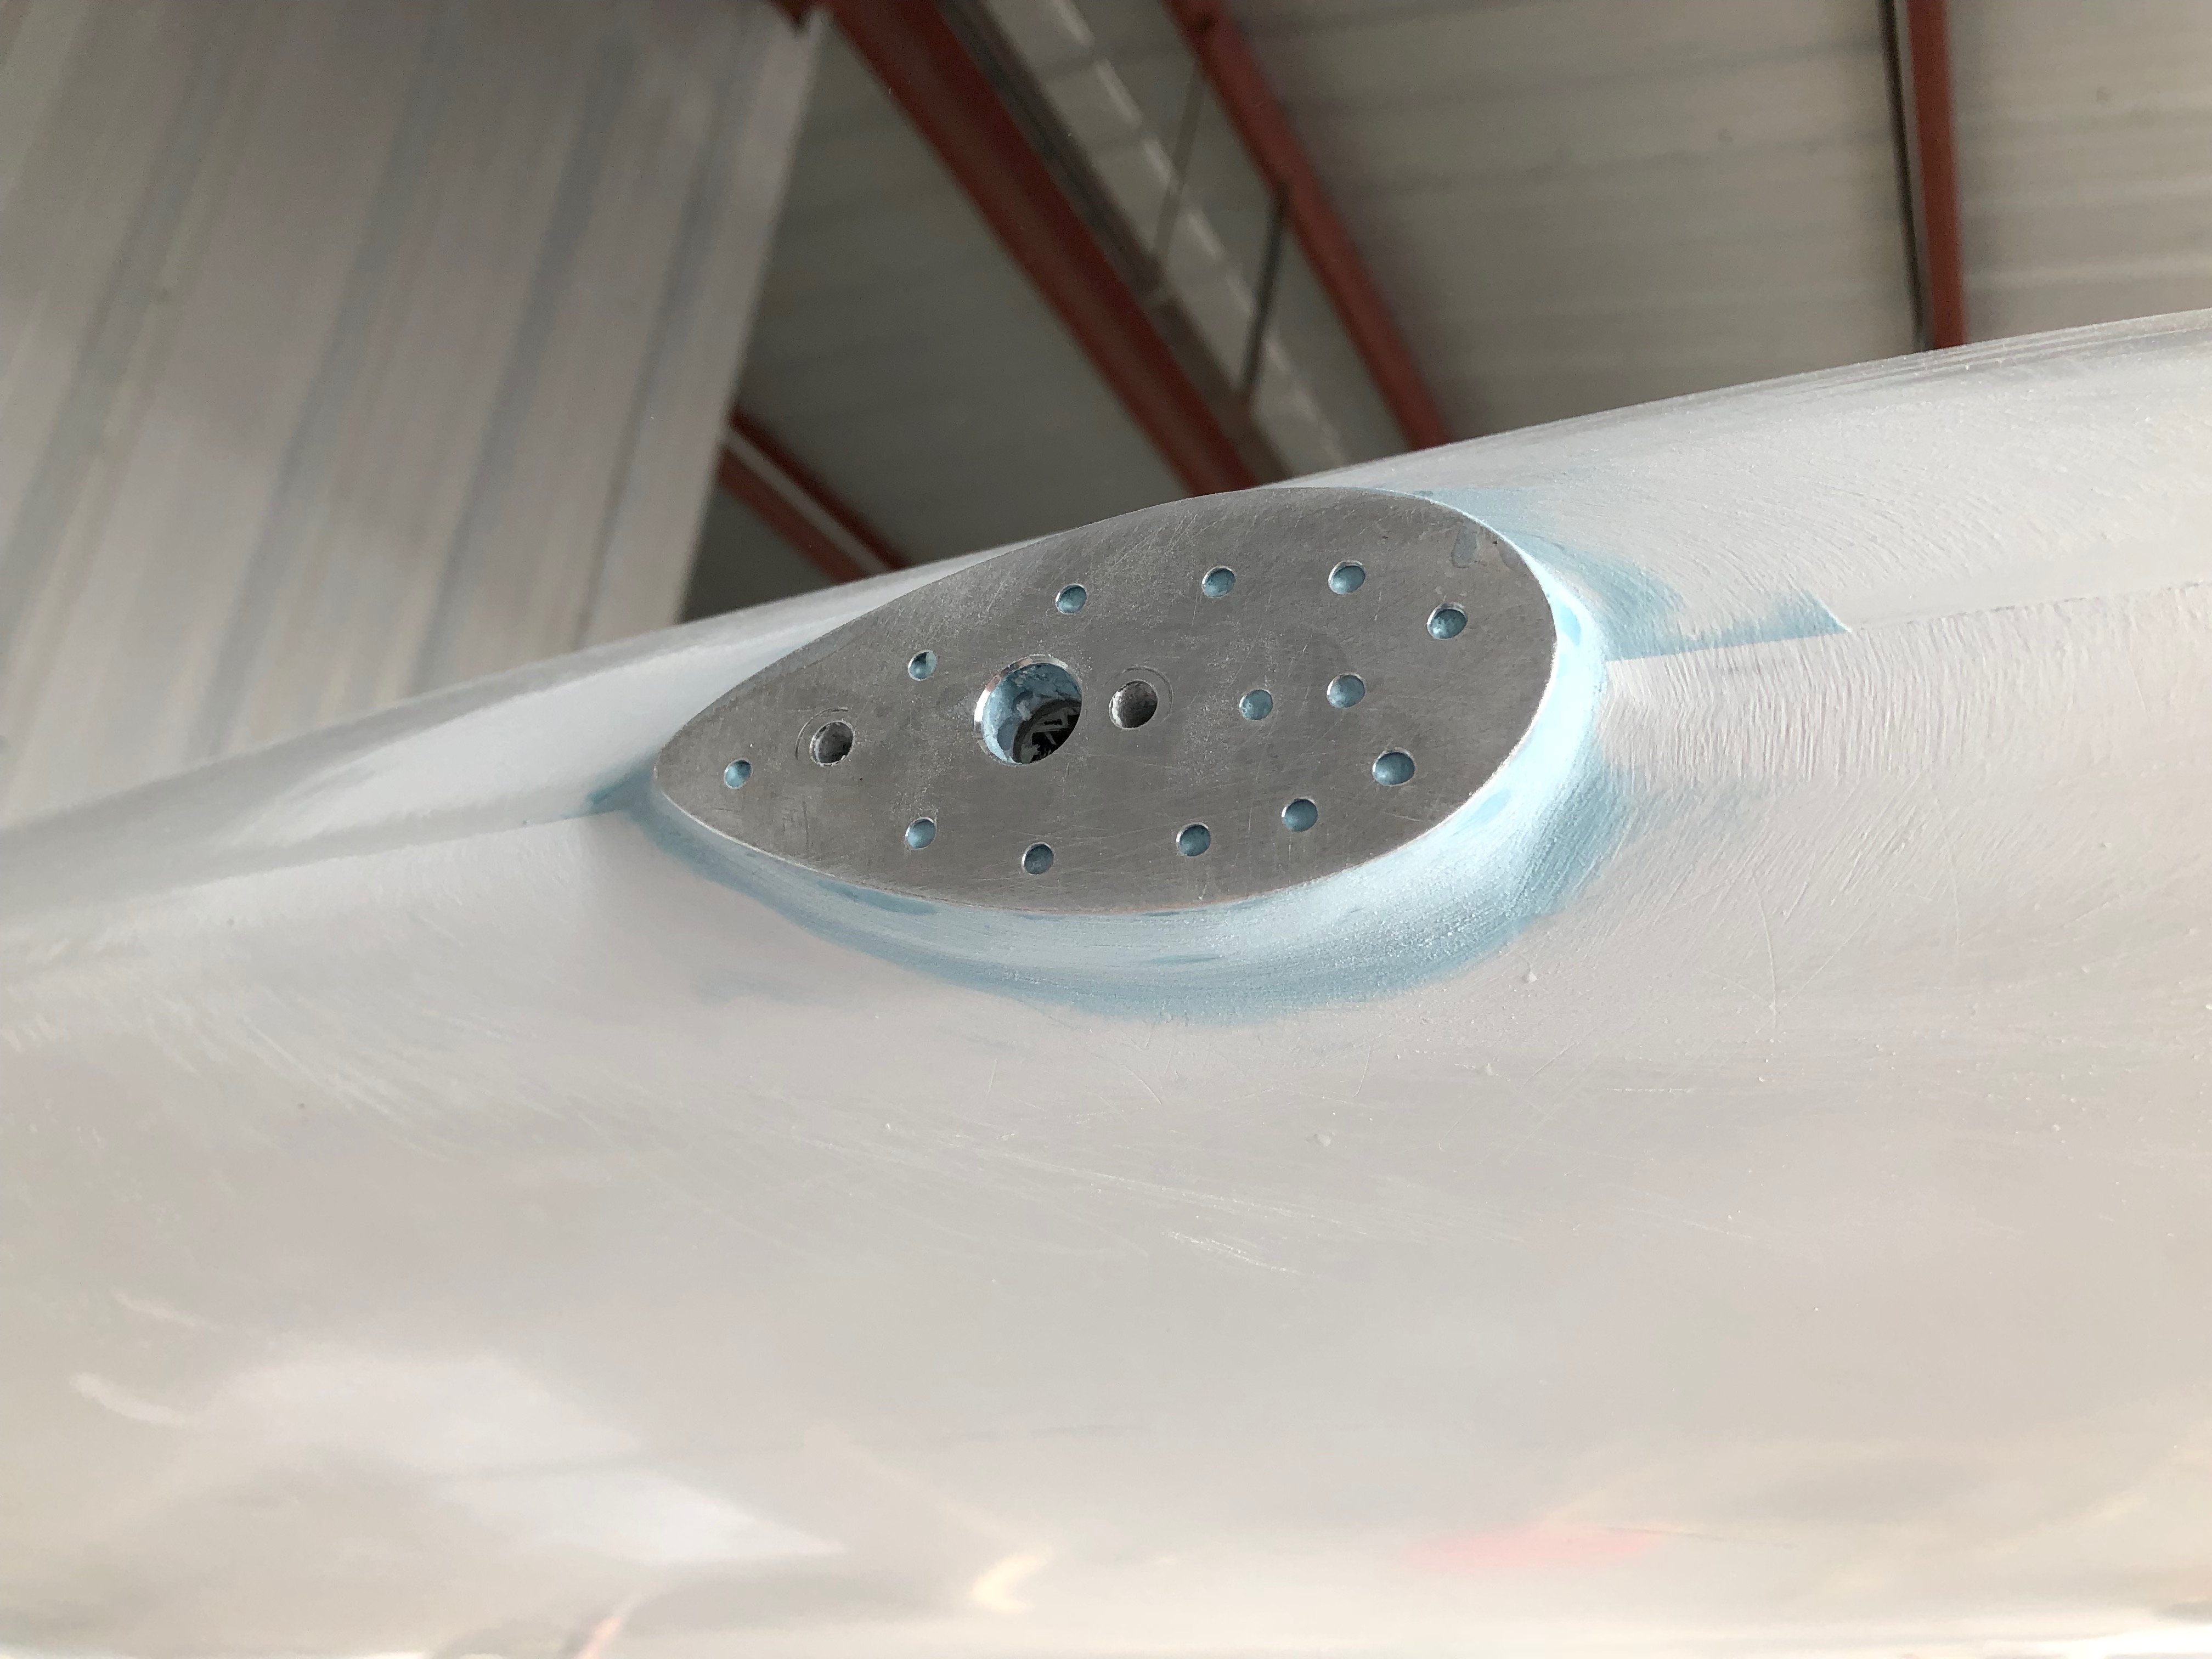
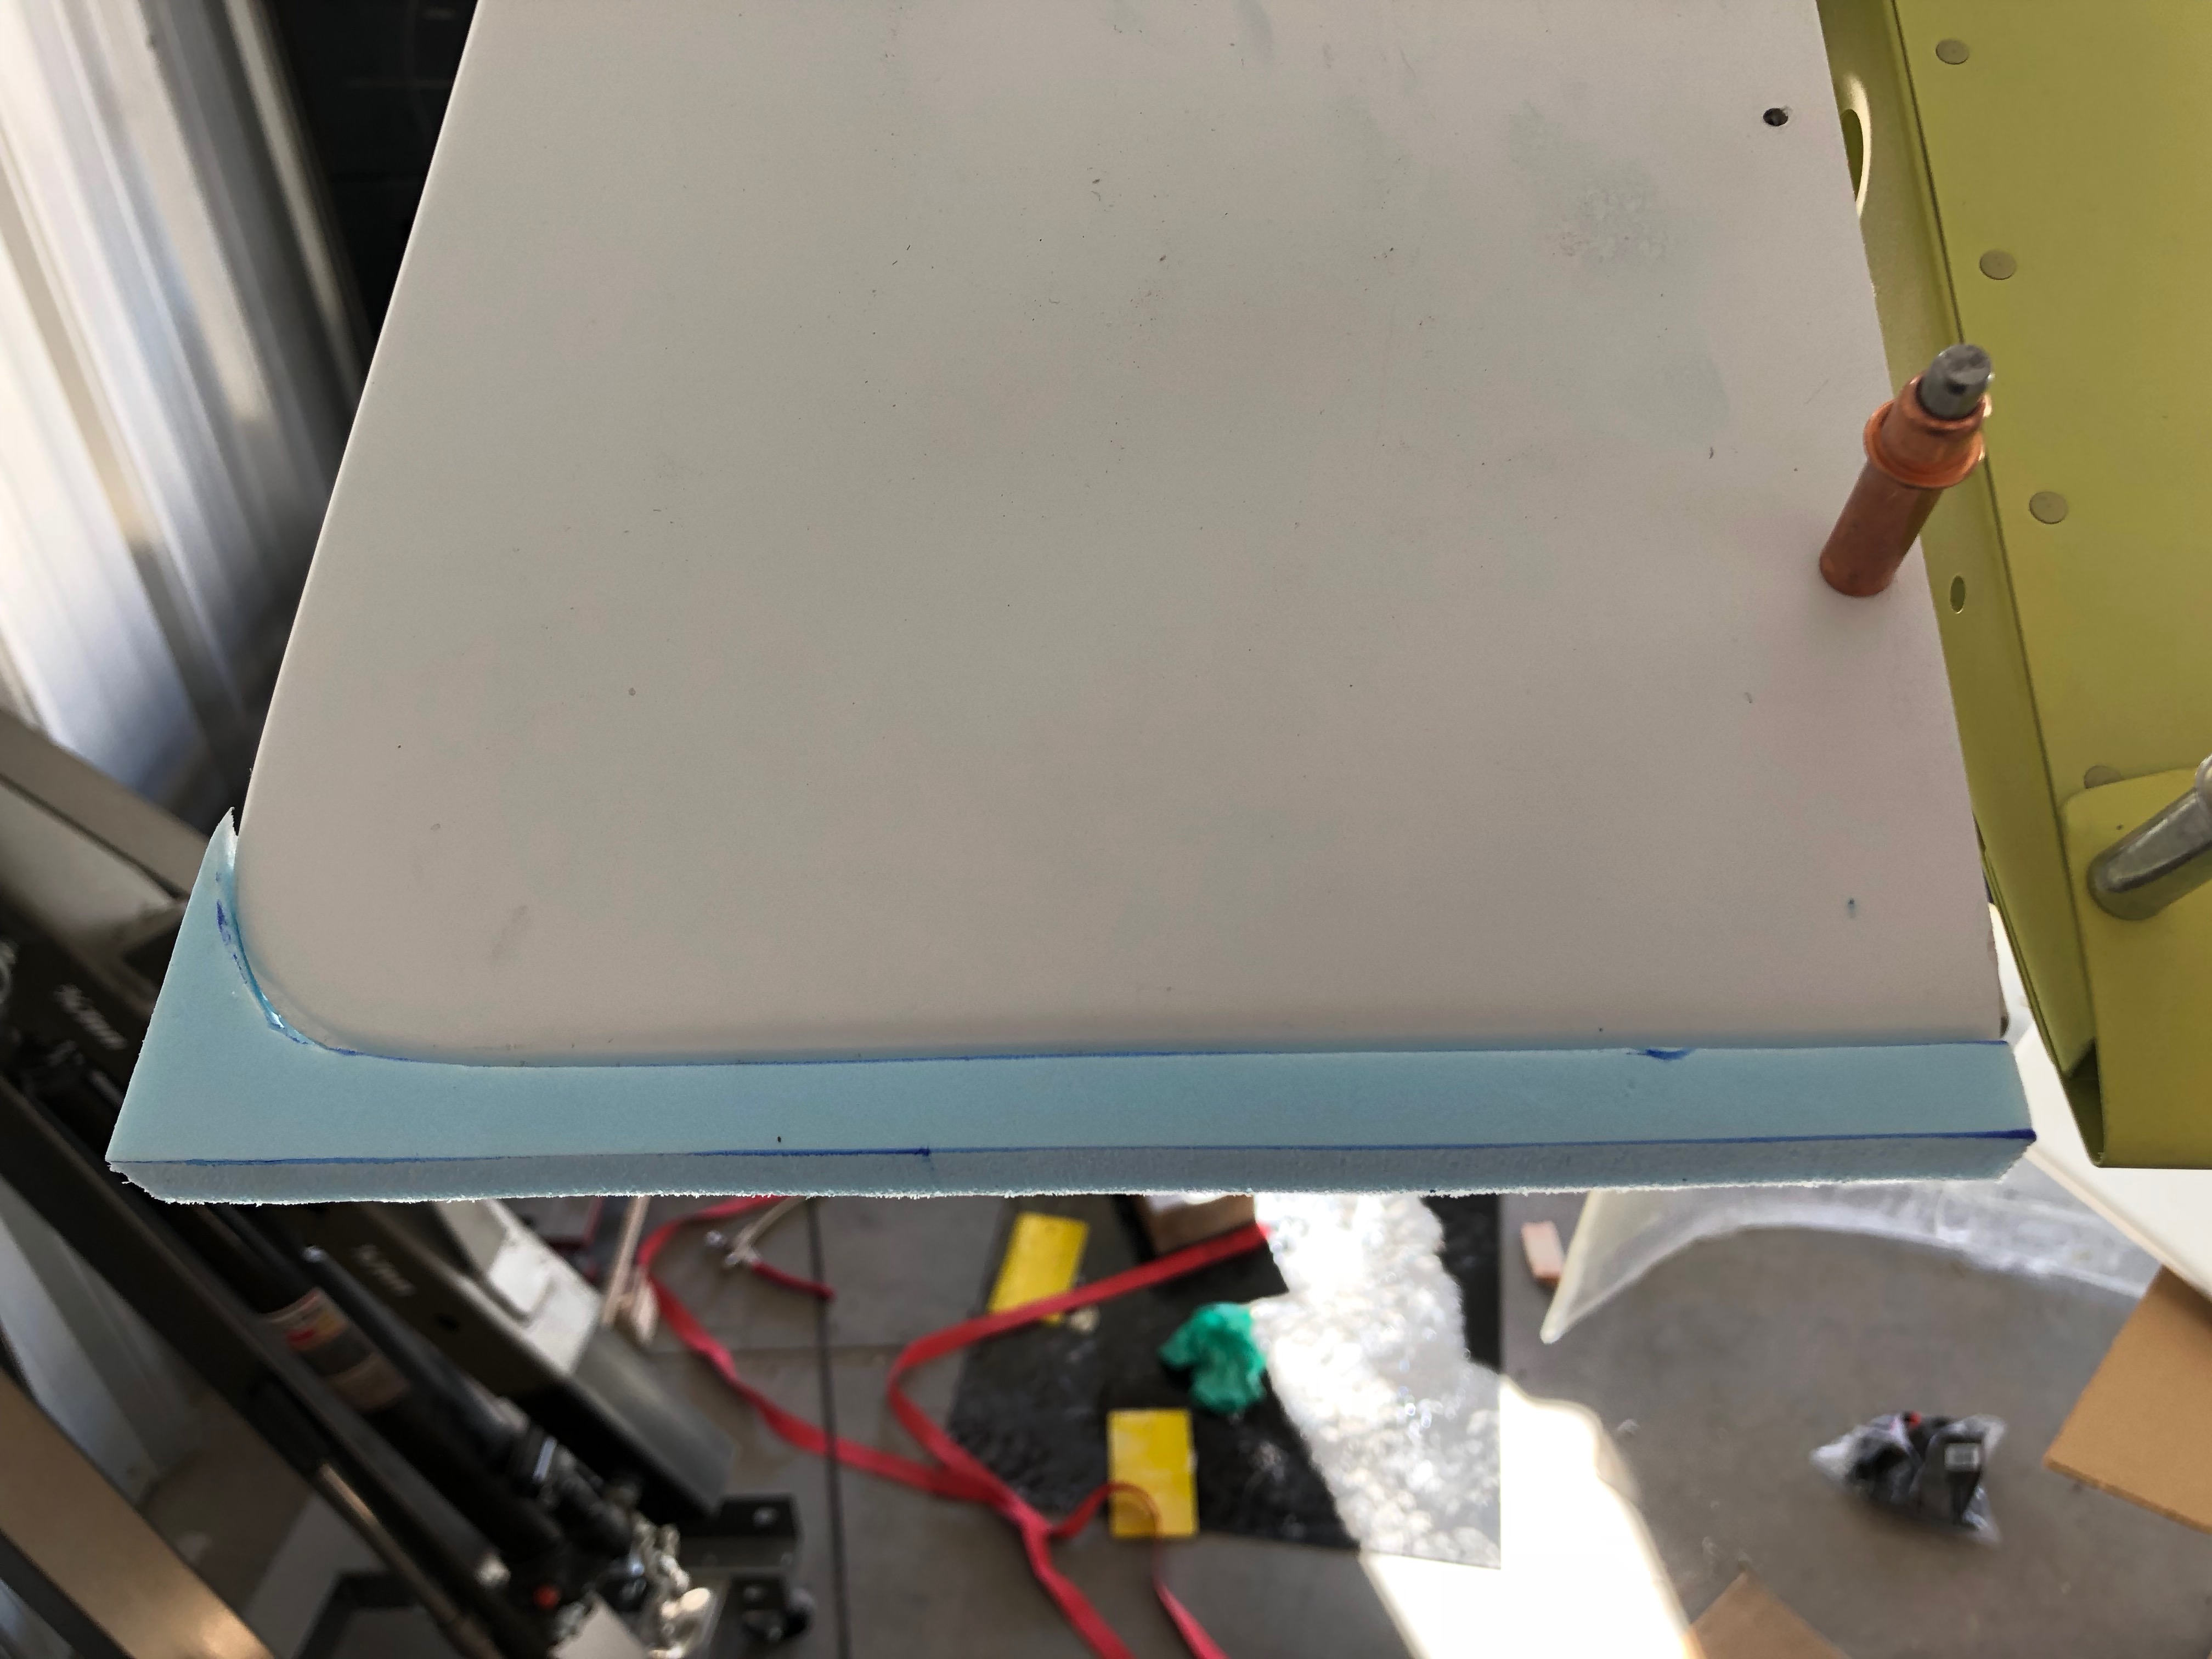
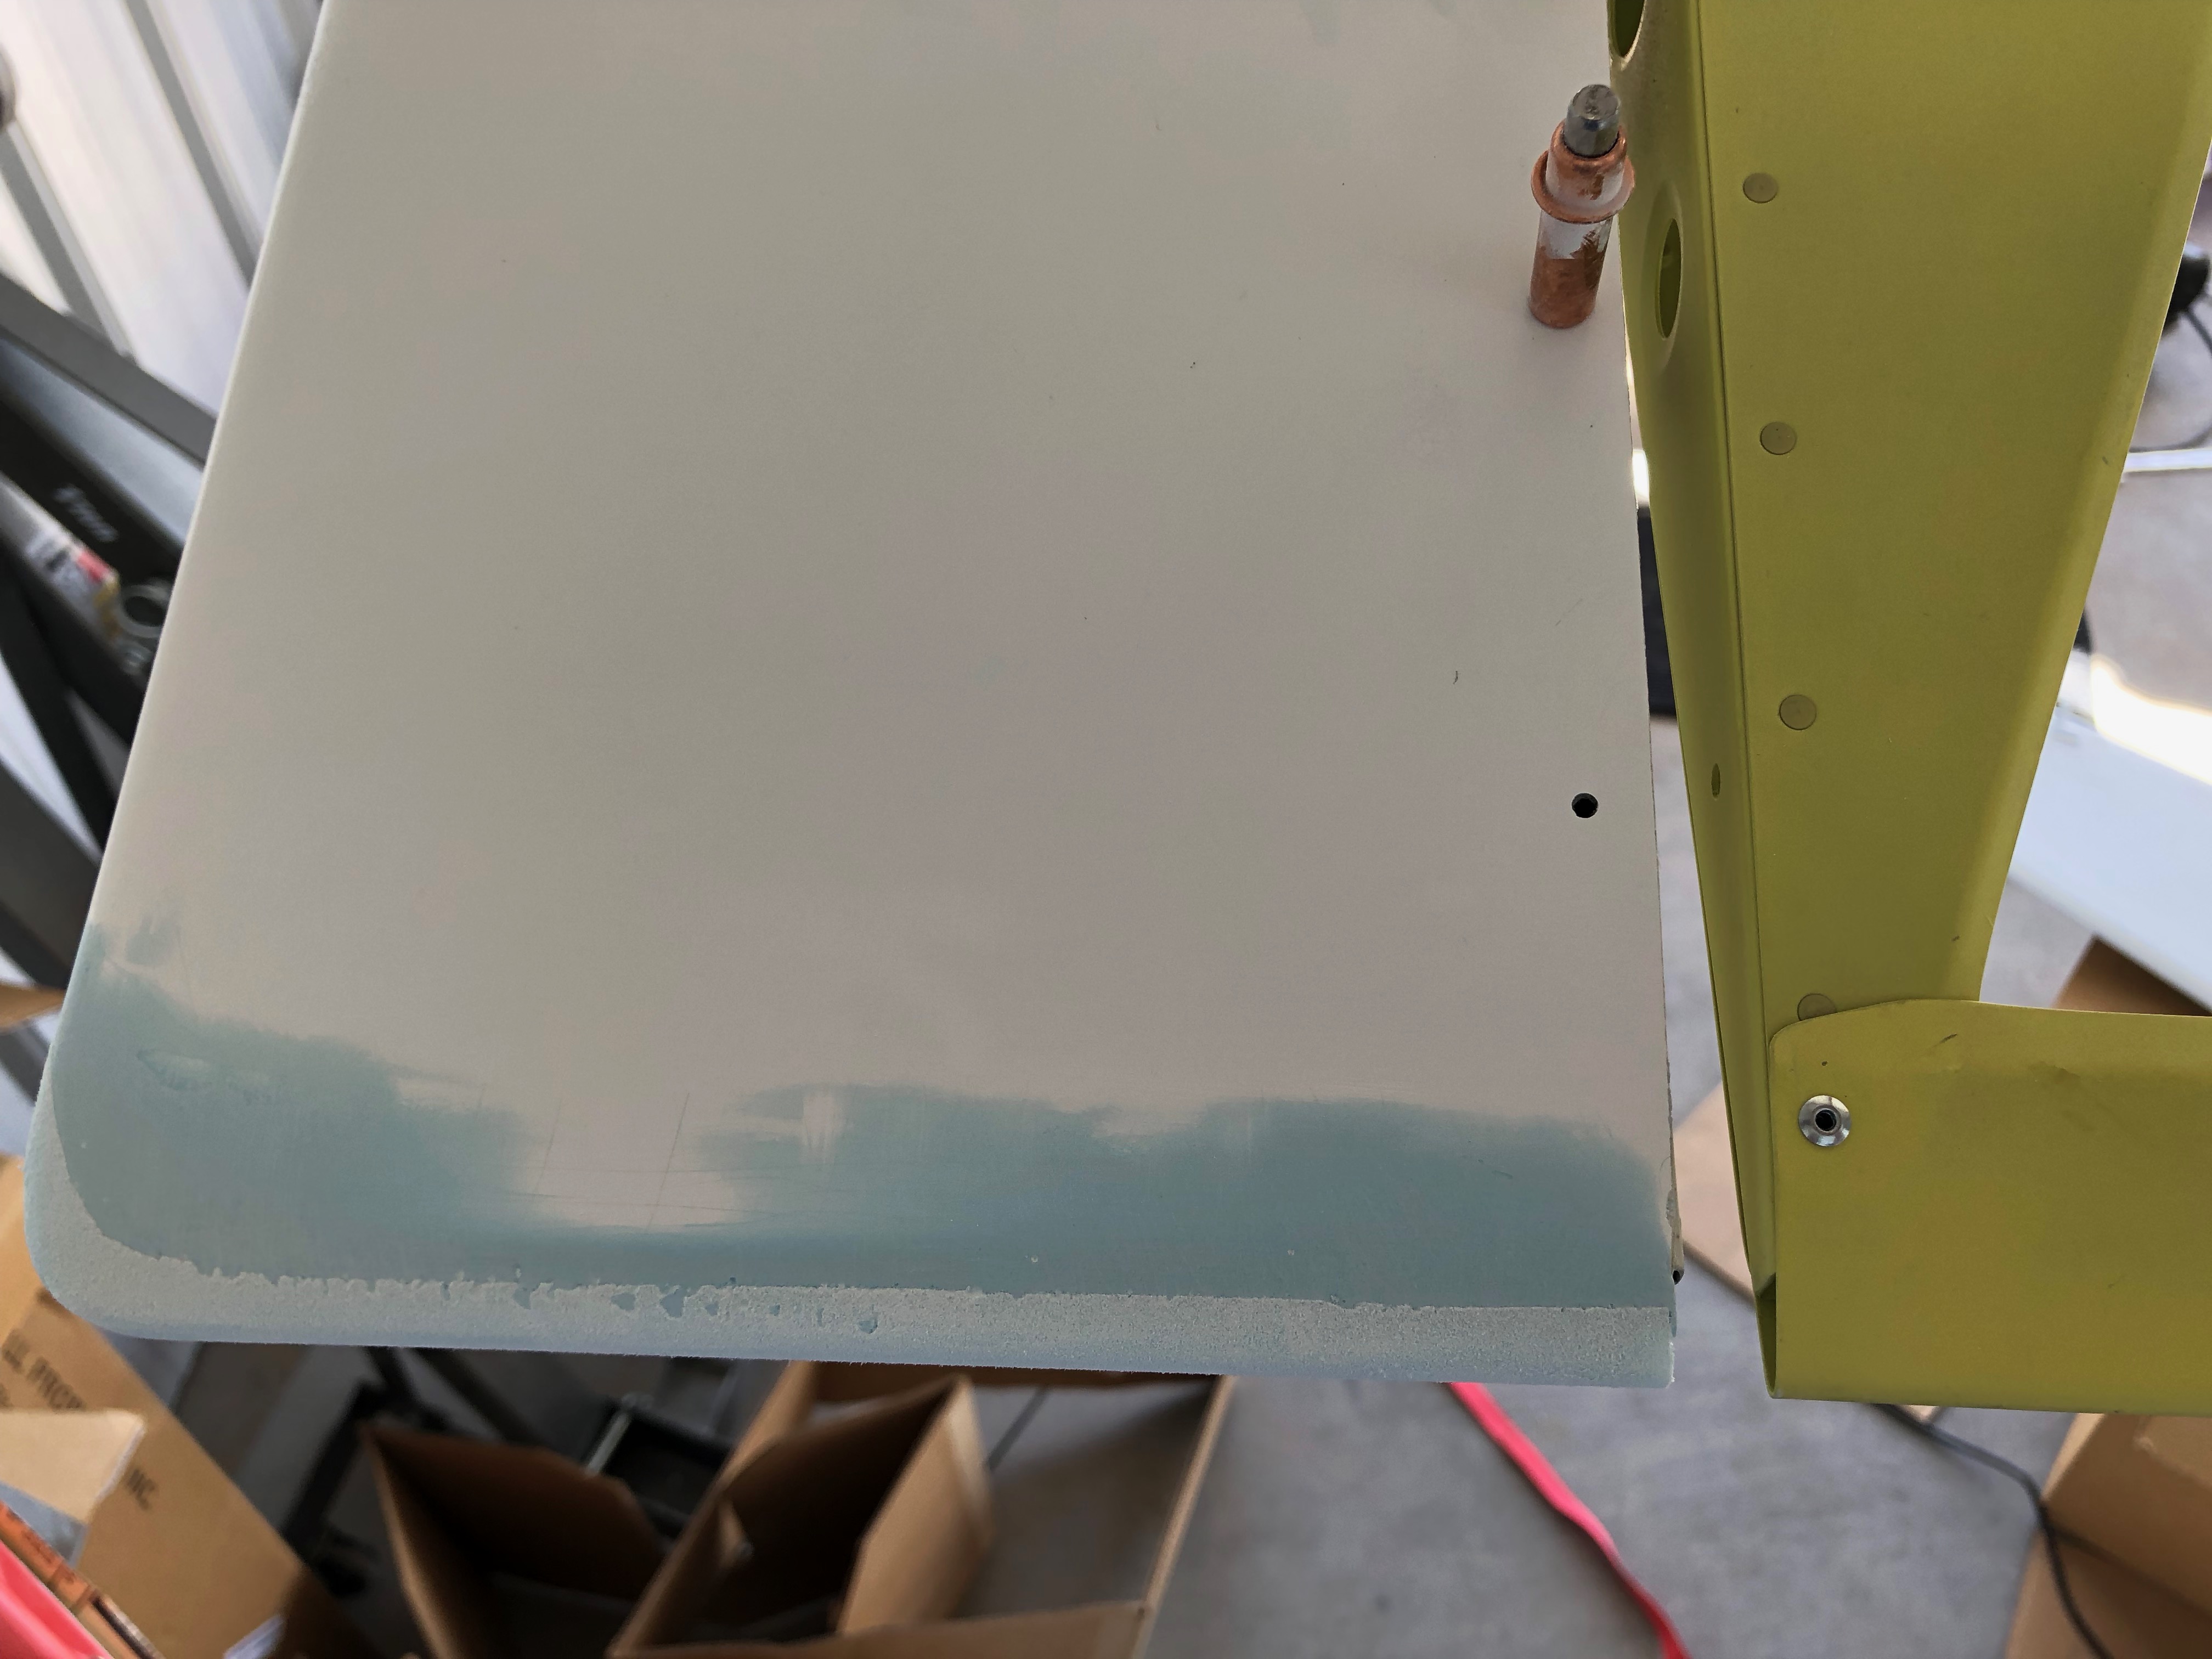
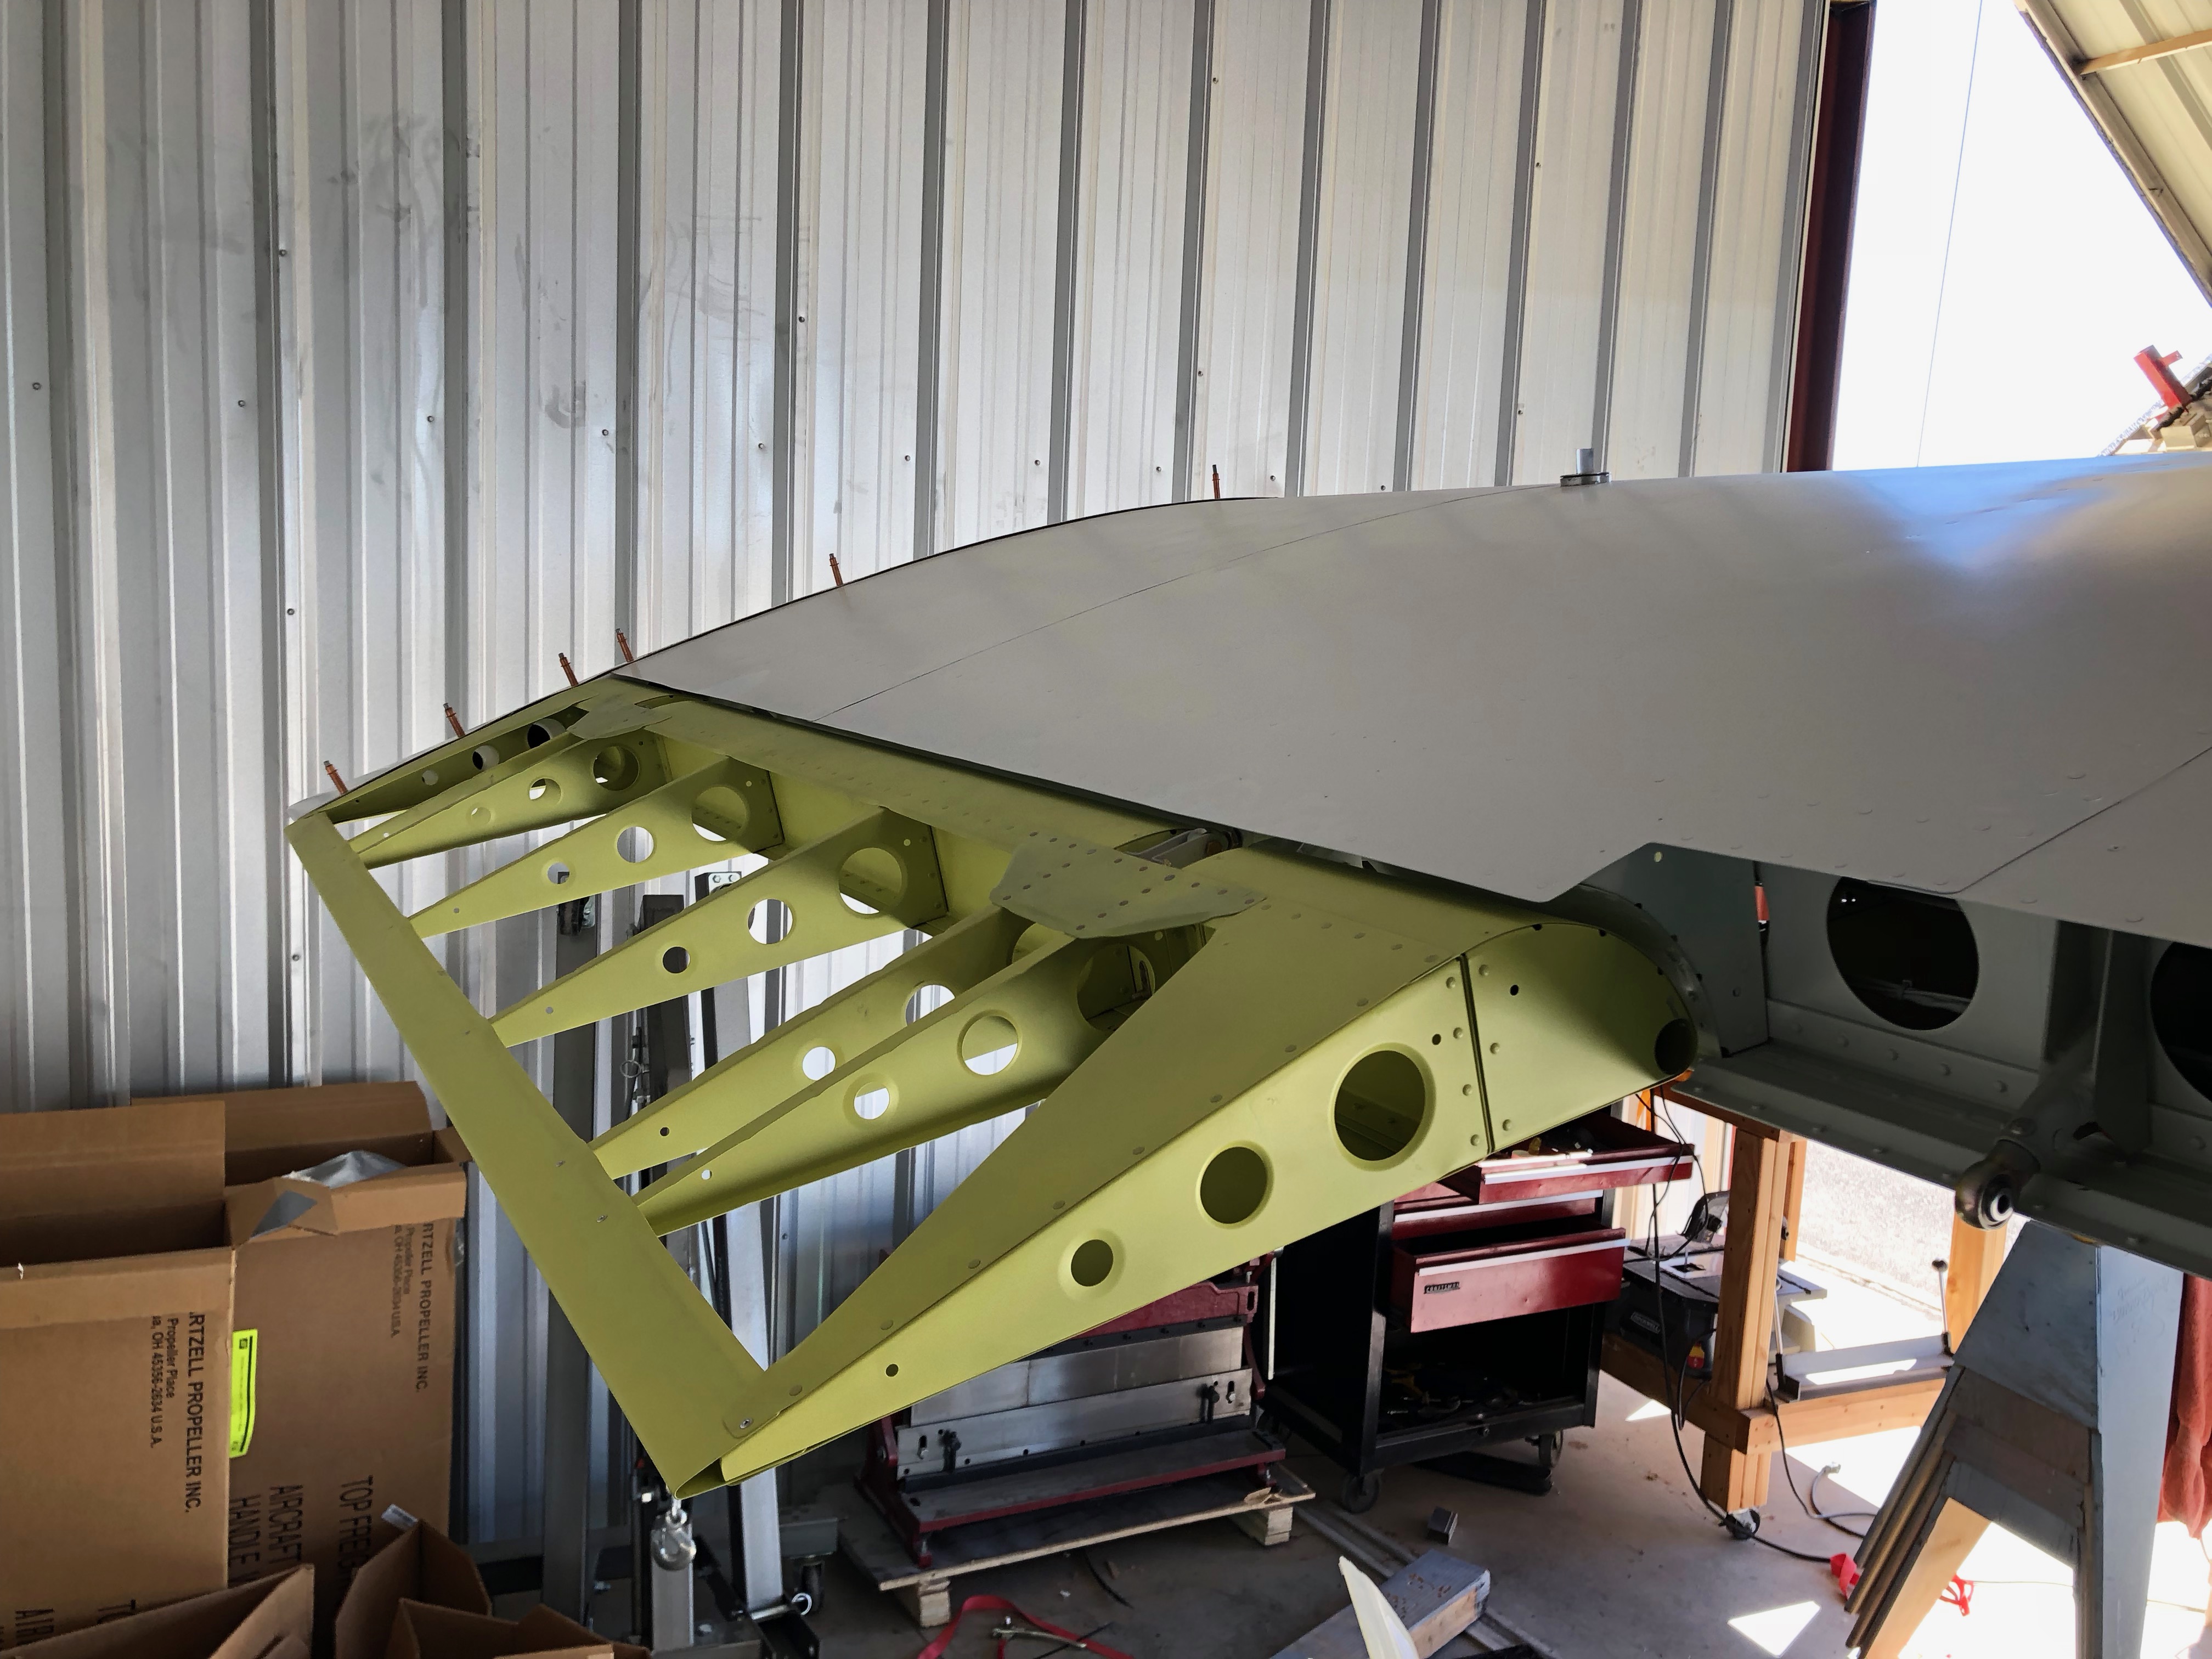
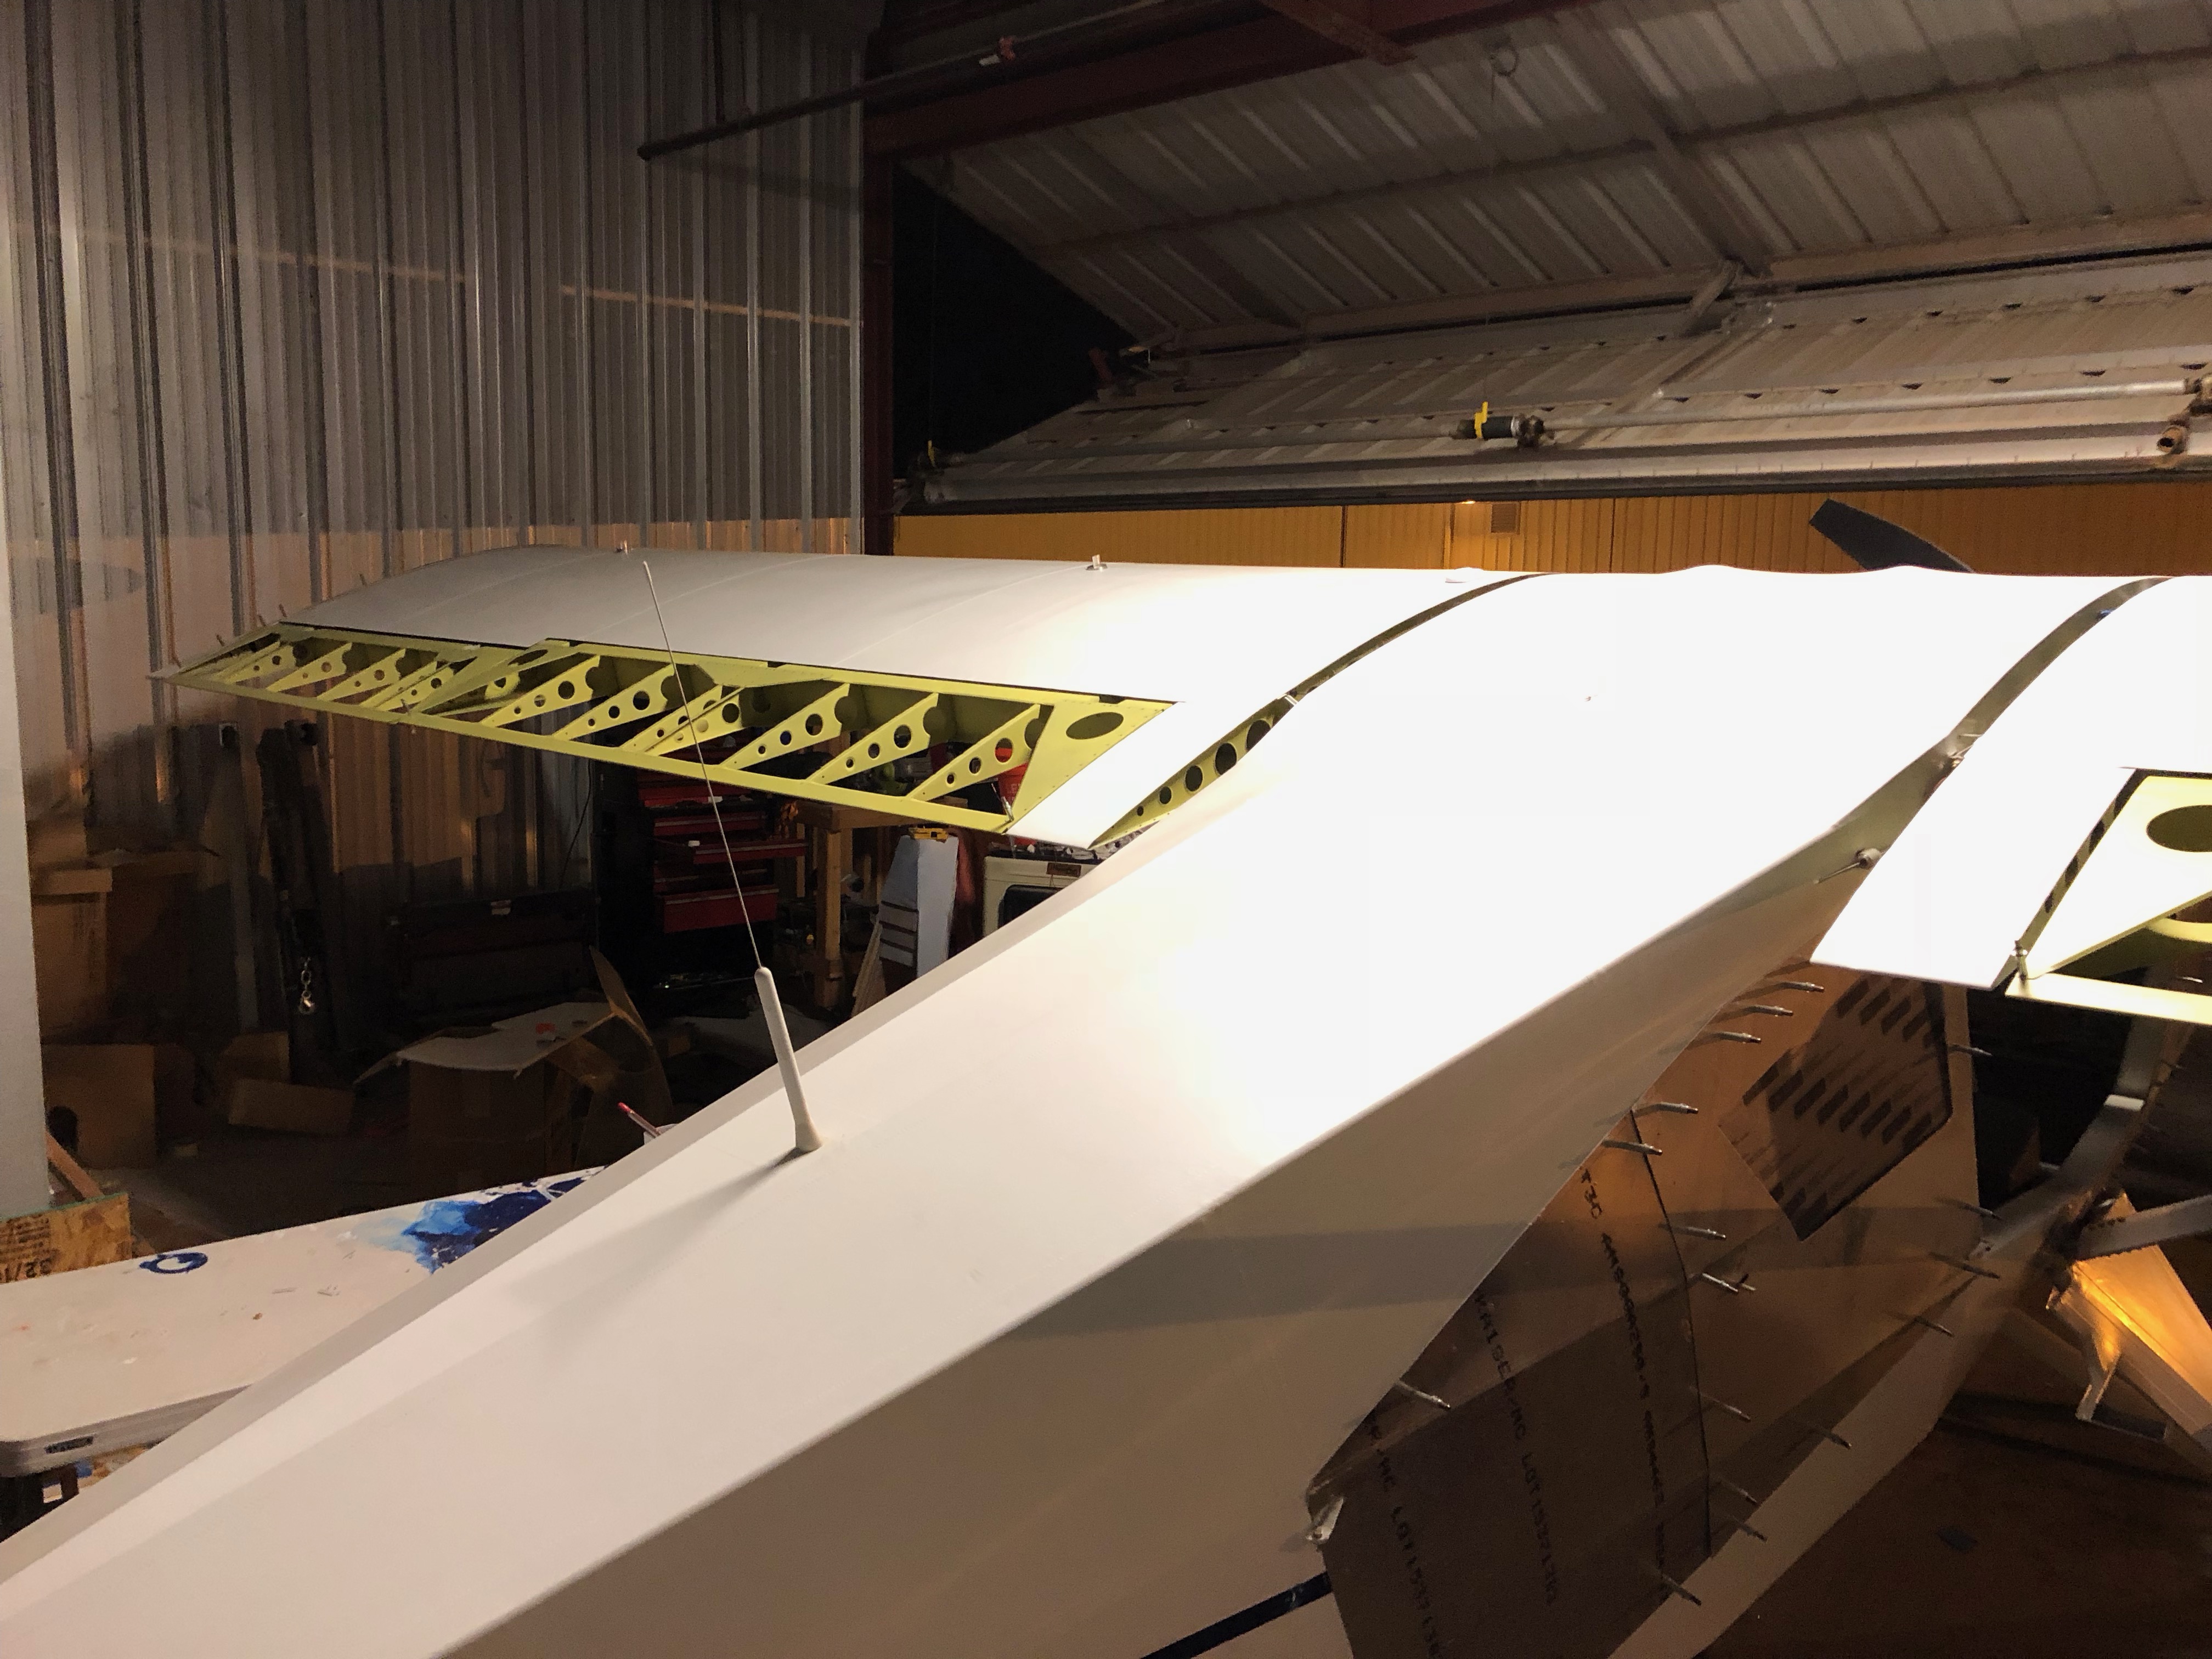
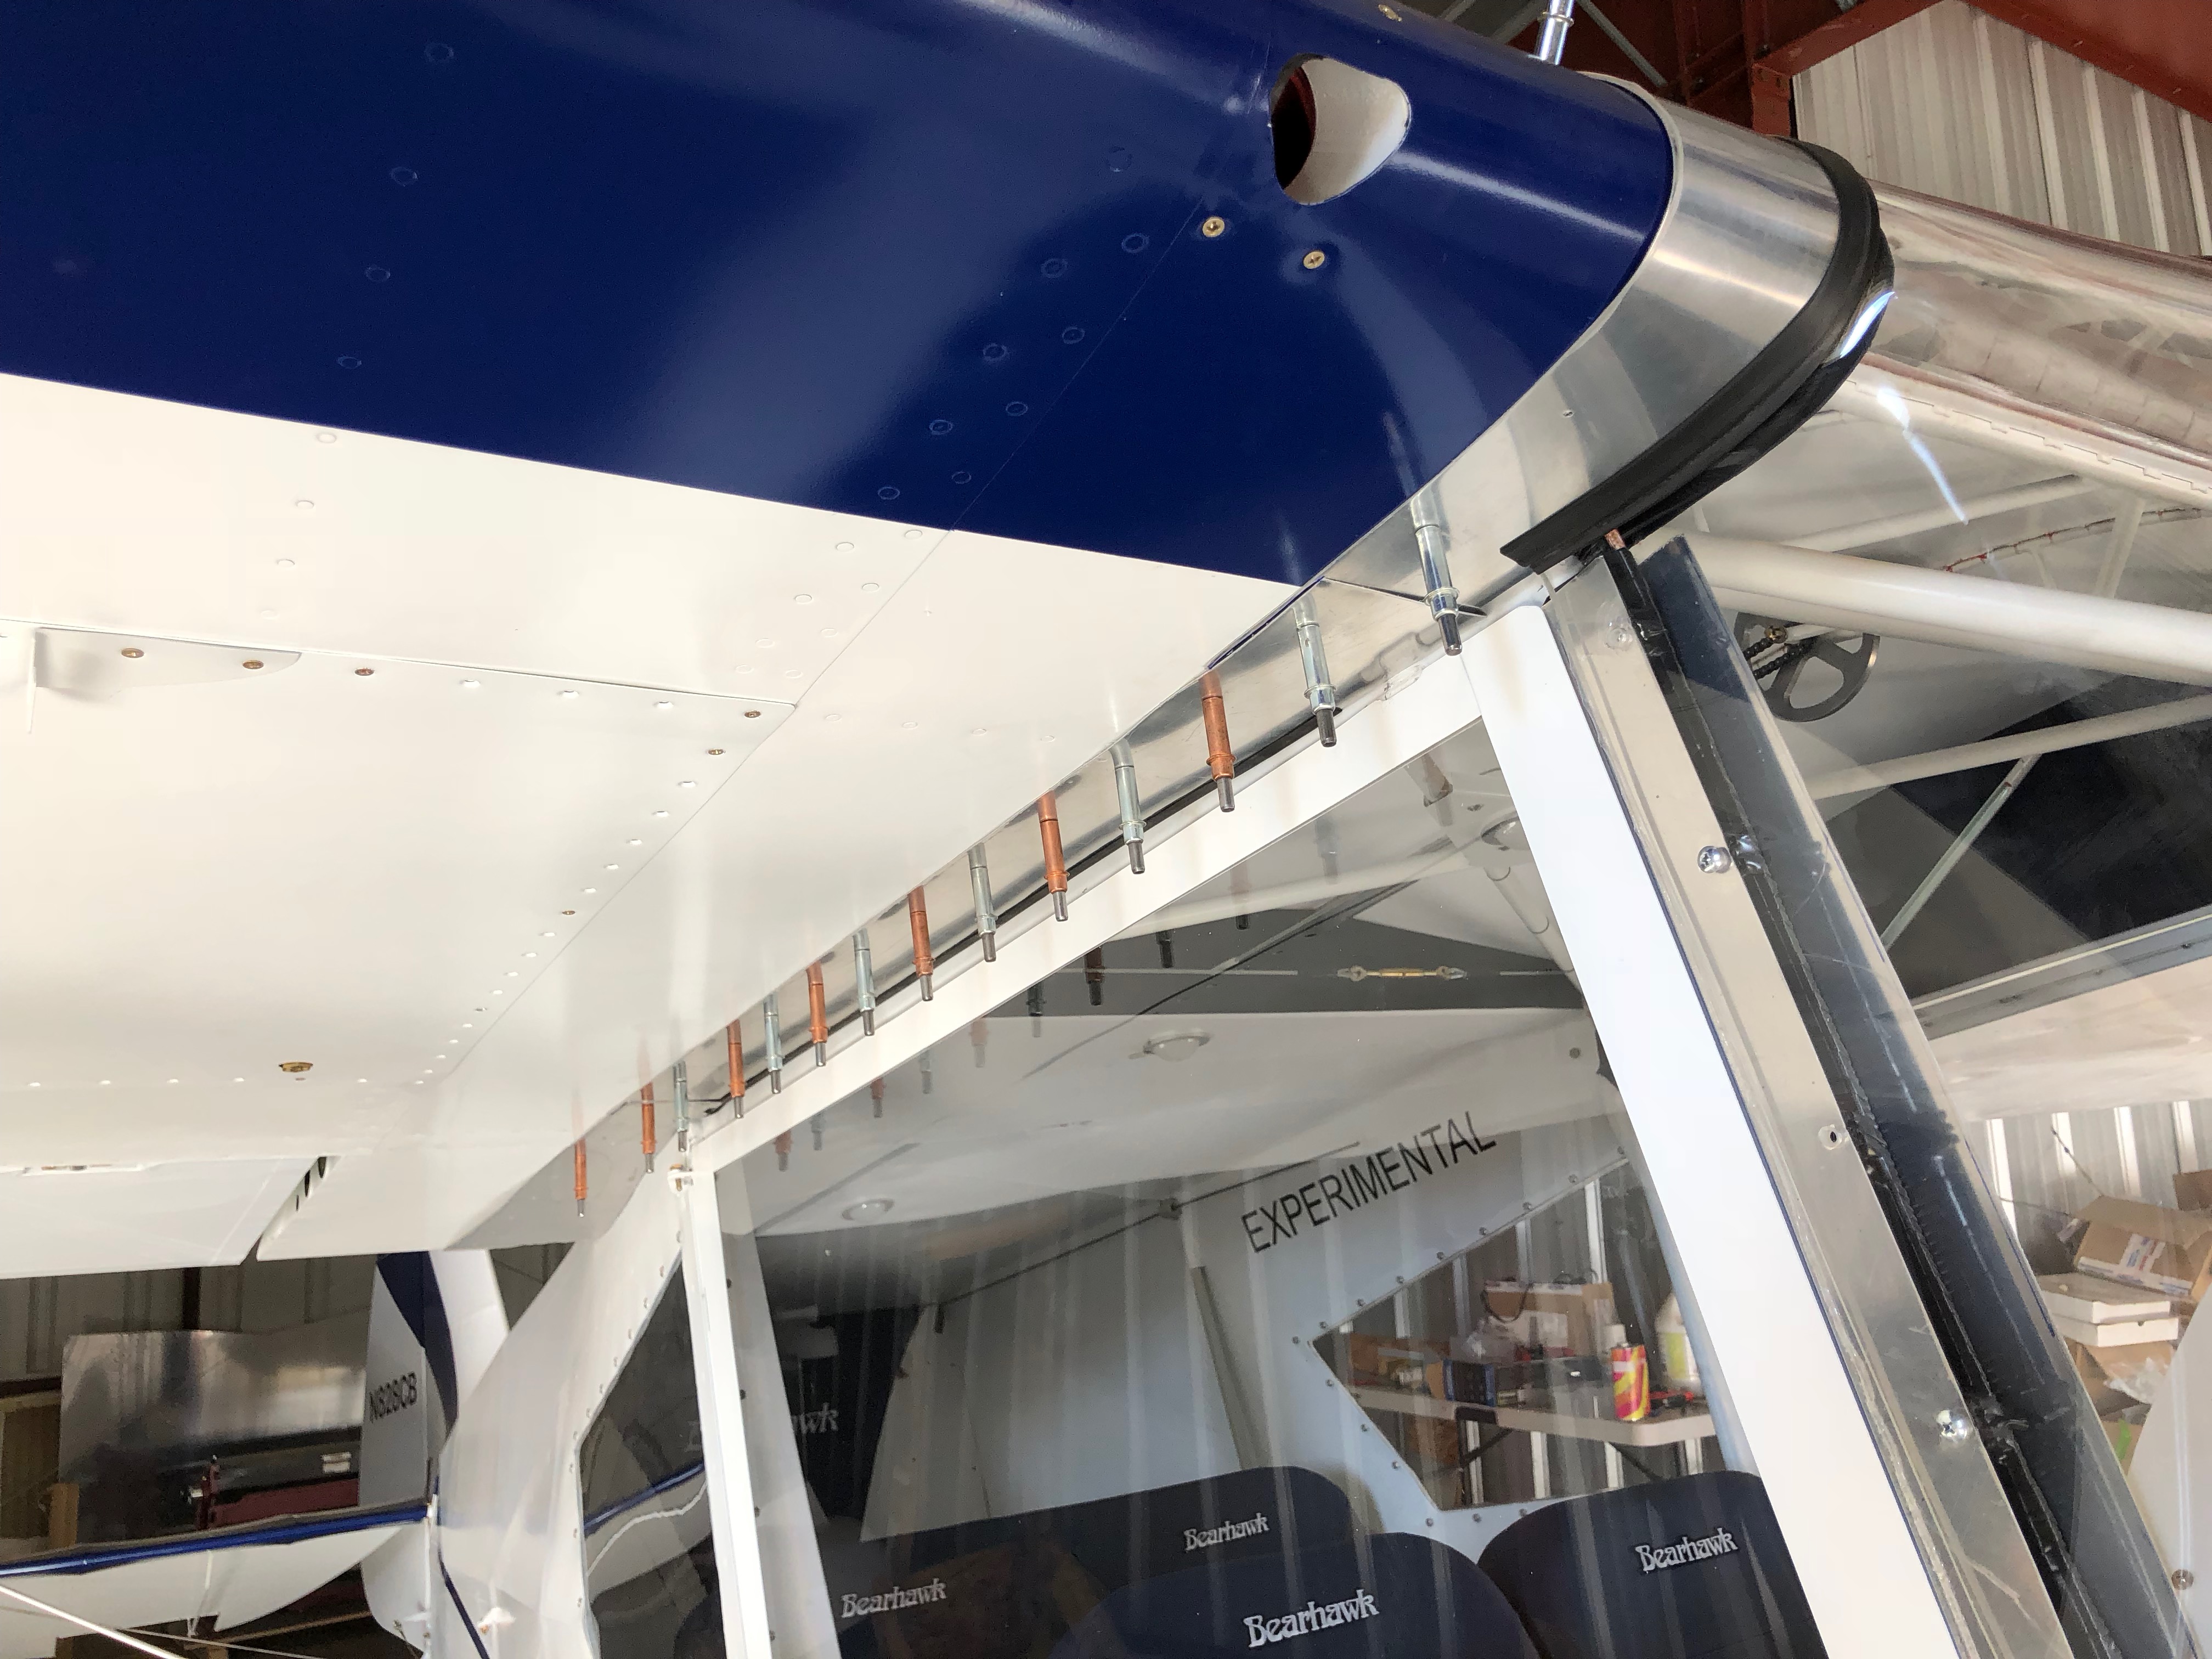
It’s a funny thing.  These look relatively simple and I thought they wouldn’t take much time.  However, I was very wrong.  It took me early 2 days to get these to fit the way I liked.

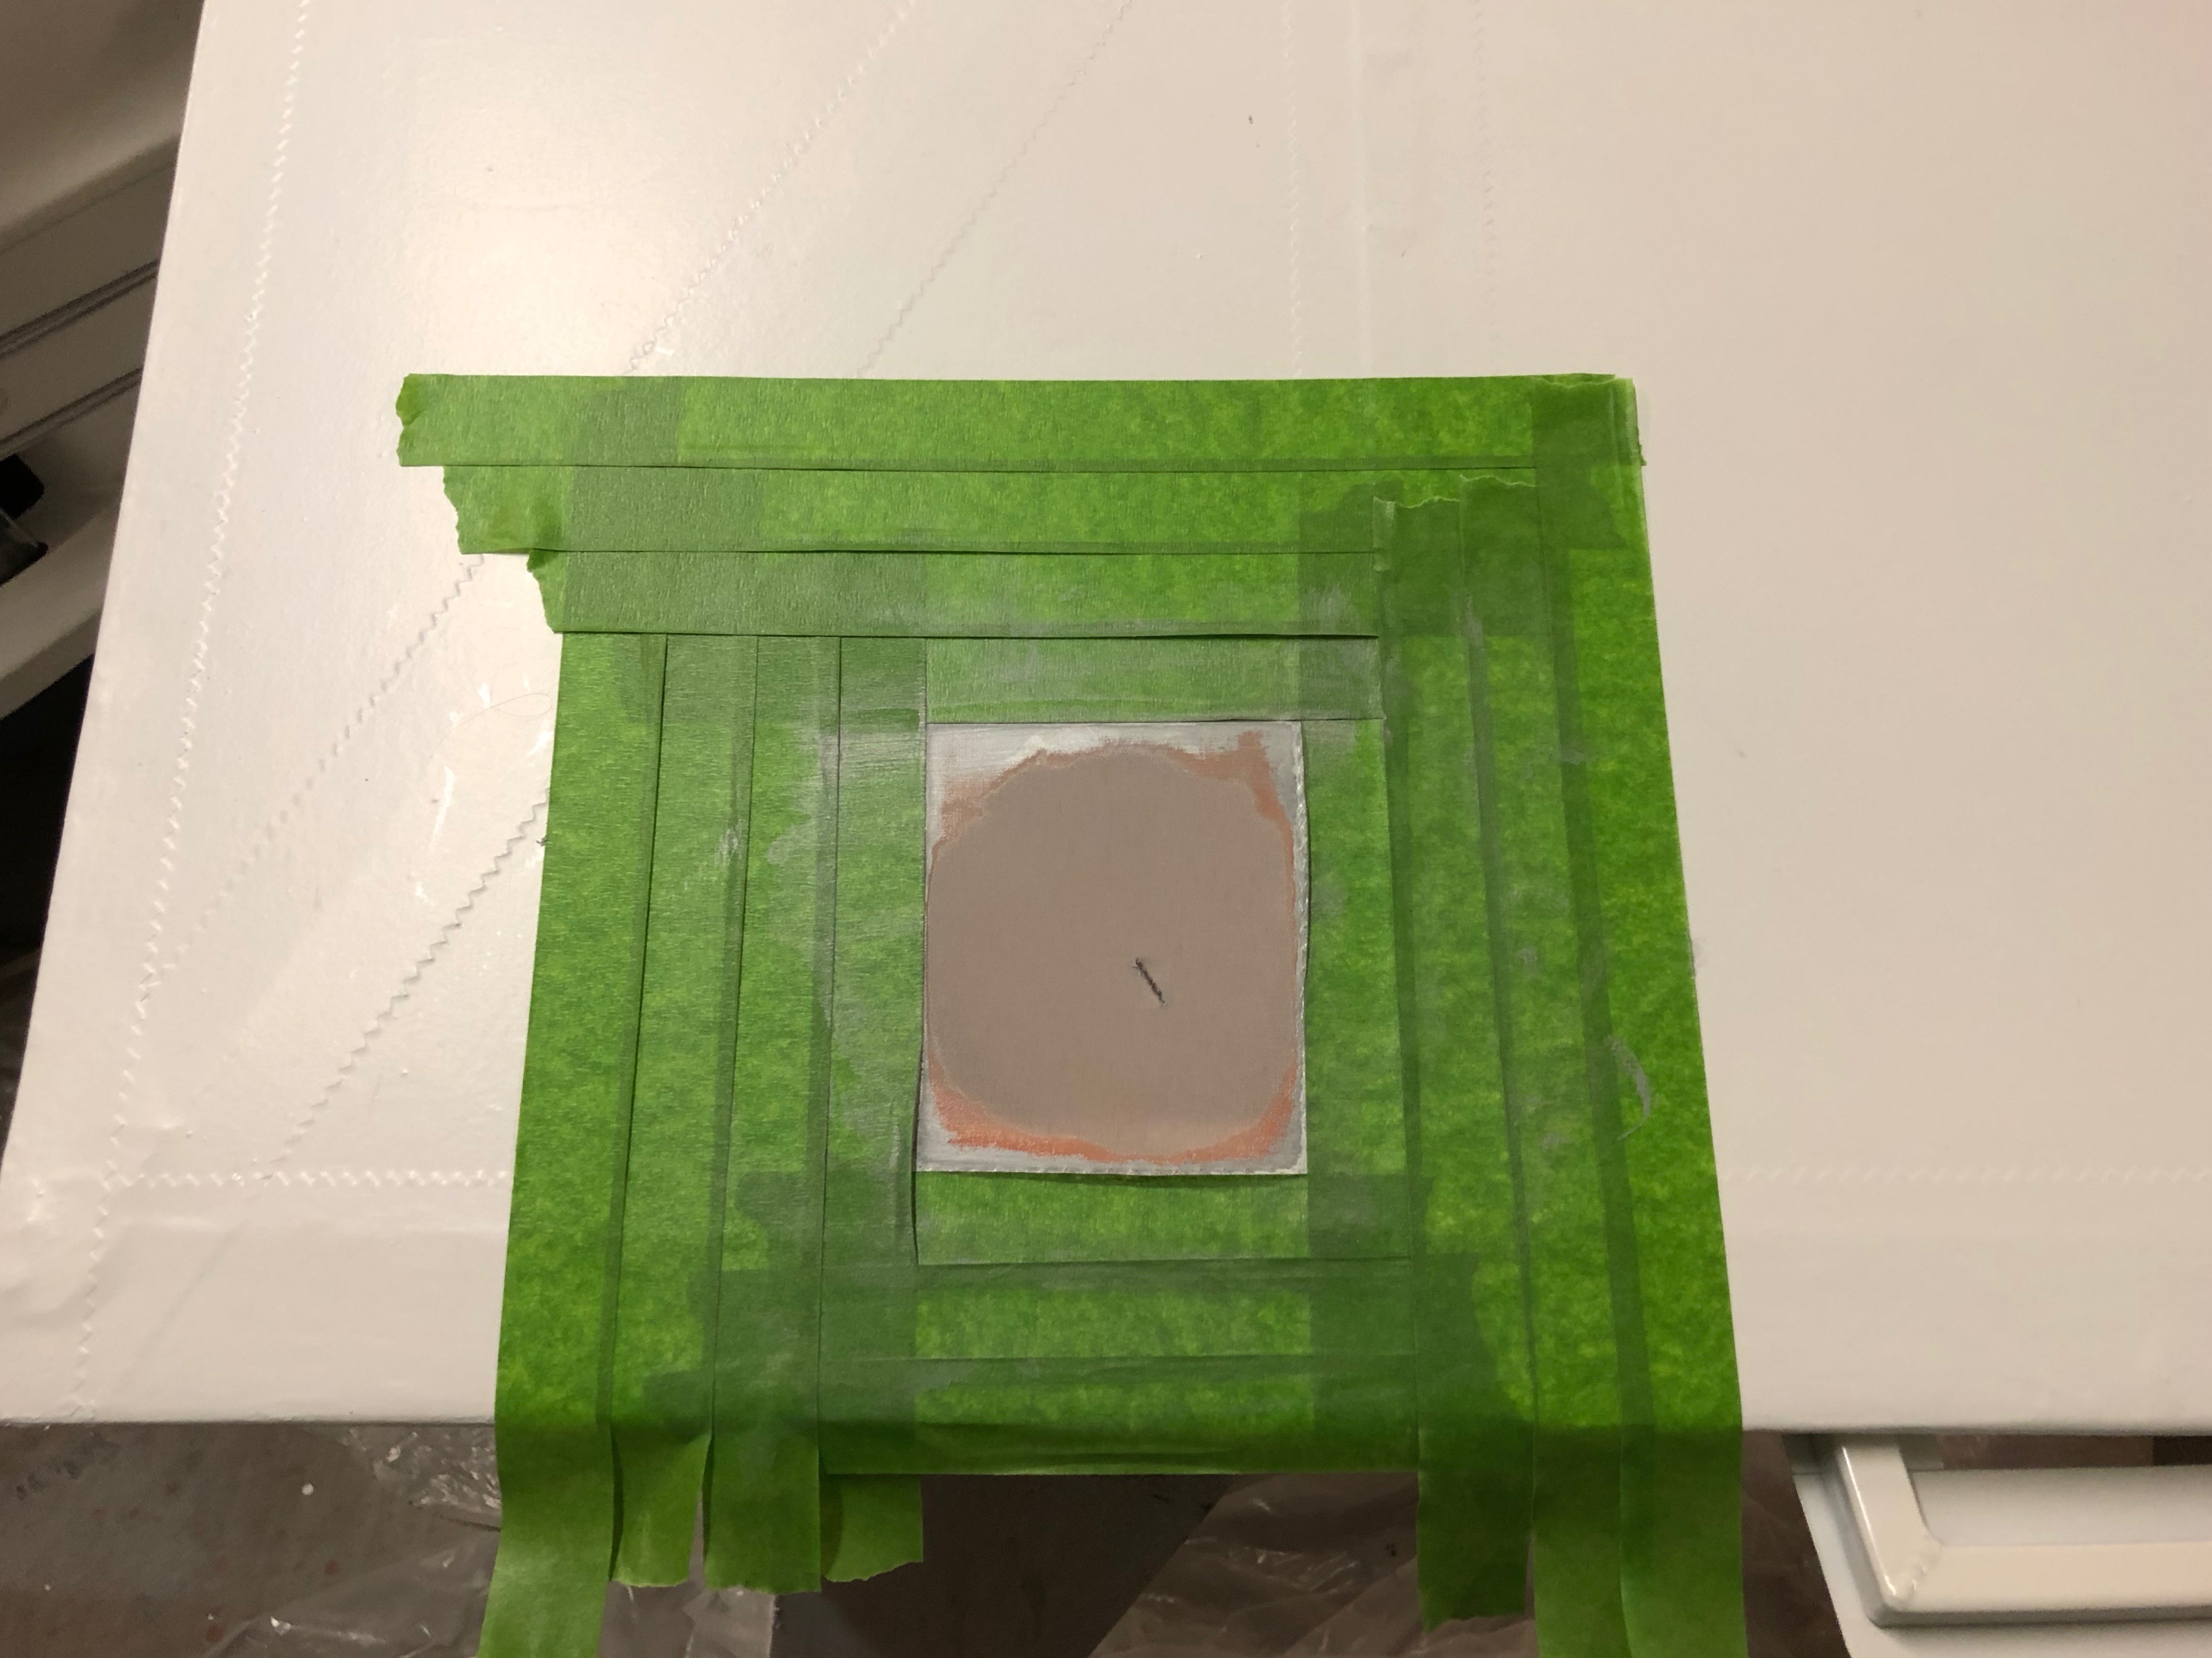
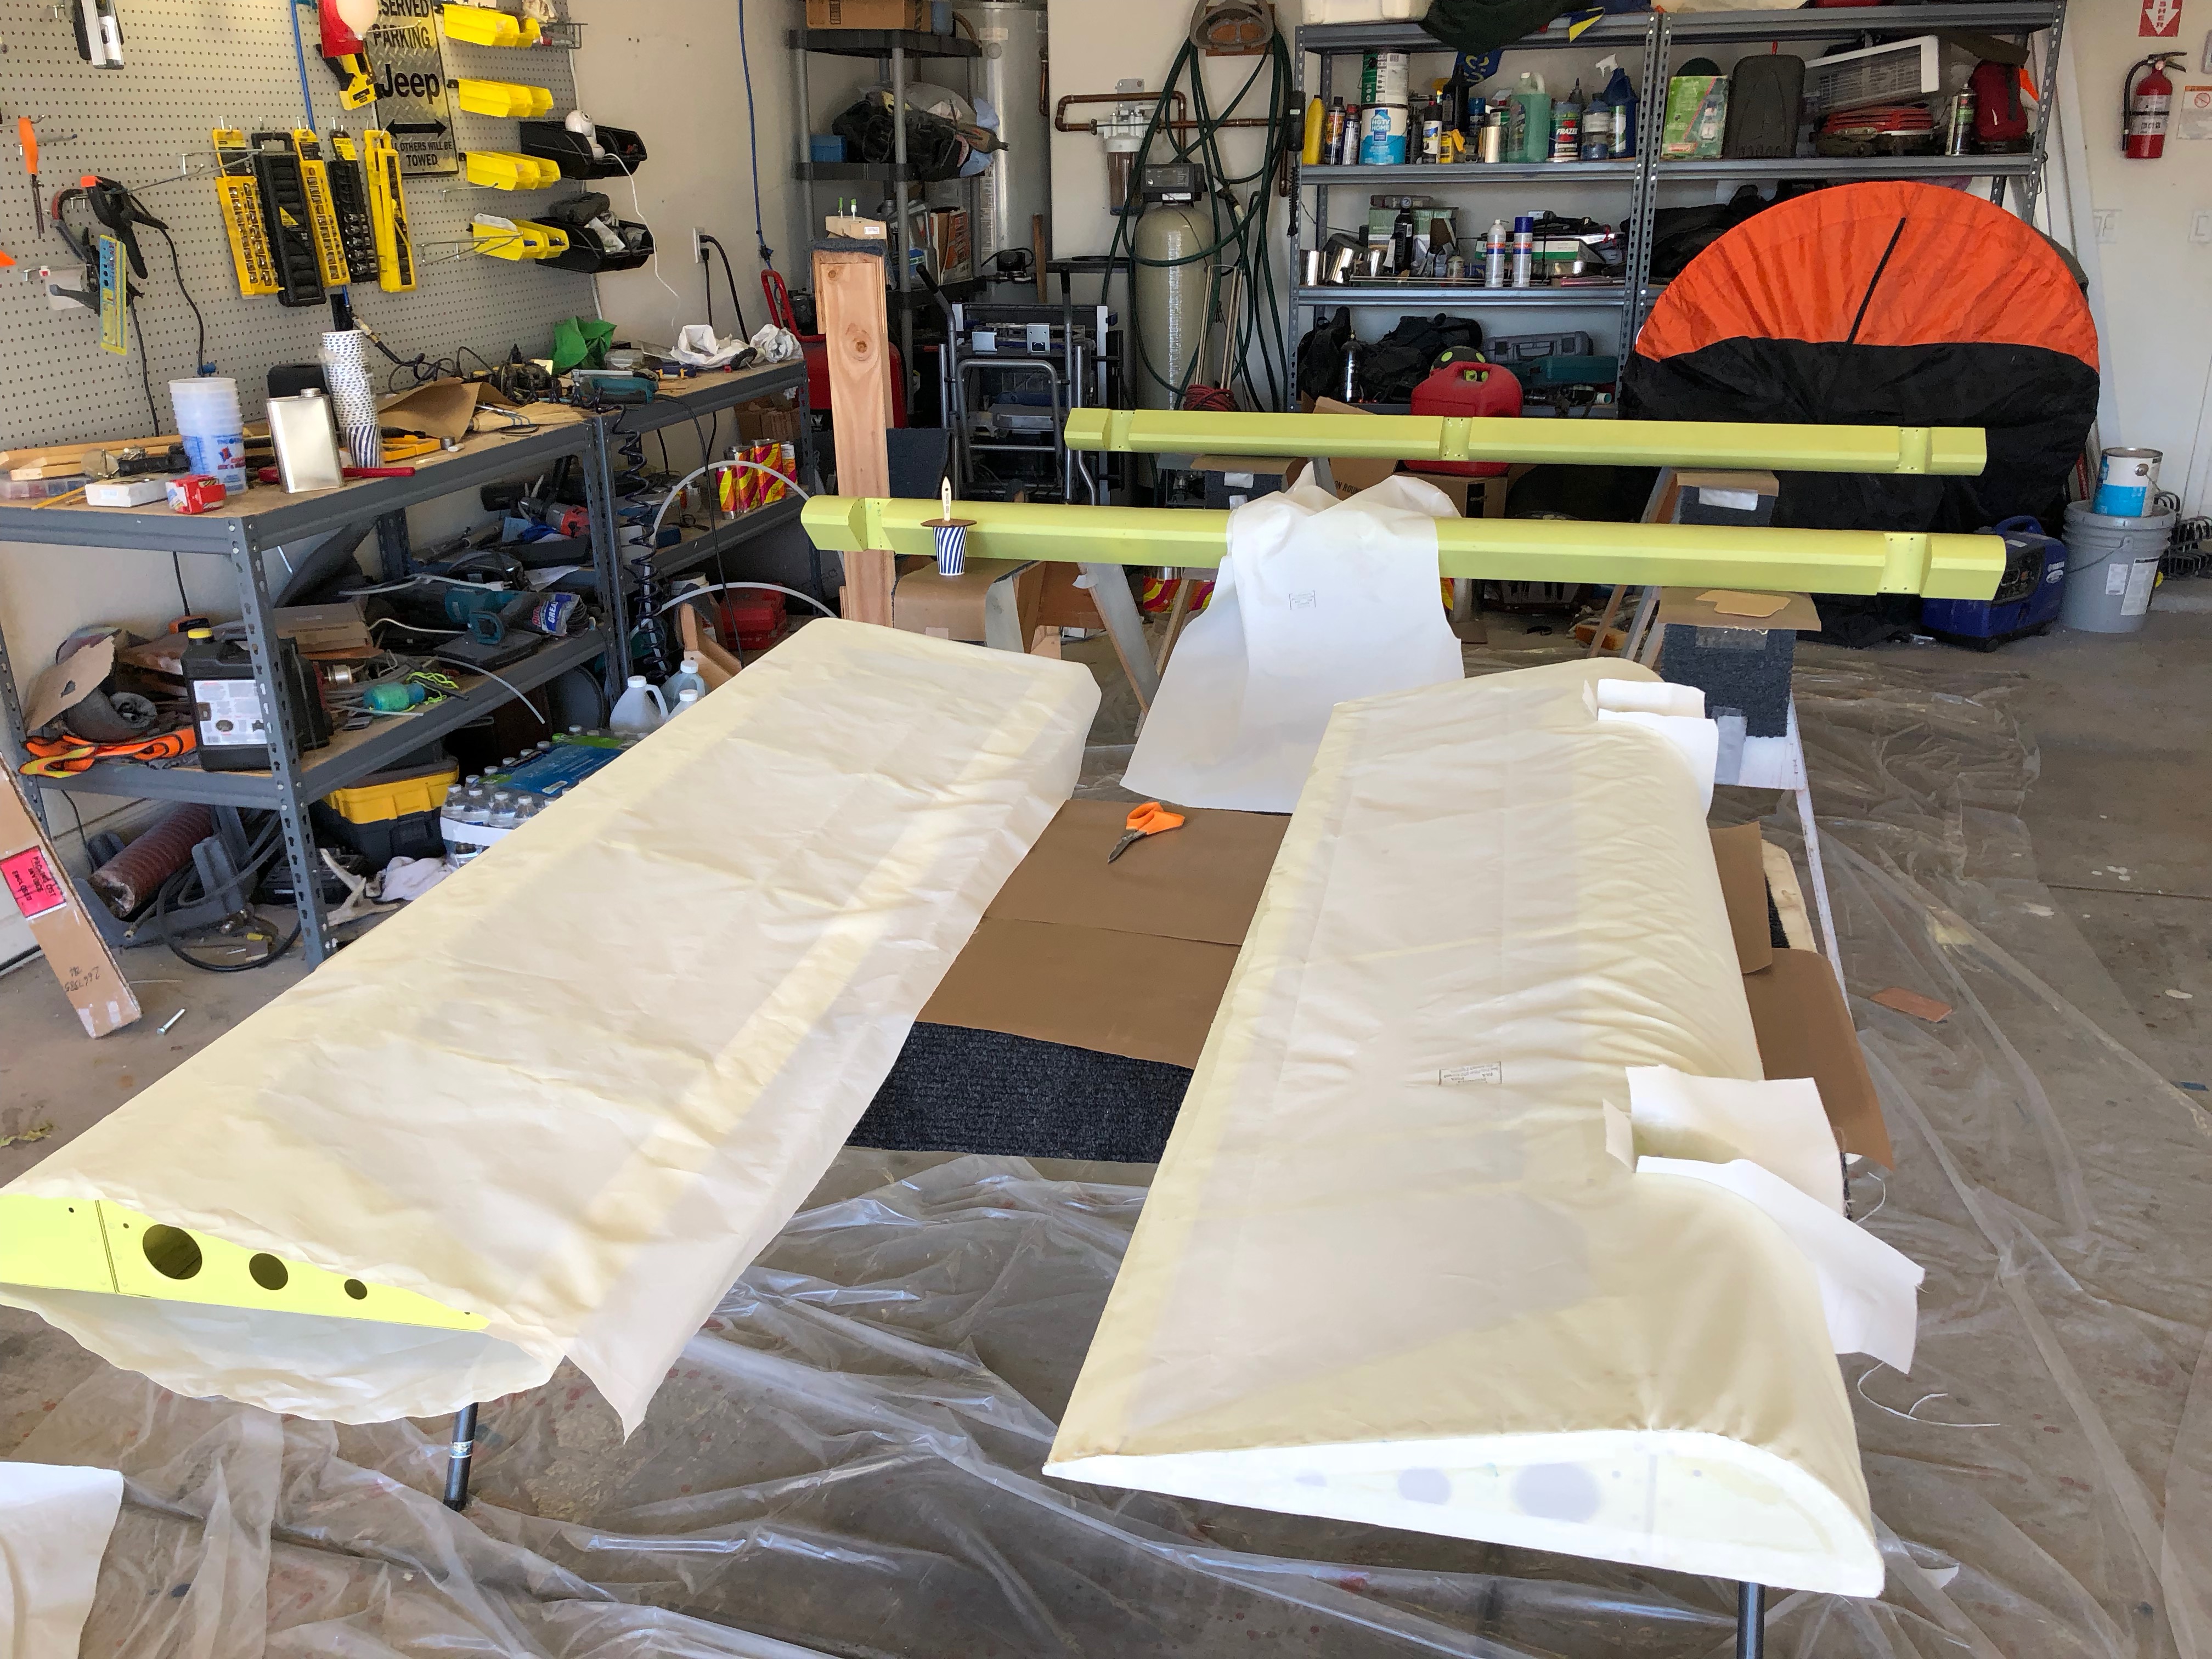
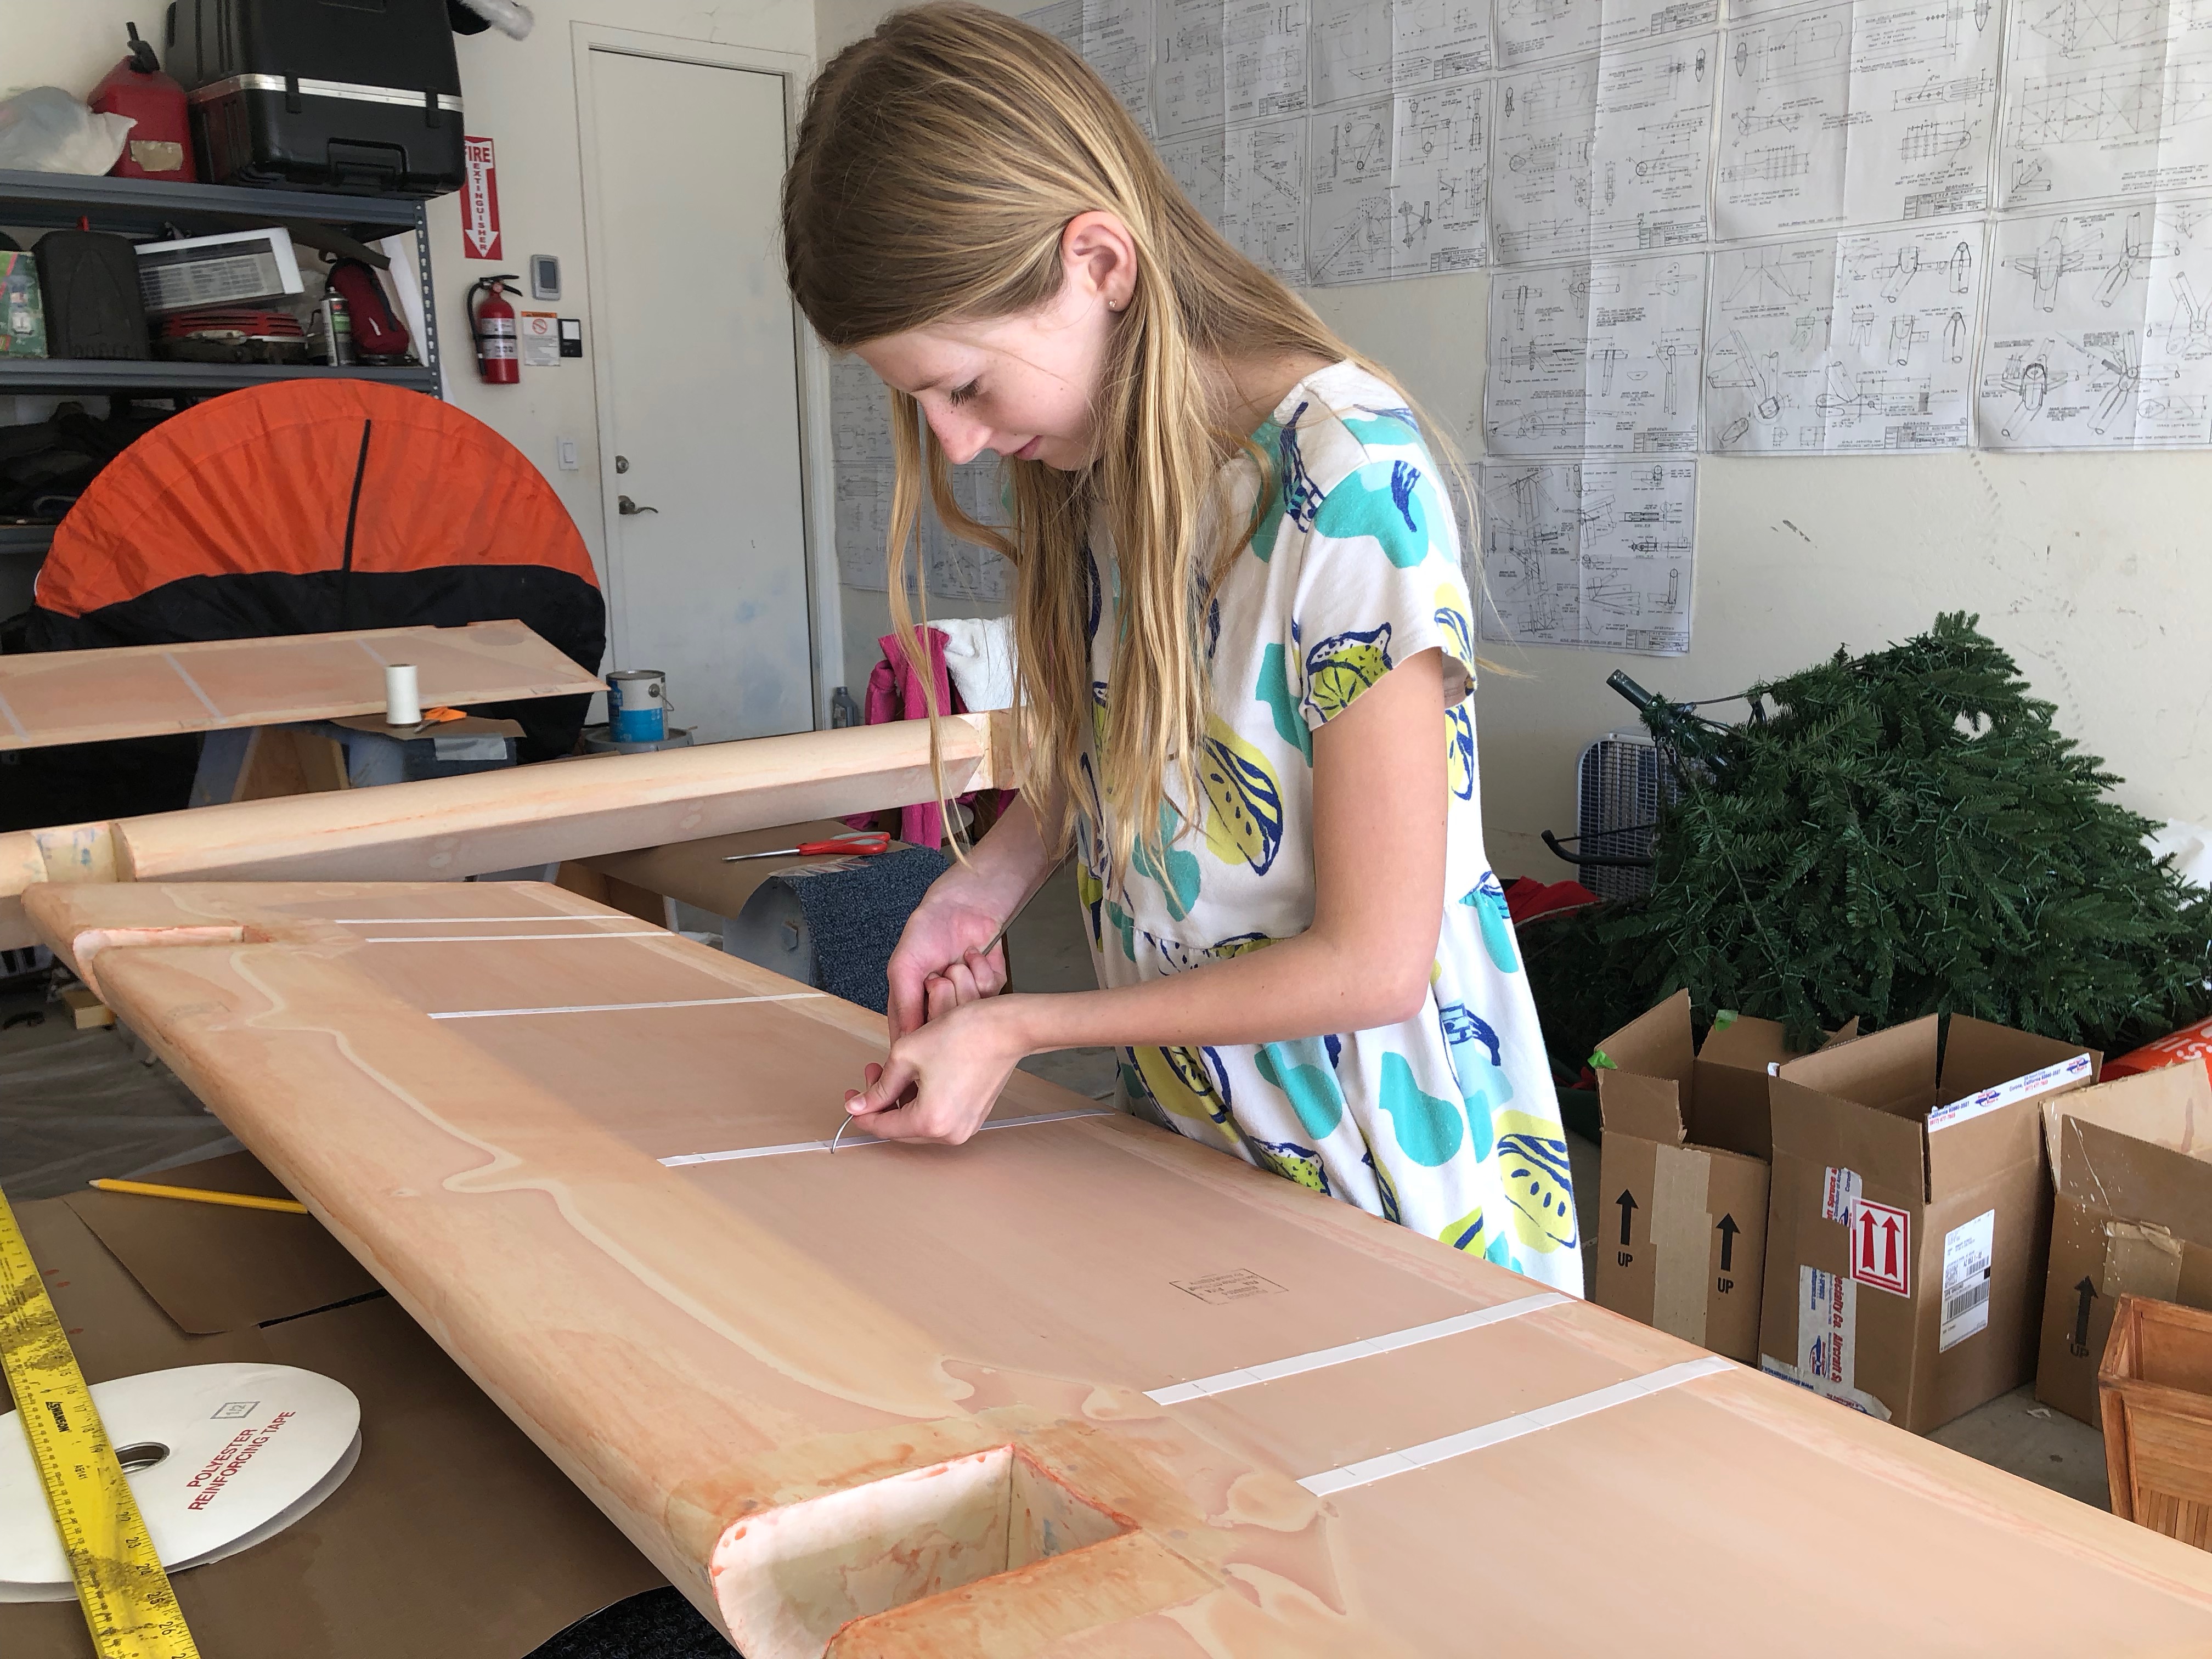
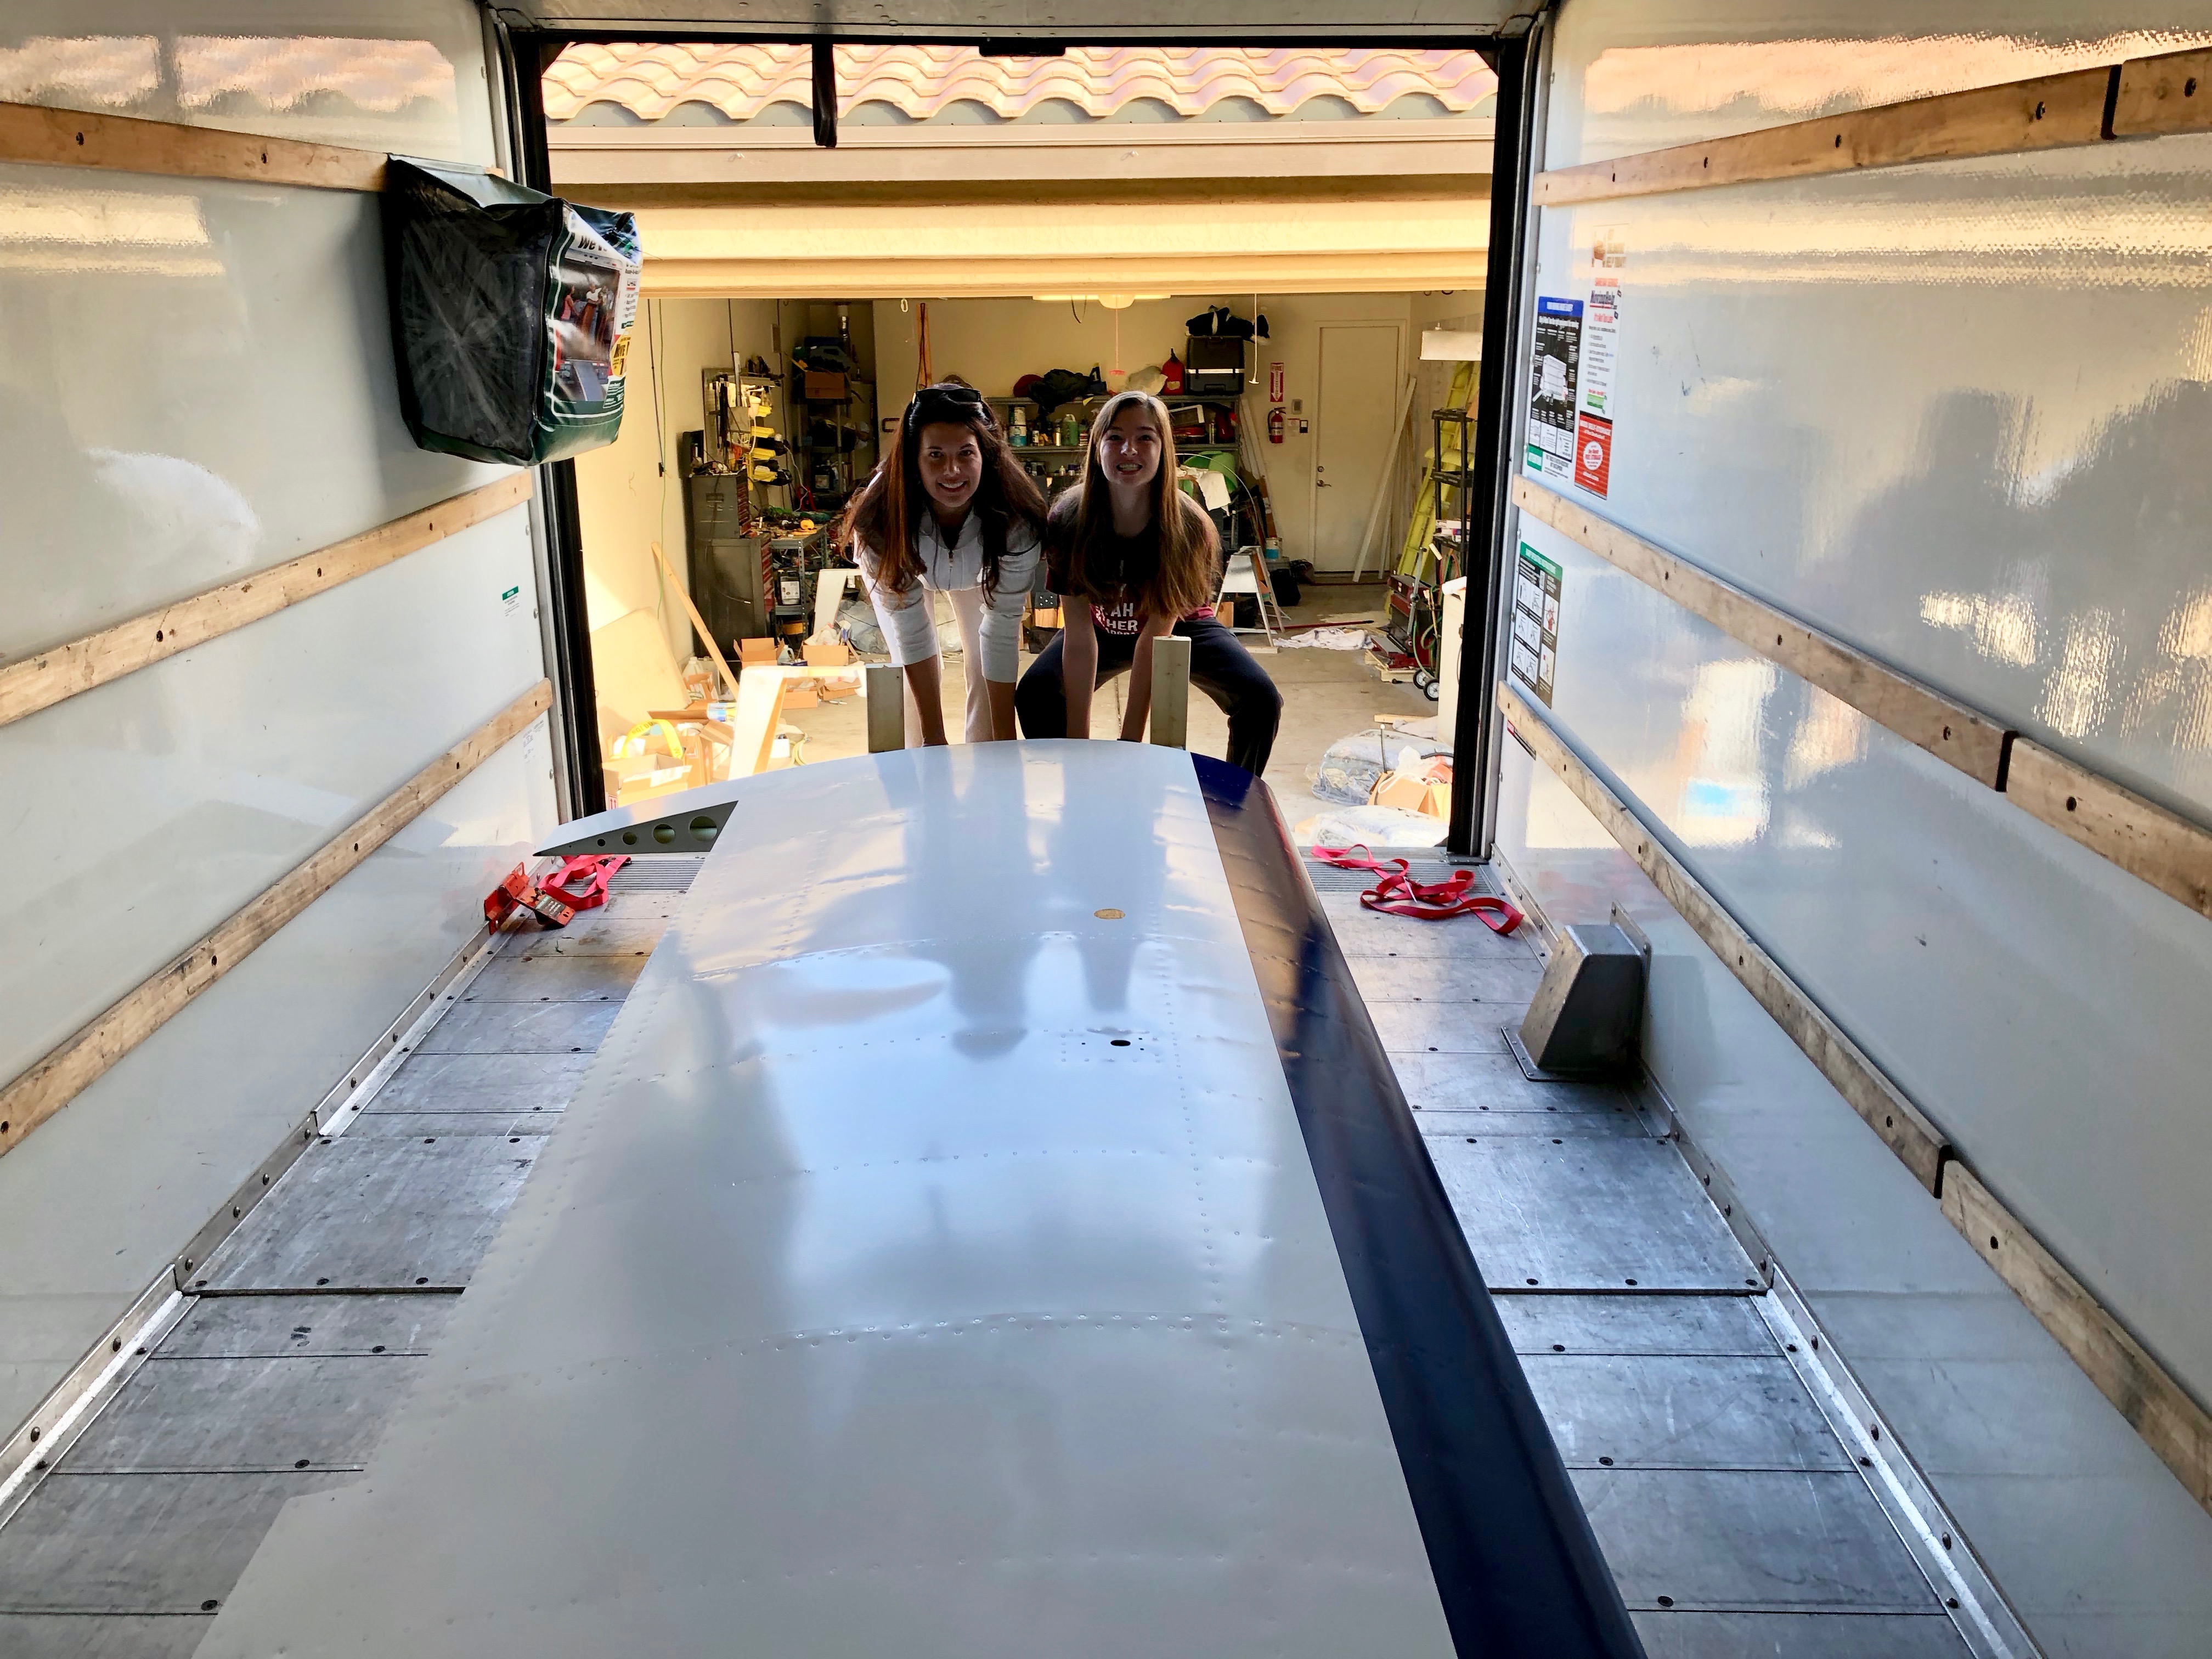
I used poster board to create a template for the leading and trailing edges.  My lovely wife Cati helped me tape everything together.

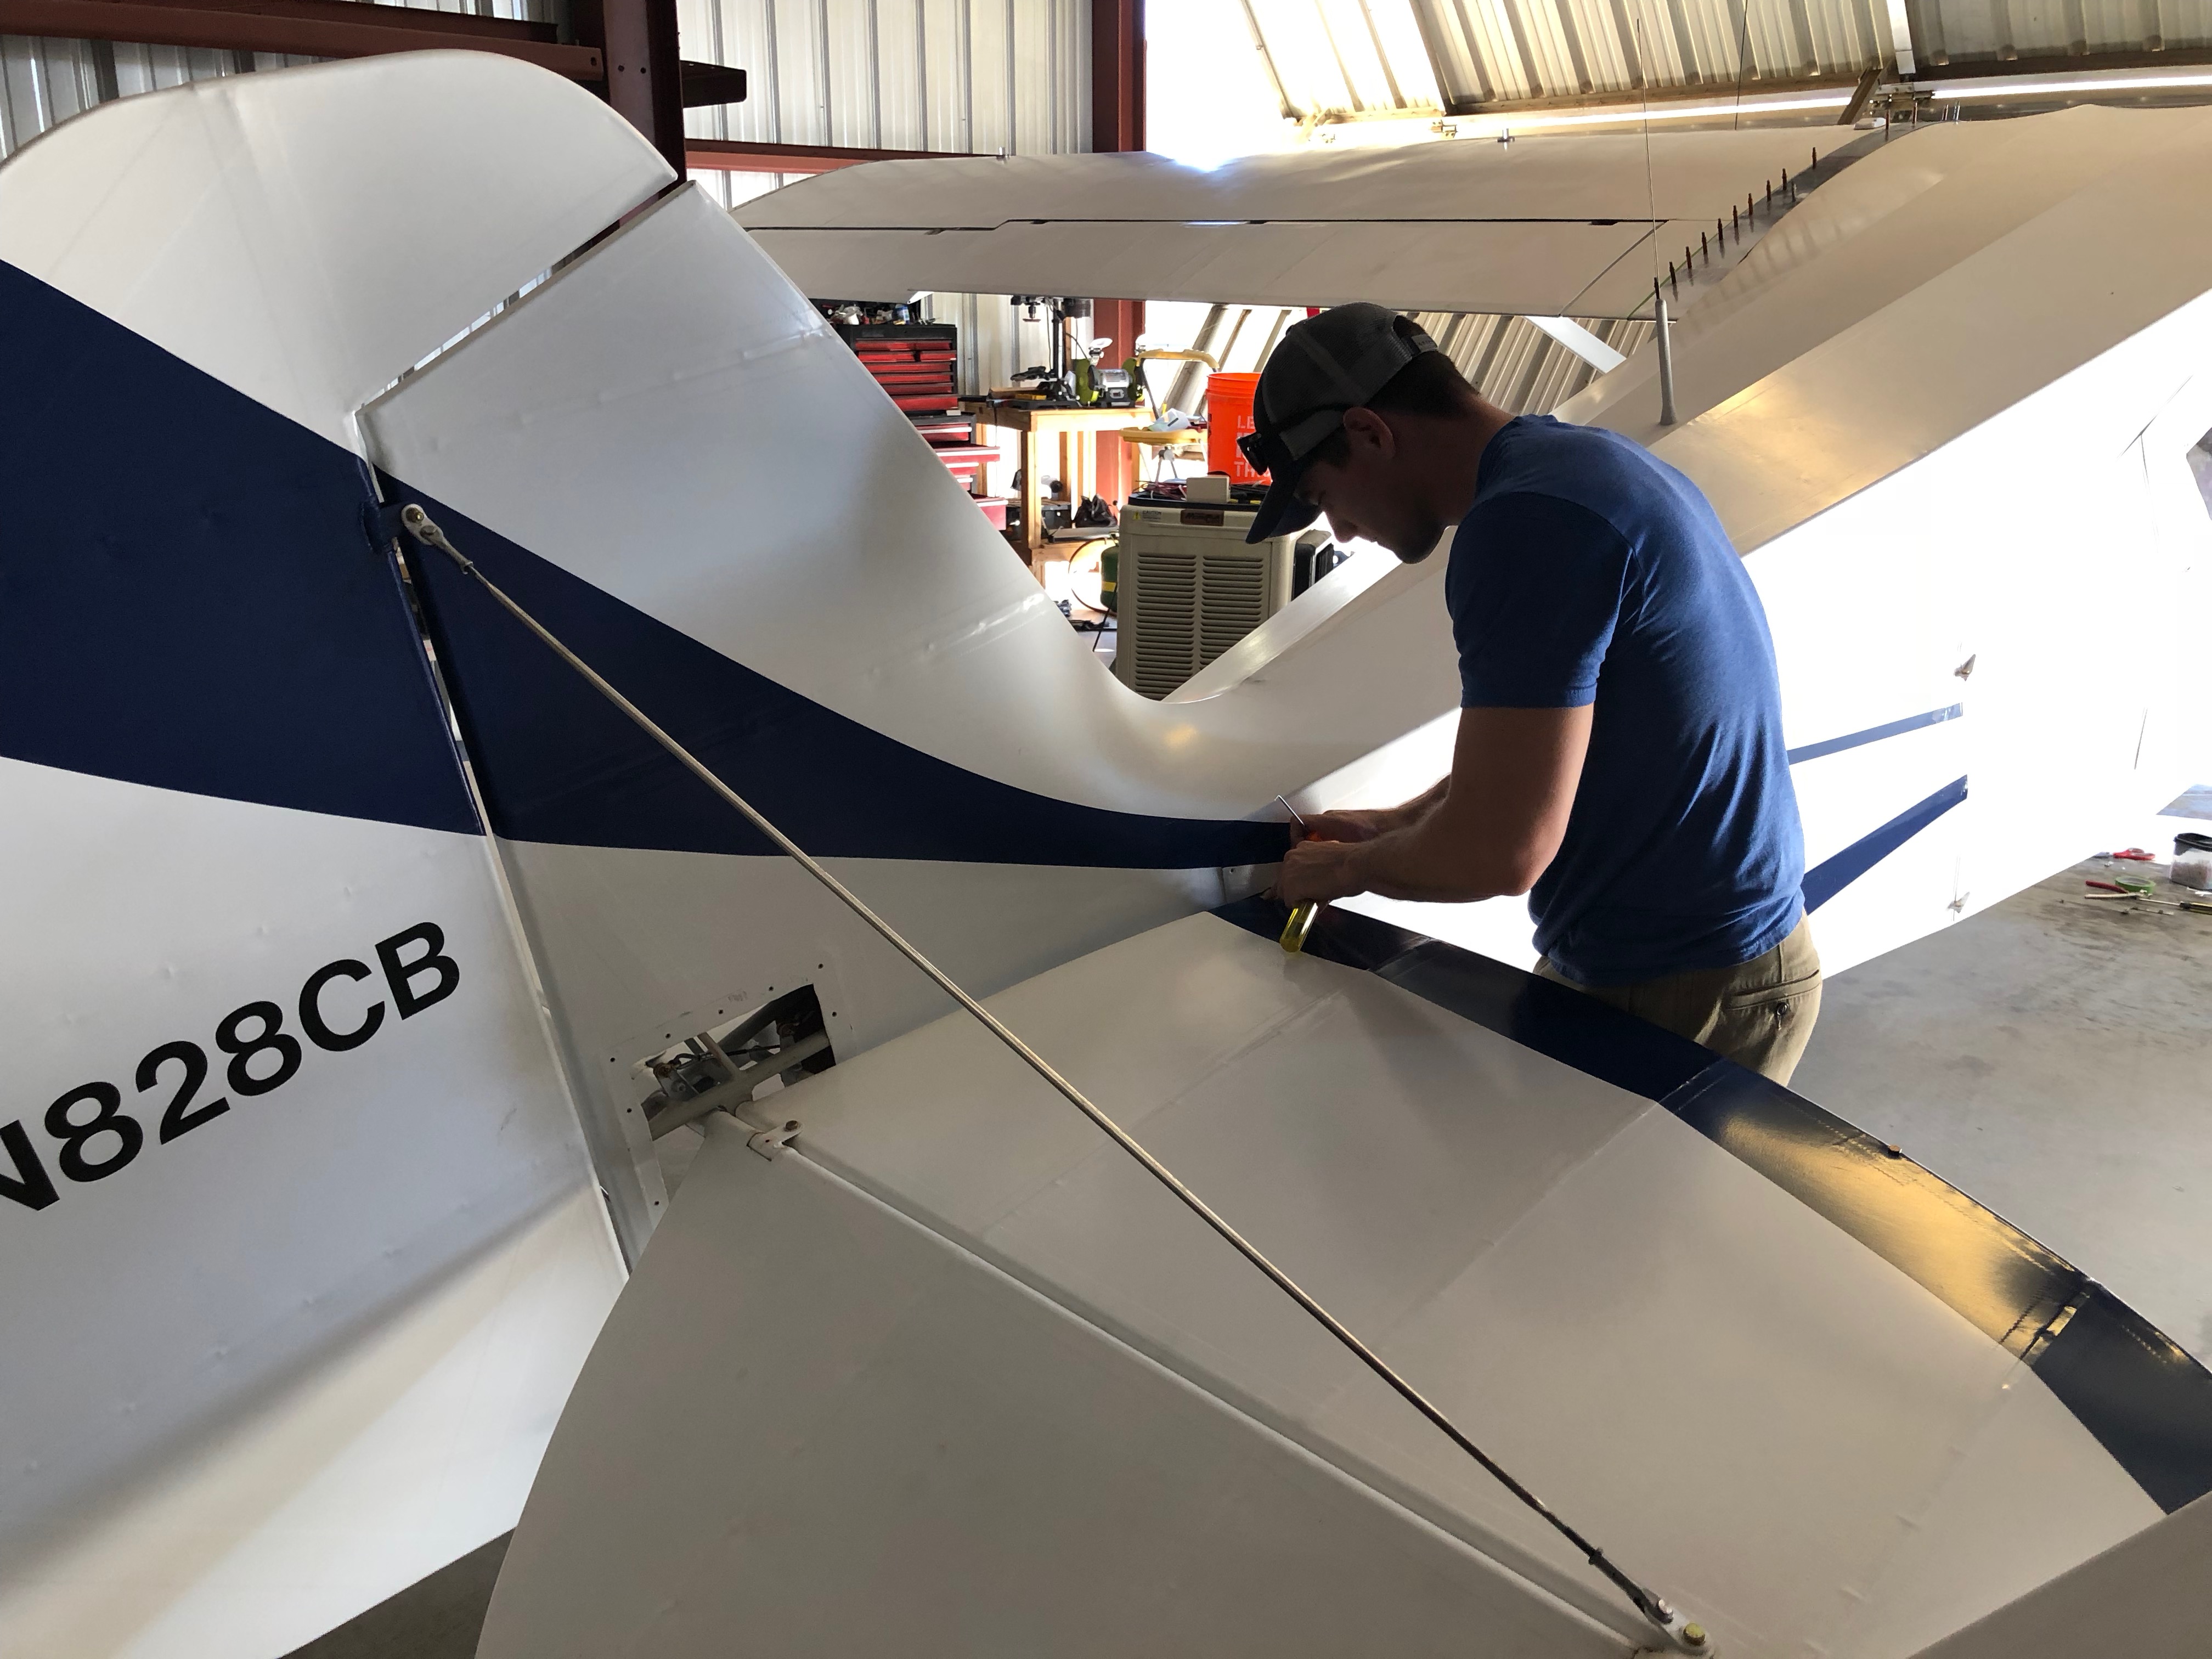
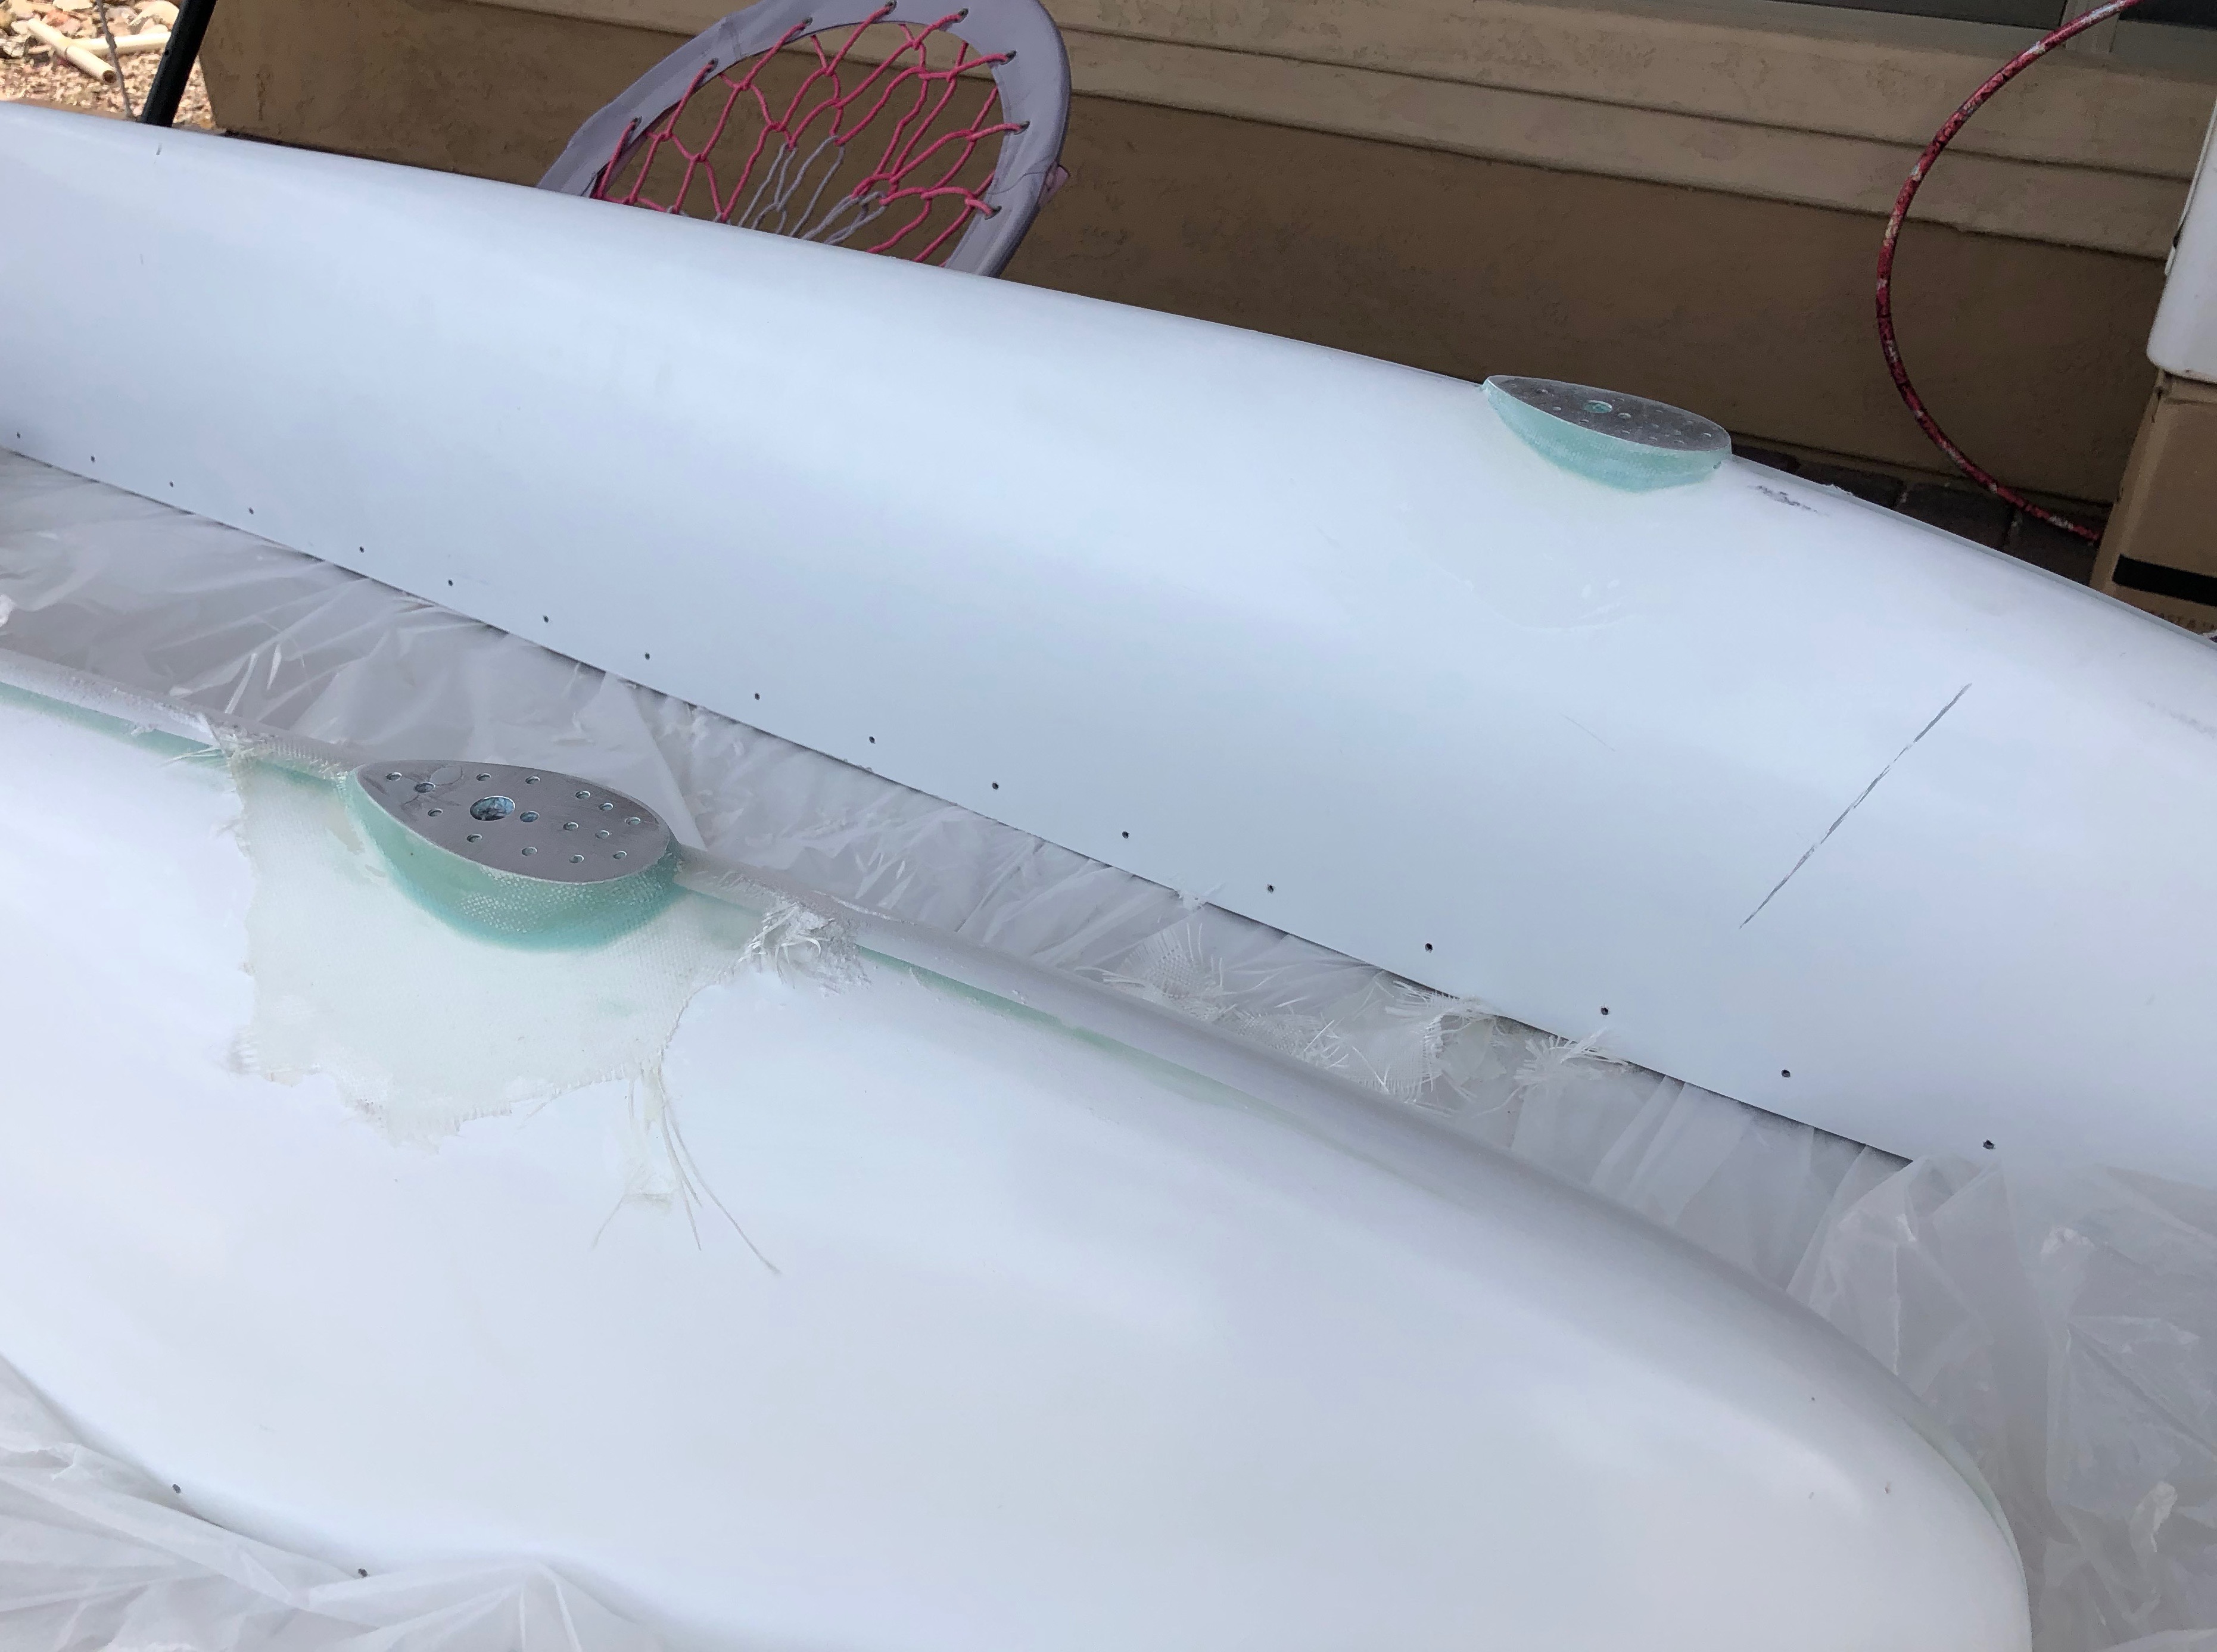
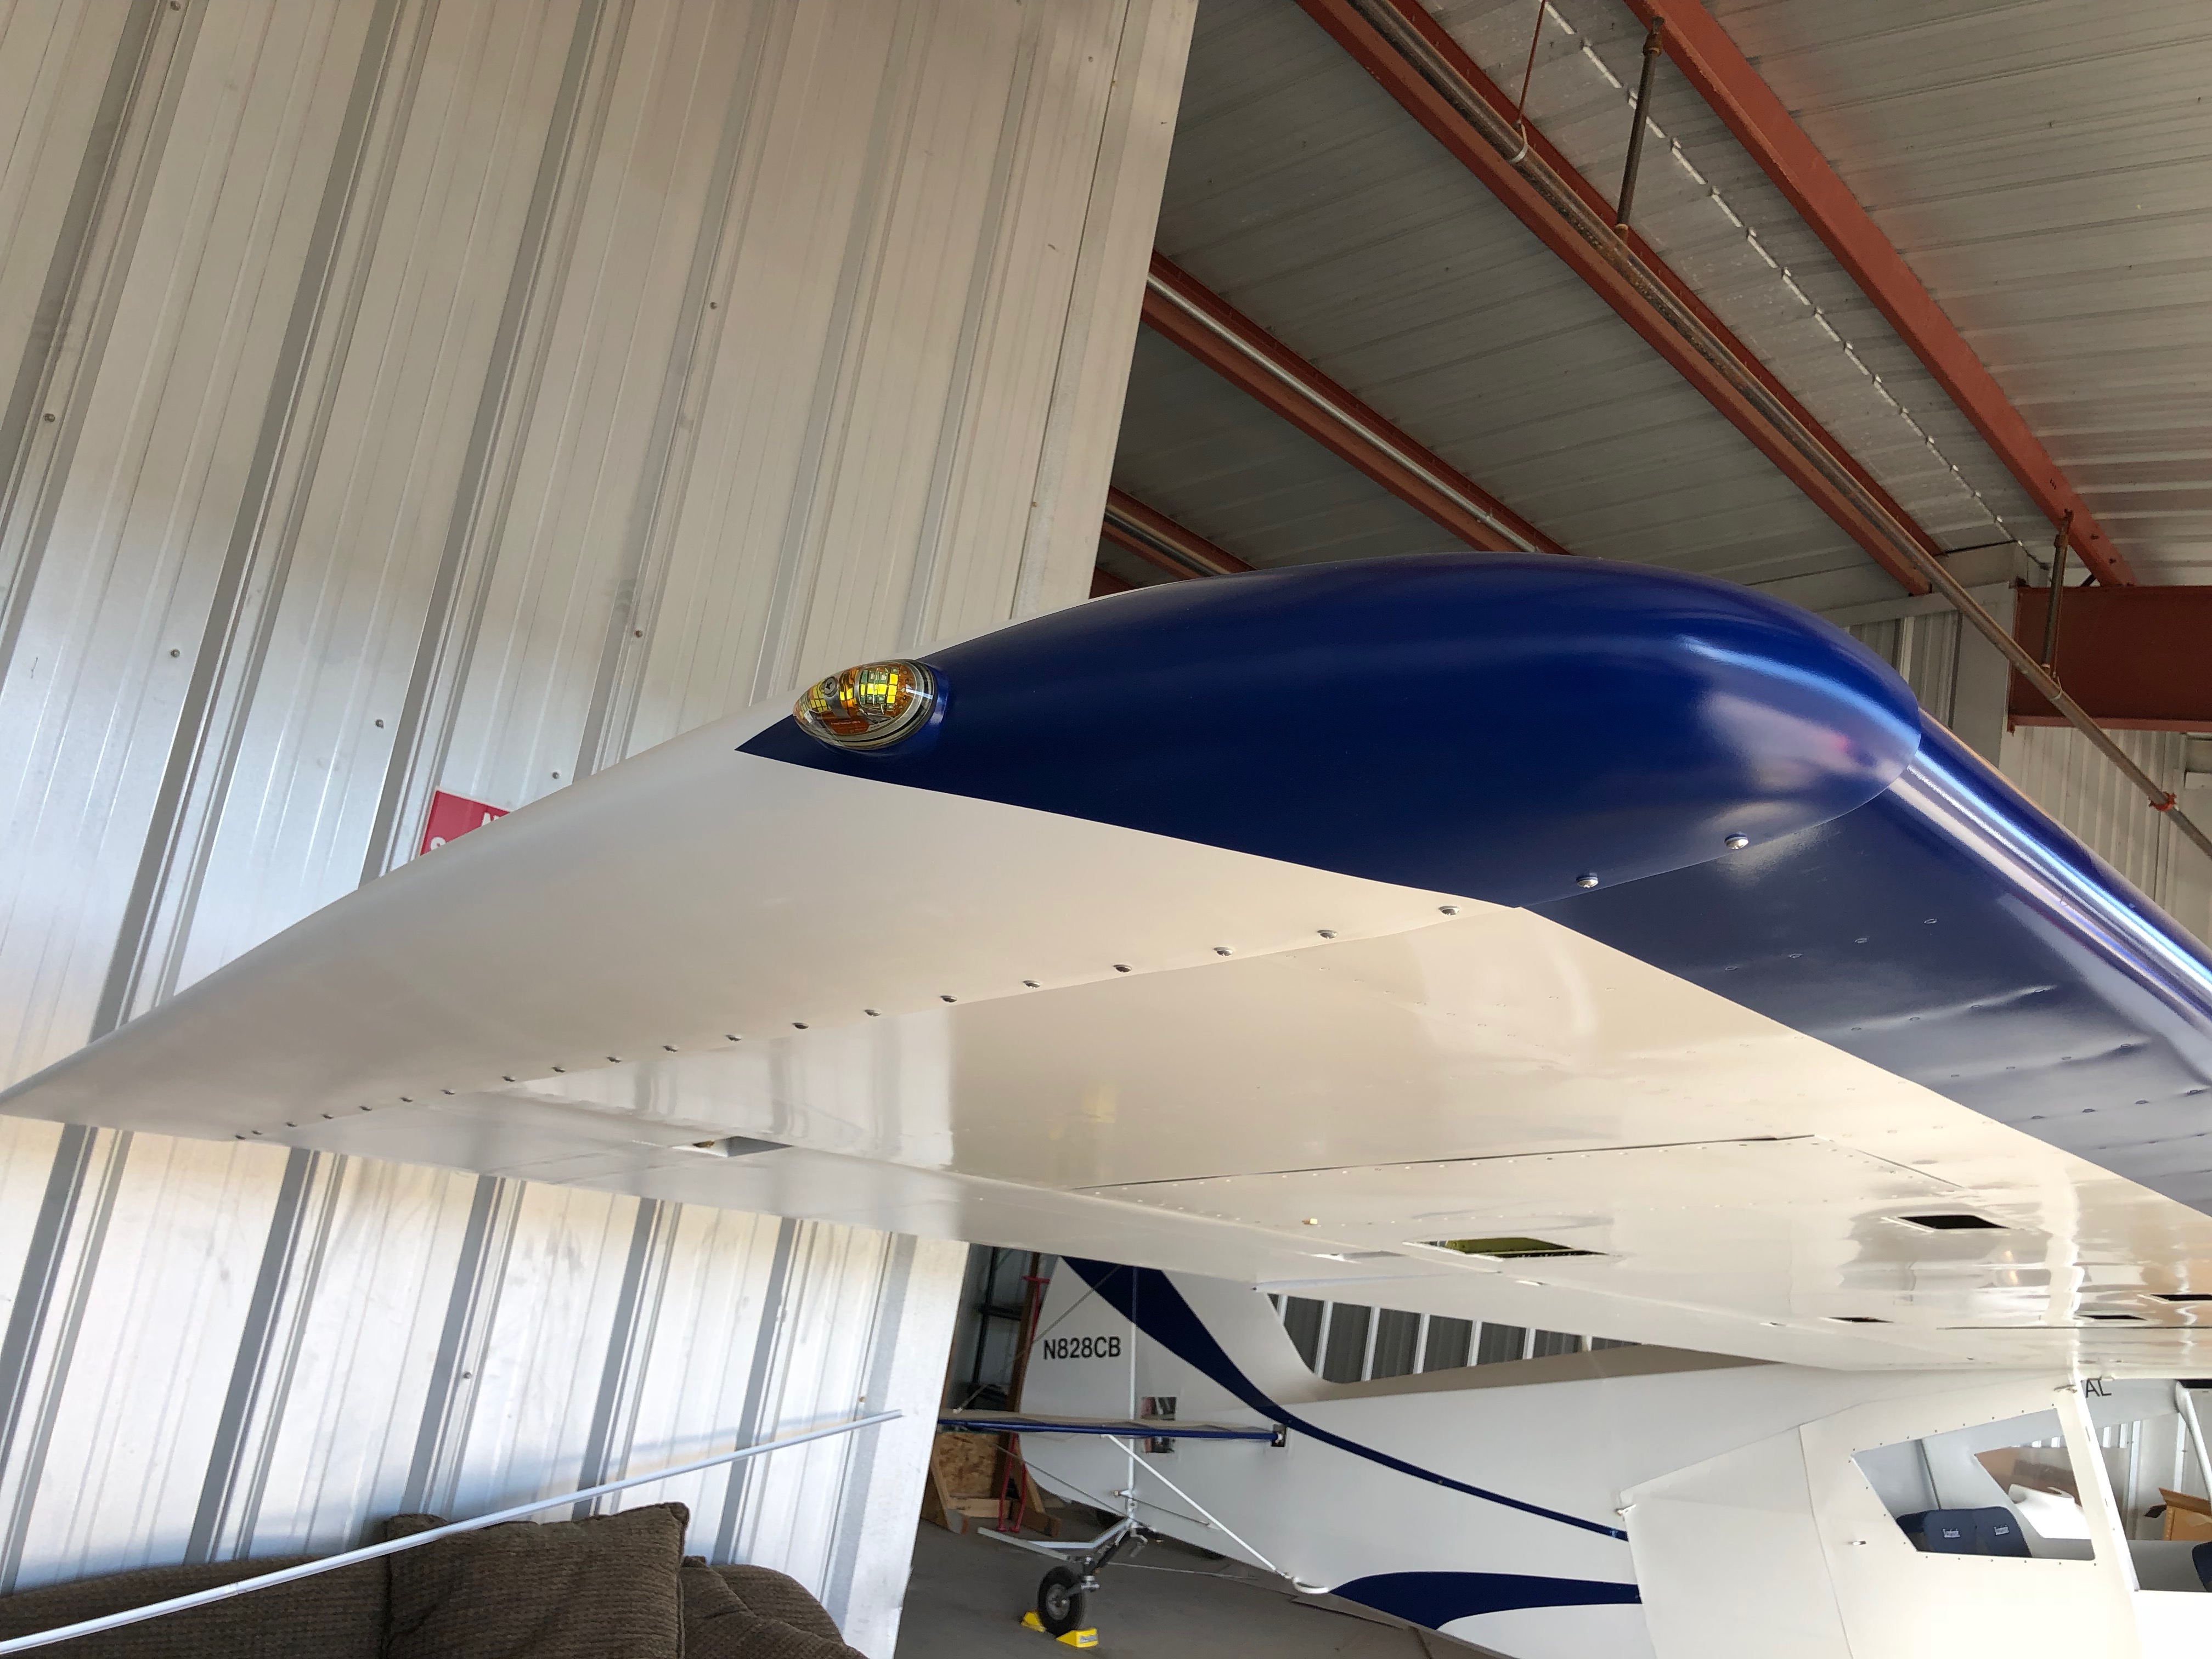
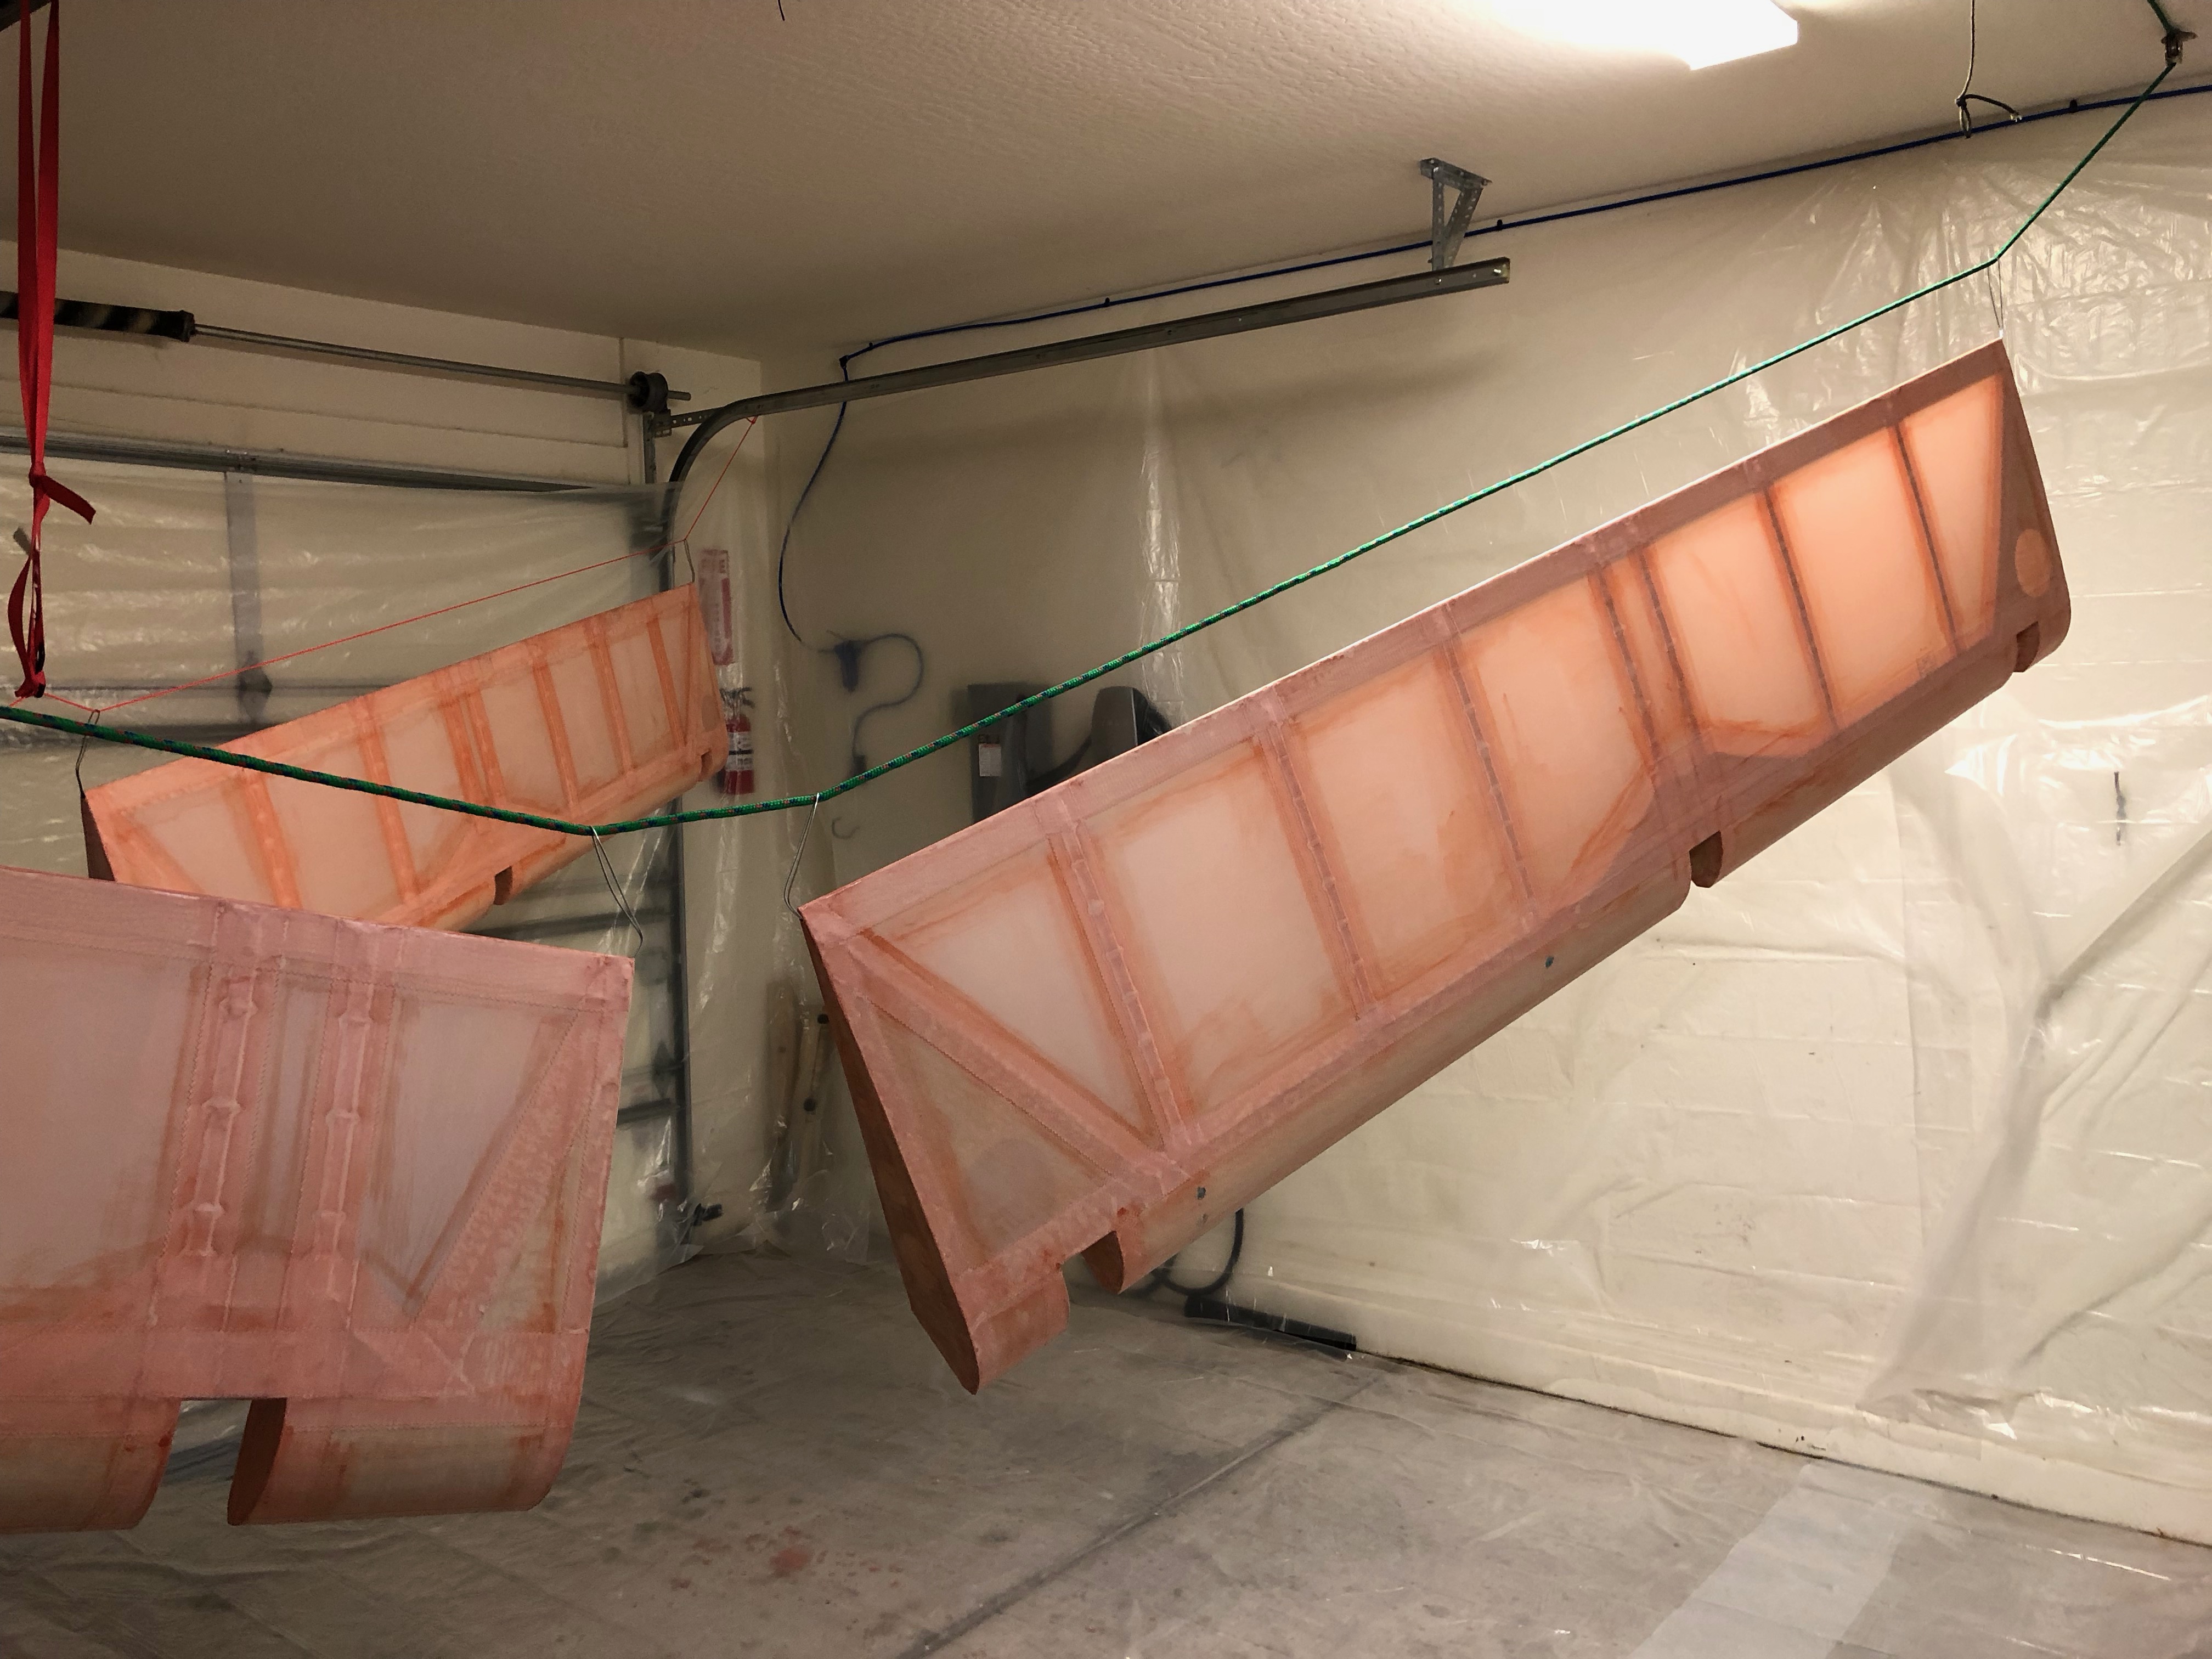
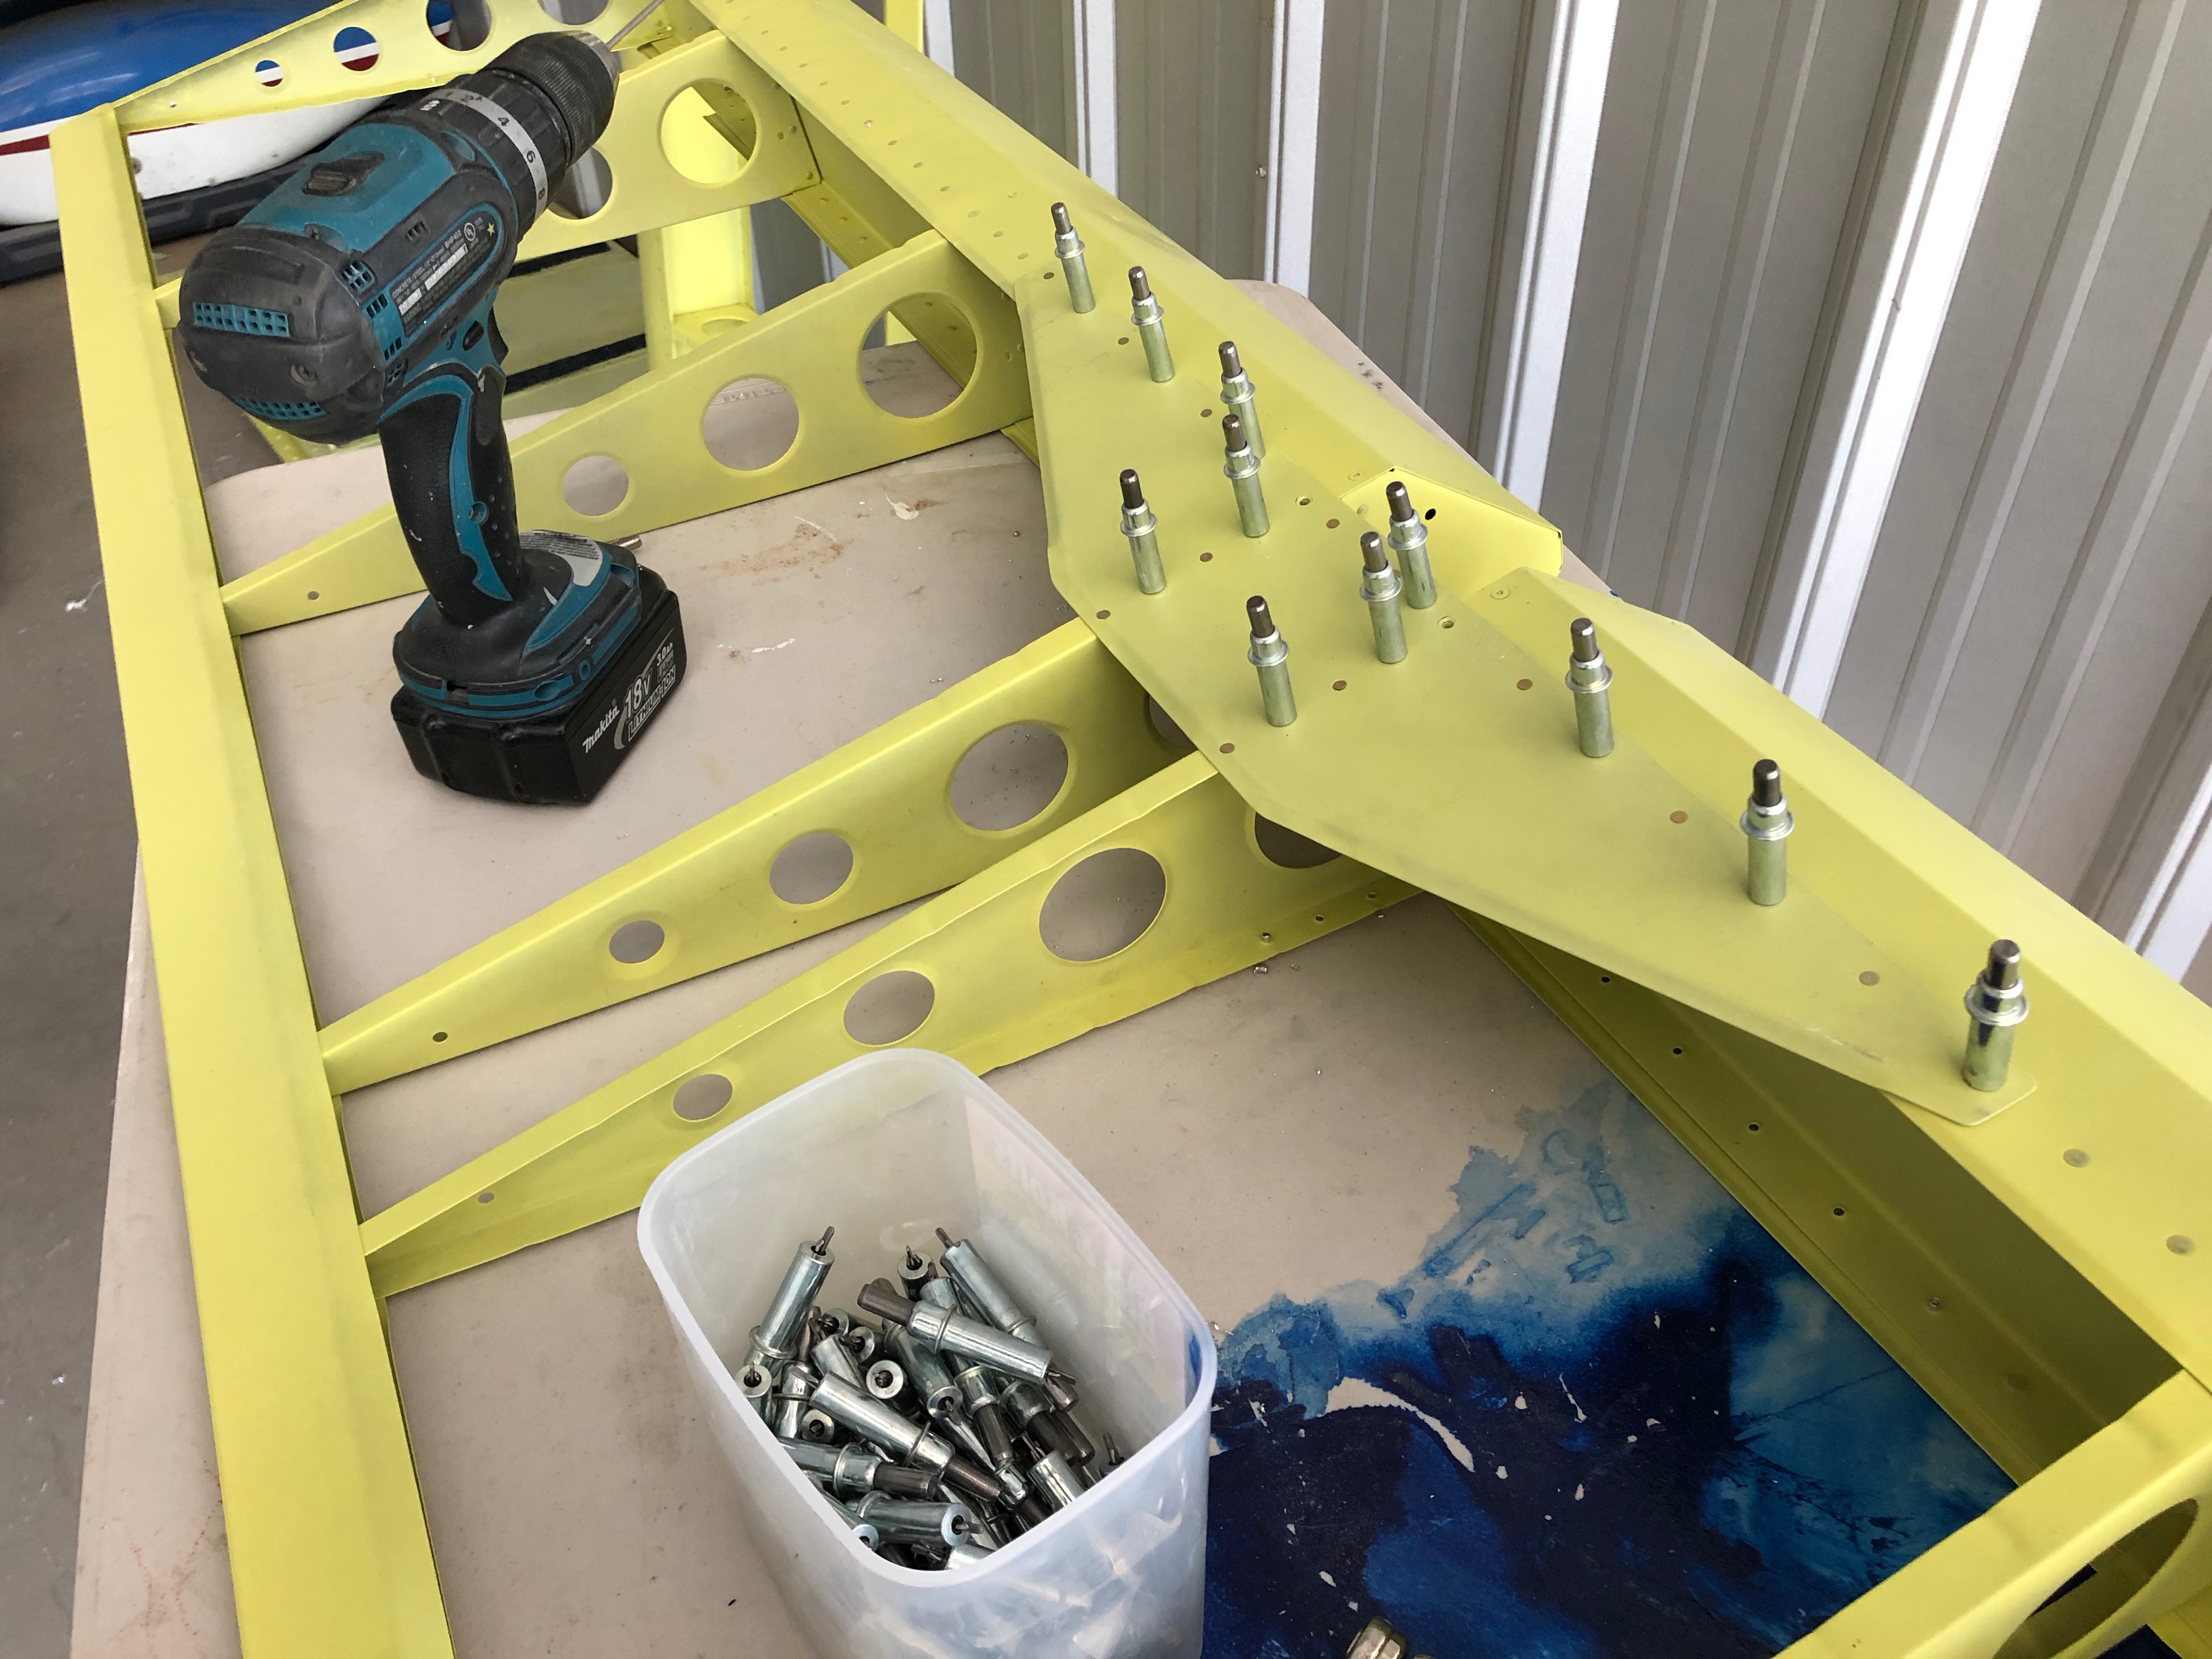
Timmy worked on the tail fairings.

Flap repair

My brother Timmy came out to help again.  He’s great help but a little hard on things!  When we were trying to fit the window frames he accidentally put a tear in the flap with the freshly cut aluminum of the door frame.

I masked off the area.

I used MEK to take down the layers all the way down to the fabric.  The tear wasn’t really all that bad.

I got task saturated and forgot to take more pictures.  But I used PolyTac to apply a patch, then brushed on a few layers of PolyBrush.  Then I sprayed several layers of PolySpray and sanded.  Then the final coat of PolyTone.  The patch is barely visible now.

Nav lights

I purchased the 3 in 1 Aveo nav lights.  They have a the wing position light (green or red), white rear position light and a strobe.

Per FAR 23.1389 the requirement to not have a white light on the tail is that from 70 to 180 degrees you must be able to see the white light.  From directly behind you can see both white lights.  So I’m good to go!

Wing tips

Fiberglass time for the wing tip lights and trailing edge extensions.  Fiberglass is relatively easy, but requires so many steps to make it look nice.

After fiberglassing the light mounts and extensions I started the process of spraying Smooth Prime then sanding.  I repeated that process 3 or 4 times.  After the final coat I remanded with 400 grit sand paper I epoxy primed then sprayed white poly tone.

I masked for the blue pant and sprayed away.

The lines turned out nice and crisp,

There’s the final product.  Turned out great!

Covering Ailerons and flaps

Taking a break from the airplane at the hangar I got to work on covering the ailerons and flaps. This is the exact same process as the rest of the fabric covering I’ve done so far.

It’s always cool to see how the fabric tightens right up with the iron.

Making good progress they’re all polybushed and ready for rib stitching.

My trusty helper Tori came out to help poke holes and to chase the needle while I rib stitched.

After finishing all the tapes, another paint booth was erected.  One coat in the morning and one in the evening through all the stages of PolyBrush, PolySpray and finally Poly Tone.

Wingtip light mounts

I need to make some mounts for the wingtip lights. So I traced the outline of the lights onto some aluminum.

I also made the same trace onto some fiberglassing foam and contoured it to the wing shape.

Here it is glued in place on the wingtip.

Then I glued the aluminum reinforcements onto the foam.  I put several holes in the aluminum to help the epoxy grip the aluminum.

Wingtips are short

After aligning the aileron and flap trailing edges to make sure they were straight and square, it because obvious that the wing tips weren’t long enough.

So I took some fiberglassing foam, created the proper shape and hot-glued it in place.

After some SuperFill to fill the gaps I sanded it all down to the proper shape in preparation for the actual fiberglass to cover it.

Ailerons and Flaps

After fitting the ailerons and flaps to the wings we marked the hinge bracket locations and drilled them to their respective control surface.  My friend Rusty came over and spent a day helping me drill all the nut plates for the brackets.  Then we riveted on the reinforcement strips.

Next came the counter weights.  I went to Ace and picked up some aluminum tube, then to Sportsmans Warehouse to pick up some #8 bird shot.  I created a slurry of JB weld and shot to make a plug in one end of the tube.  After curing, I alternated shot and epoxy until the tube was full to the top.  After a few small adjustments I got exactly the right weight.

Finally the airplane has all it’s flight controls.  Now on to aligning the trailing edges.