Final stripes

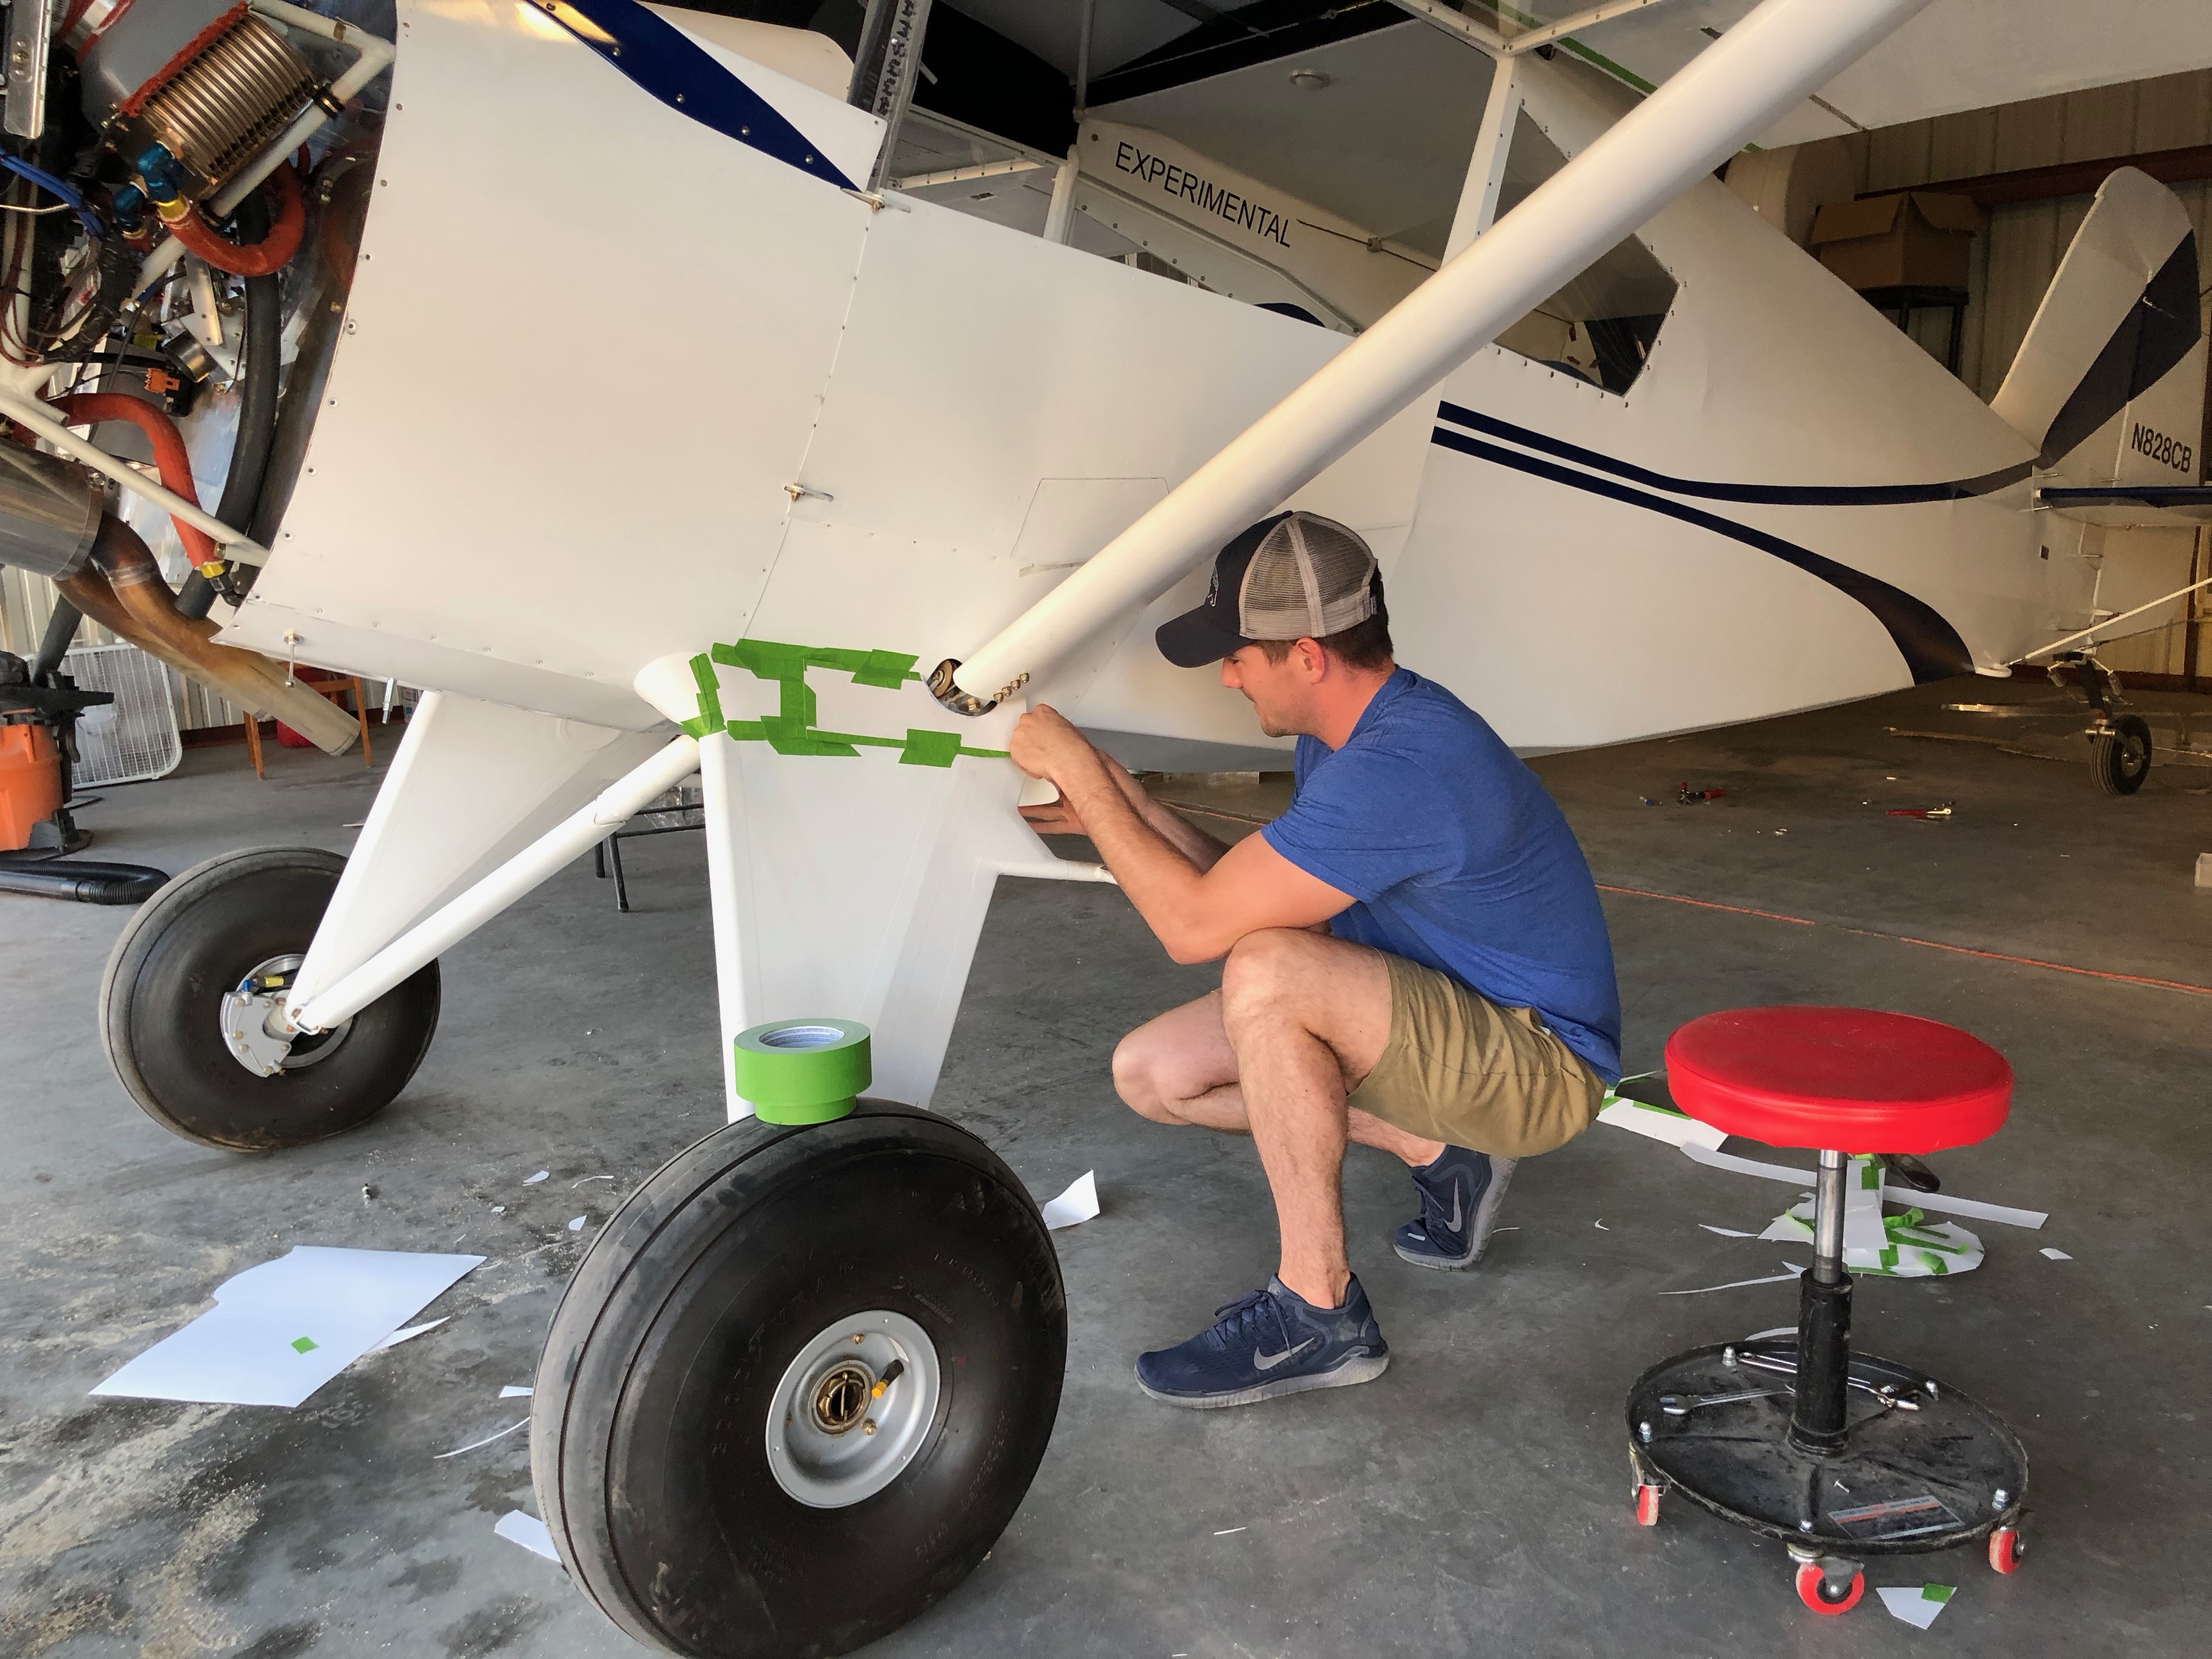
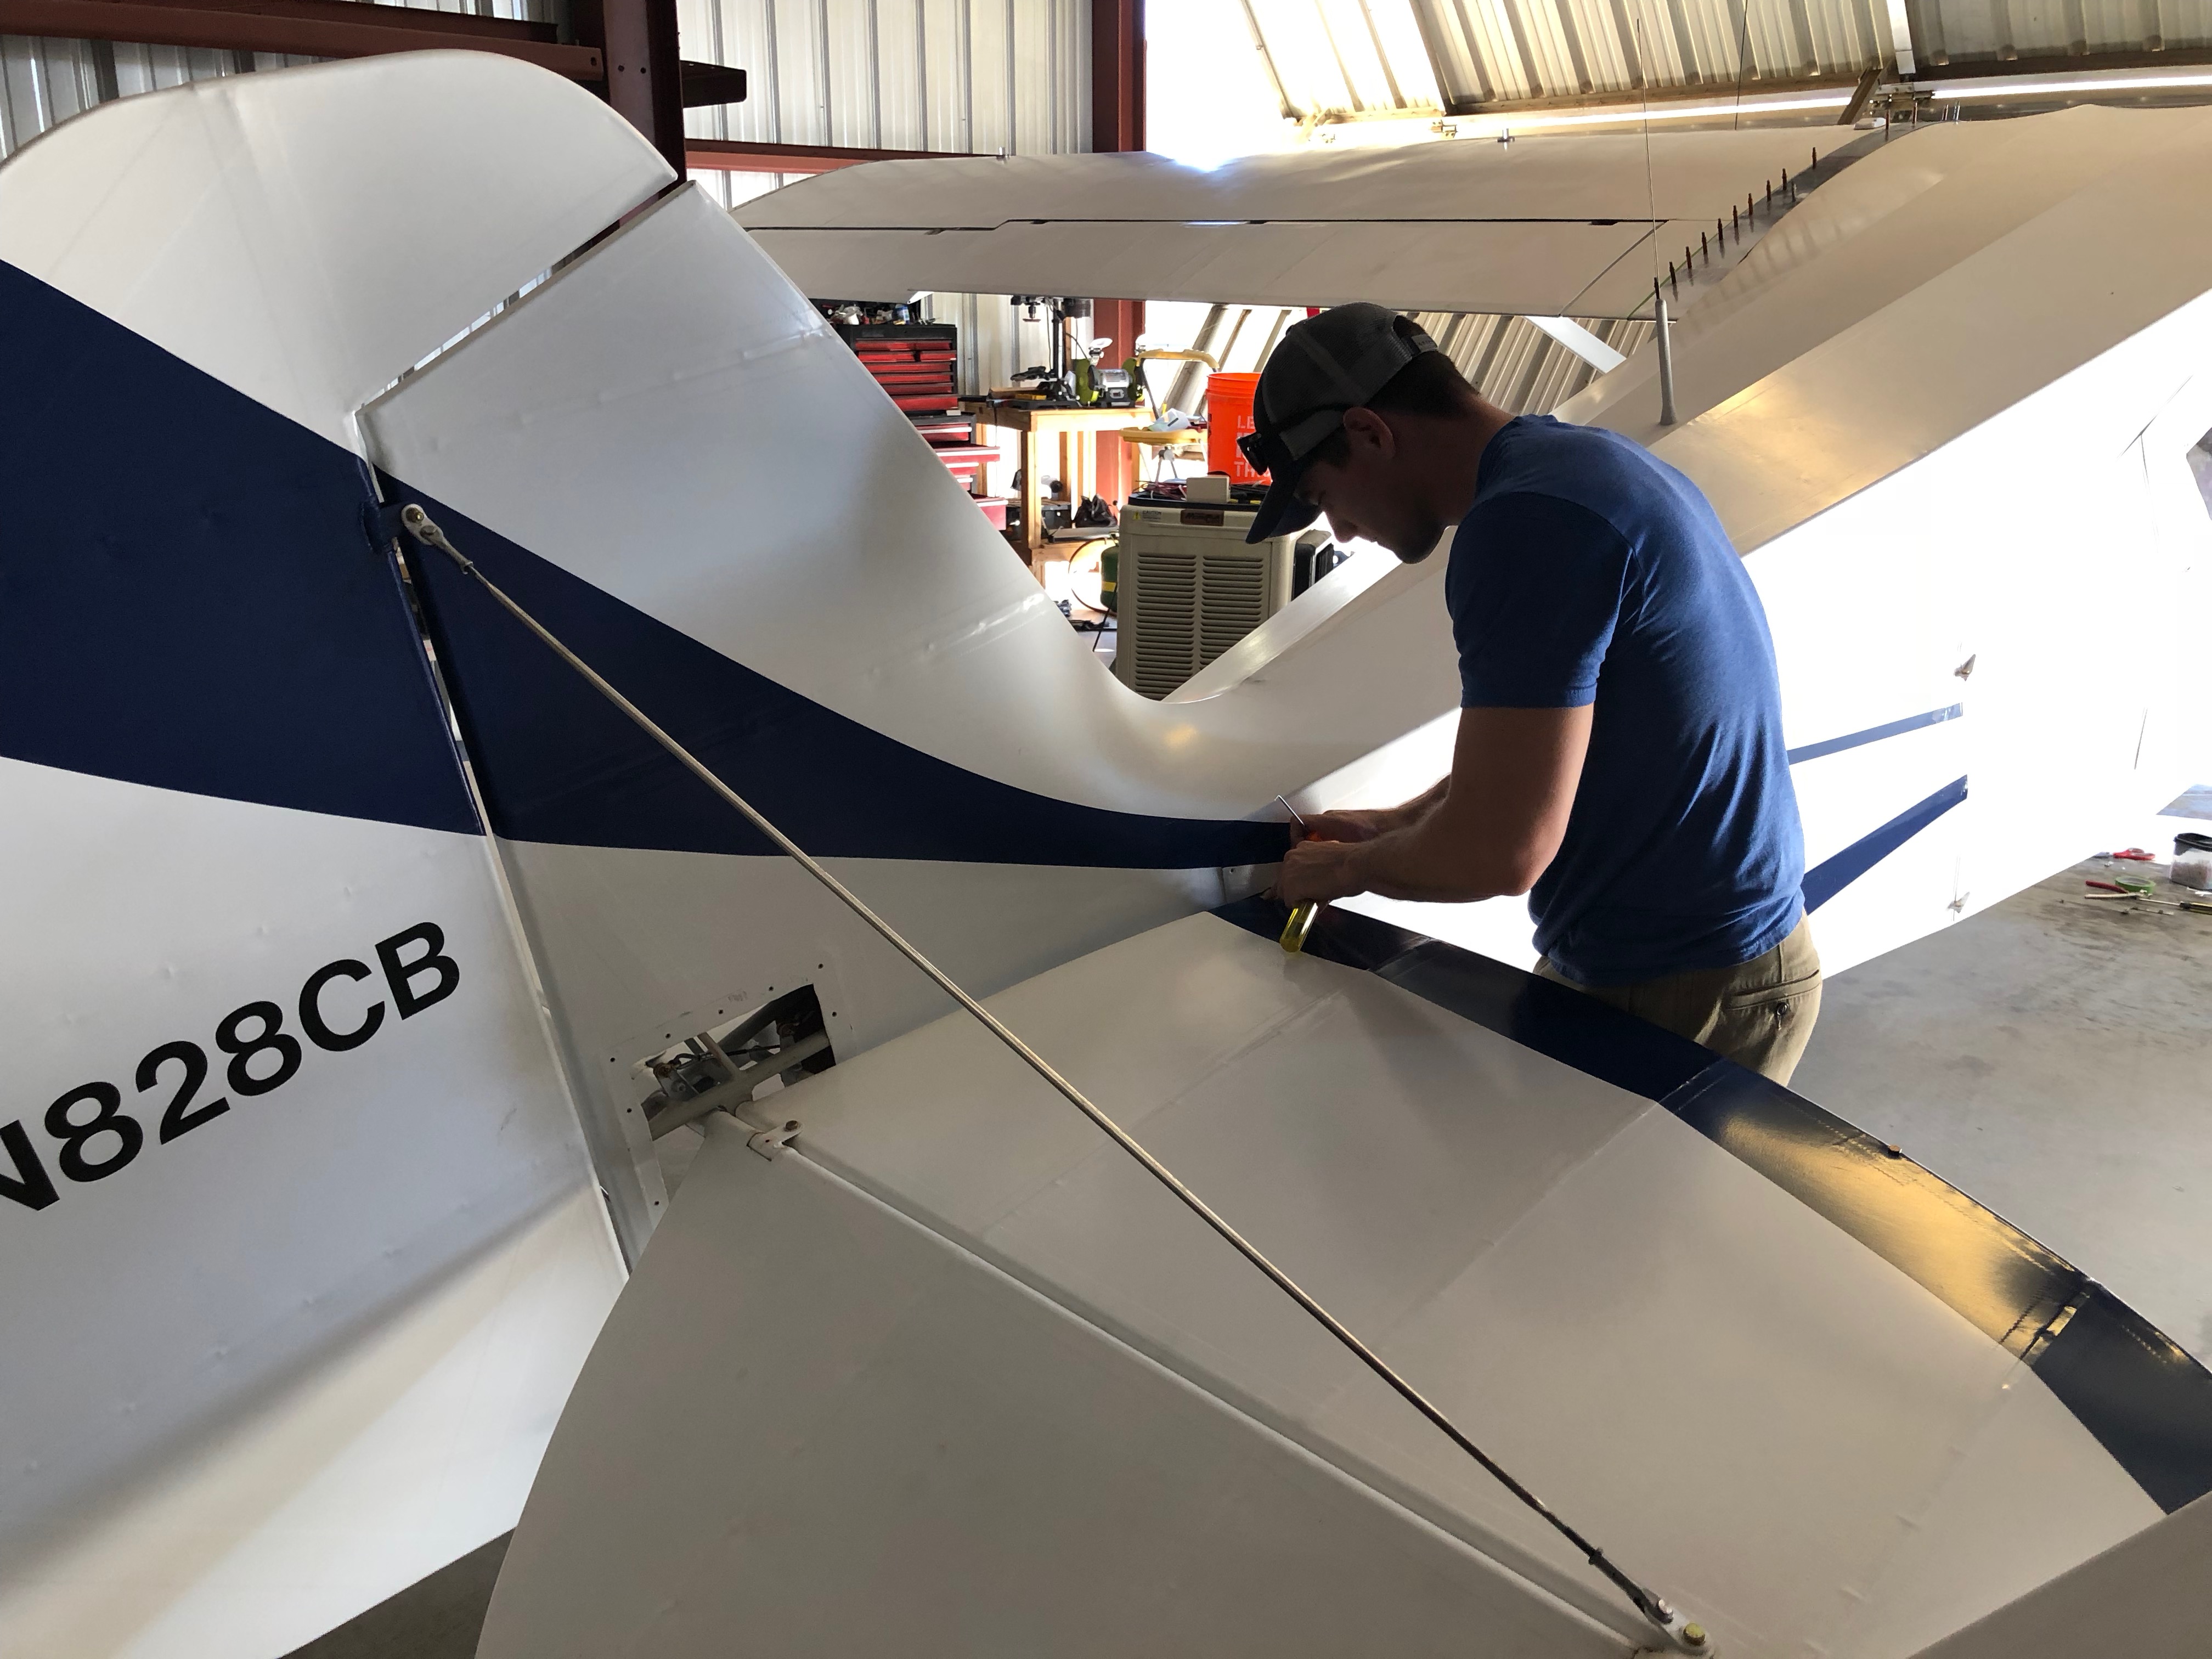
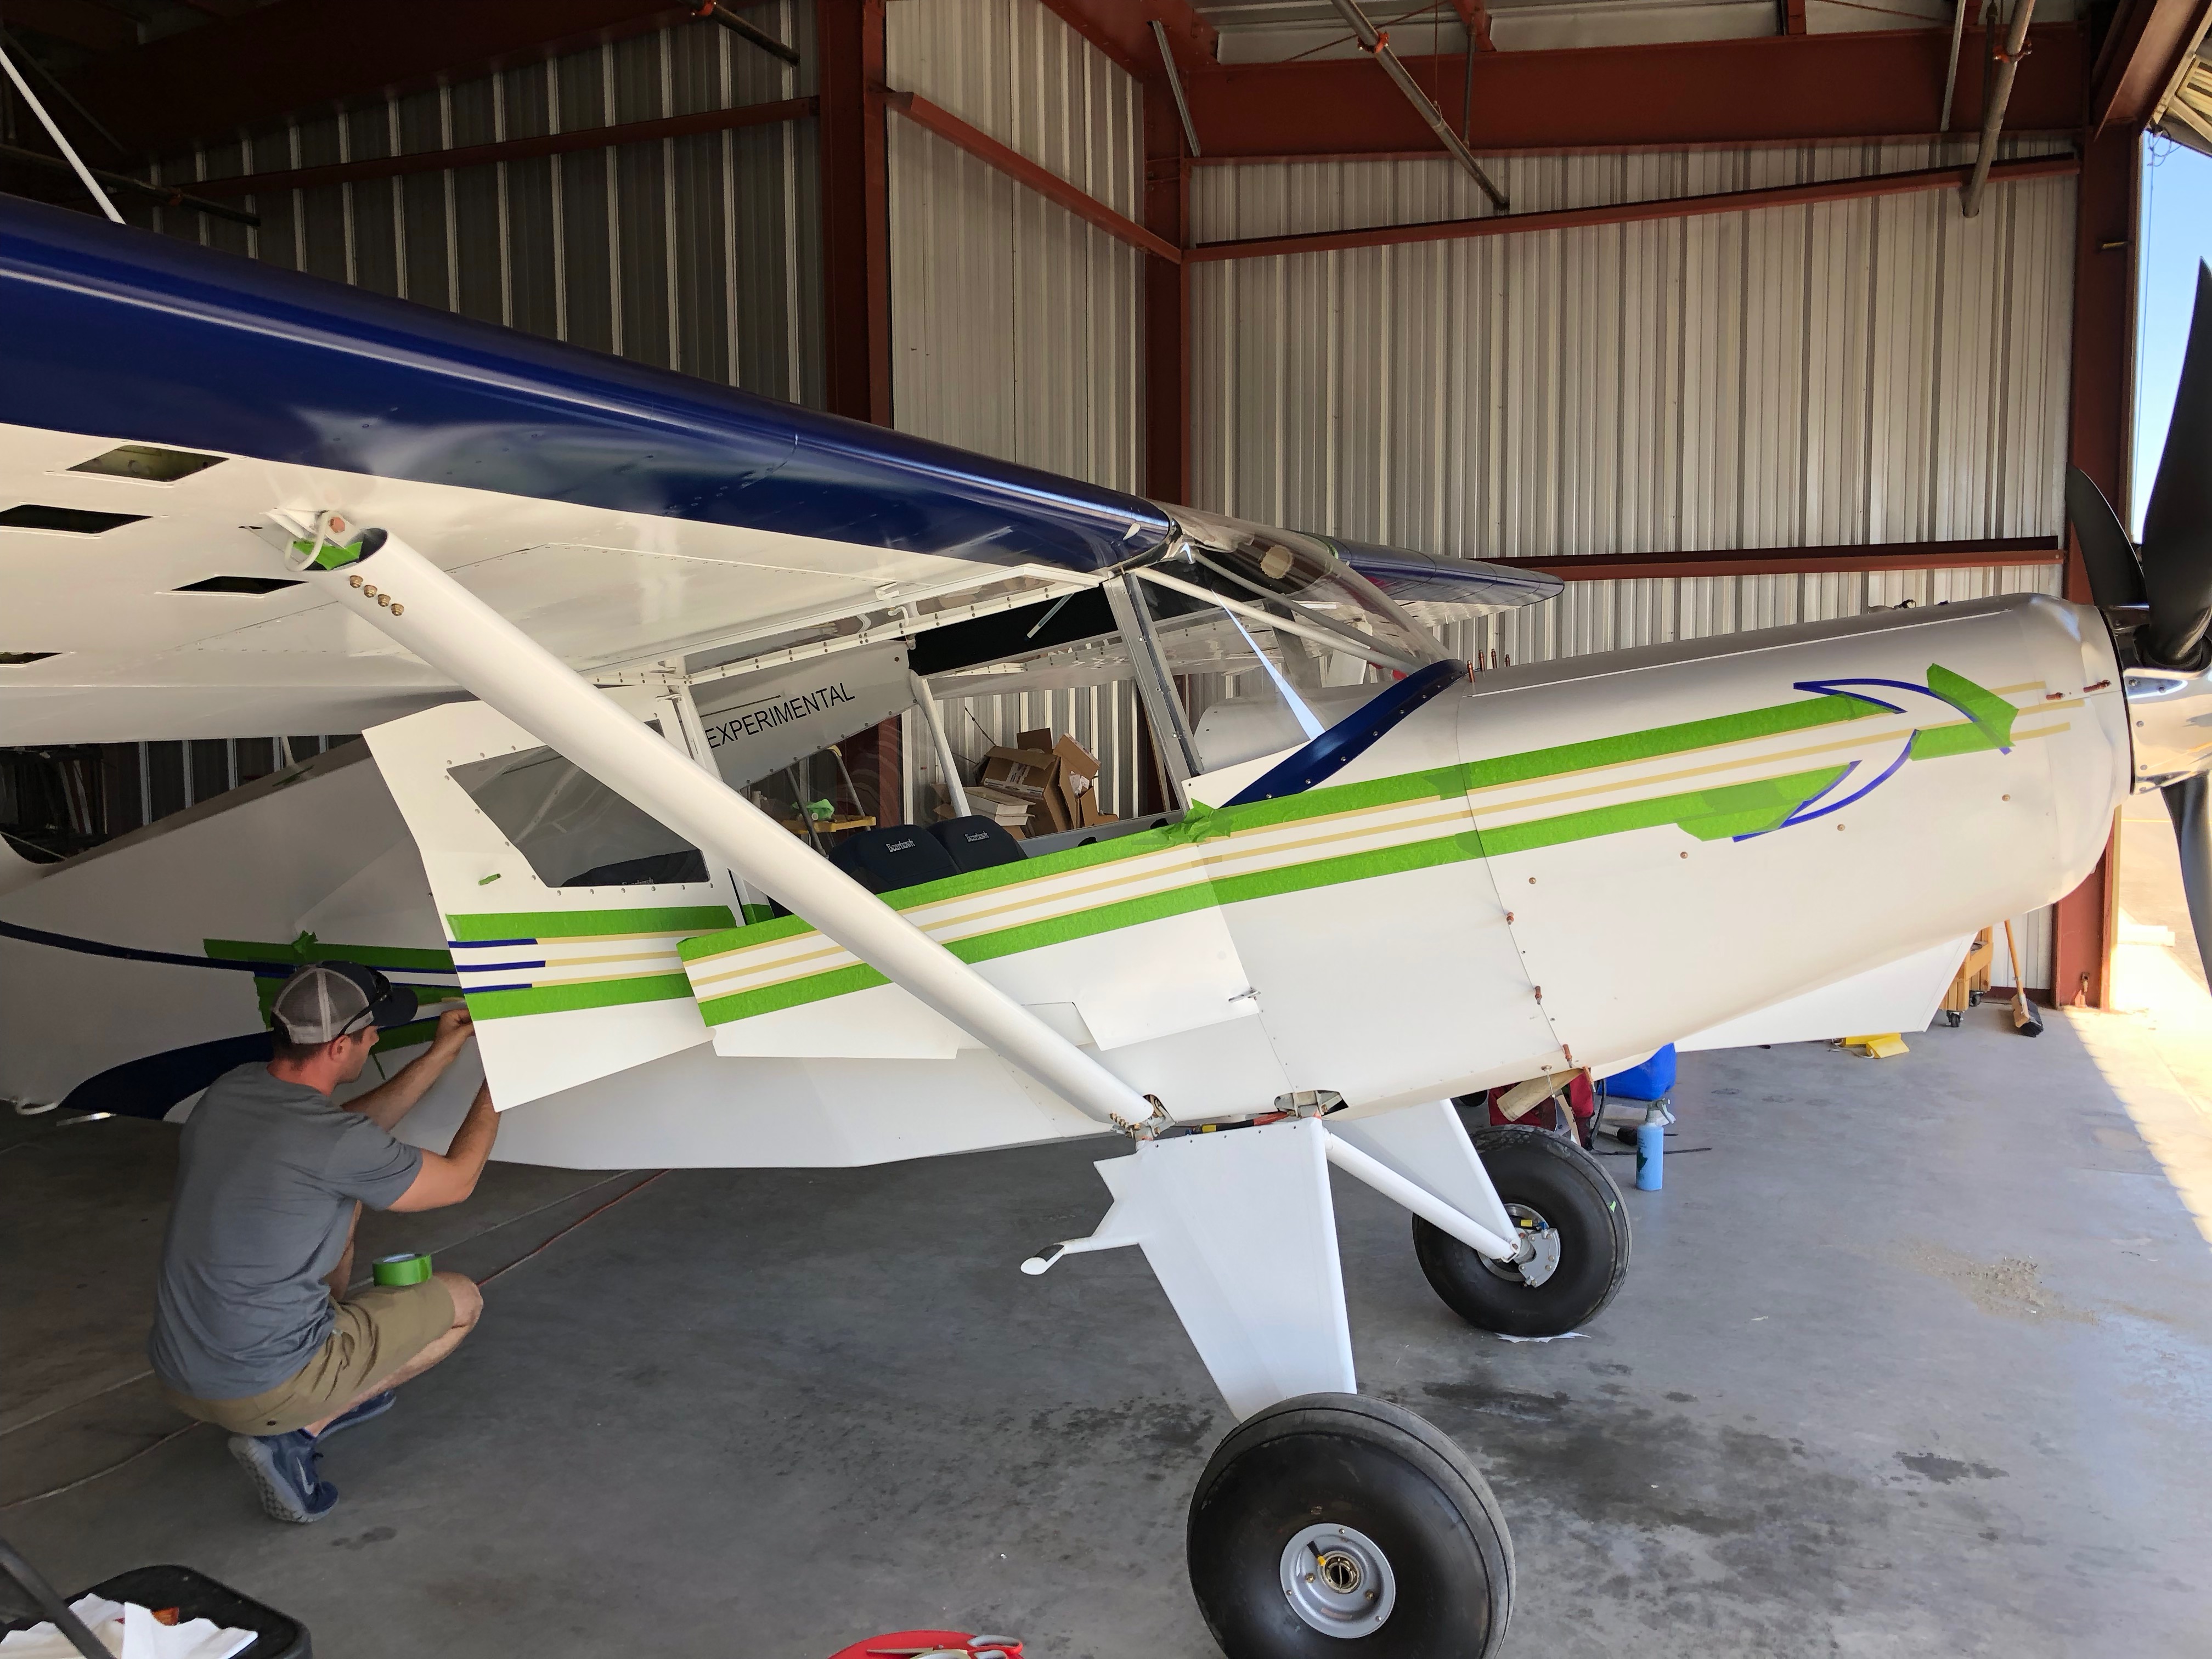
My brother Timmy came out again to help mask for the stripes.


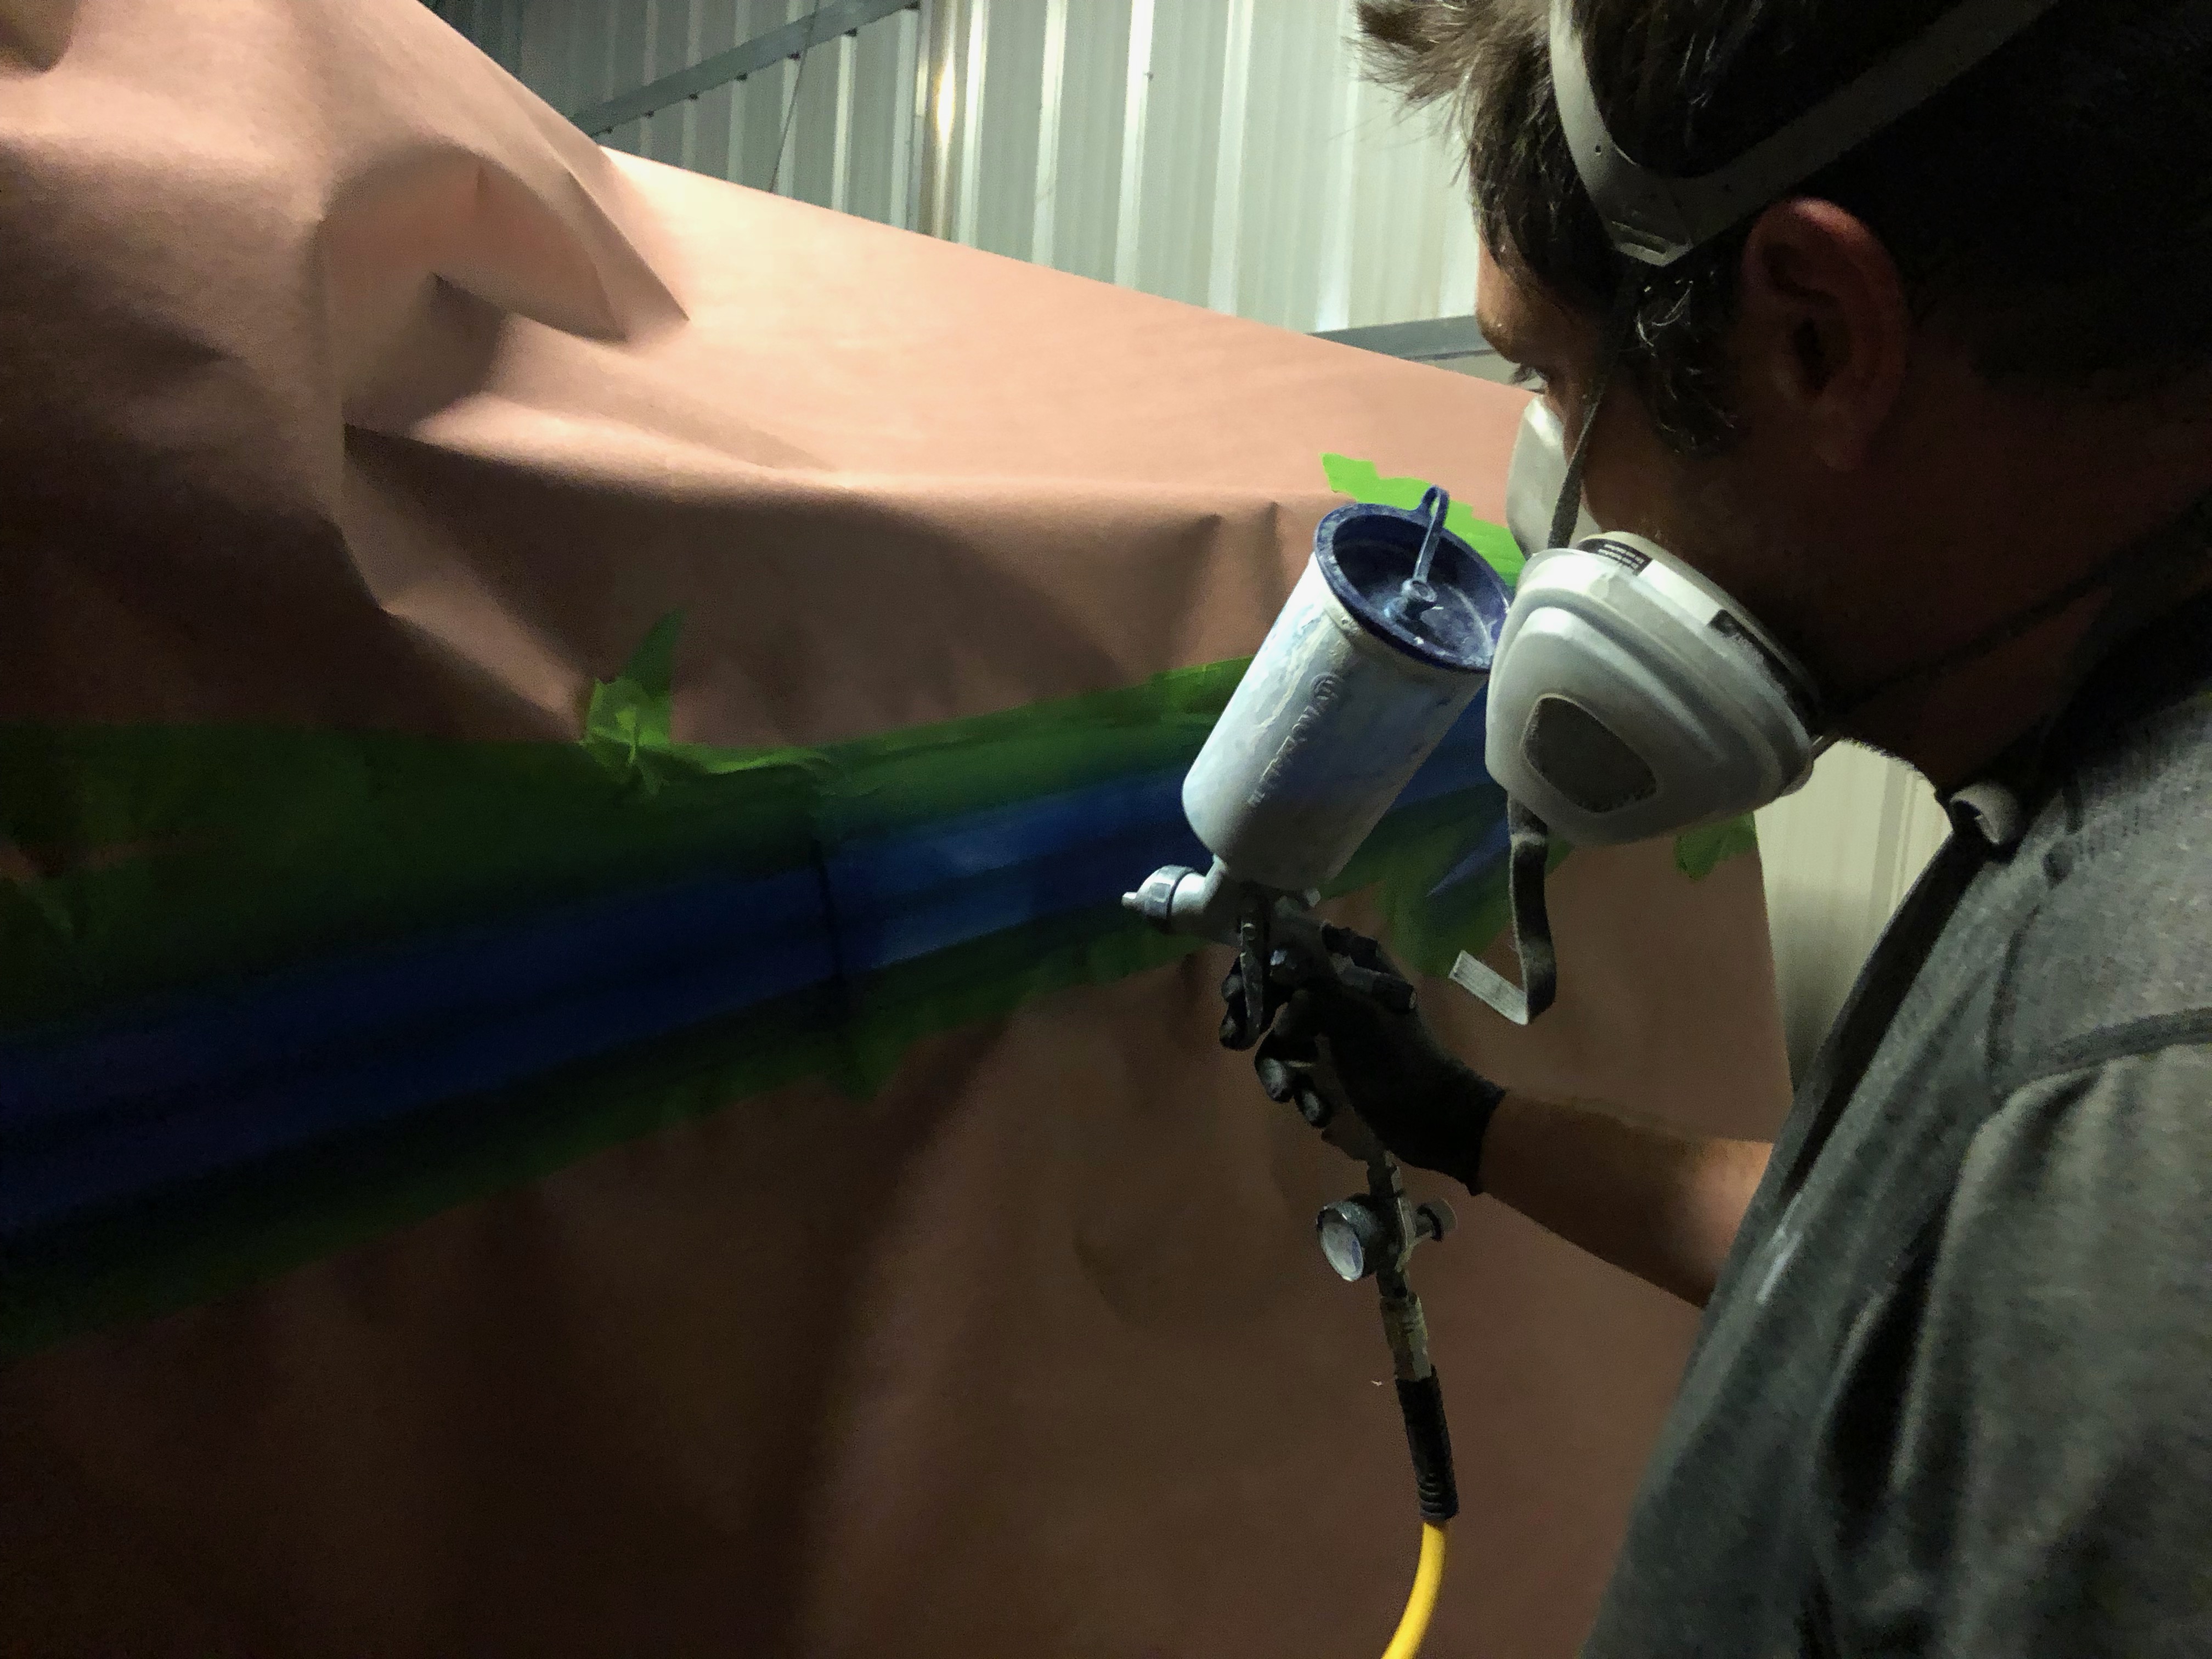
I hate painting on a vertical surface so I was super careful and did a lot of very thin coats.

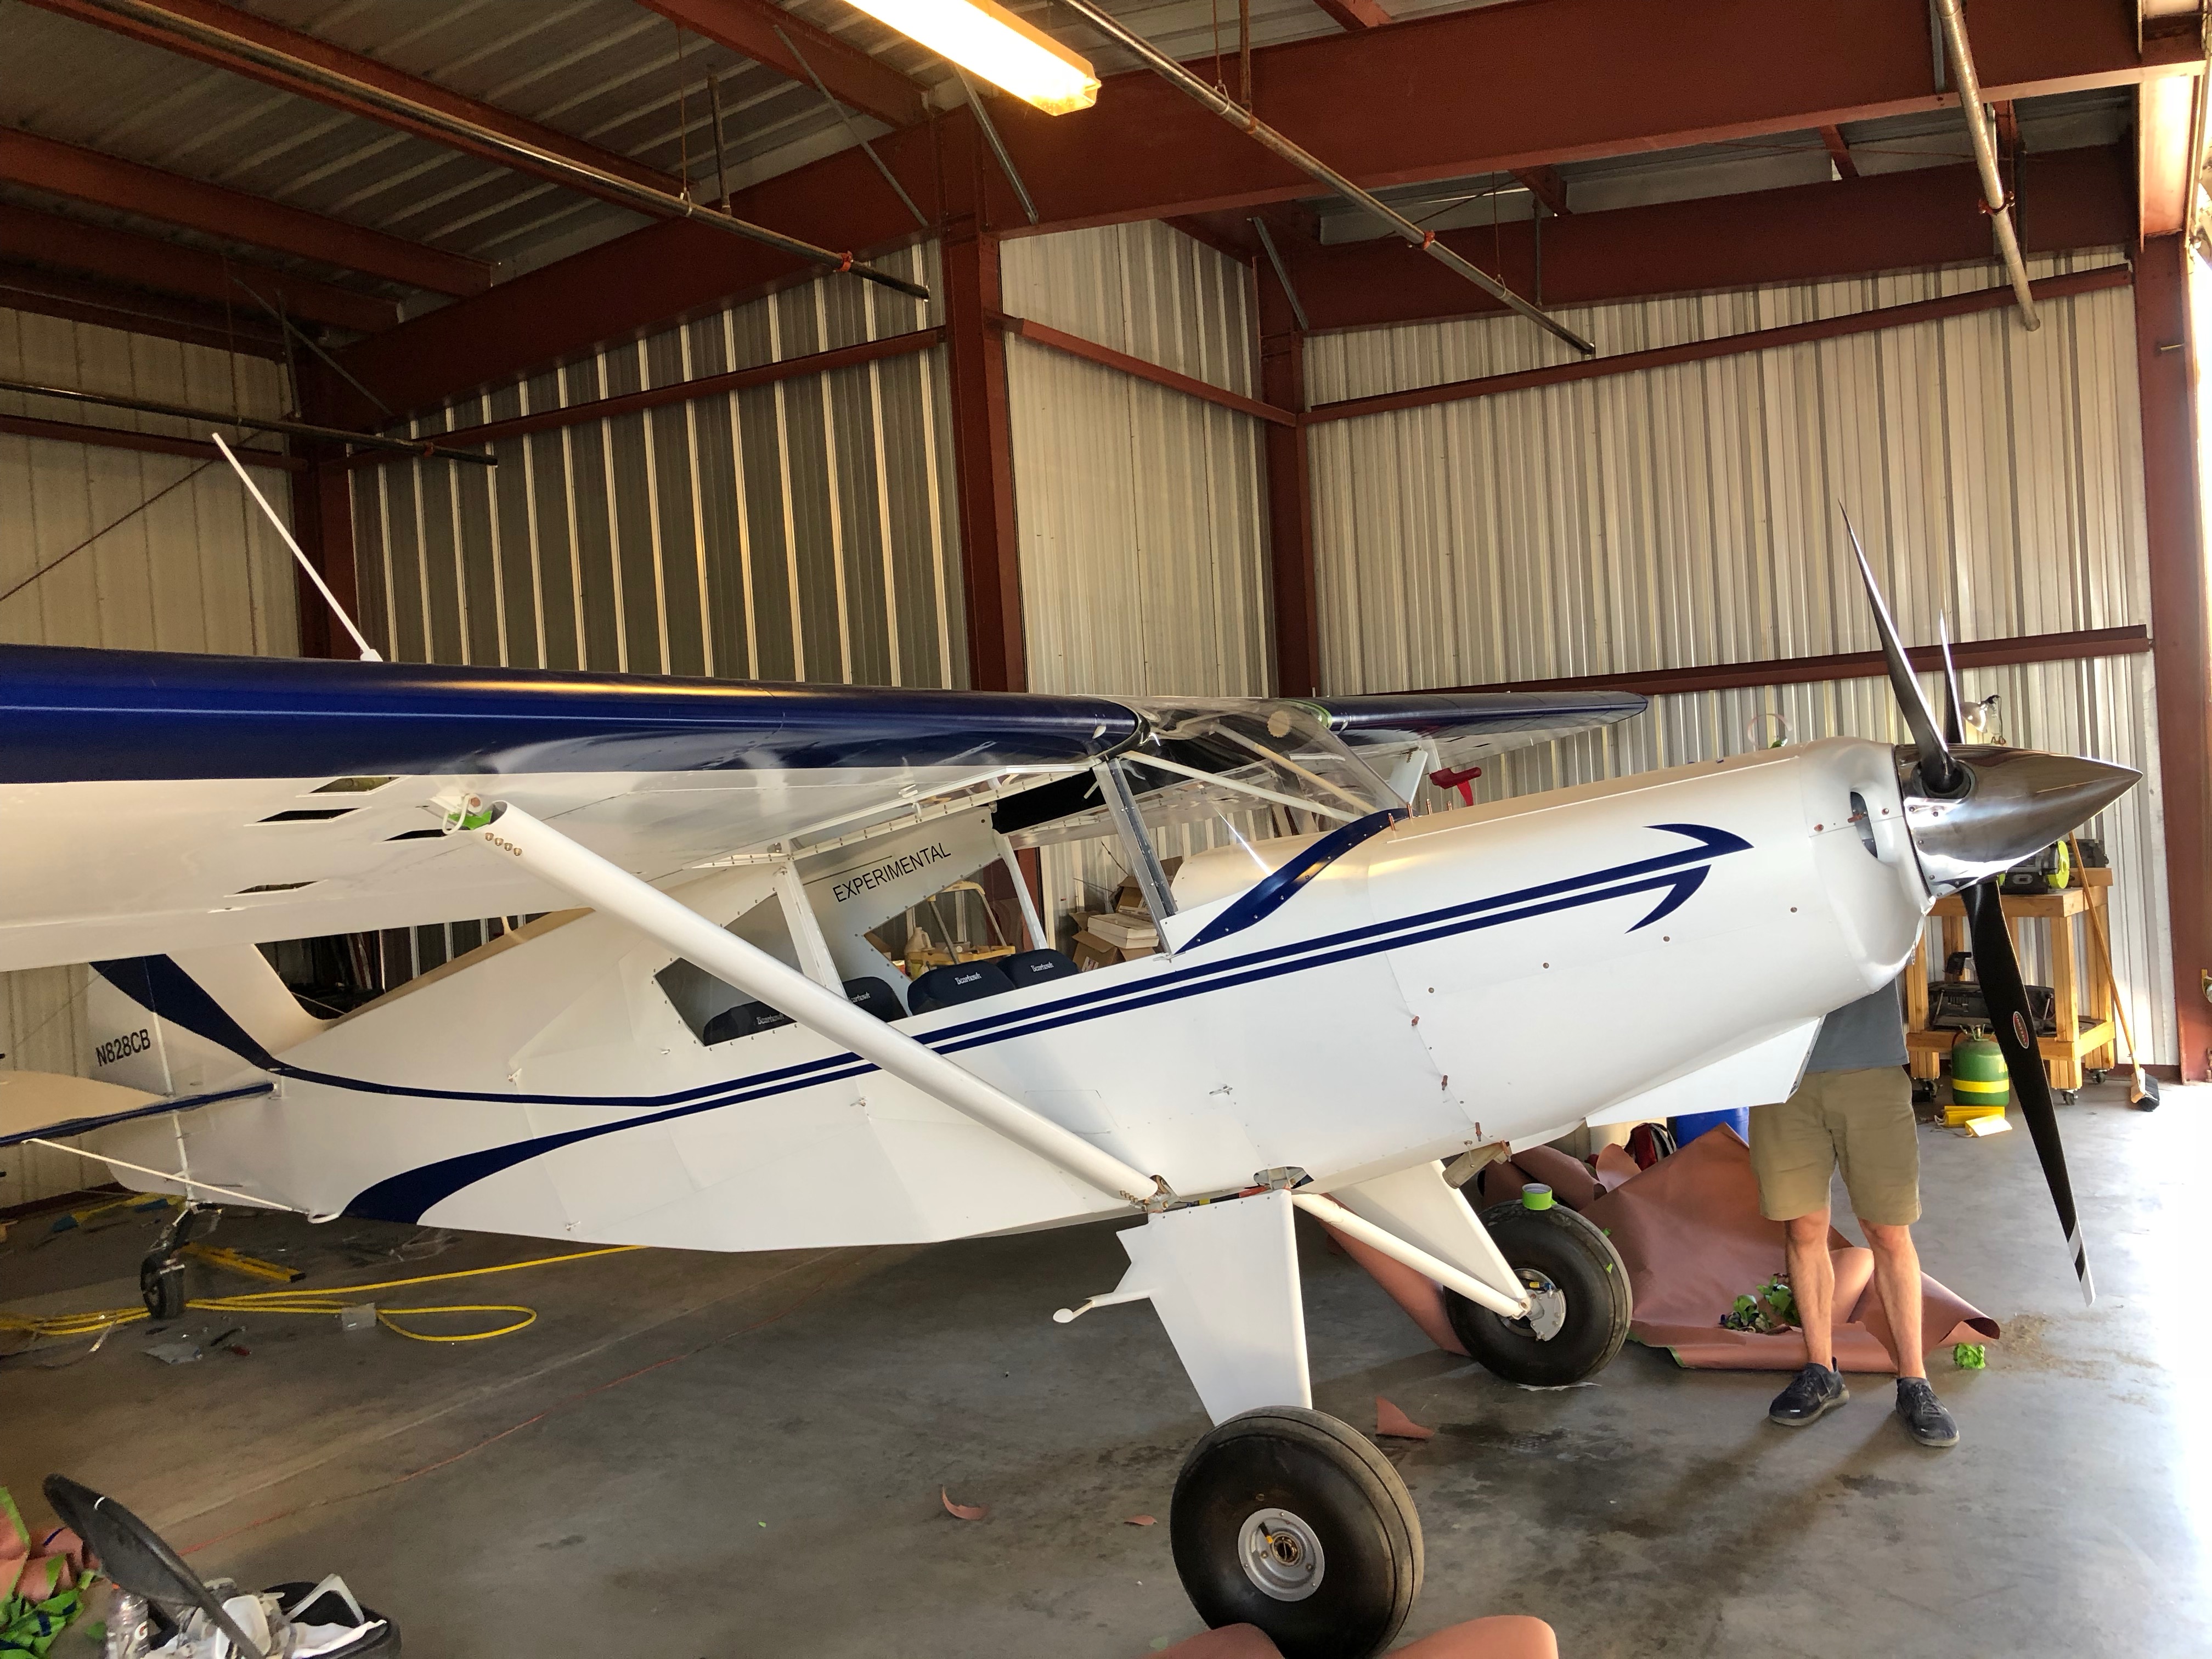
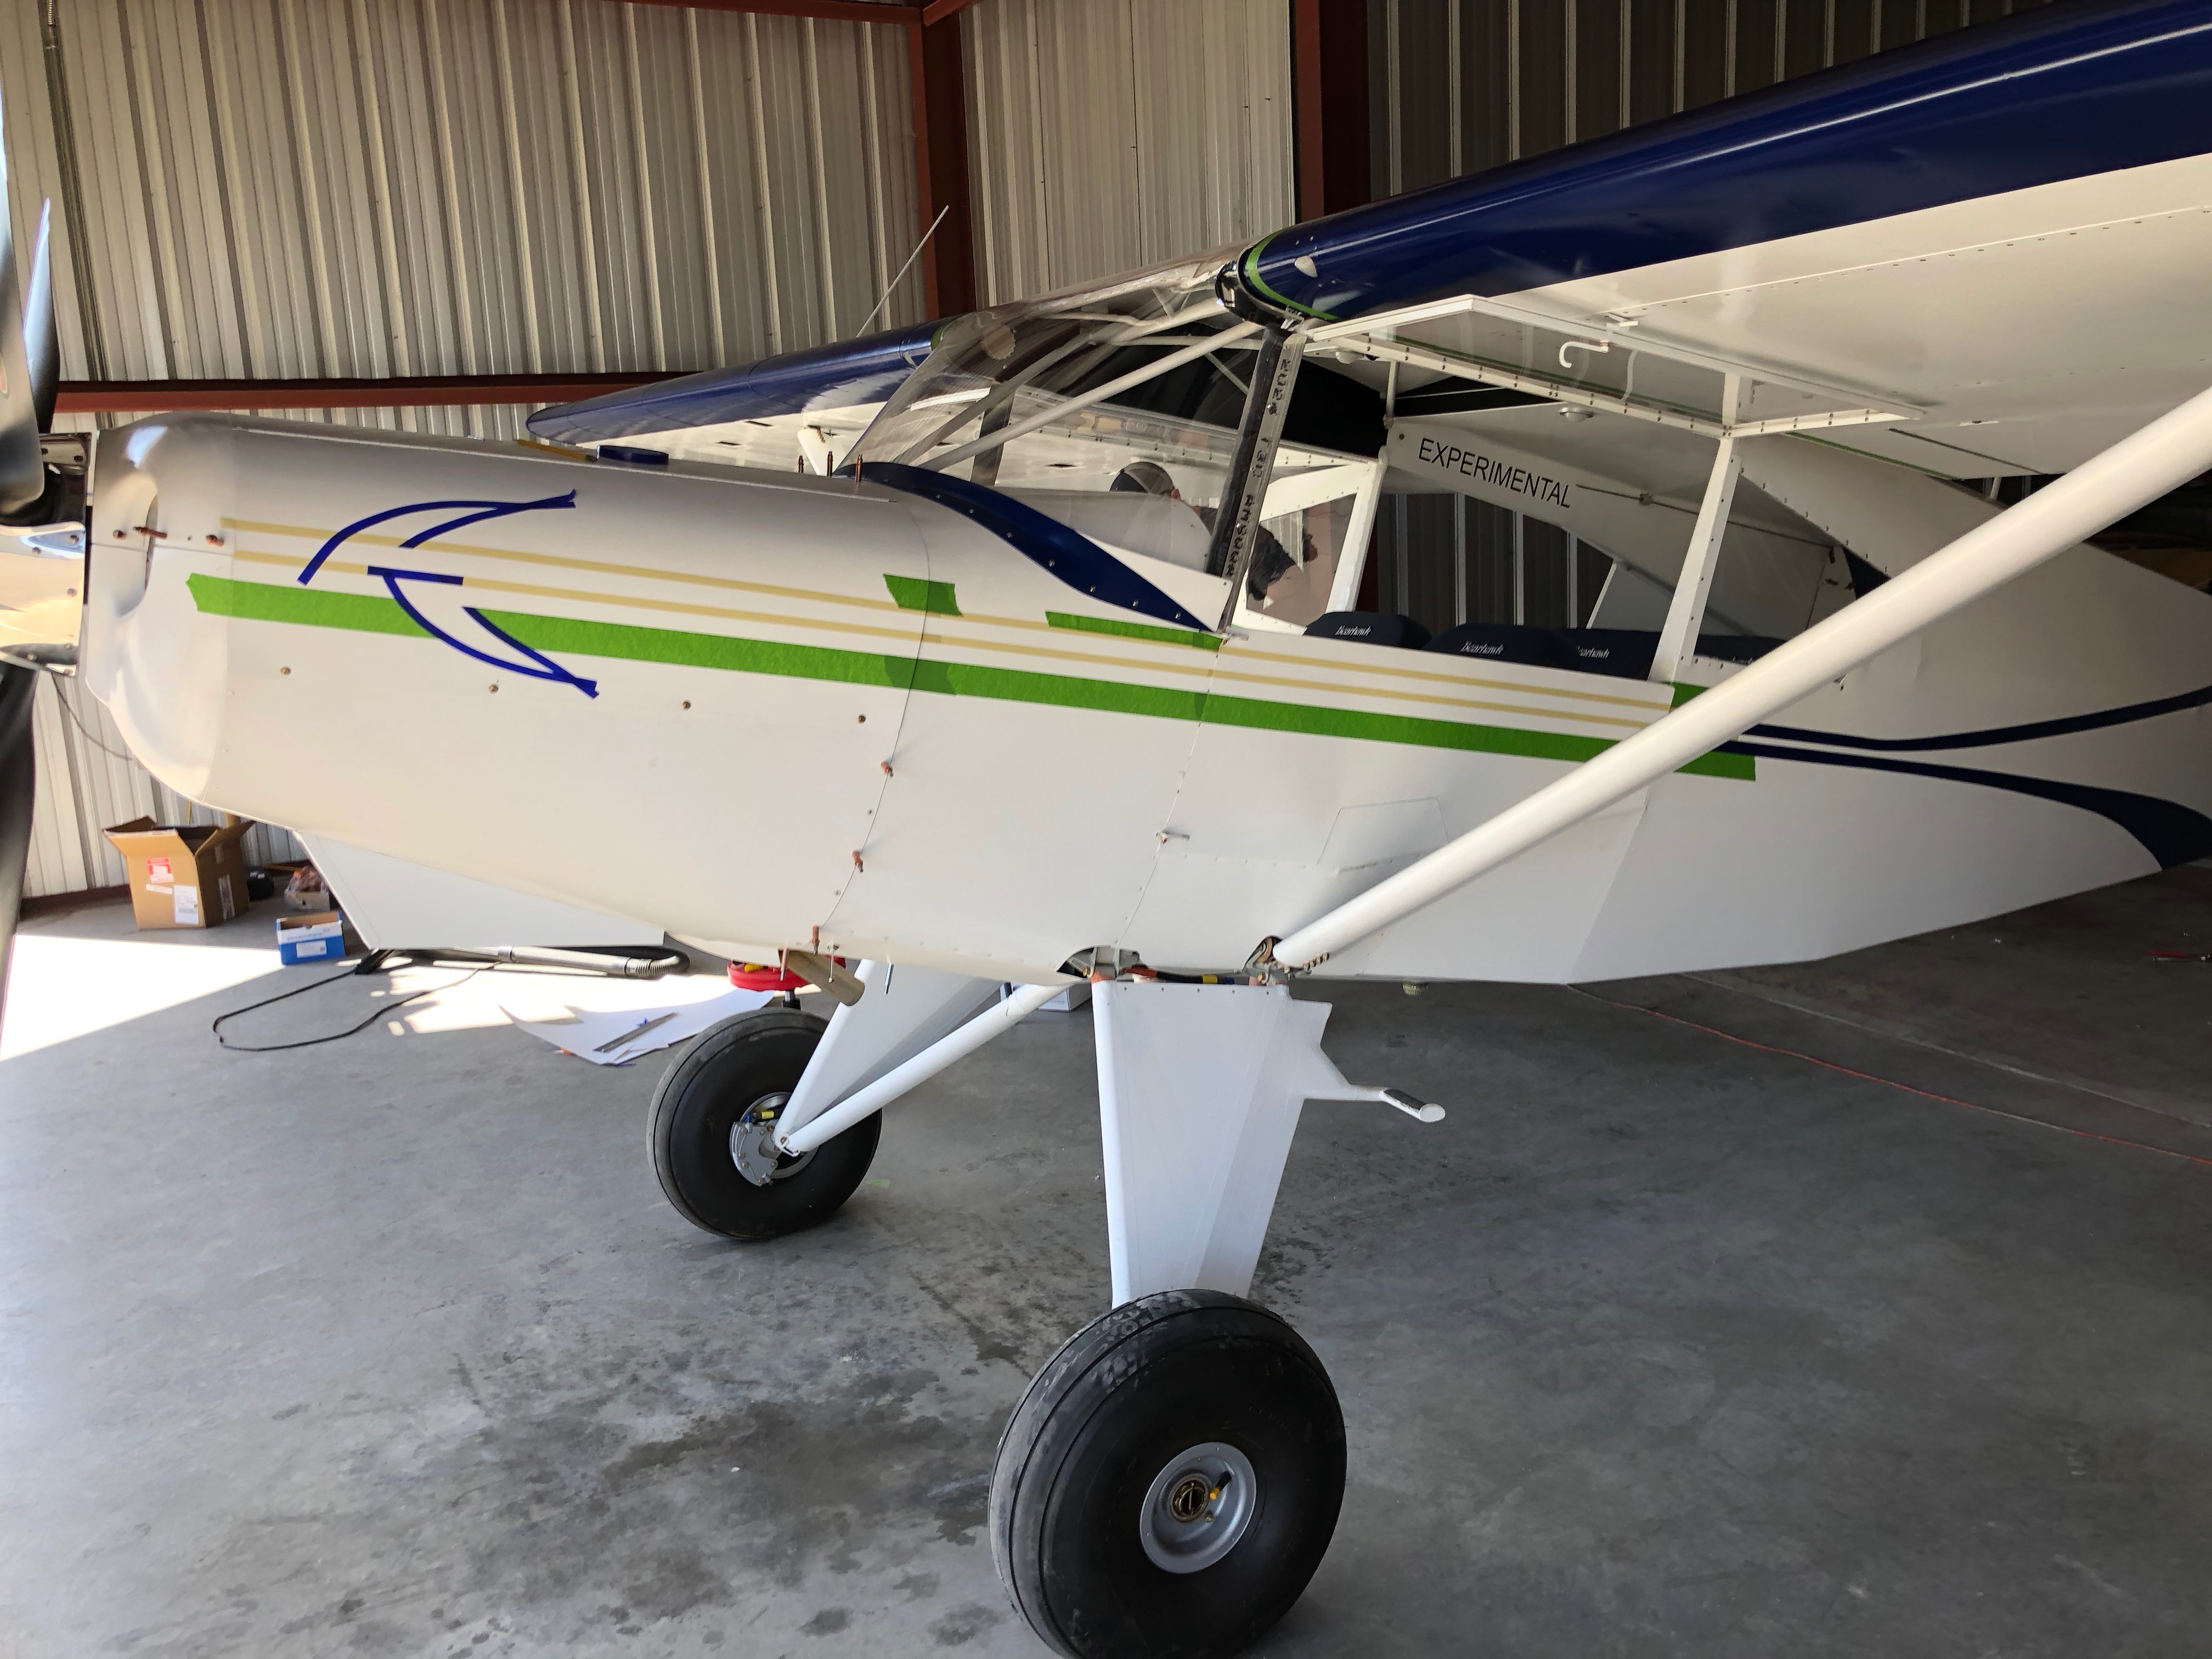
We had a few little masking issues but we were able to correct them all.  Stand back at least 6 feet and you can’t see any problems at all!  🙂  So it’s a solid 6 foot paint job!

Exhaust supports

The Vetterman Exhaust required these supports.  Again I thought this would be a quick job, but when it’s 115 outside I don’t work quite as quickly as I would like.  Each support has a flexible hose in the middle to allow movement since it’s clamped to the engine mount.

Surefly

So after we thought we got the right mag timed and working, it started having all sorts of trouble.  So I decided to bench it and go for an electronic ignition.  After a bit of research I settled on simplicity of operation and installation along with availability.  That led me to Surefly.  I gave them a call and they were very eager to understand my needs and send me a unit right away.

After a quick installation, I timed the Surefly (which took about 5 minutes), and started it up.  It started and ran perfectly!  I’m looking forward to the increased efficiency.

Wing and tail root fairings

It’s a funny thing.  These look relatively simple and I thought they wouldn’t take much time.  However, I was very wrong.  It took me early 2 days to get these to fit the way I liked.

I used poster board to create a template for the leading and trailing edges.  My lovely wife Cati helped me tape everything together.

Timmy worked on the tail fairings.

Windows

The window frames weren’t too hard to build.  Again I used flush rivets on the outside.

#6 pk screws were used to hold the clamps in place.

Here it is with the plexiglass in place.

Finally painted with the plexiglass reinstalled!  Looking great!

Skinning the doors & some MVP excitement!

Timmy came back out from California to help me skin the doors.  We decided to do flush rivets on the doors.  This meant carefully countersinking the holes.  Usually you’d want to dimple .025″ aluminum, but since this isn’t structural the builders manual said it’s perfectly acceptable to do it this way.

Turned out great by the way!

Tori and Timmy, my two best helpers did a little dance to show how excited they are that the plane is coming along so well!

First Engine Run!!!!

After getting everything secured we decided it was high time to start the engine for the first time.

We followed Bob’s startup and break-in procedure very carefully.  We removed the bottom spark plugs, cranked the engine until we saw oil pressure.  Then reinstalled the spark plugs and started it up.  We let it idle for 3 minutes at 1200 – 1400 RPM.  After shut down we found one small leak by the prop governor.  I hand’t tightened one of the bolts all the way.  Tightening that bolt fixed the leak.

Here’s a video of the first engine run:  First Engine Run