Floor Boards

DSC05041

The floor boards were mostly fit to size.  However,  some final fitting was needed.  For removing large amounts of metal, the grinder was invaluable.

DSC05044

I then finished filing them to final size.

DSC05053

Jessica and I spent the rest of the day match drilling the mounting tabs to the floor and deburring everything.  They turned out very nice!  We even put seats in and made airplane noises!


Horizontal Stabilizer

DSC04989

Mounting the horizontal stab was a simple bolt on process.

DSC05027

I mounted the elevators and started calculating how much weight it would take to balance them.  You have to estimate how much the covering materials will weigh.  Then cast lead weights for the front of the elevators so their neutrally balanced.

I don’t have any pictures of the casting process, but it was the most frustrating part so far.  My welding torch that I was using to melt the lead weights wasn’t working properly.  It’s still over 100 degrees outside and with all my breathing equipment and other safety equipment on, I was hot to say the least.  Just about the time the lead would melt, my torch would go out.  This went on for hours.

Not one to give up easily, I persisted.  It took two days to get it right, but in the end it’s done right and it’s behind me!  Now on to much more fun parts of the project!

Organizing & Rudder Pedals

Today we spent the morning organizing and checking inventory.  Then moved on to the rudder pedals.  I had planned on putting the landing gear on first, but the strut springs were on backorder.

DSC04982

So far I am very impressed with the kit!  Very good quality and workmanship.  Everything is bolt on so far, but there is some measuring to do to make sure everything is in the right place.

I’m purposely moving very slow.  I’m reading the manual several times, measuring 8-10 times and contemplating every alternative before I drill my first hole in this airplane!!

Our kit arrives!

DSC04720
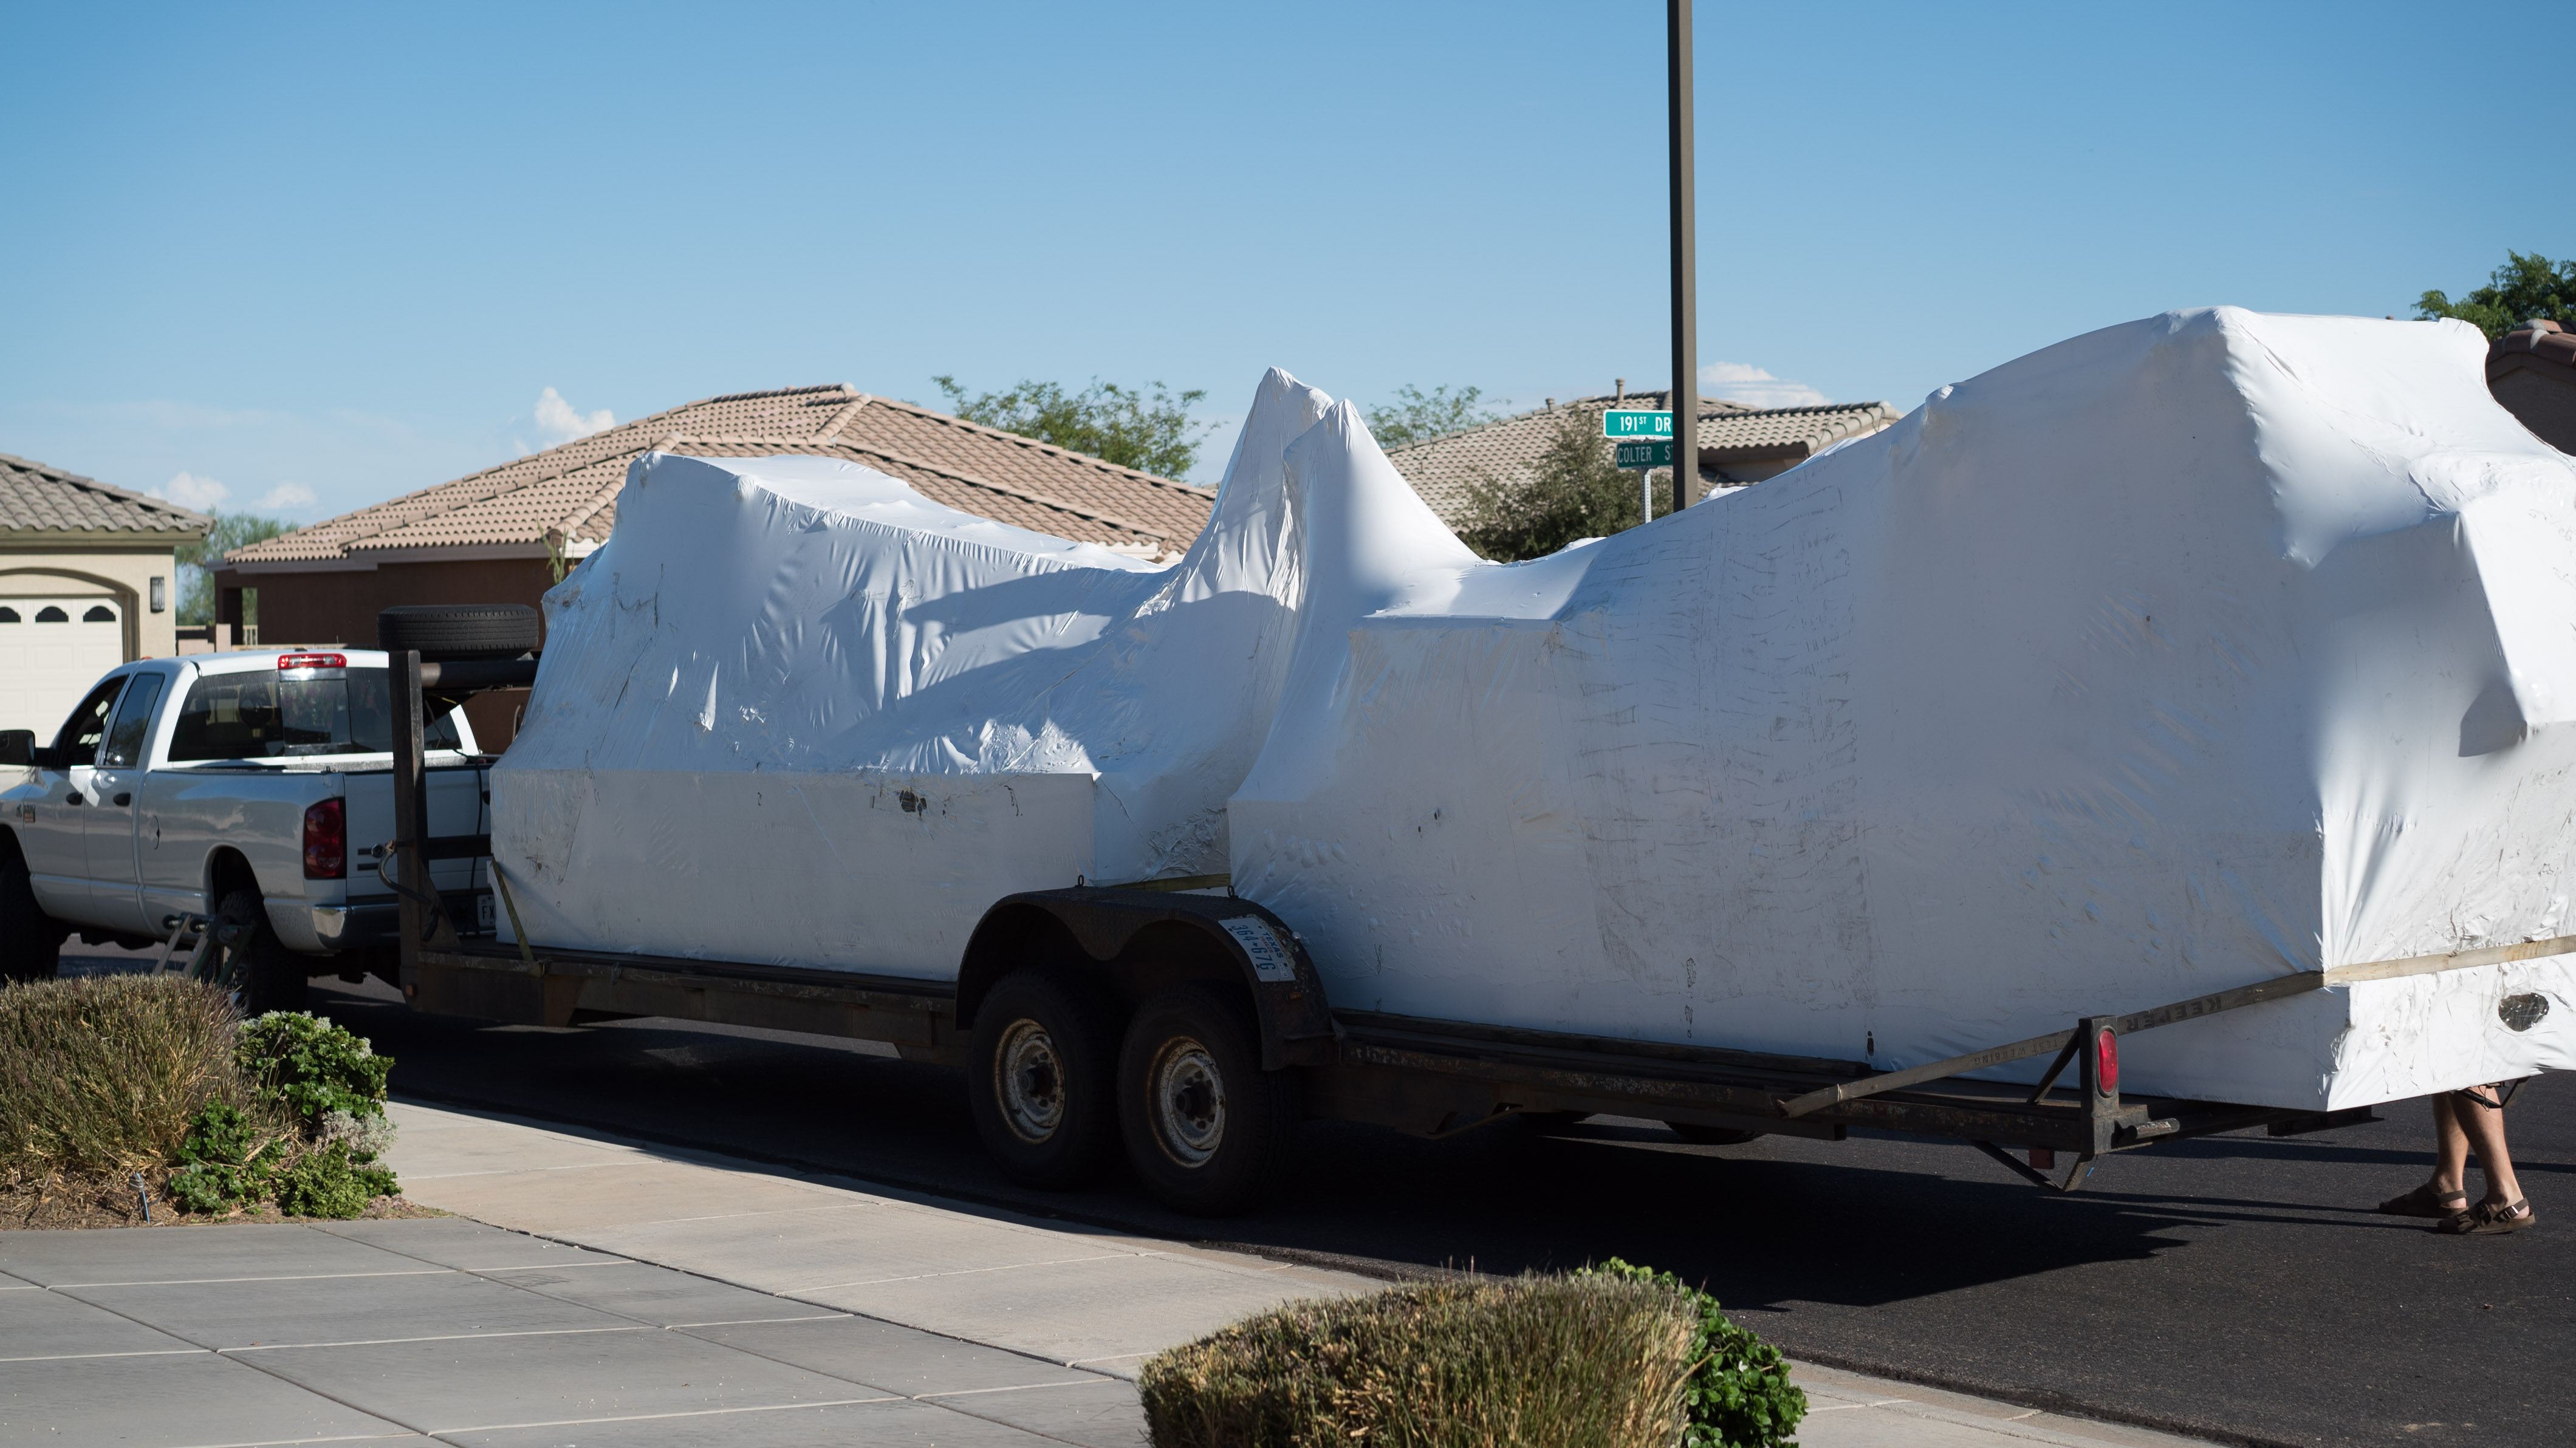
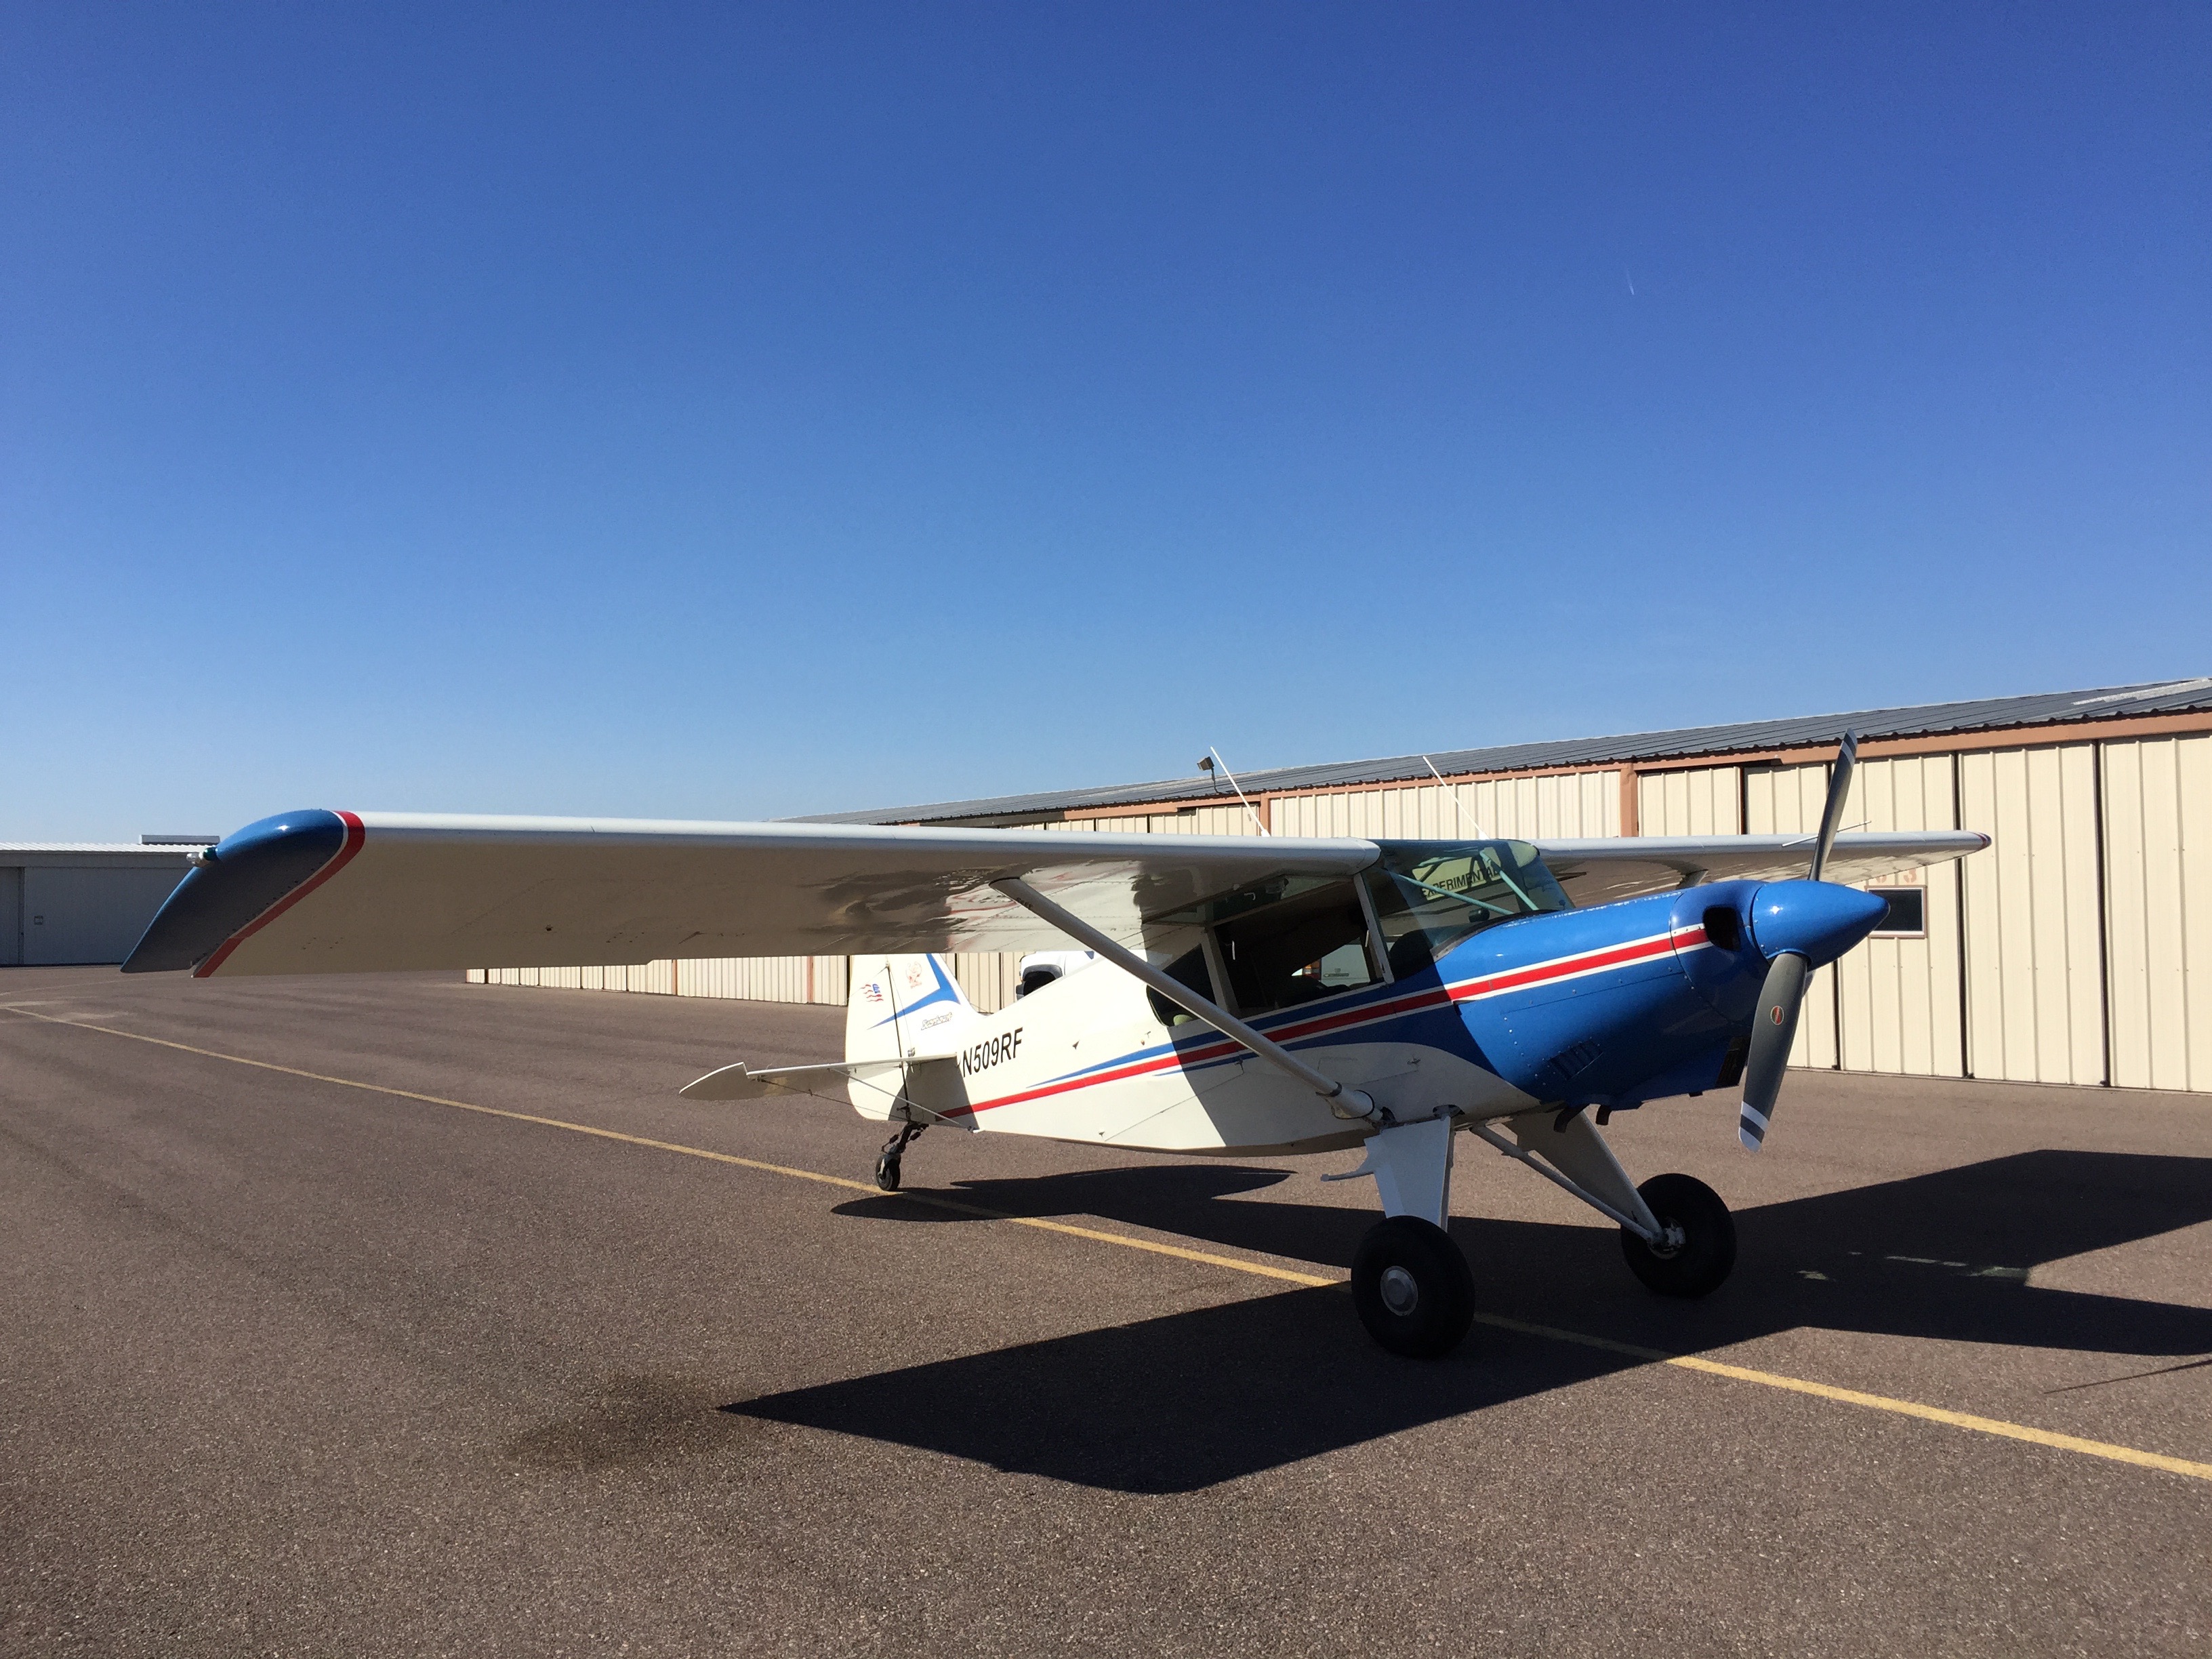
Mike arrived with two Bearhawks!  We only got one though.

DSC04904
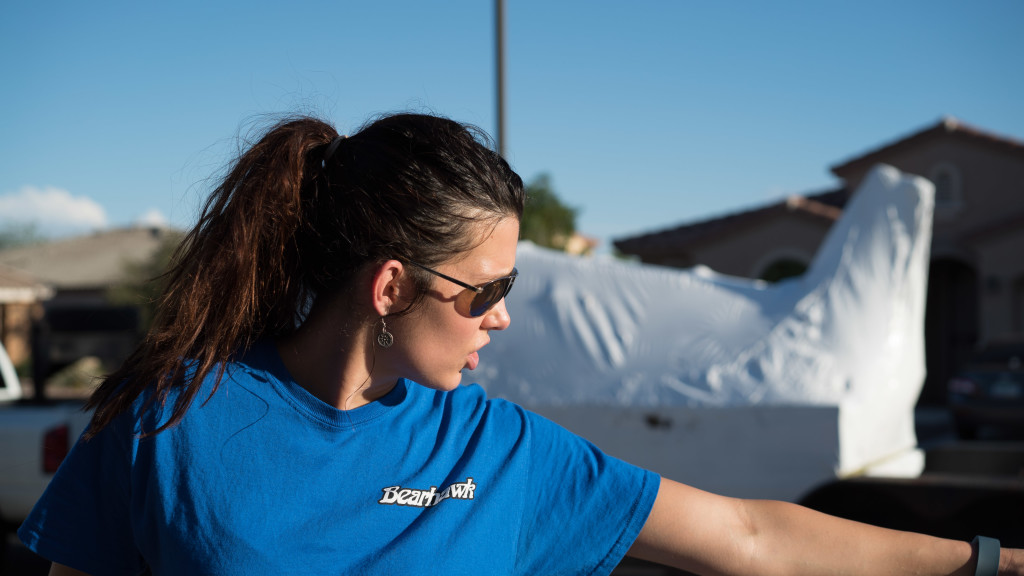
My wife Cati jumped right in and took control of the situation!

DSC04724
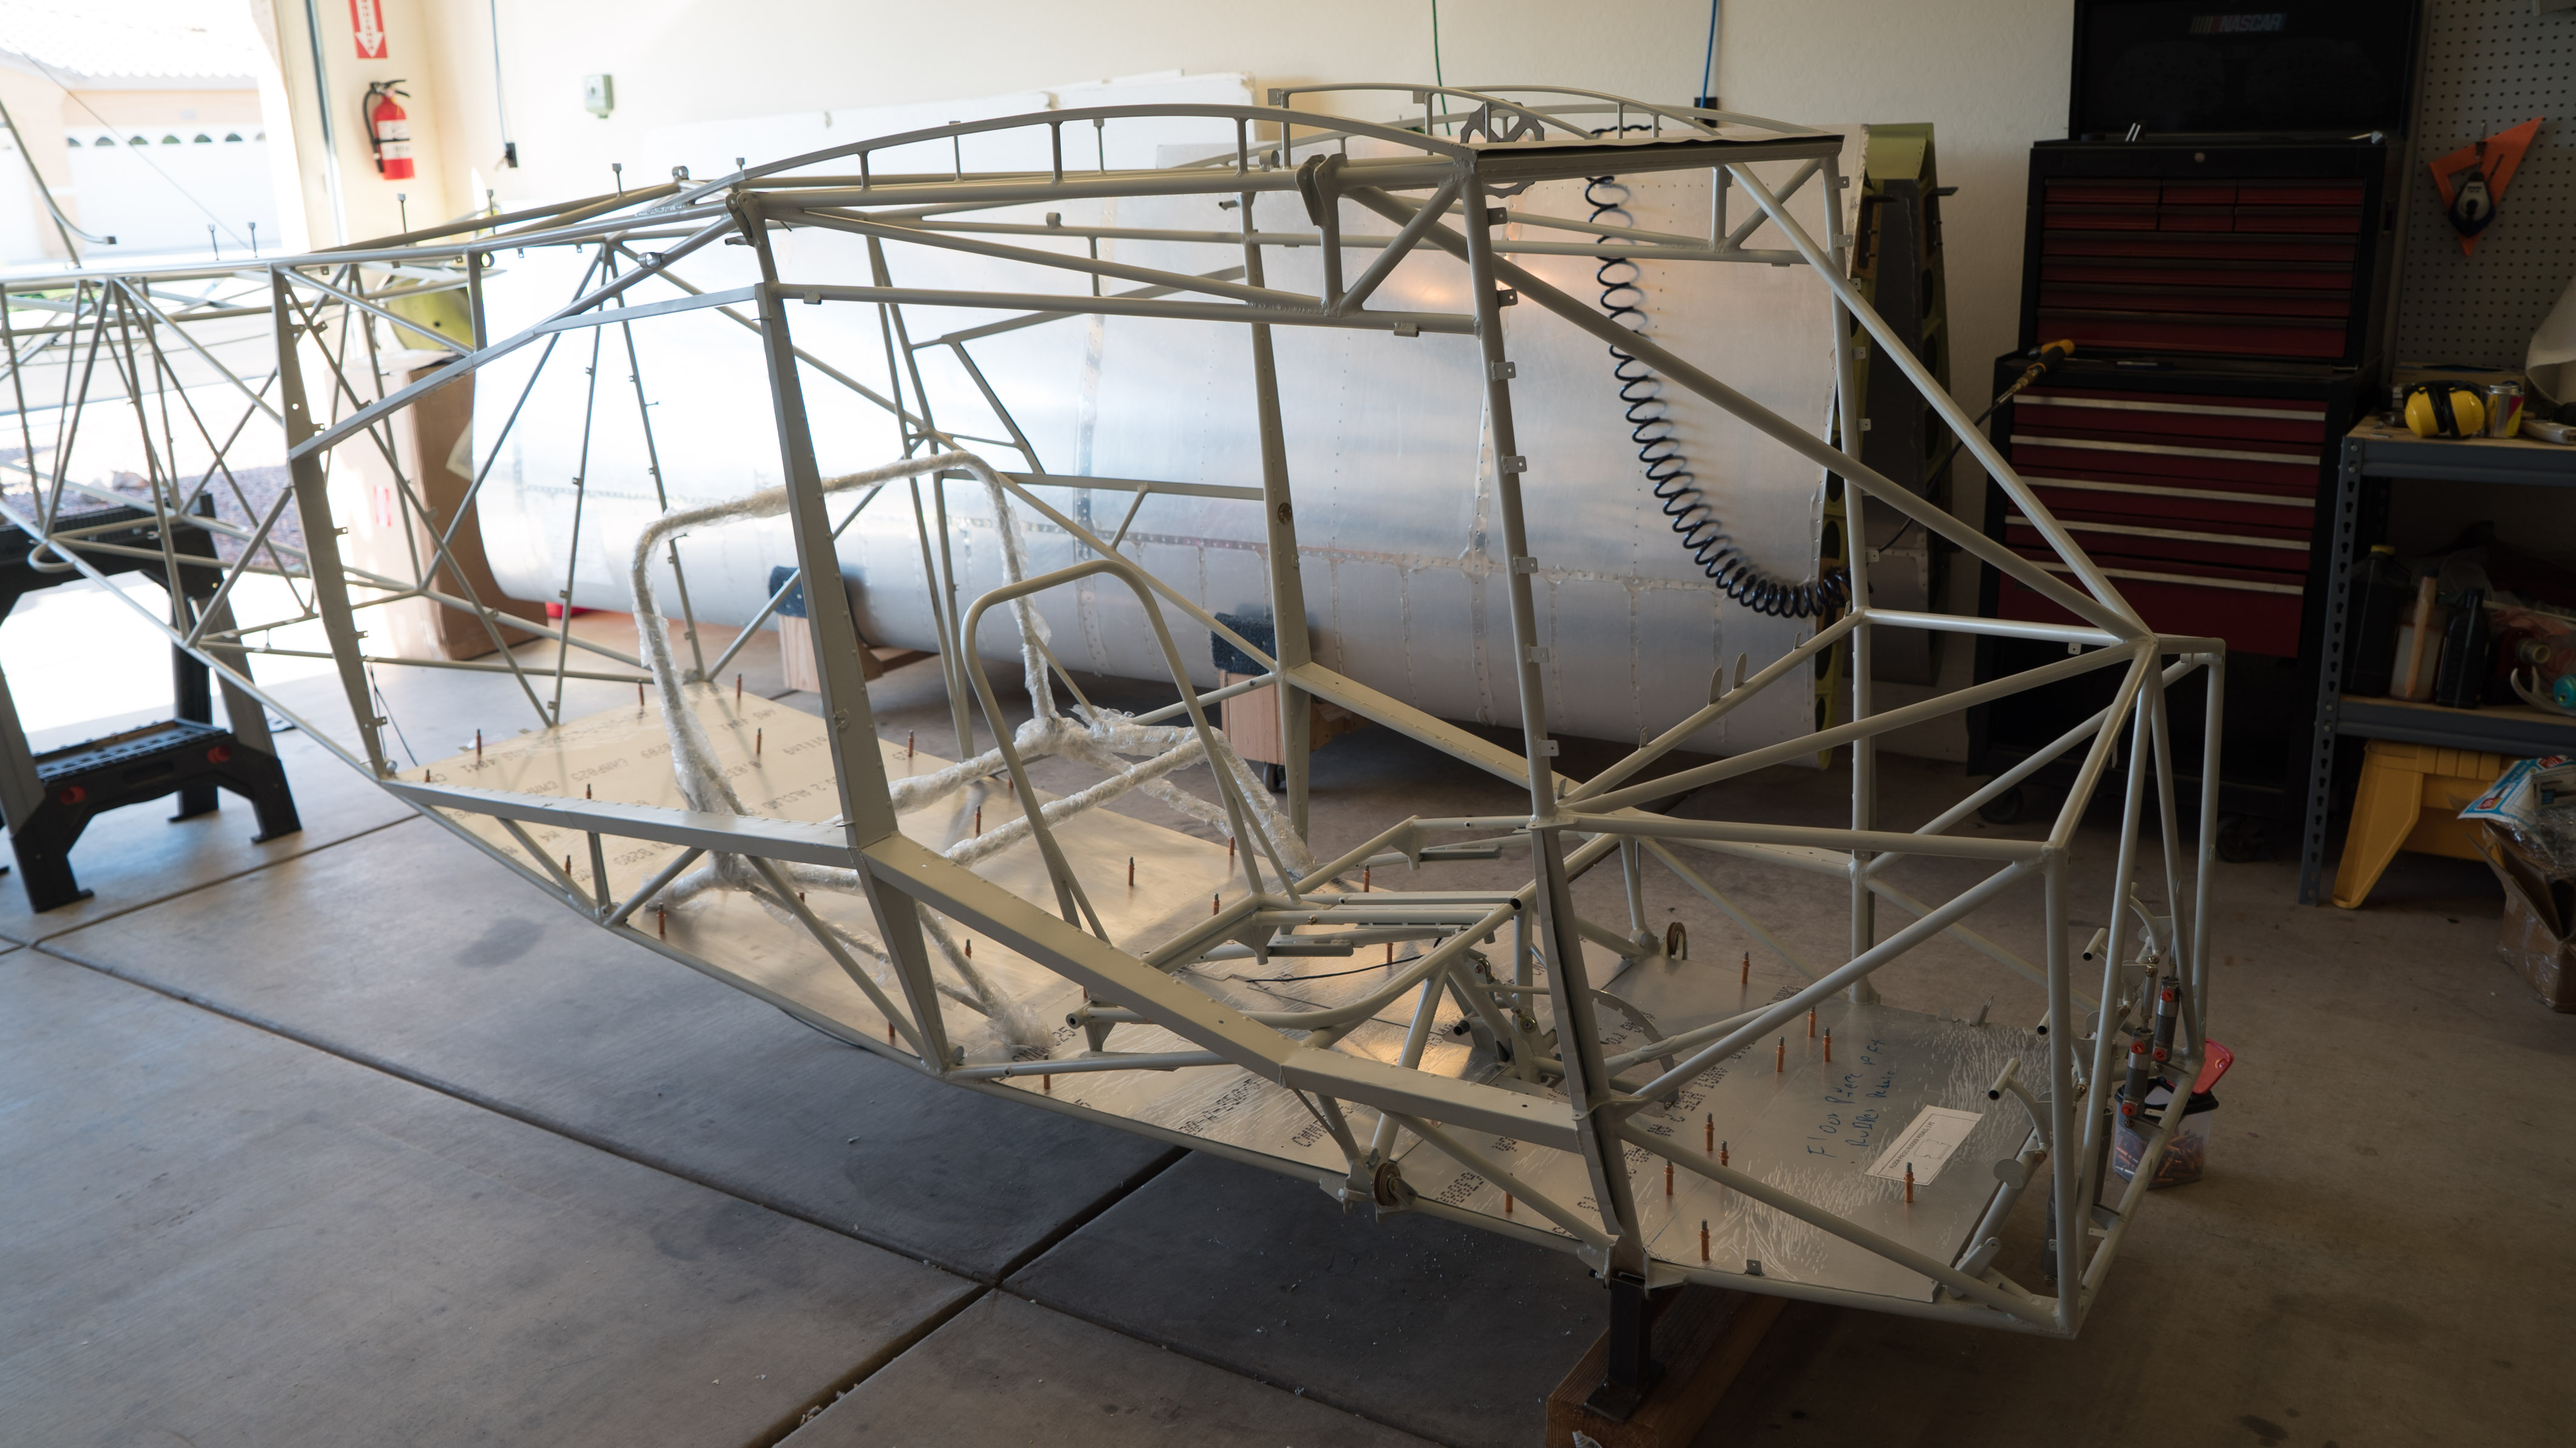
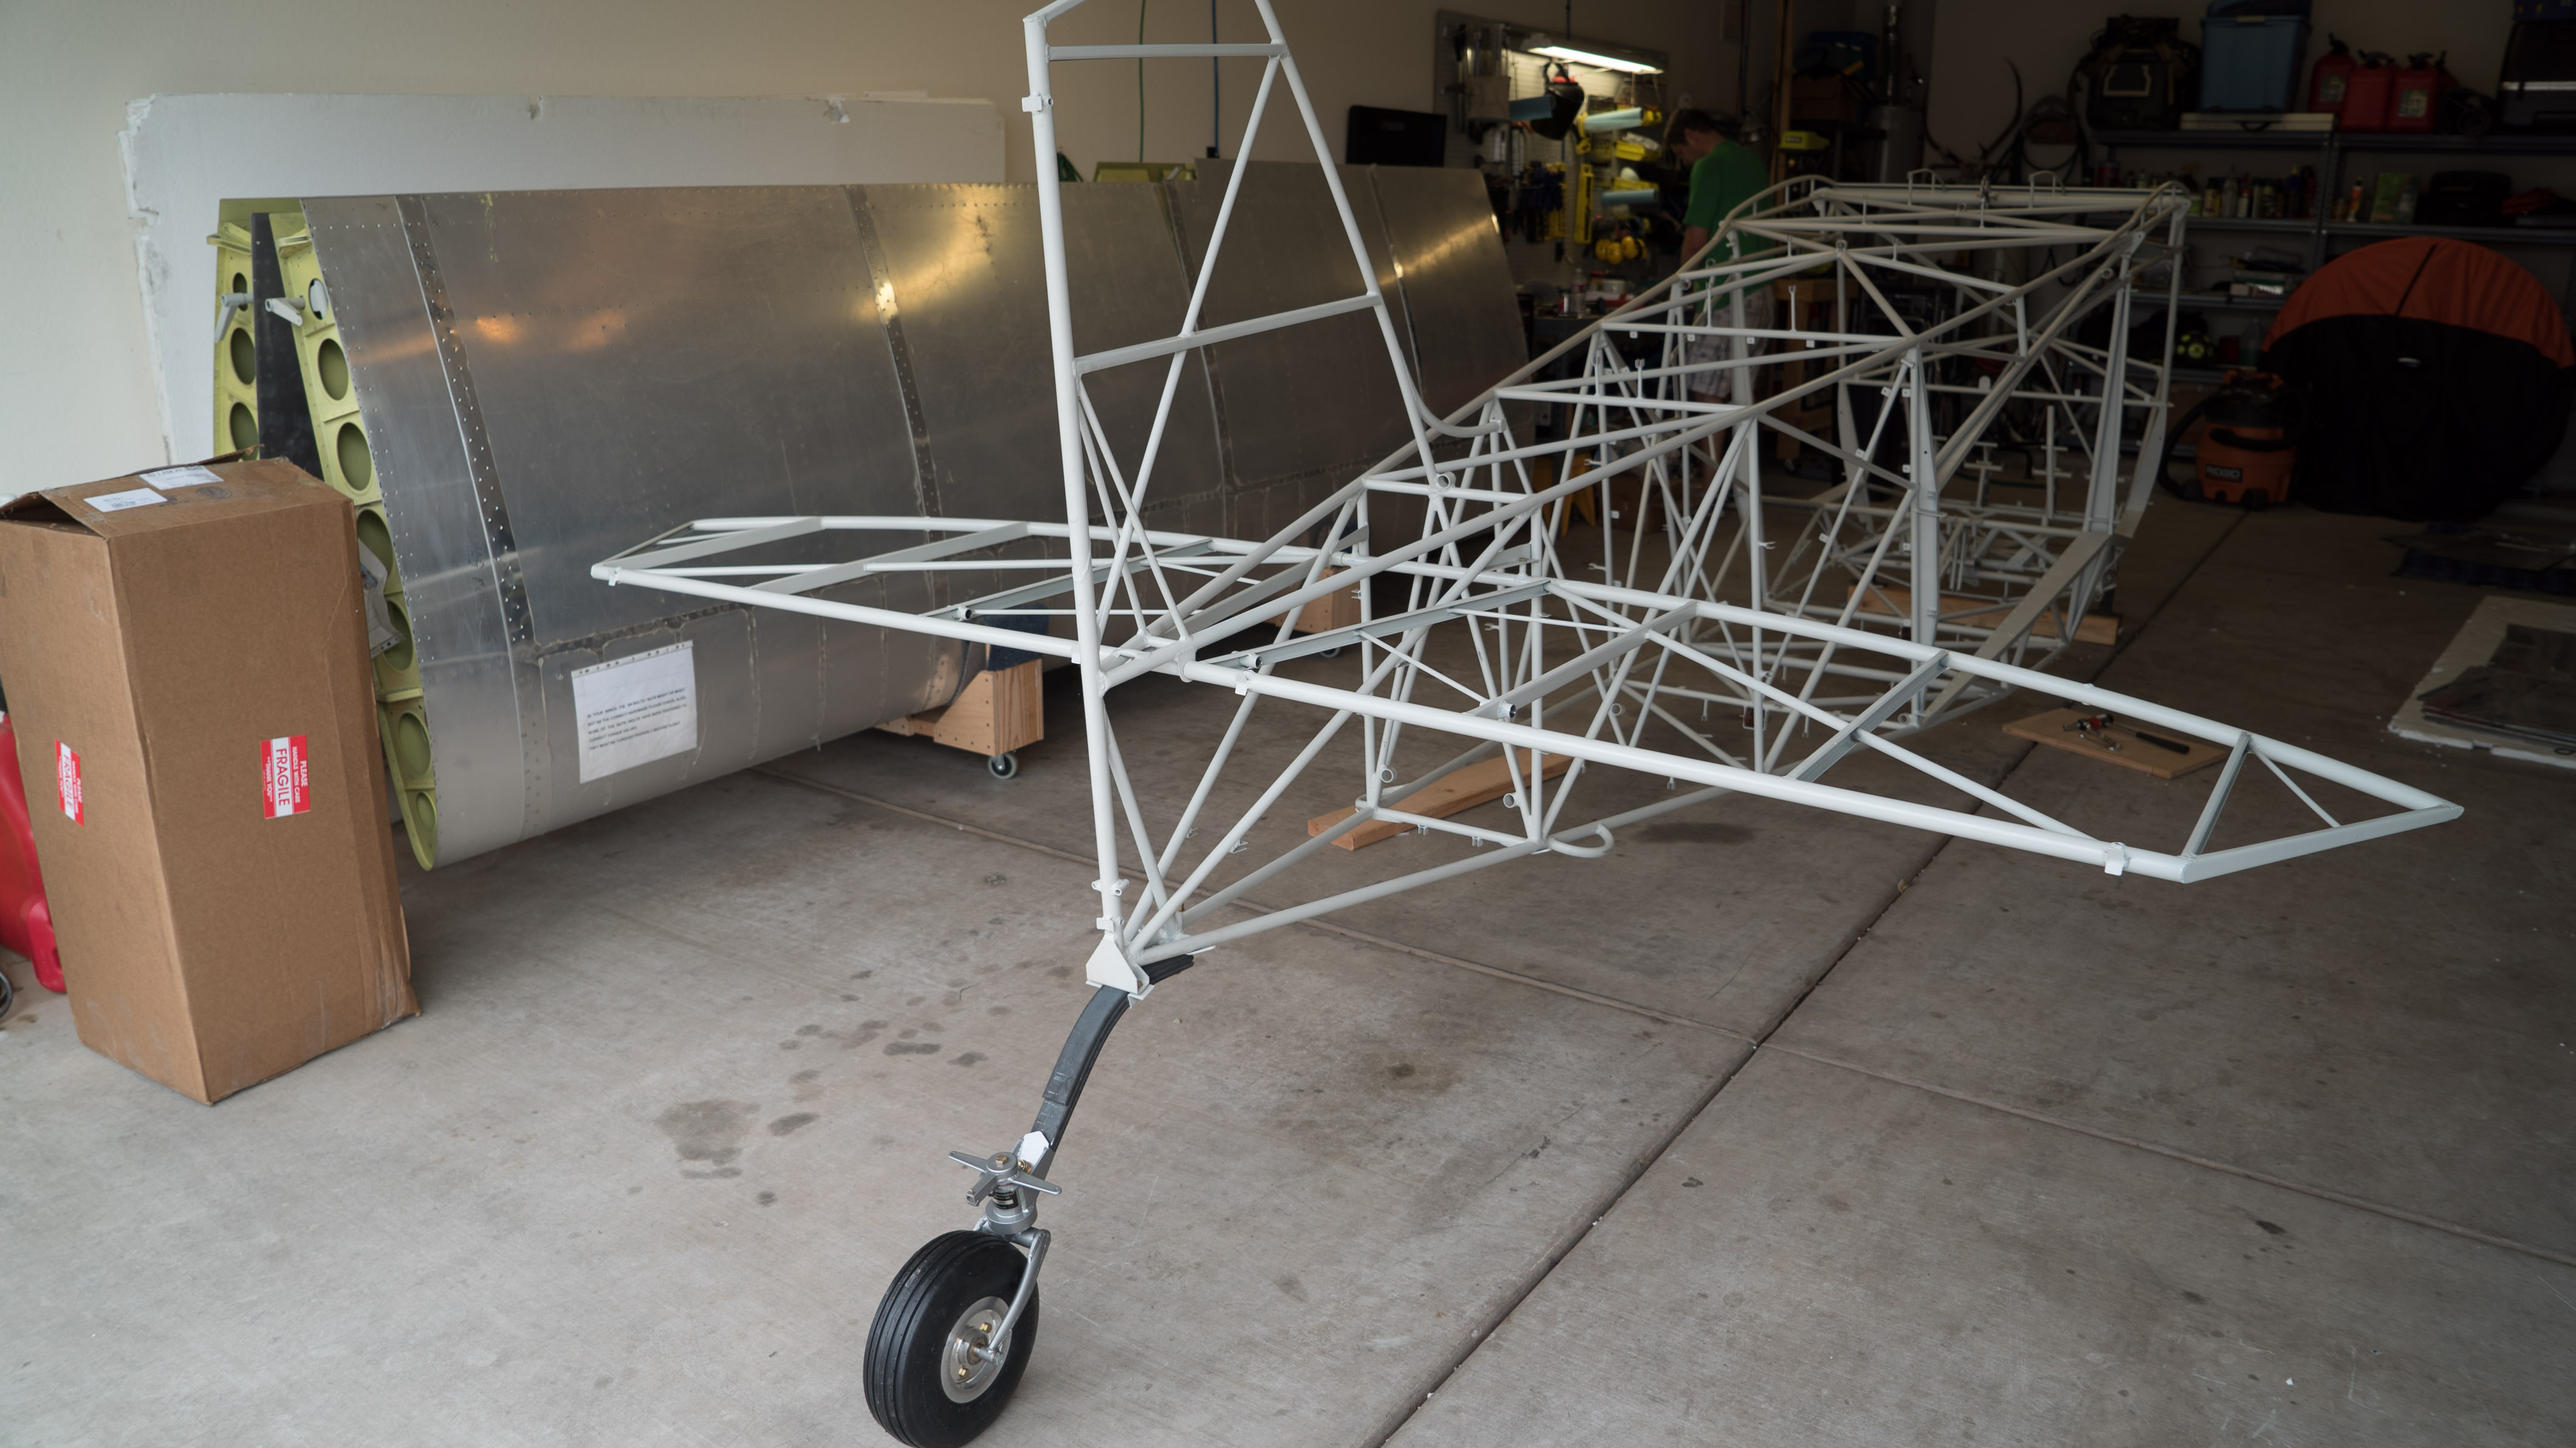
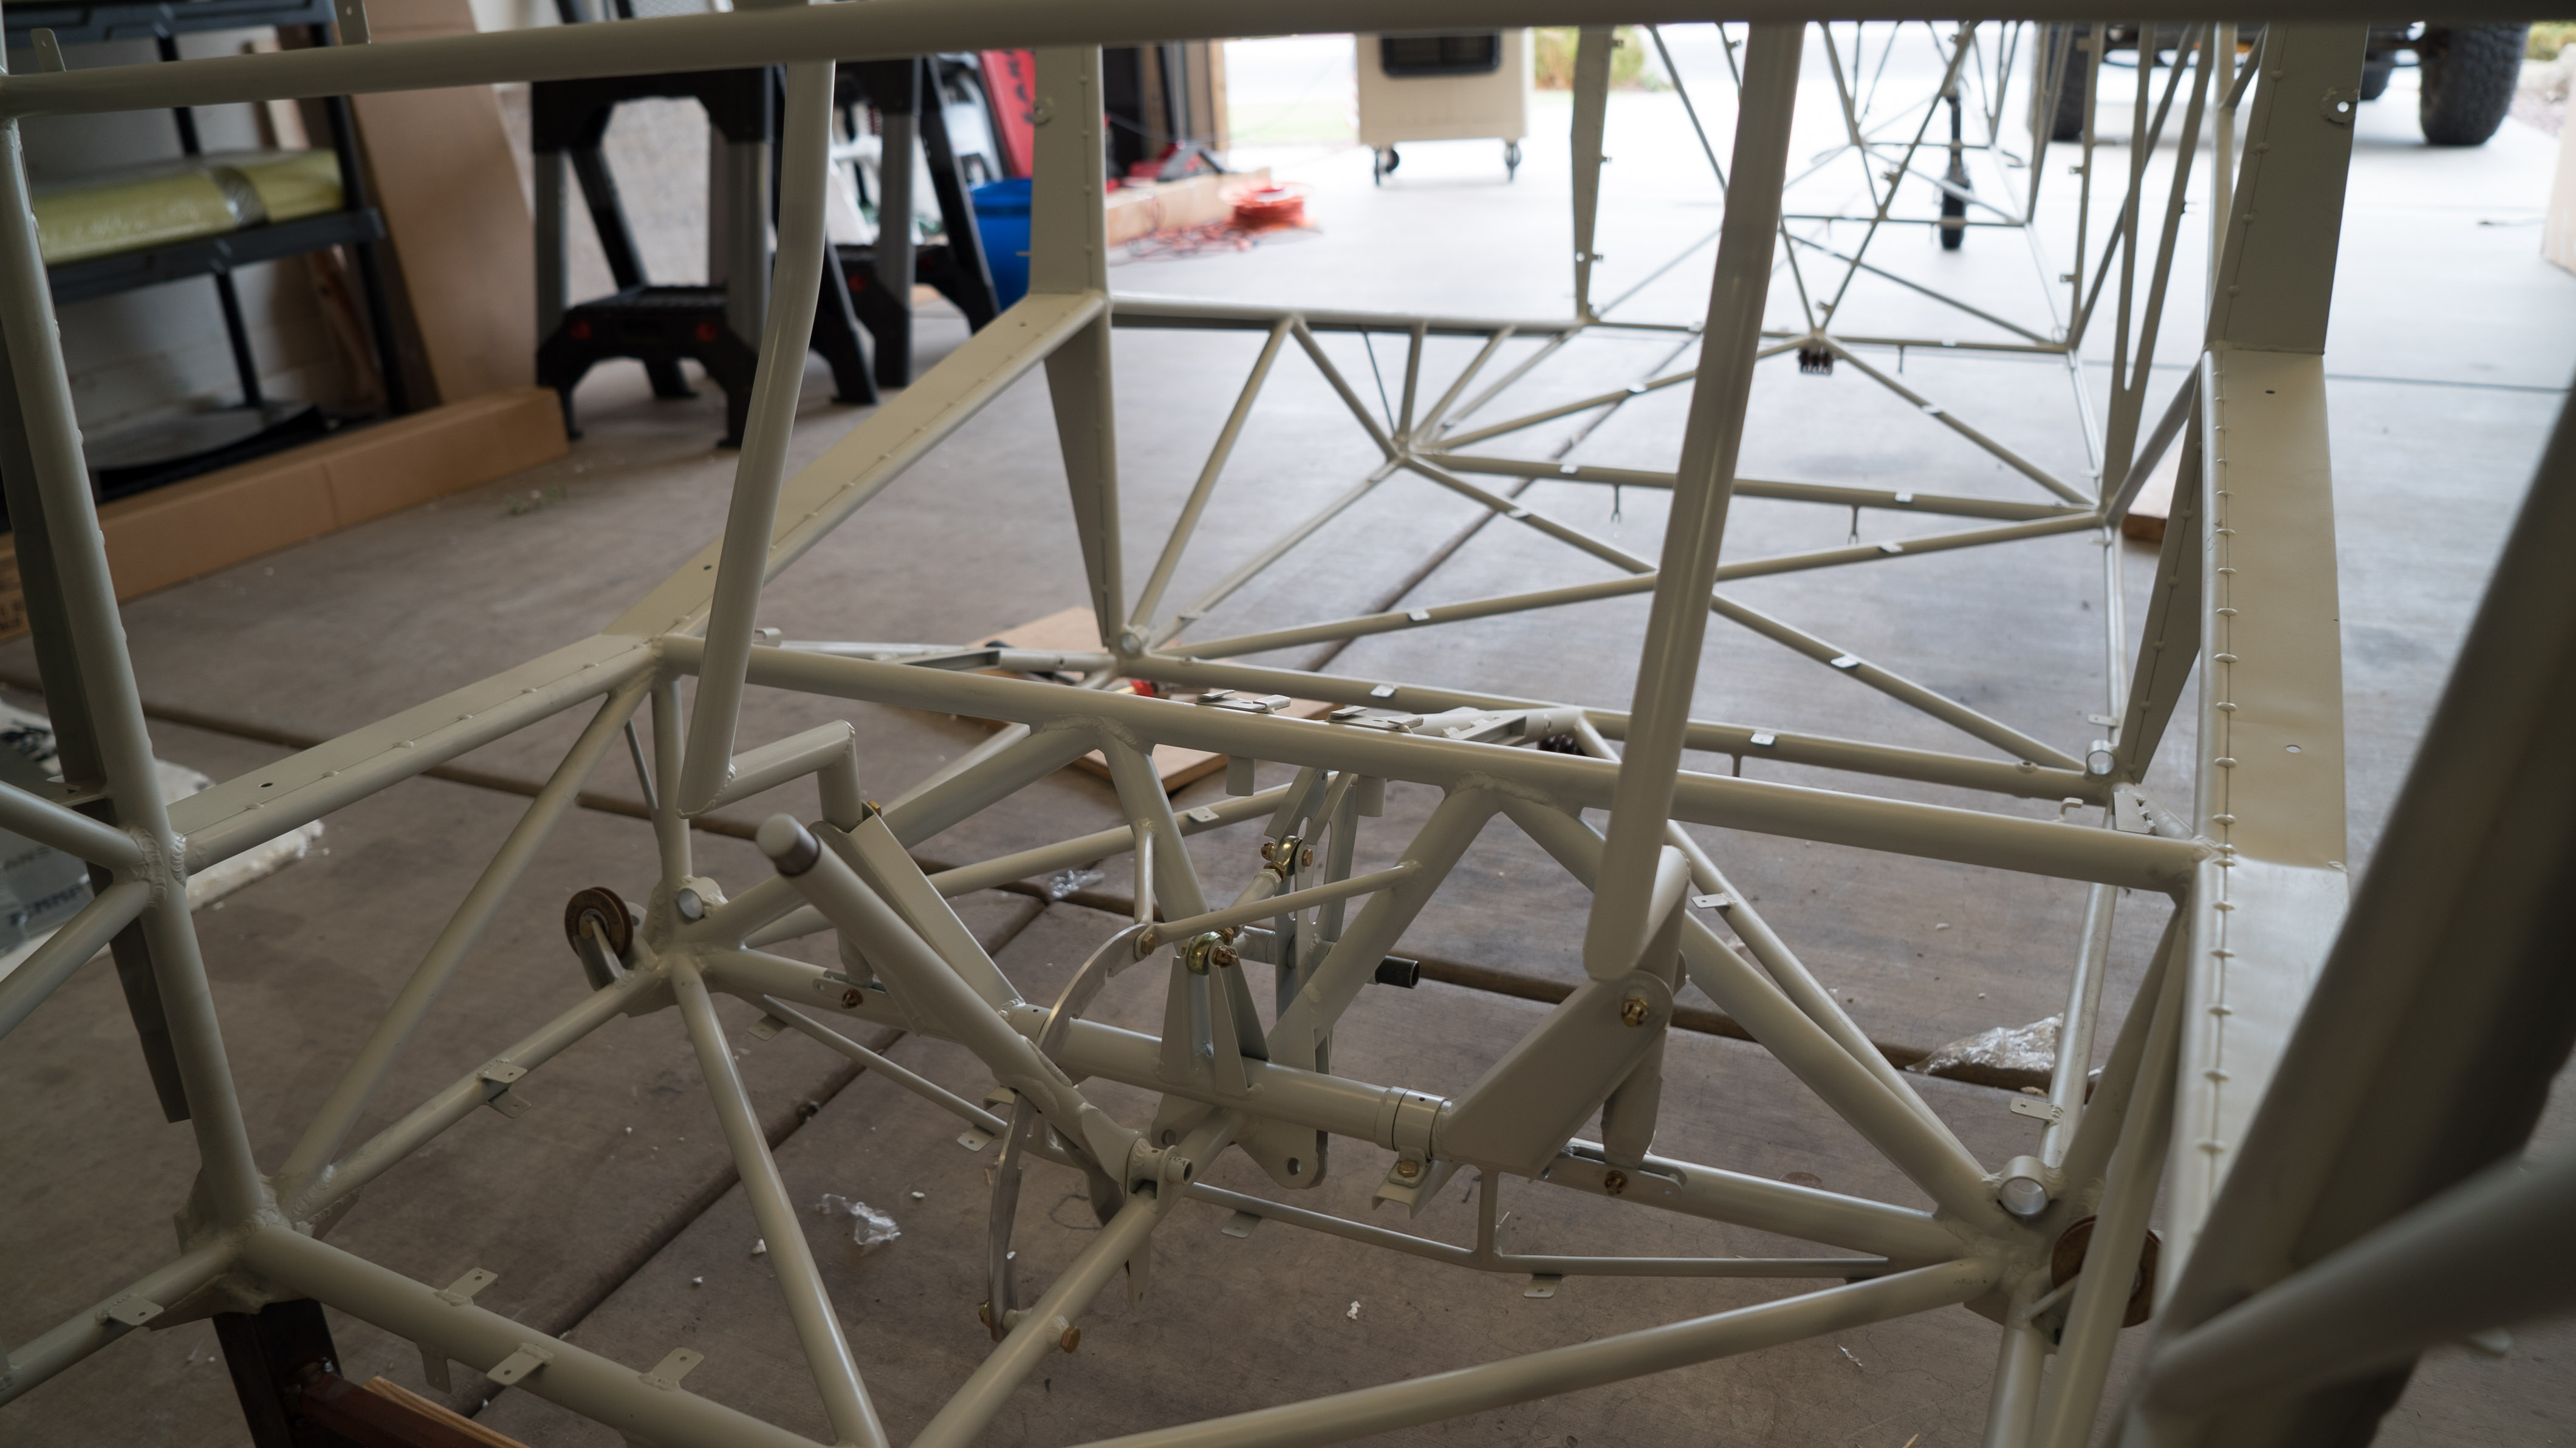
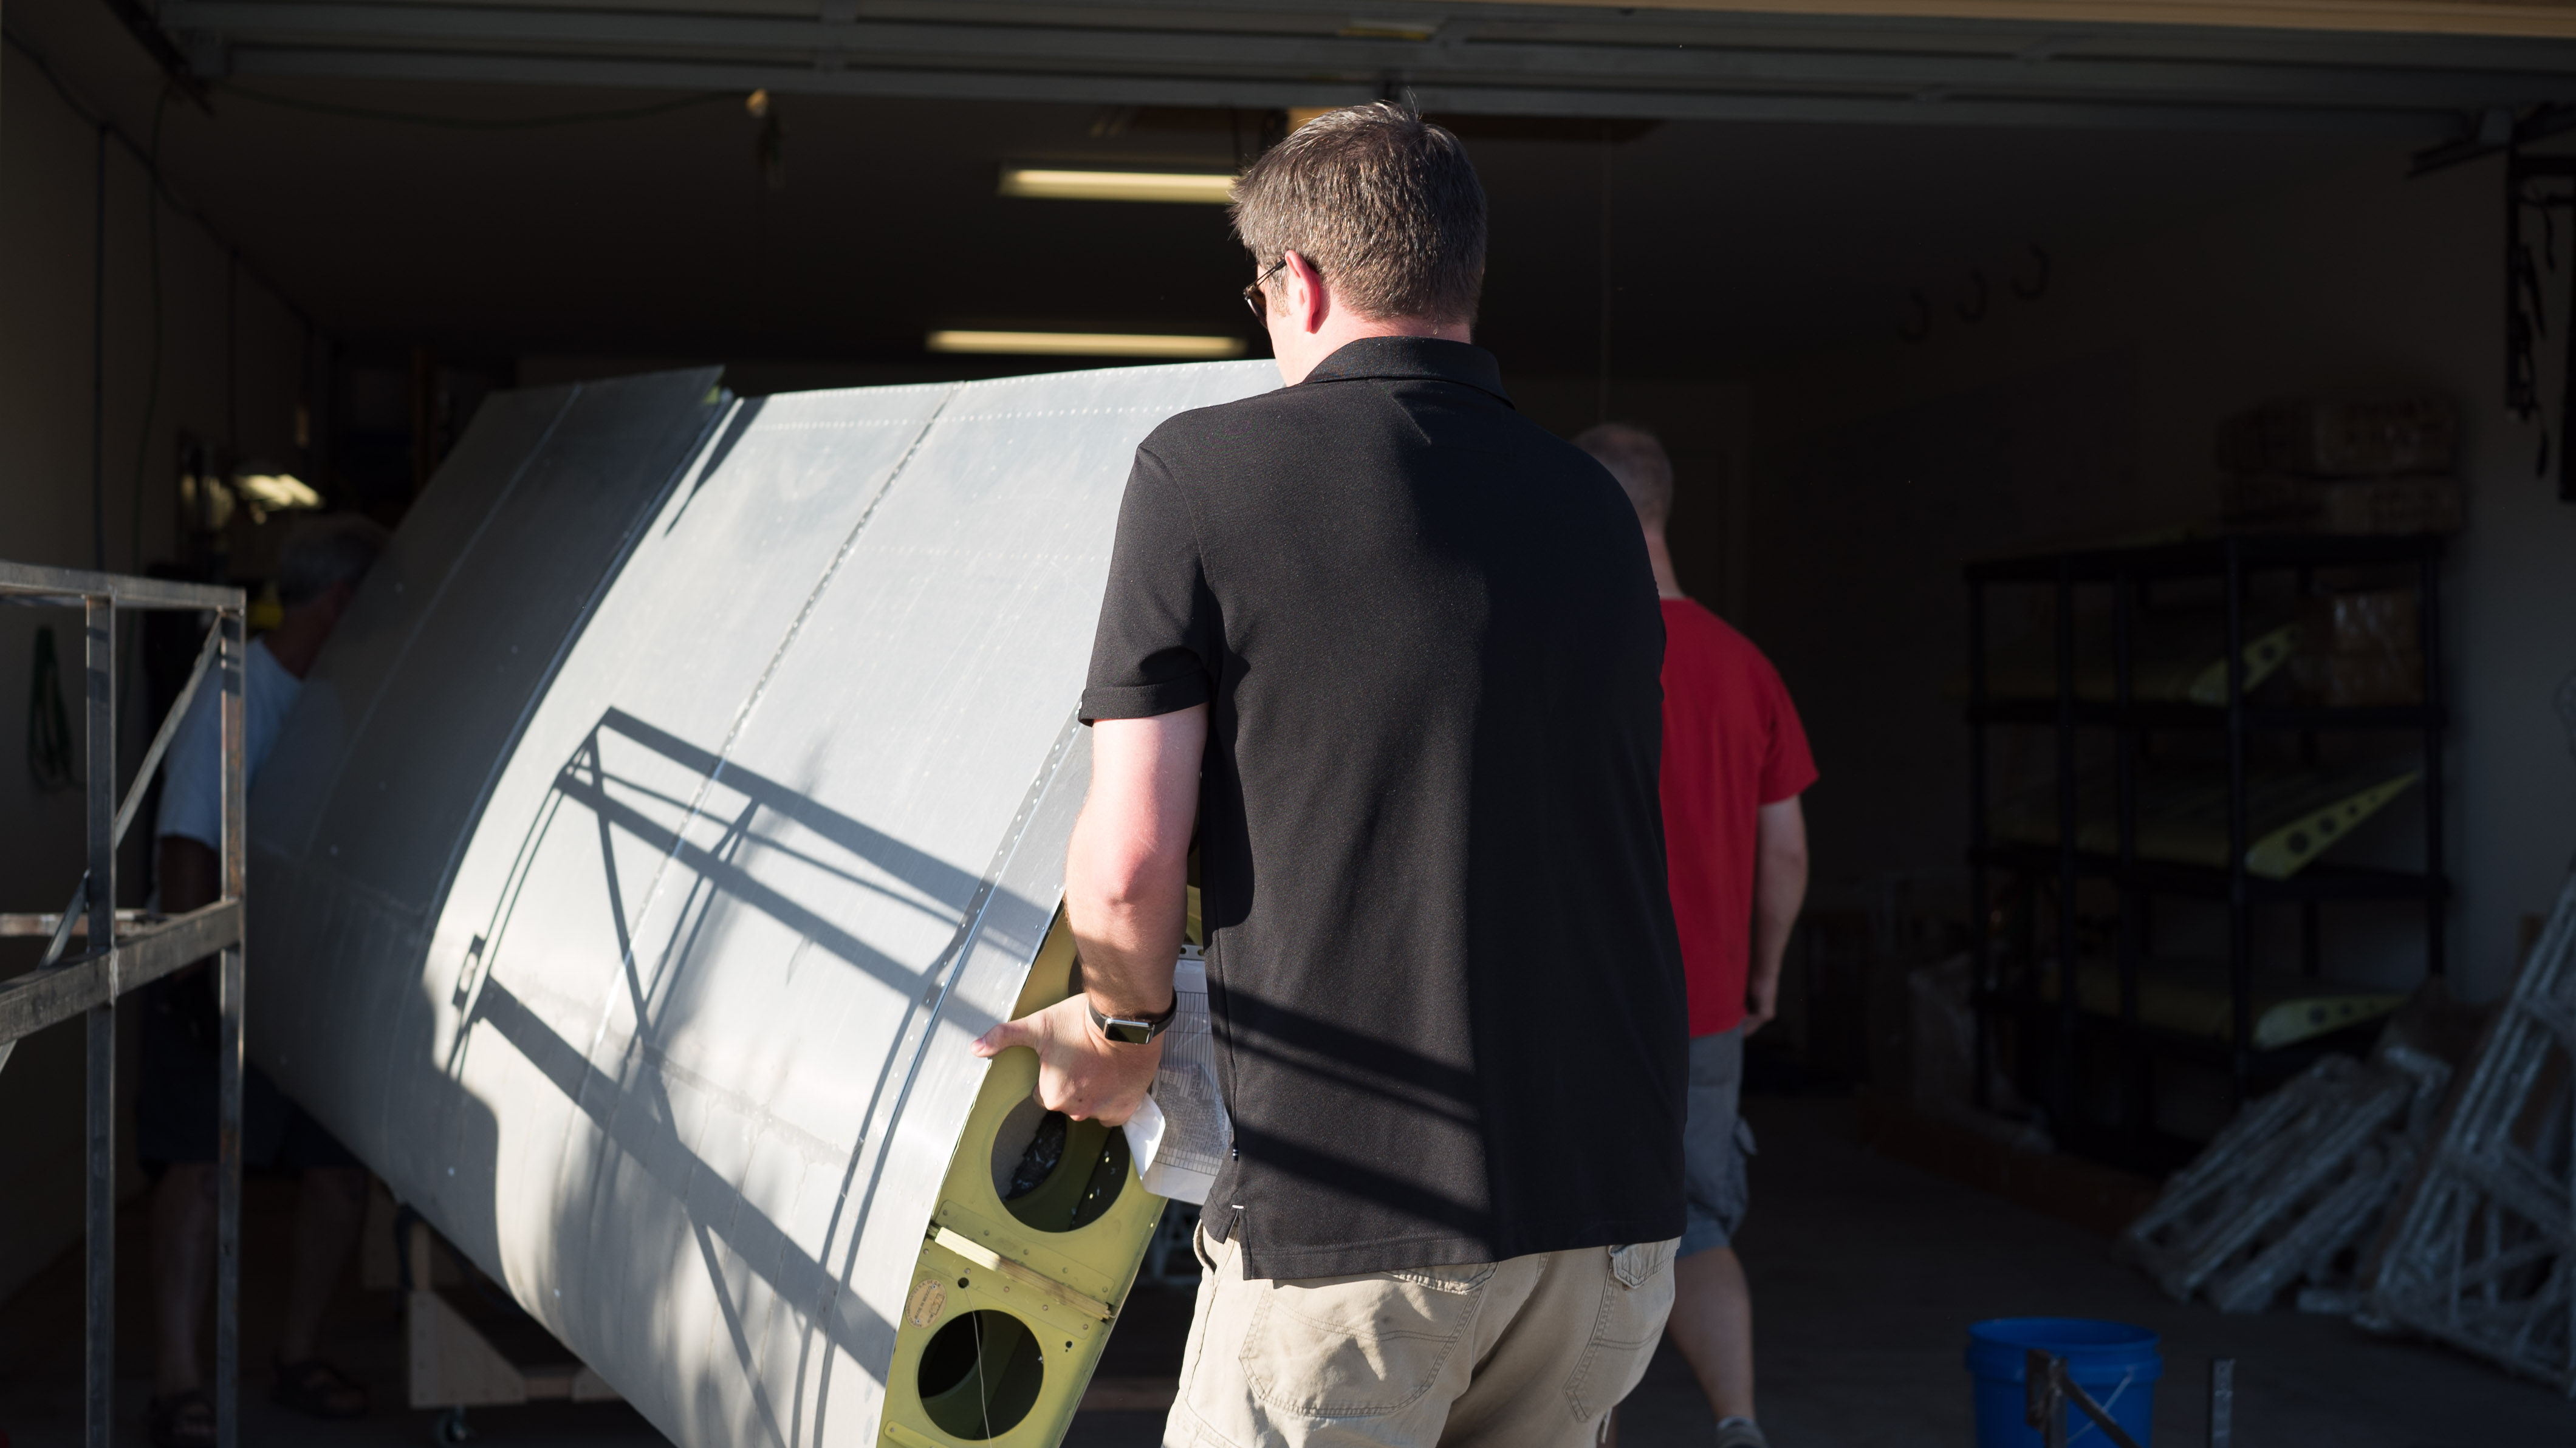
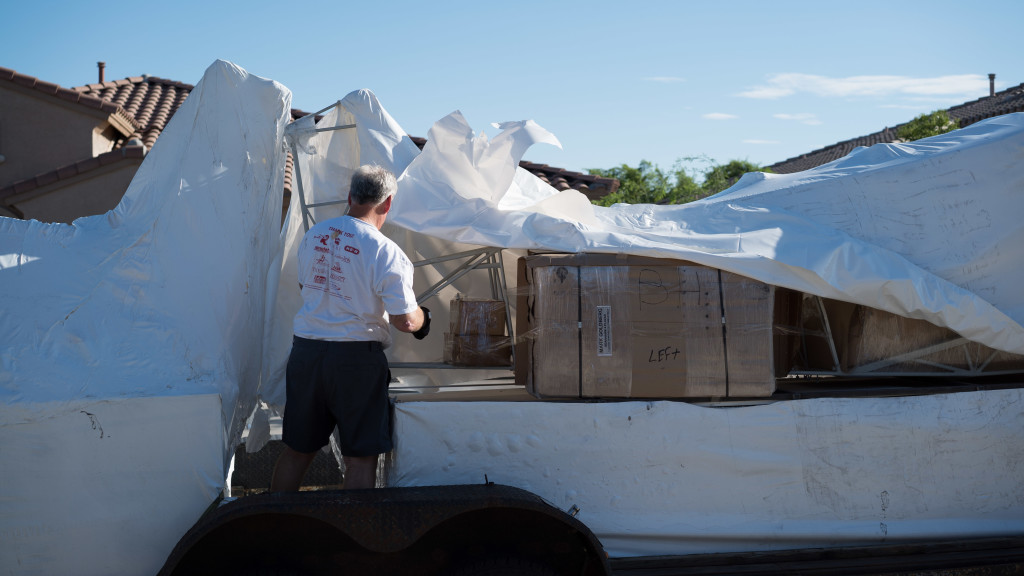
Mike made quick work of unwrapping everything for unloading.  The fuselage came packed with all the parts.

DSC04725
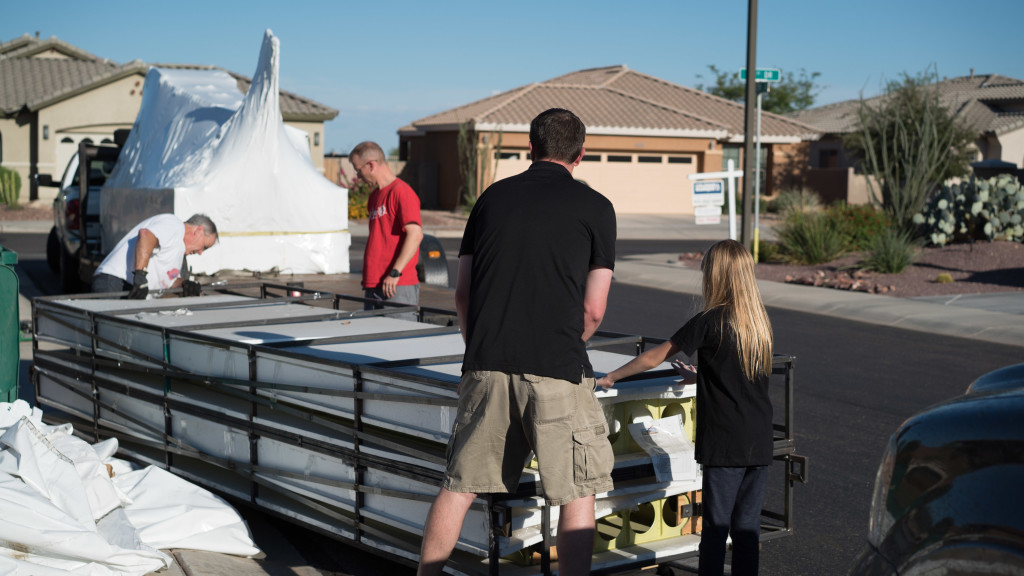
The wings were packaged separately in two wing crates.

DSC04756I invited my good friend Andy to help supervise.  He did a marvelous job!

DSC04844The wings were surprisingly light!  I had built some EAA wing slings to hold the wings so we could return the wing crates.

DSC04853
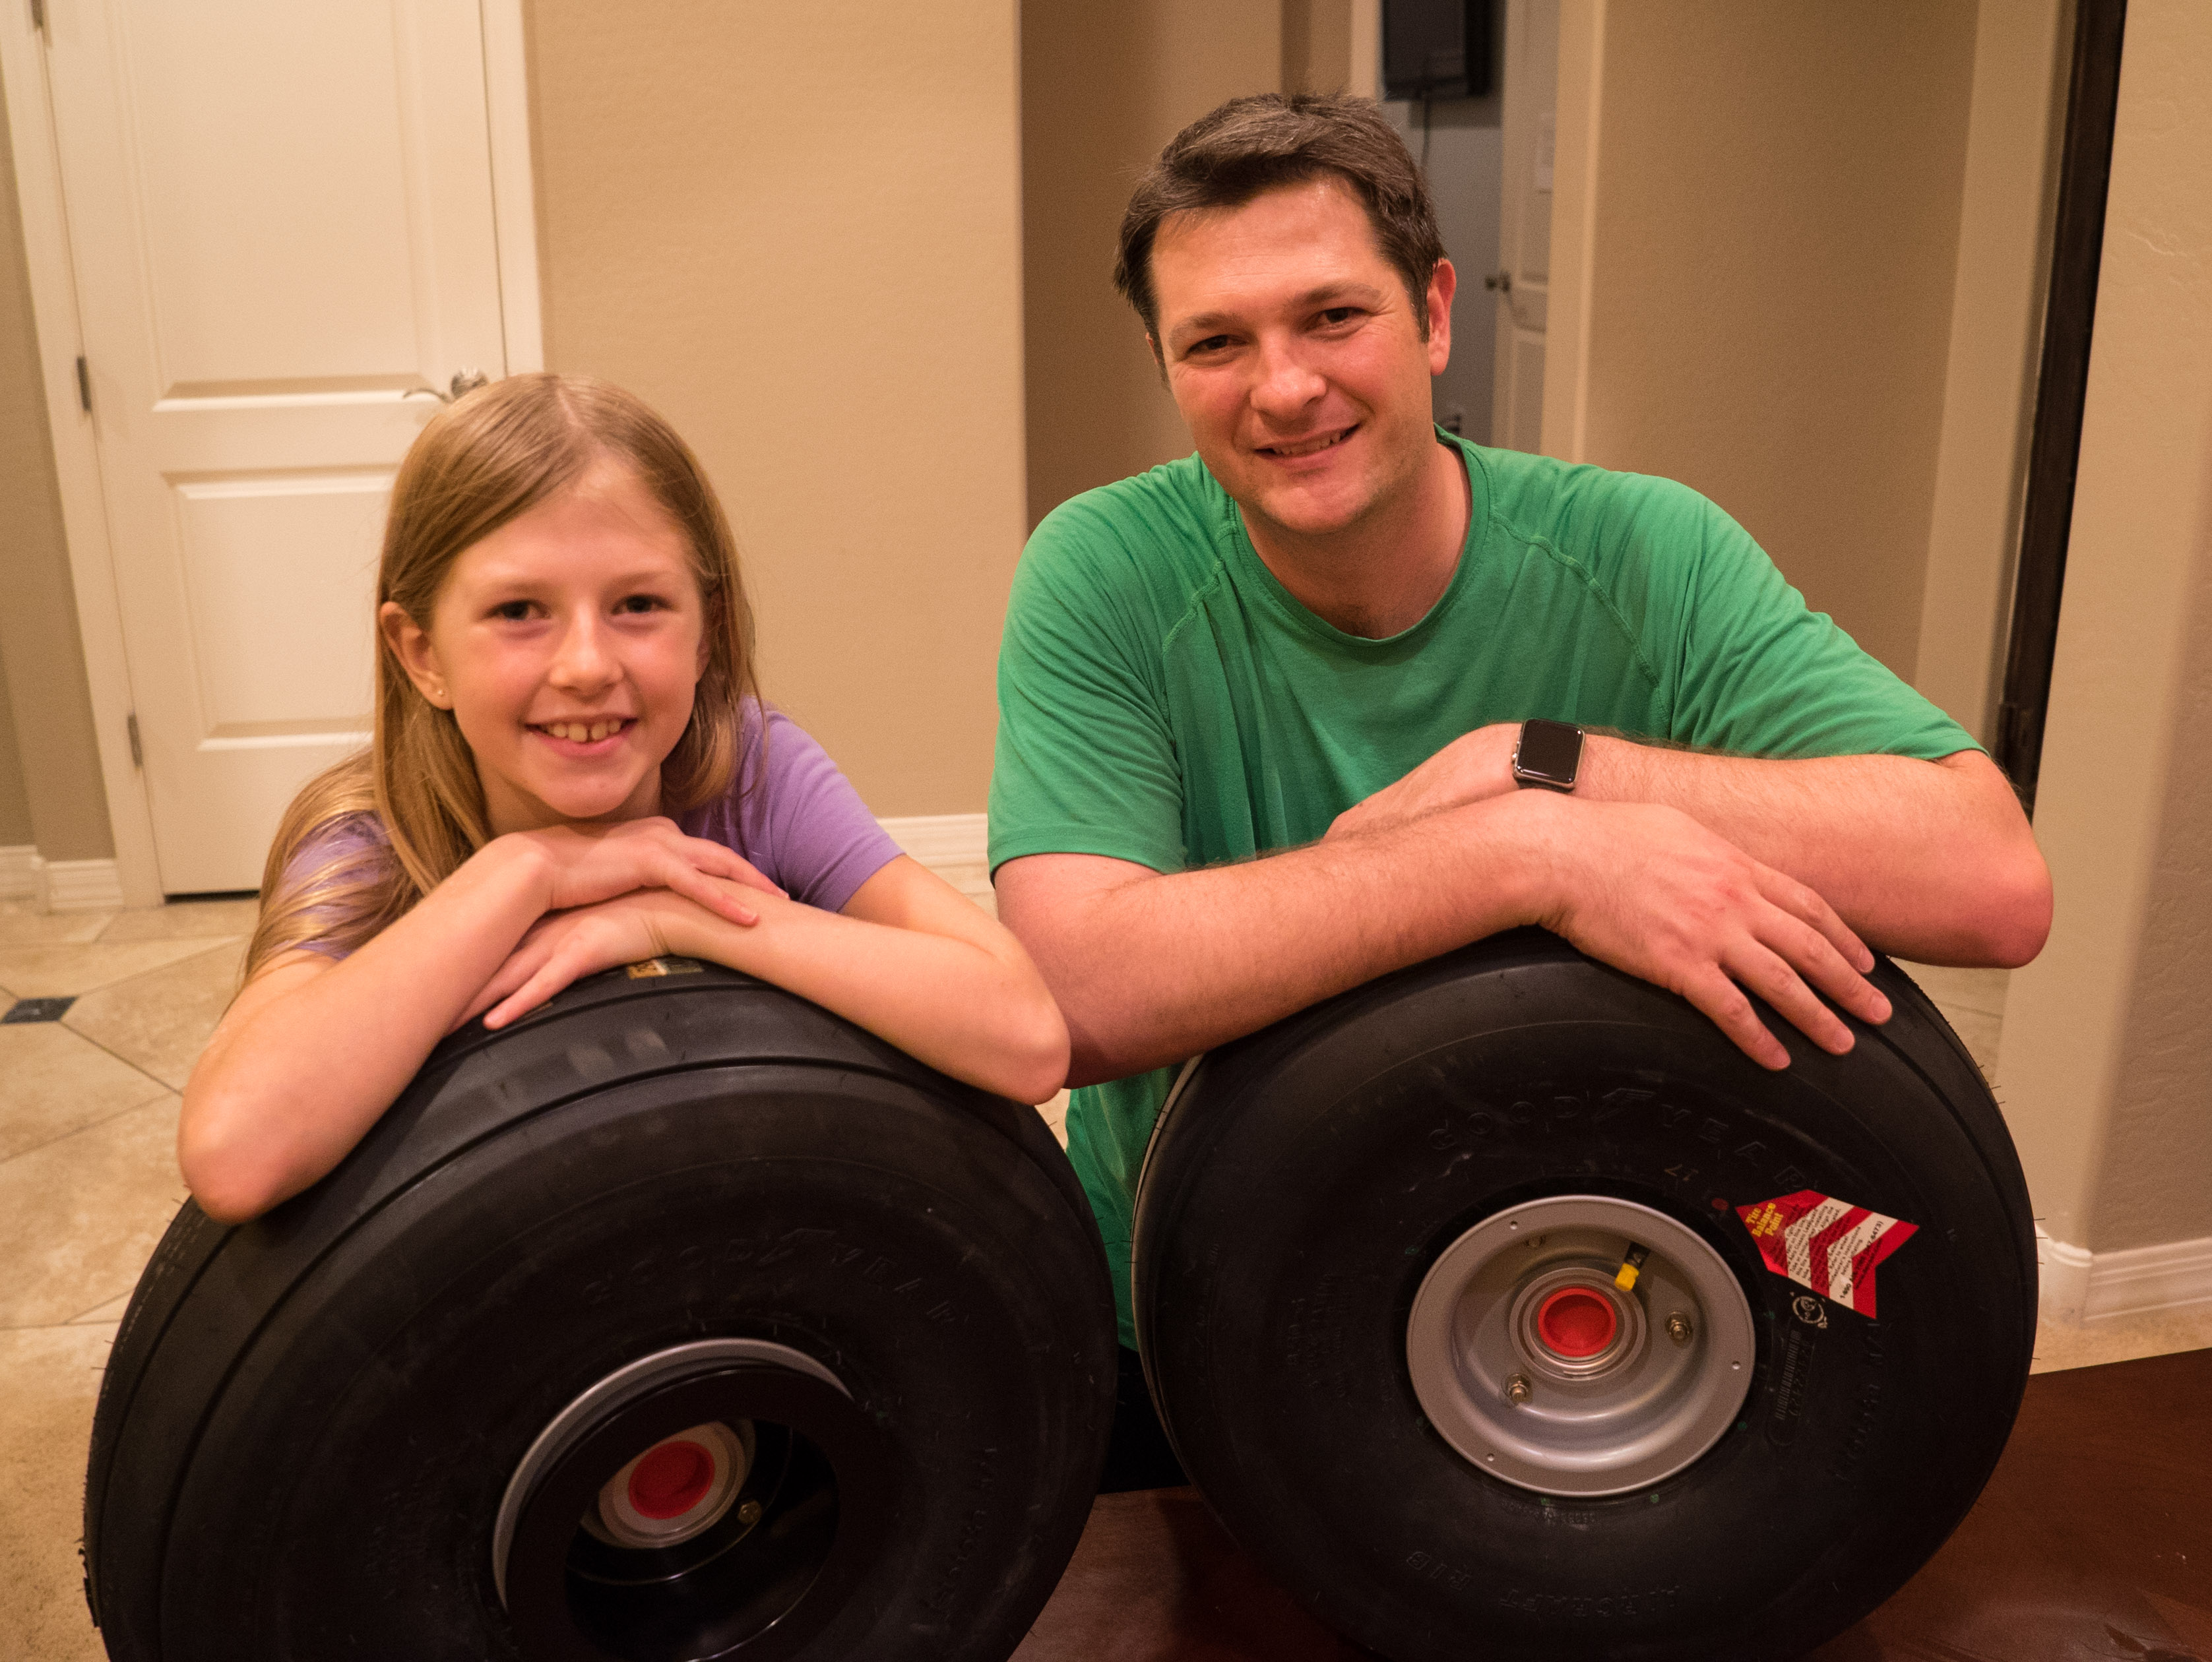
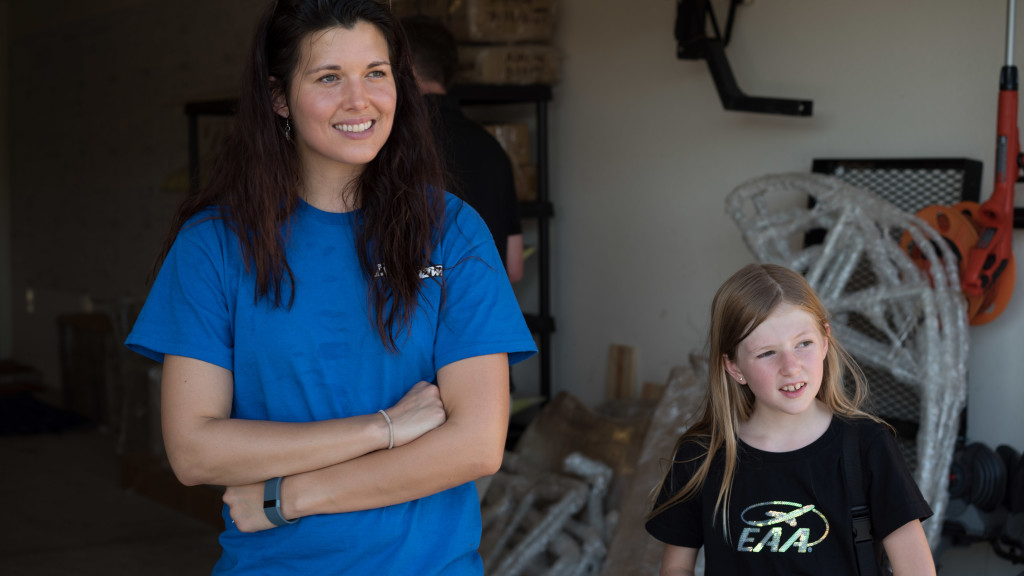
Cati and Tori were very happy with how everything was moving along.  My oldest daughter Jessica was the one behind the camera.  So no pictures of her here.

DSC04912
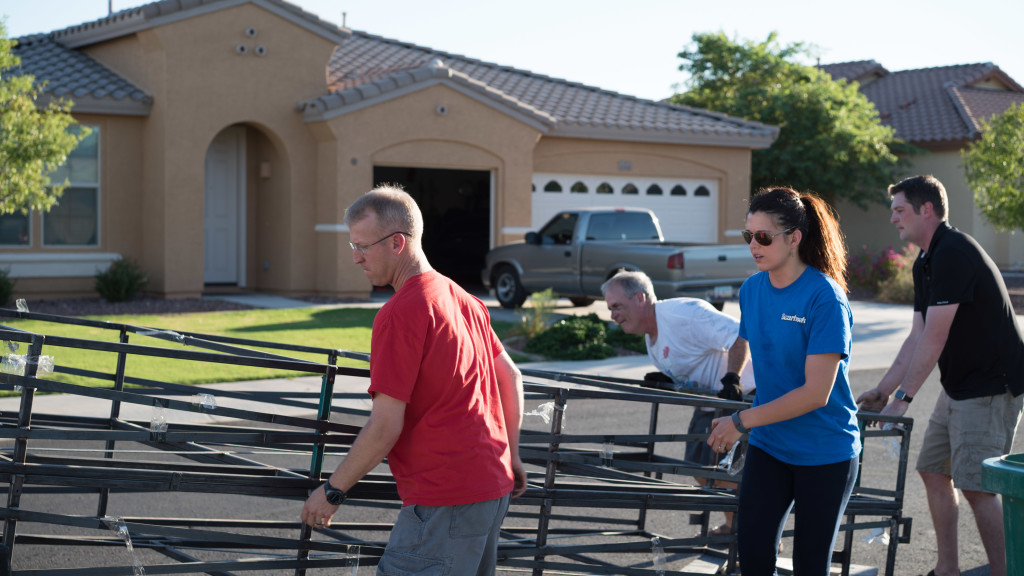
We loaded the empty wing crates back on the flatbed.

DSC04973
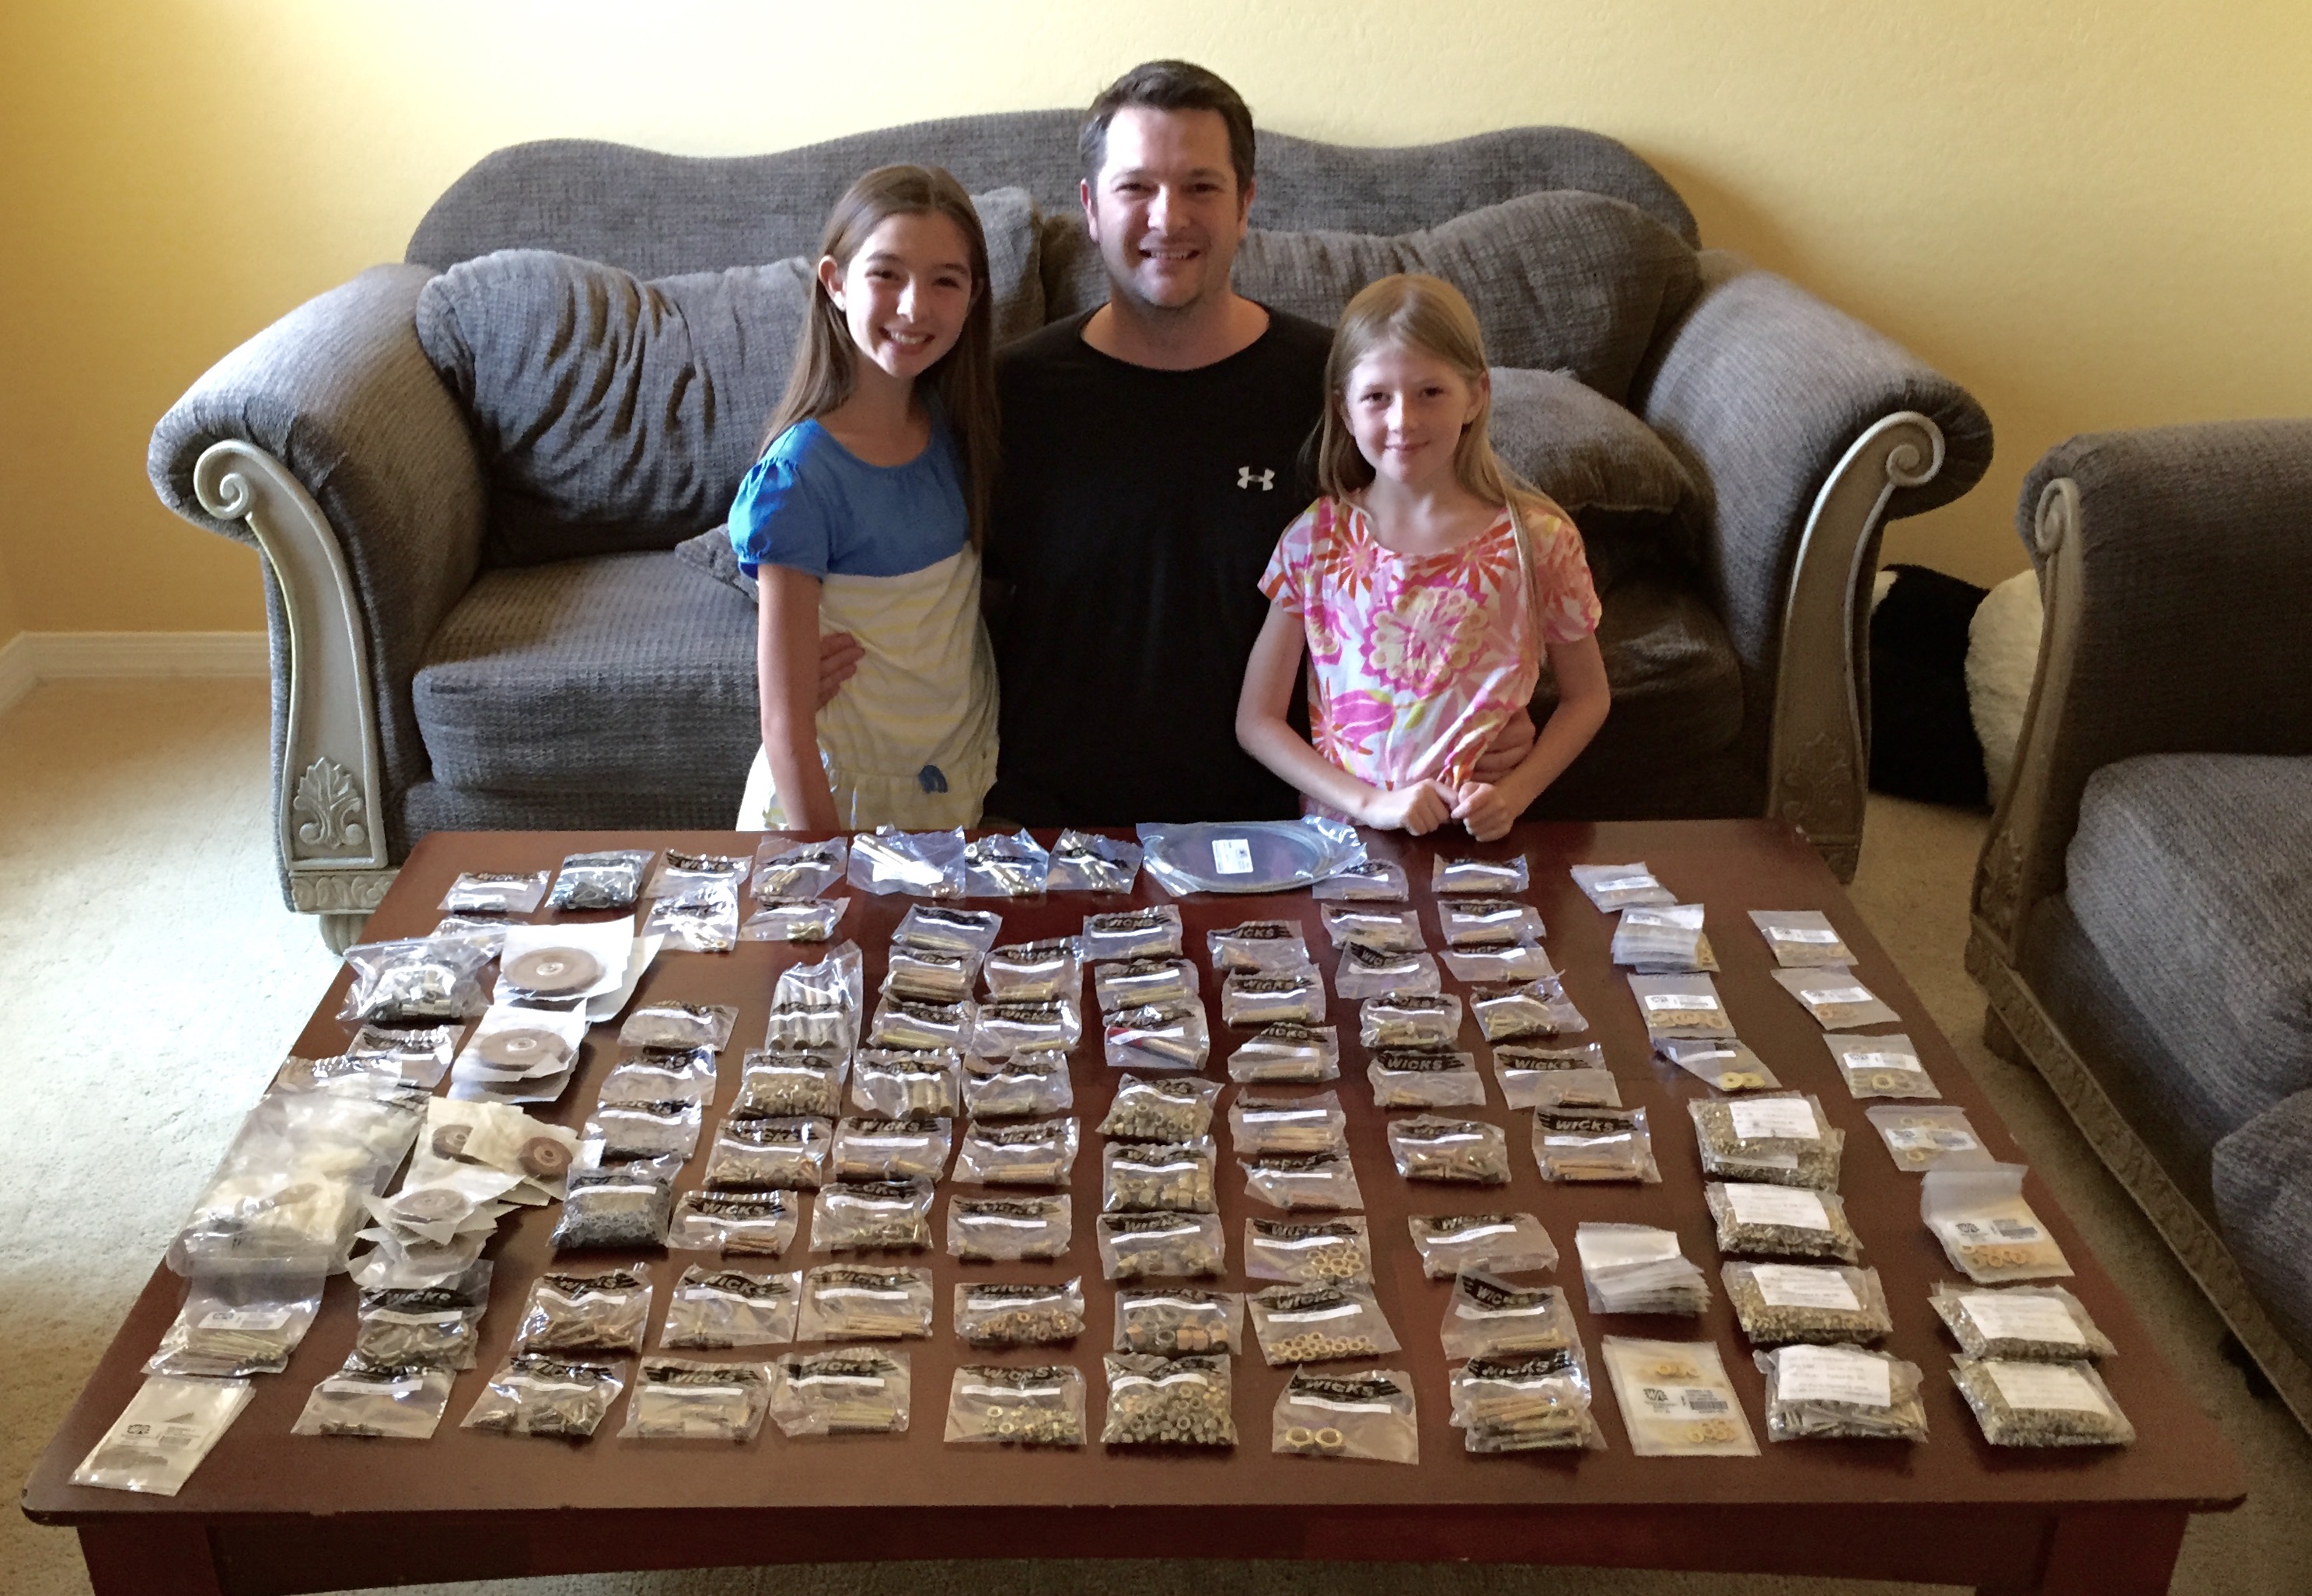
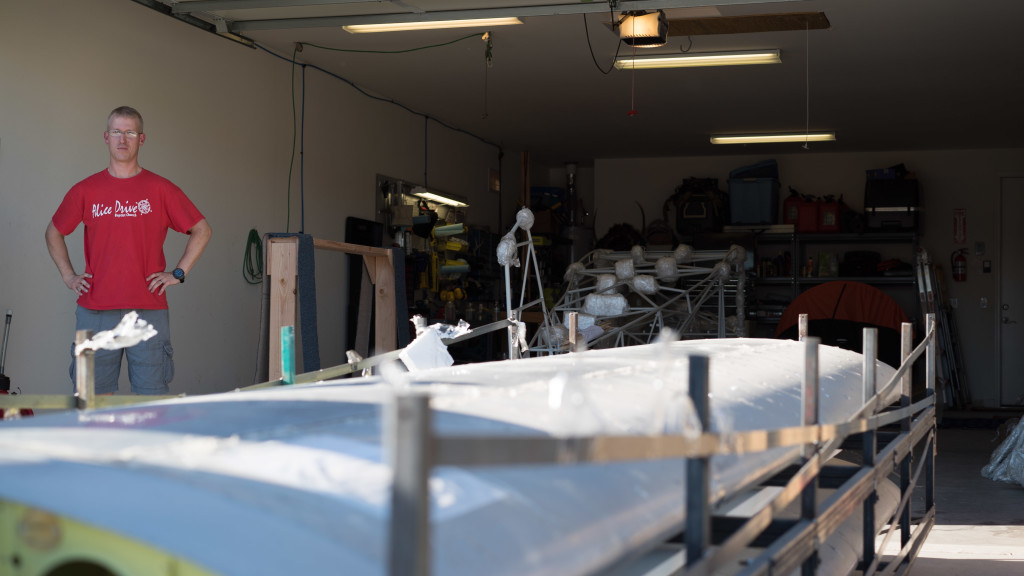
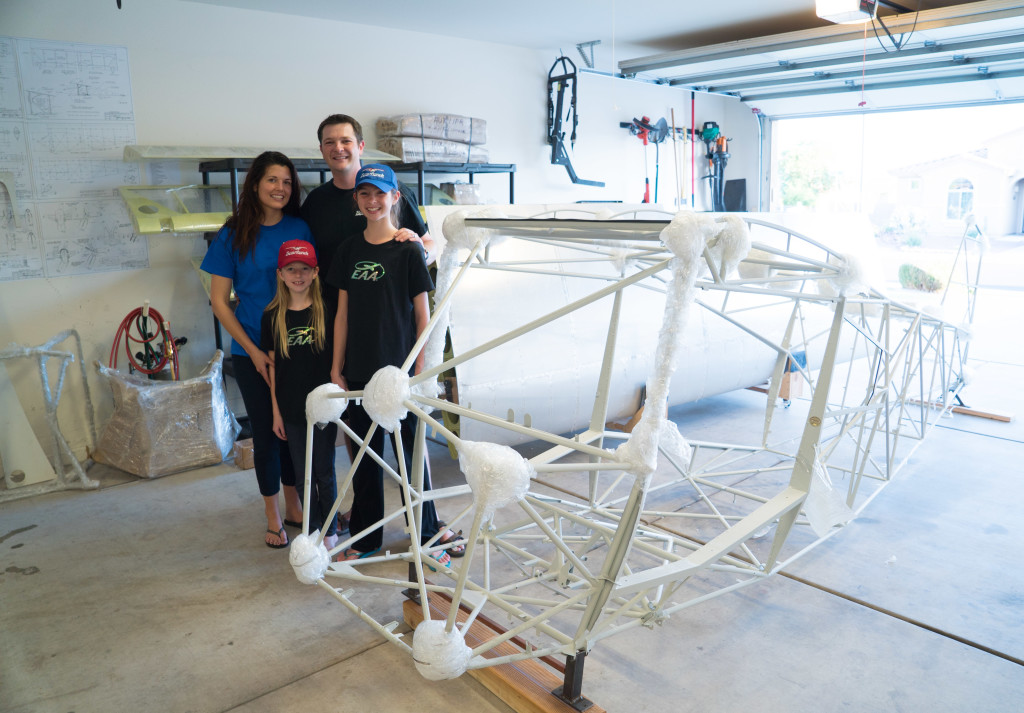
Now our garage is full of Bearhawk parts!!  My whole family is really excited to get started on the project!

DSC04977
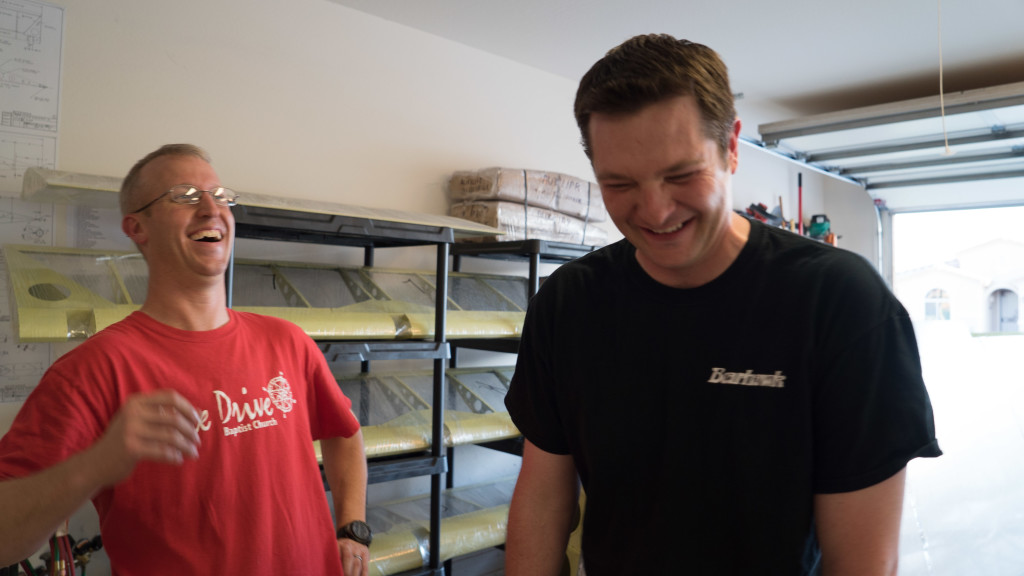
Good times were had by all!

Hardware Arrived!

FullSizeRender

All the hardware for our Bearhawk arrived today.  The girls and I took inventory and sorted everything.  Tori is our little organizer and loves little things, she loves this kind of stuff!

FullSizeRender 2

We ran to Lowes to pick up some organizers.  After making labels for everything we hung them on the wall.

Our tires arrived a while back also, so the only other parts we’re waiting for are the wheels and brakes.  Then later this fall we’ll order the actual Bearhawk kit!


Bearhawk Tailwheel arrived!

Our first order of business was to start ordering parts.  We started with the tailwheel.  After quite a bit of research, we settled on the Bob Barrows designed Bearhawk tailwheel built by Eric Newton of Bearhawk Tailwheels LLC.  http://bhtailwheels.com.  Eric was great to do business with.  He answered all my questions and creates a flawless product.

Since I’m planning on going with the 8.50 x 6.00 main tires, I decided on the 10″ tailwheel.

IMG_0271

Our tailwheel arrived today and Tori was excited to help take it out of the box!