Painting the wings

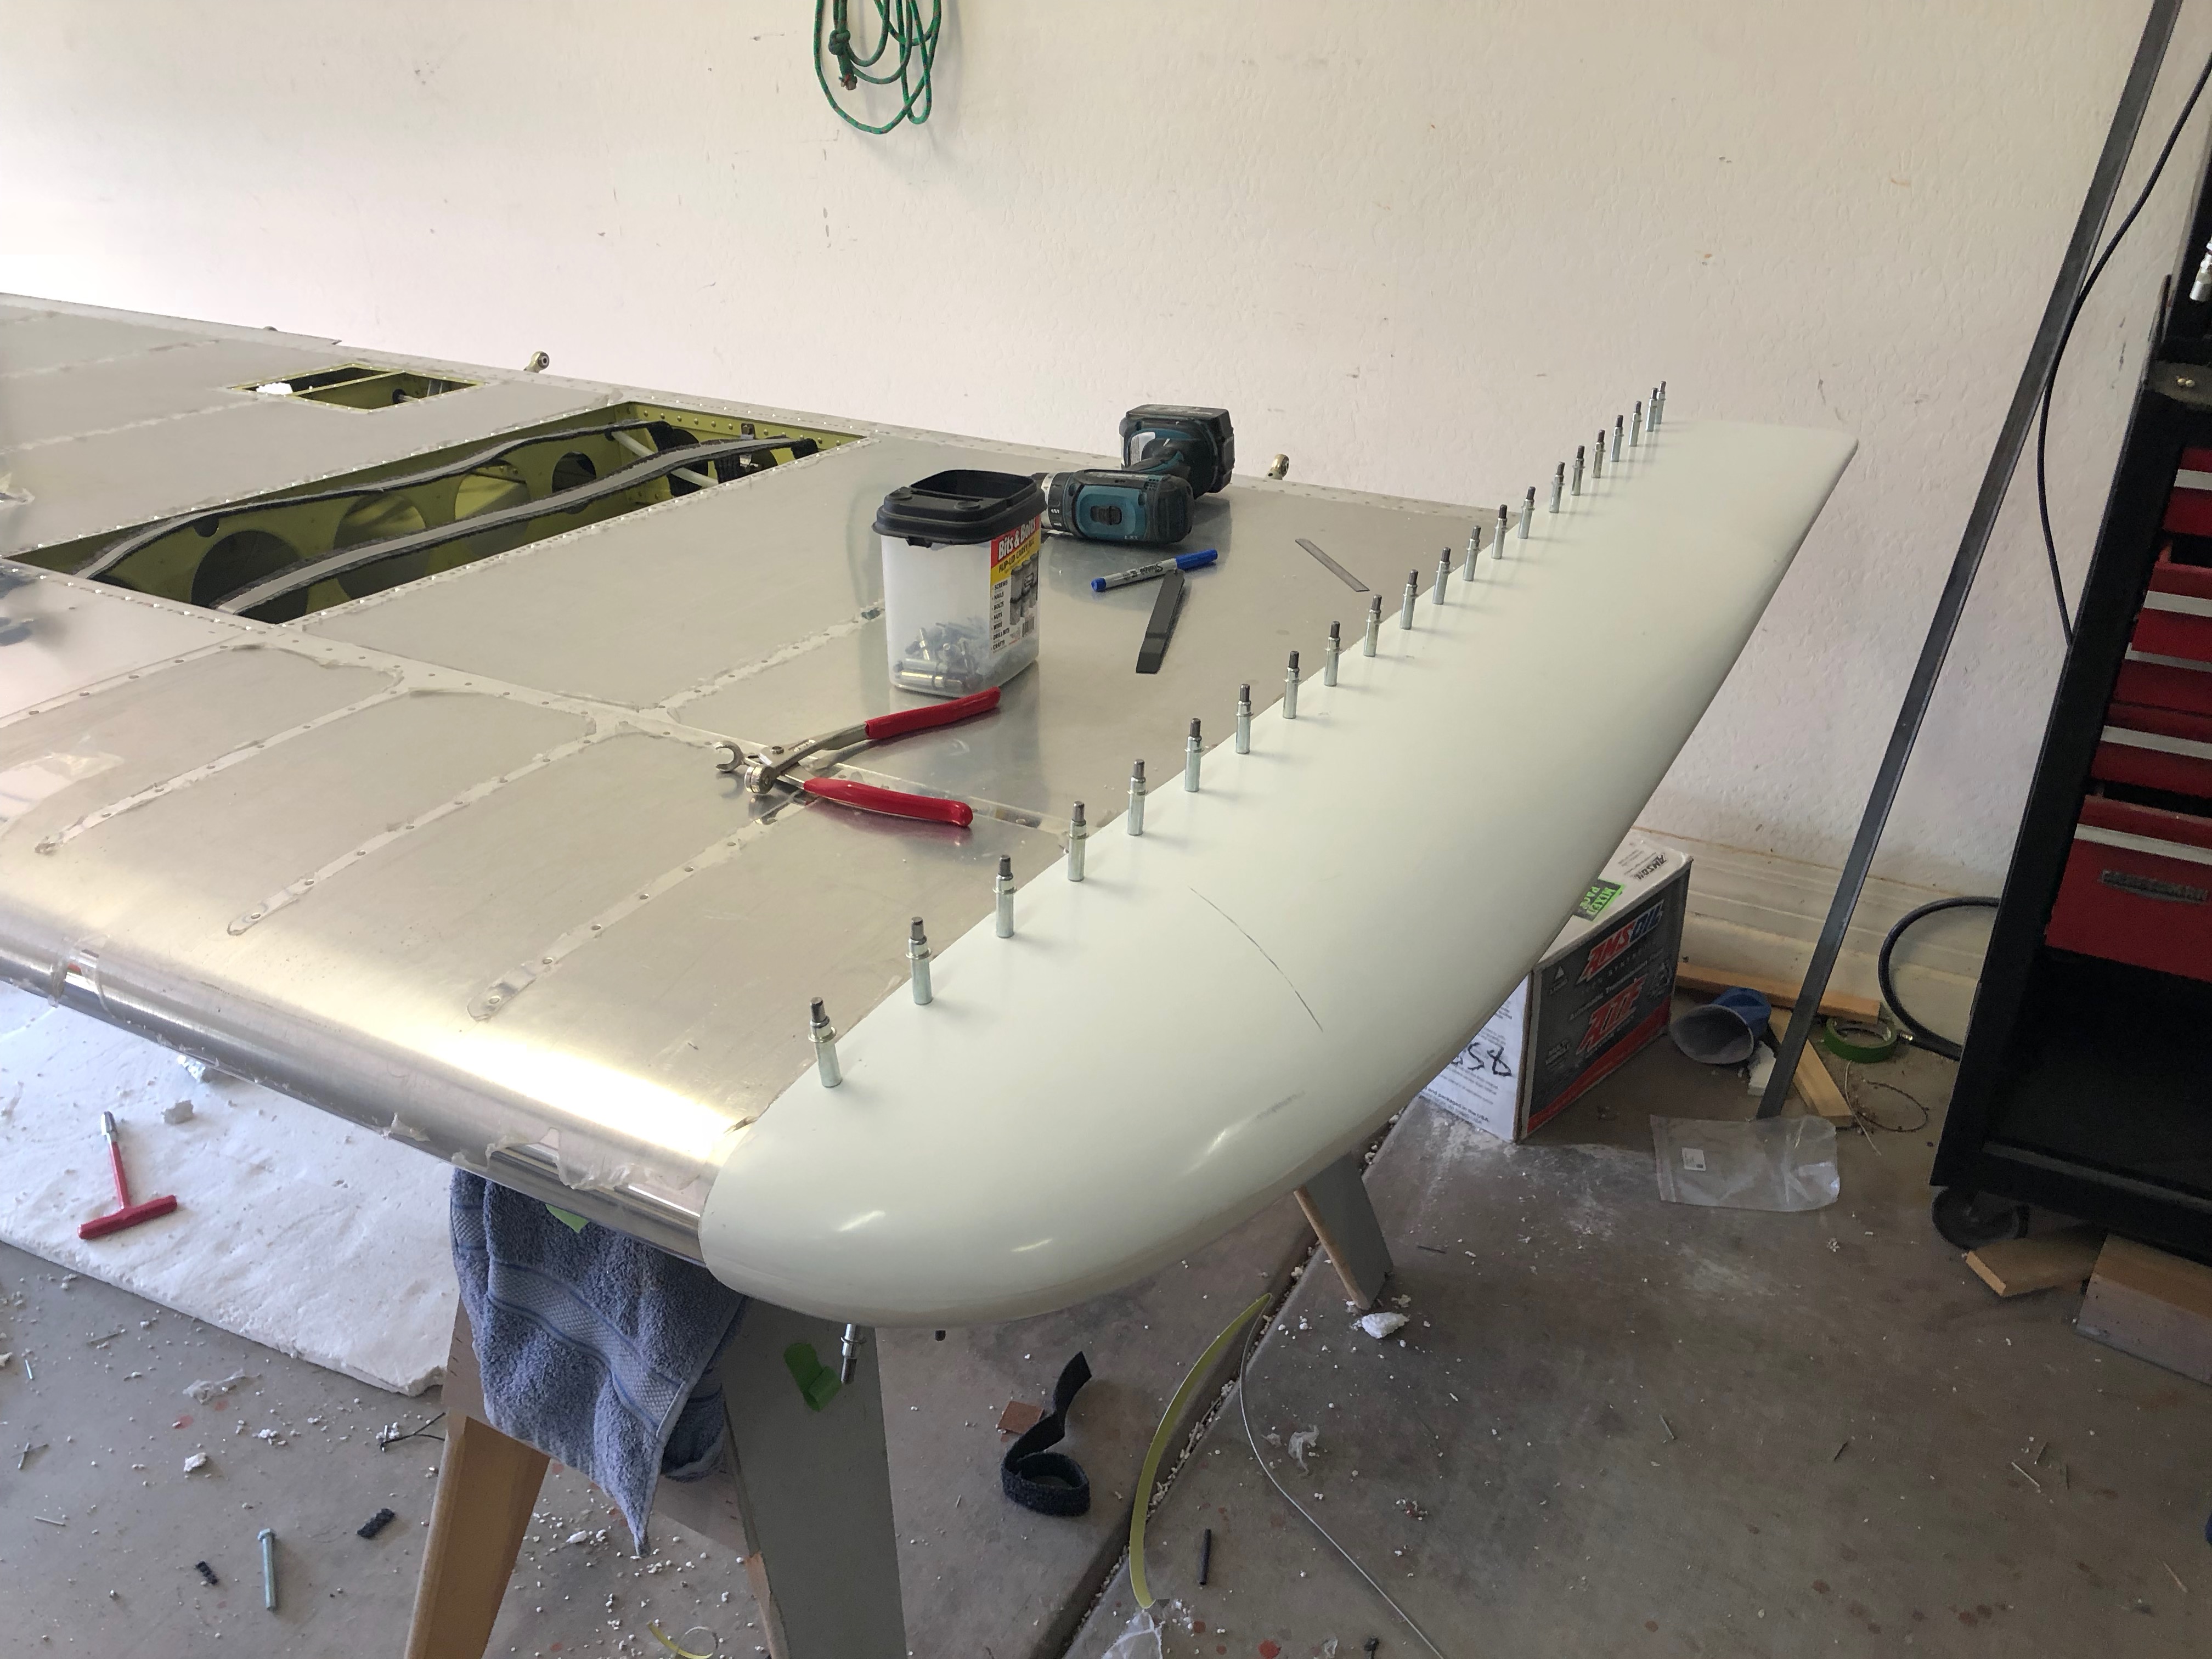
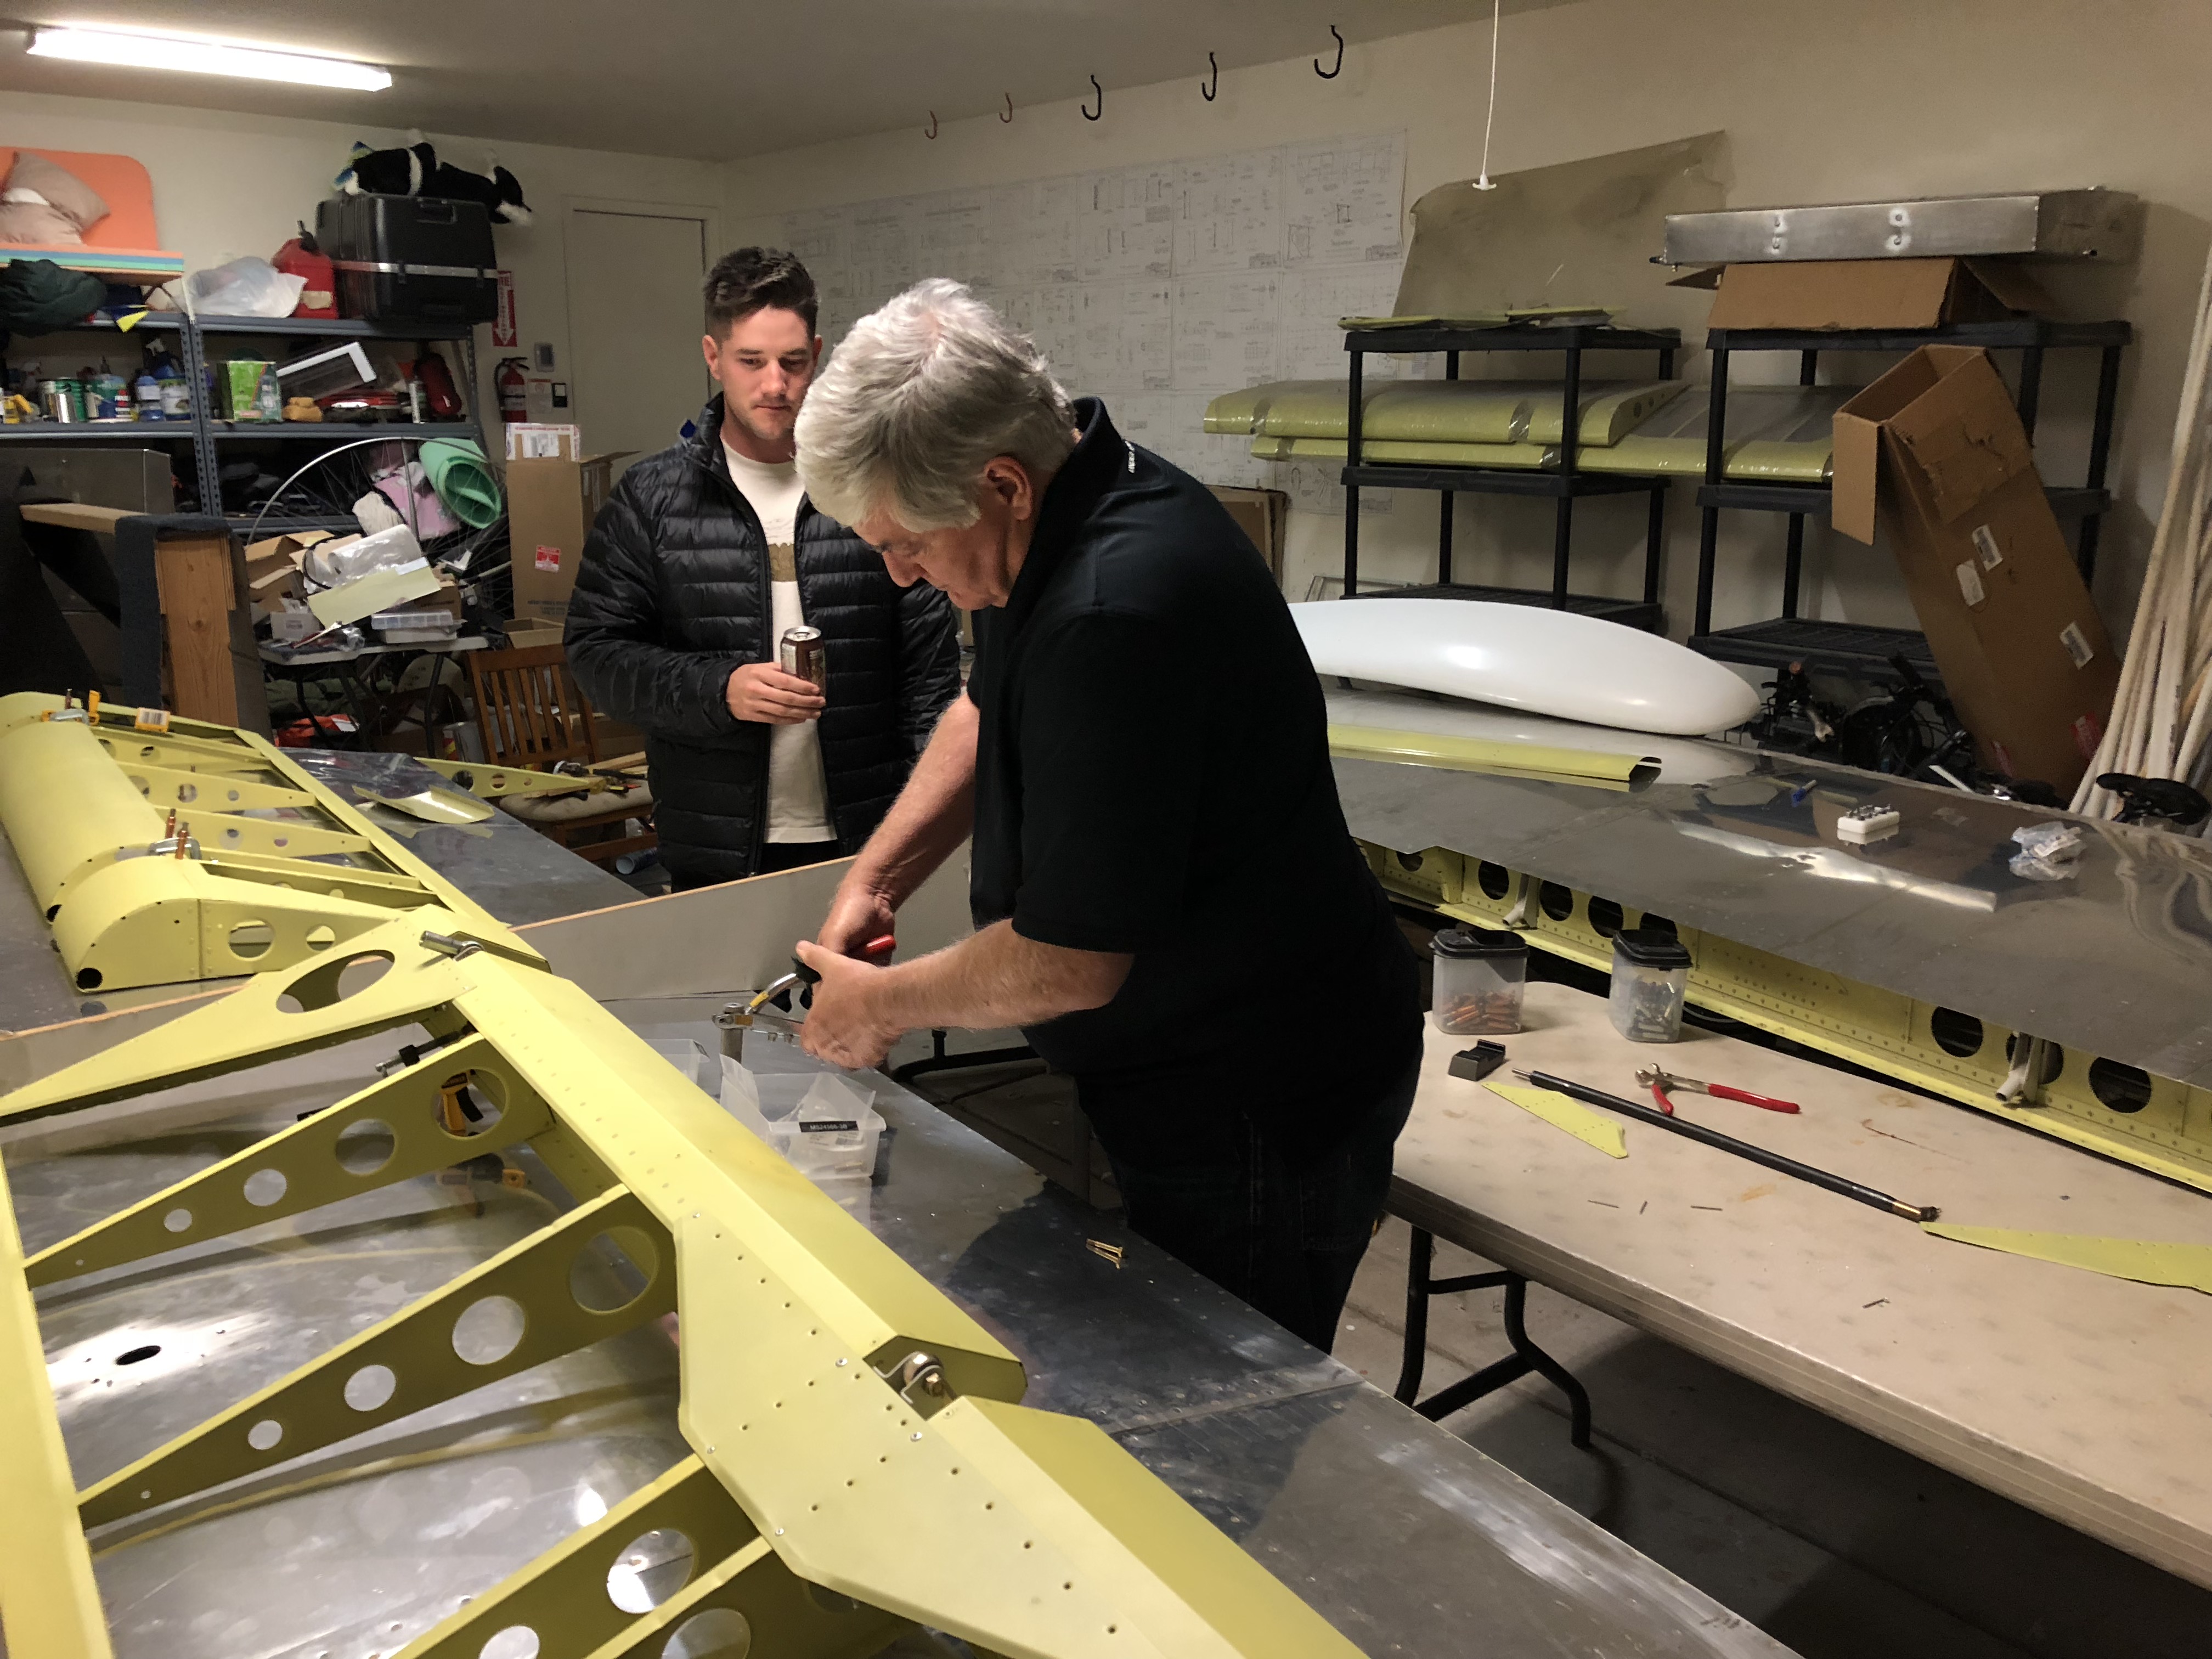
We prepped the wings with MEK, scotchbrite, metal surface cleaner and alodine. They’re now ready for paint!

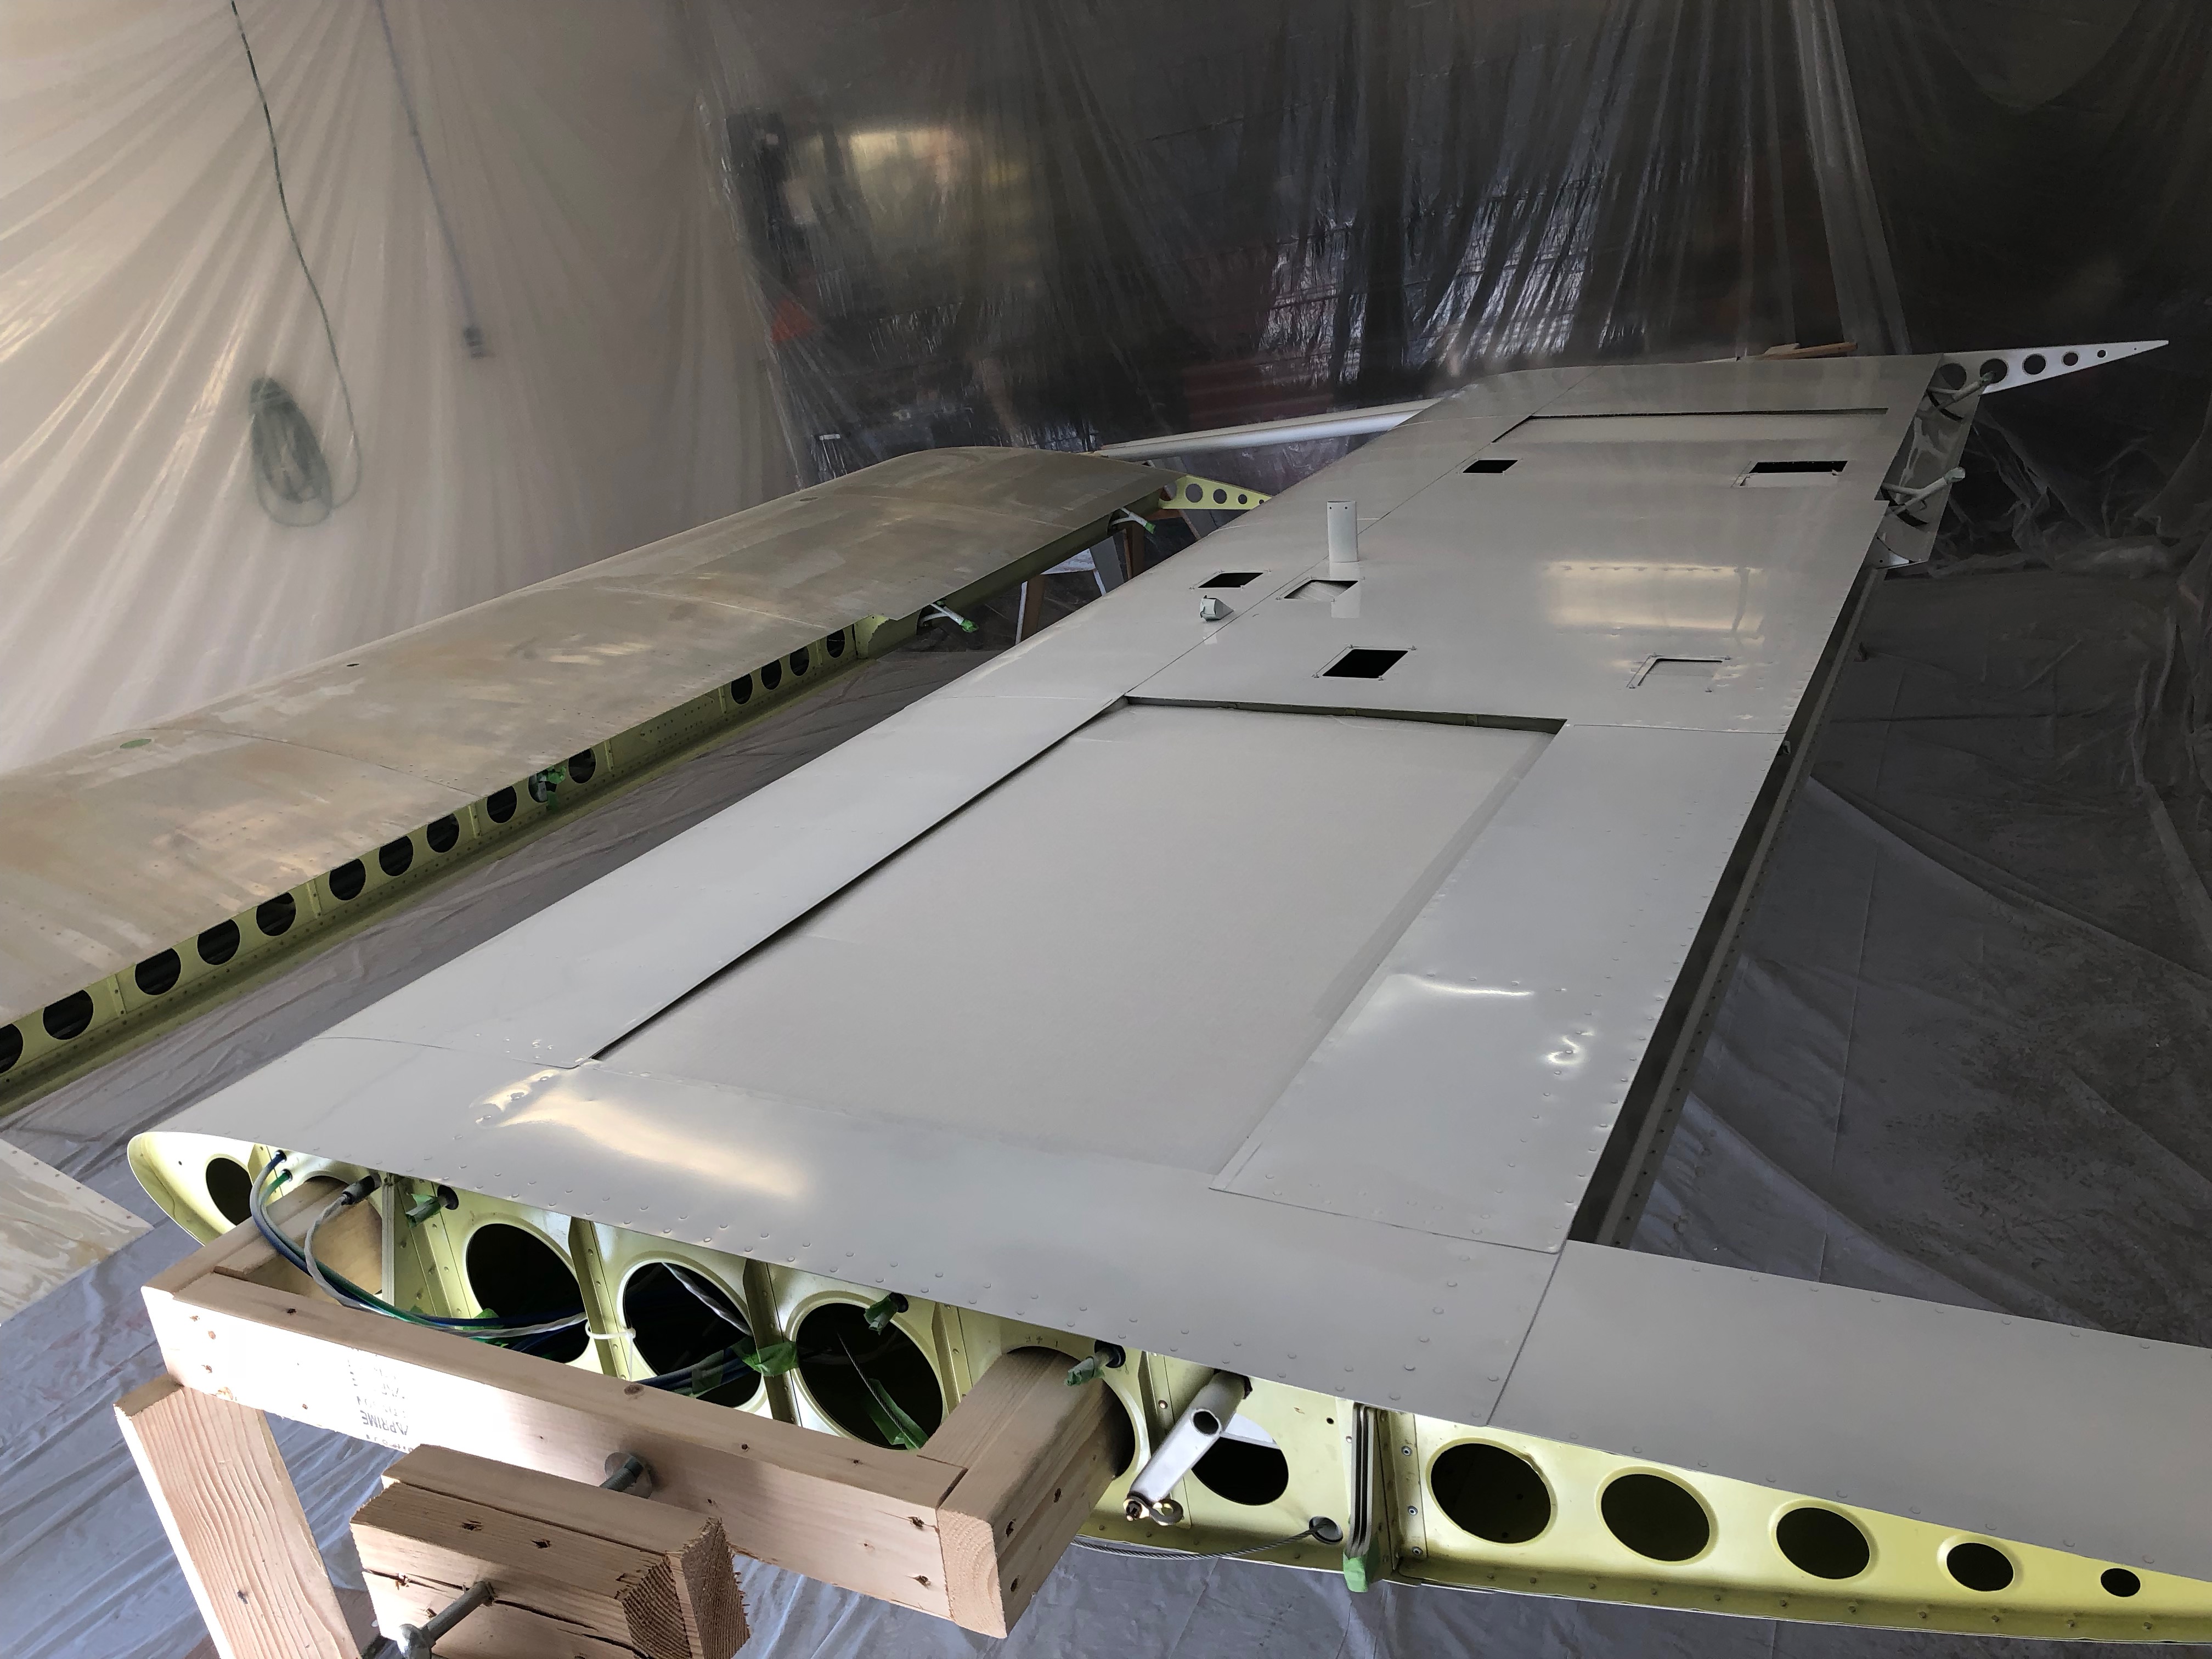
First the tack coats of epoxy primer then the polytone.  So far so good!

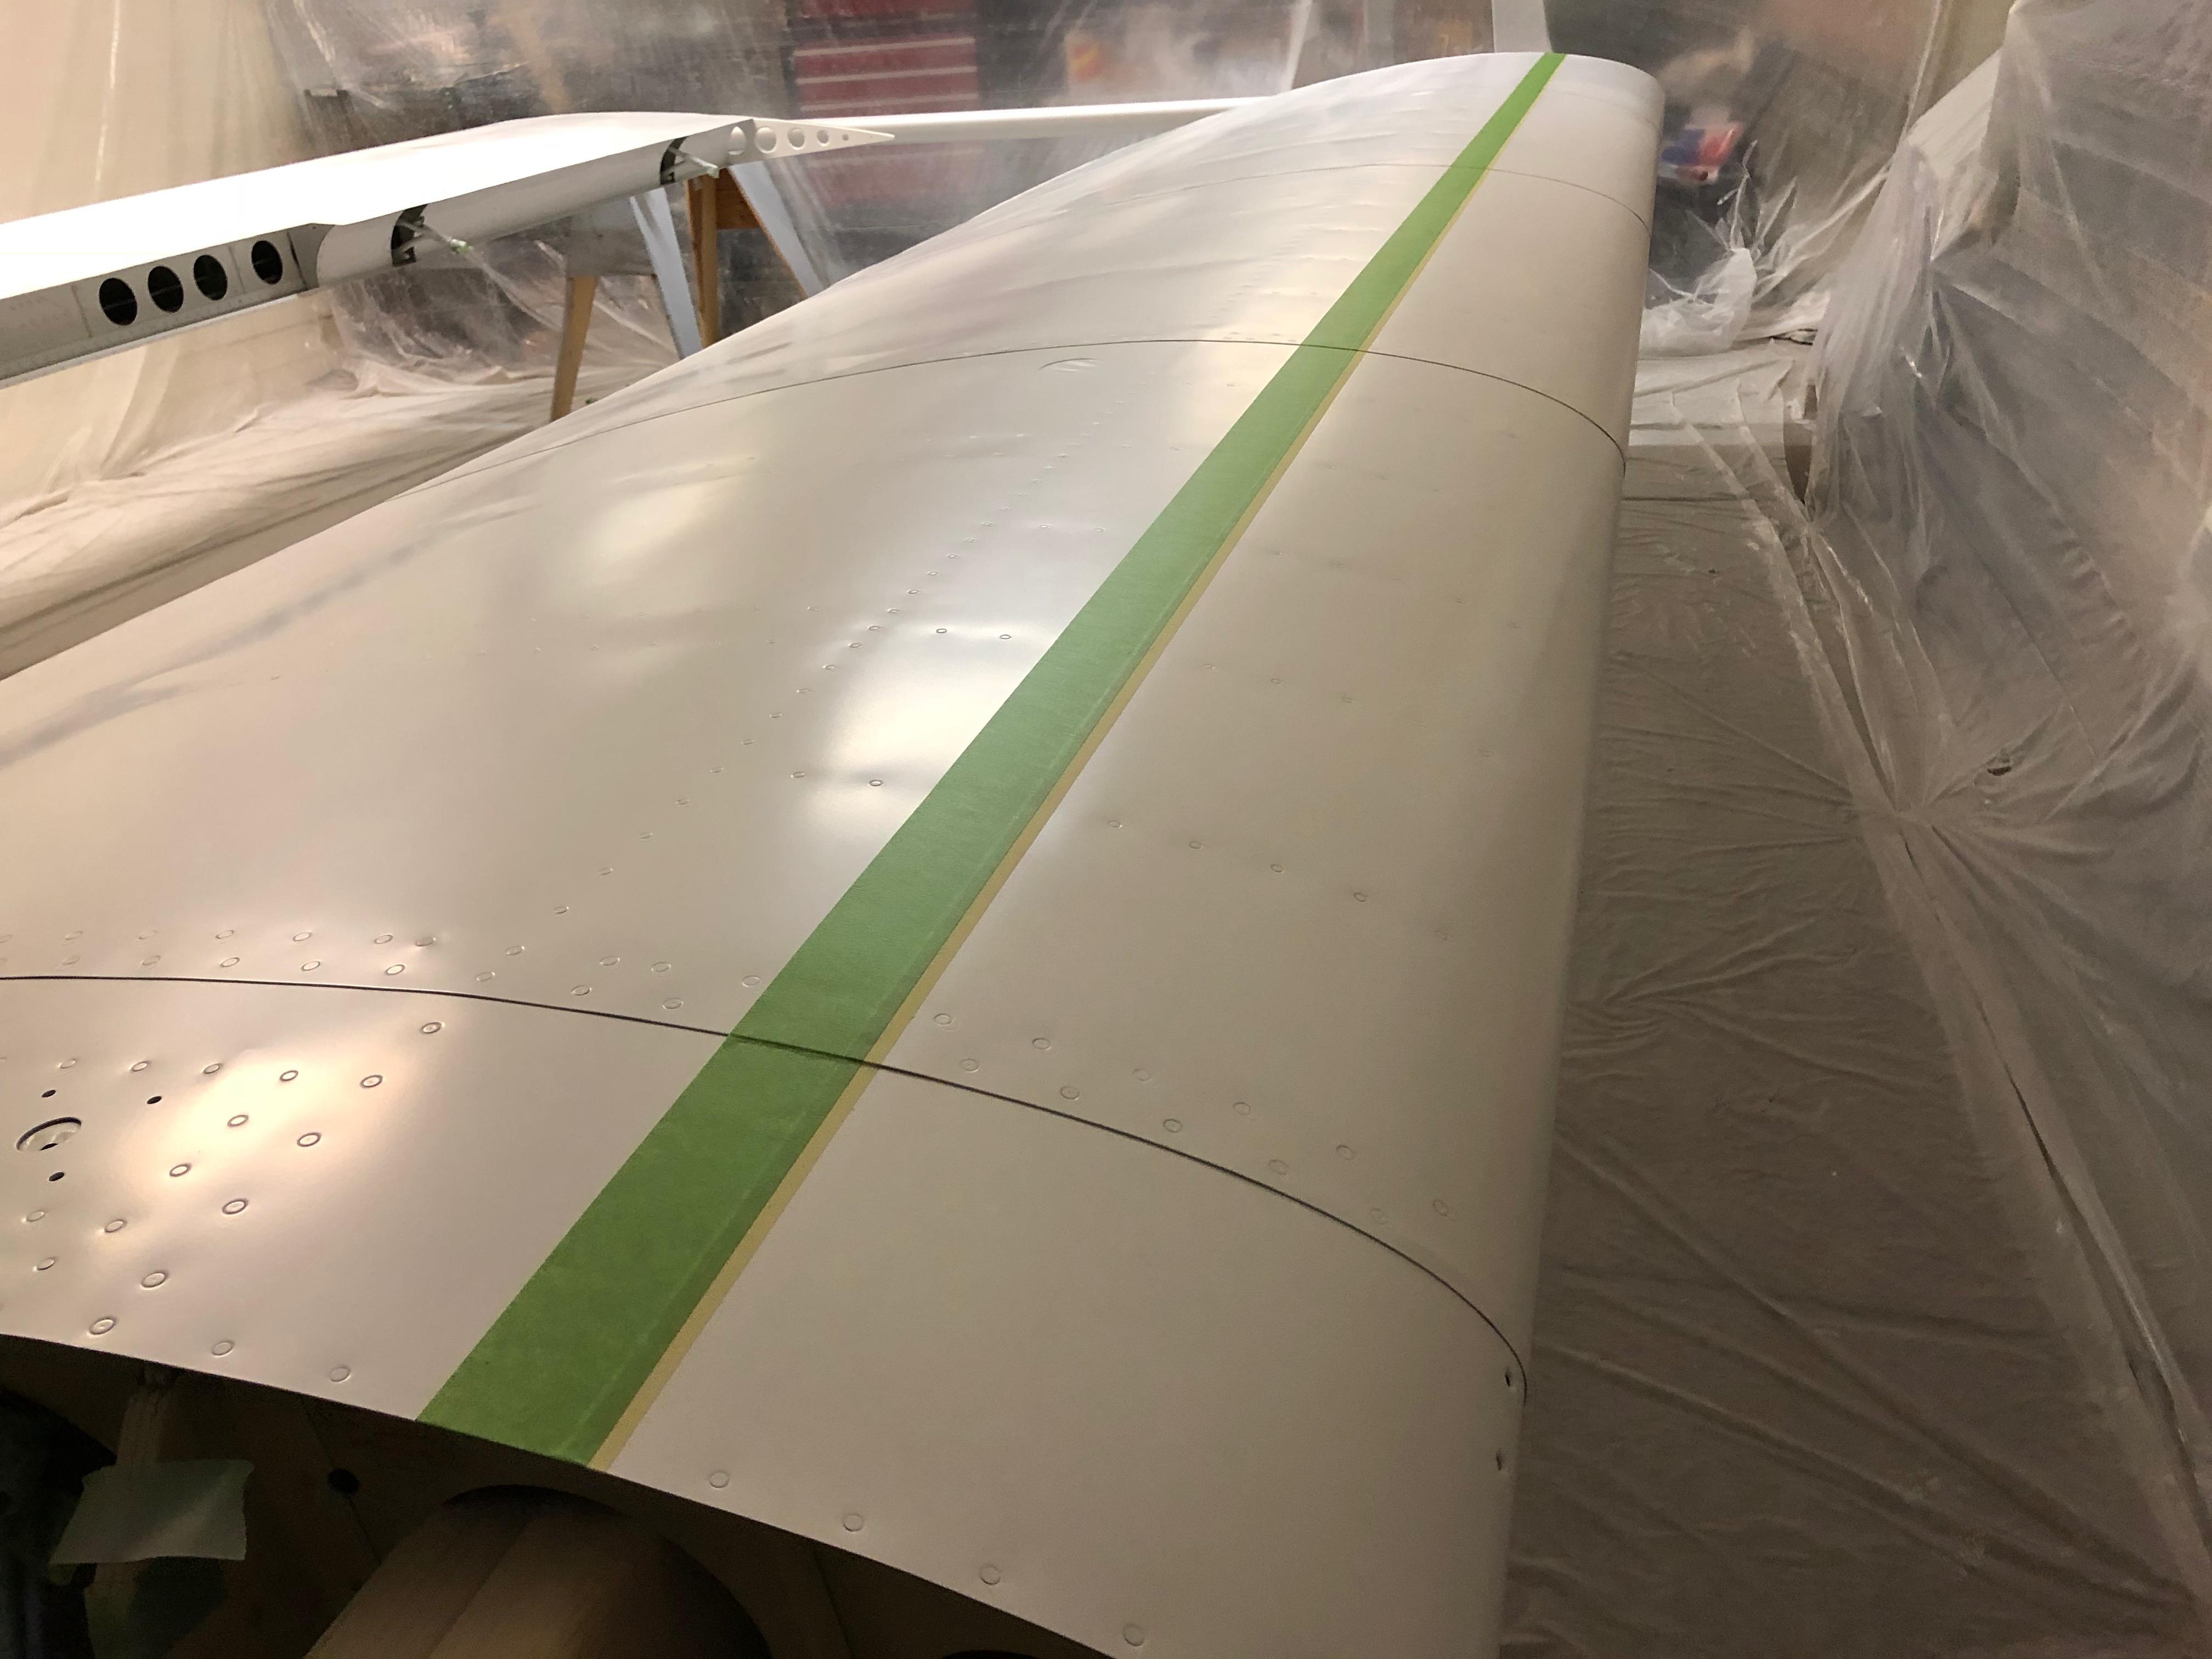
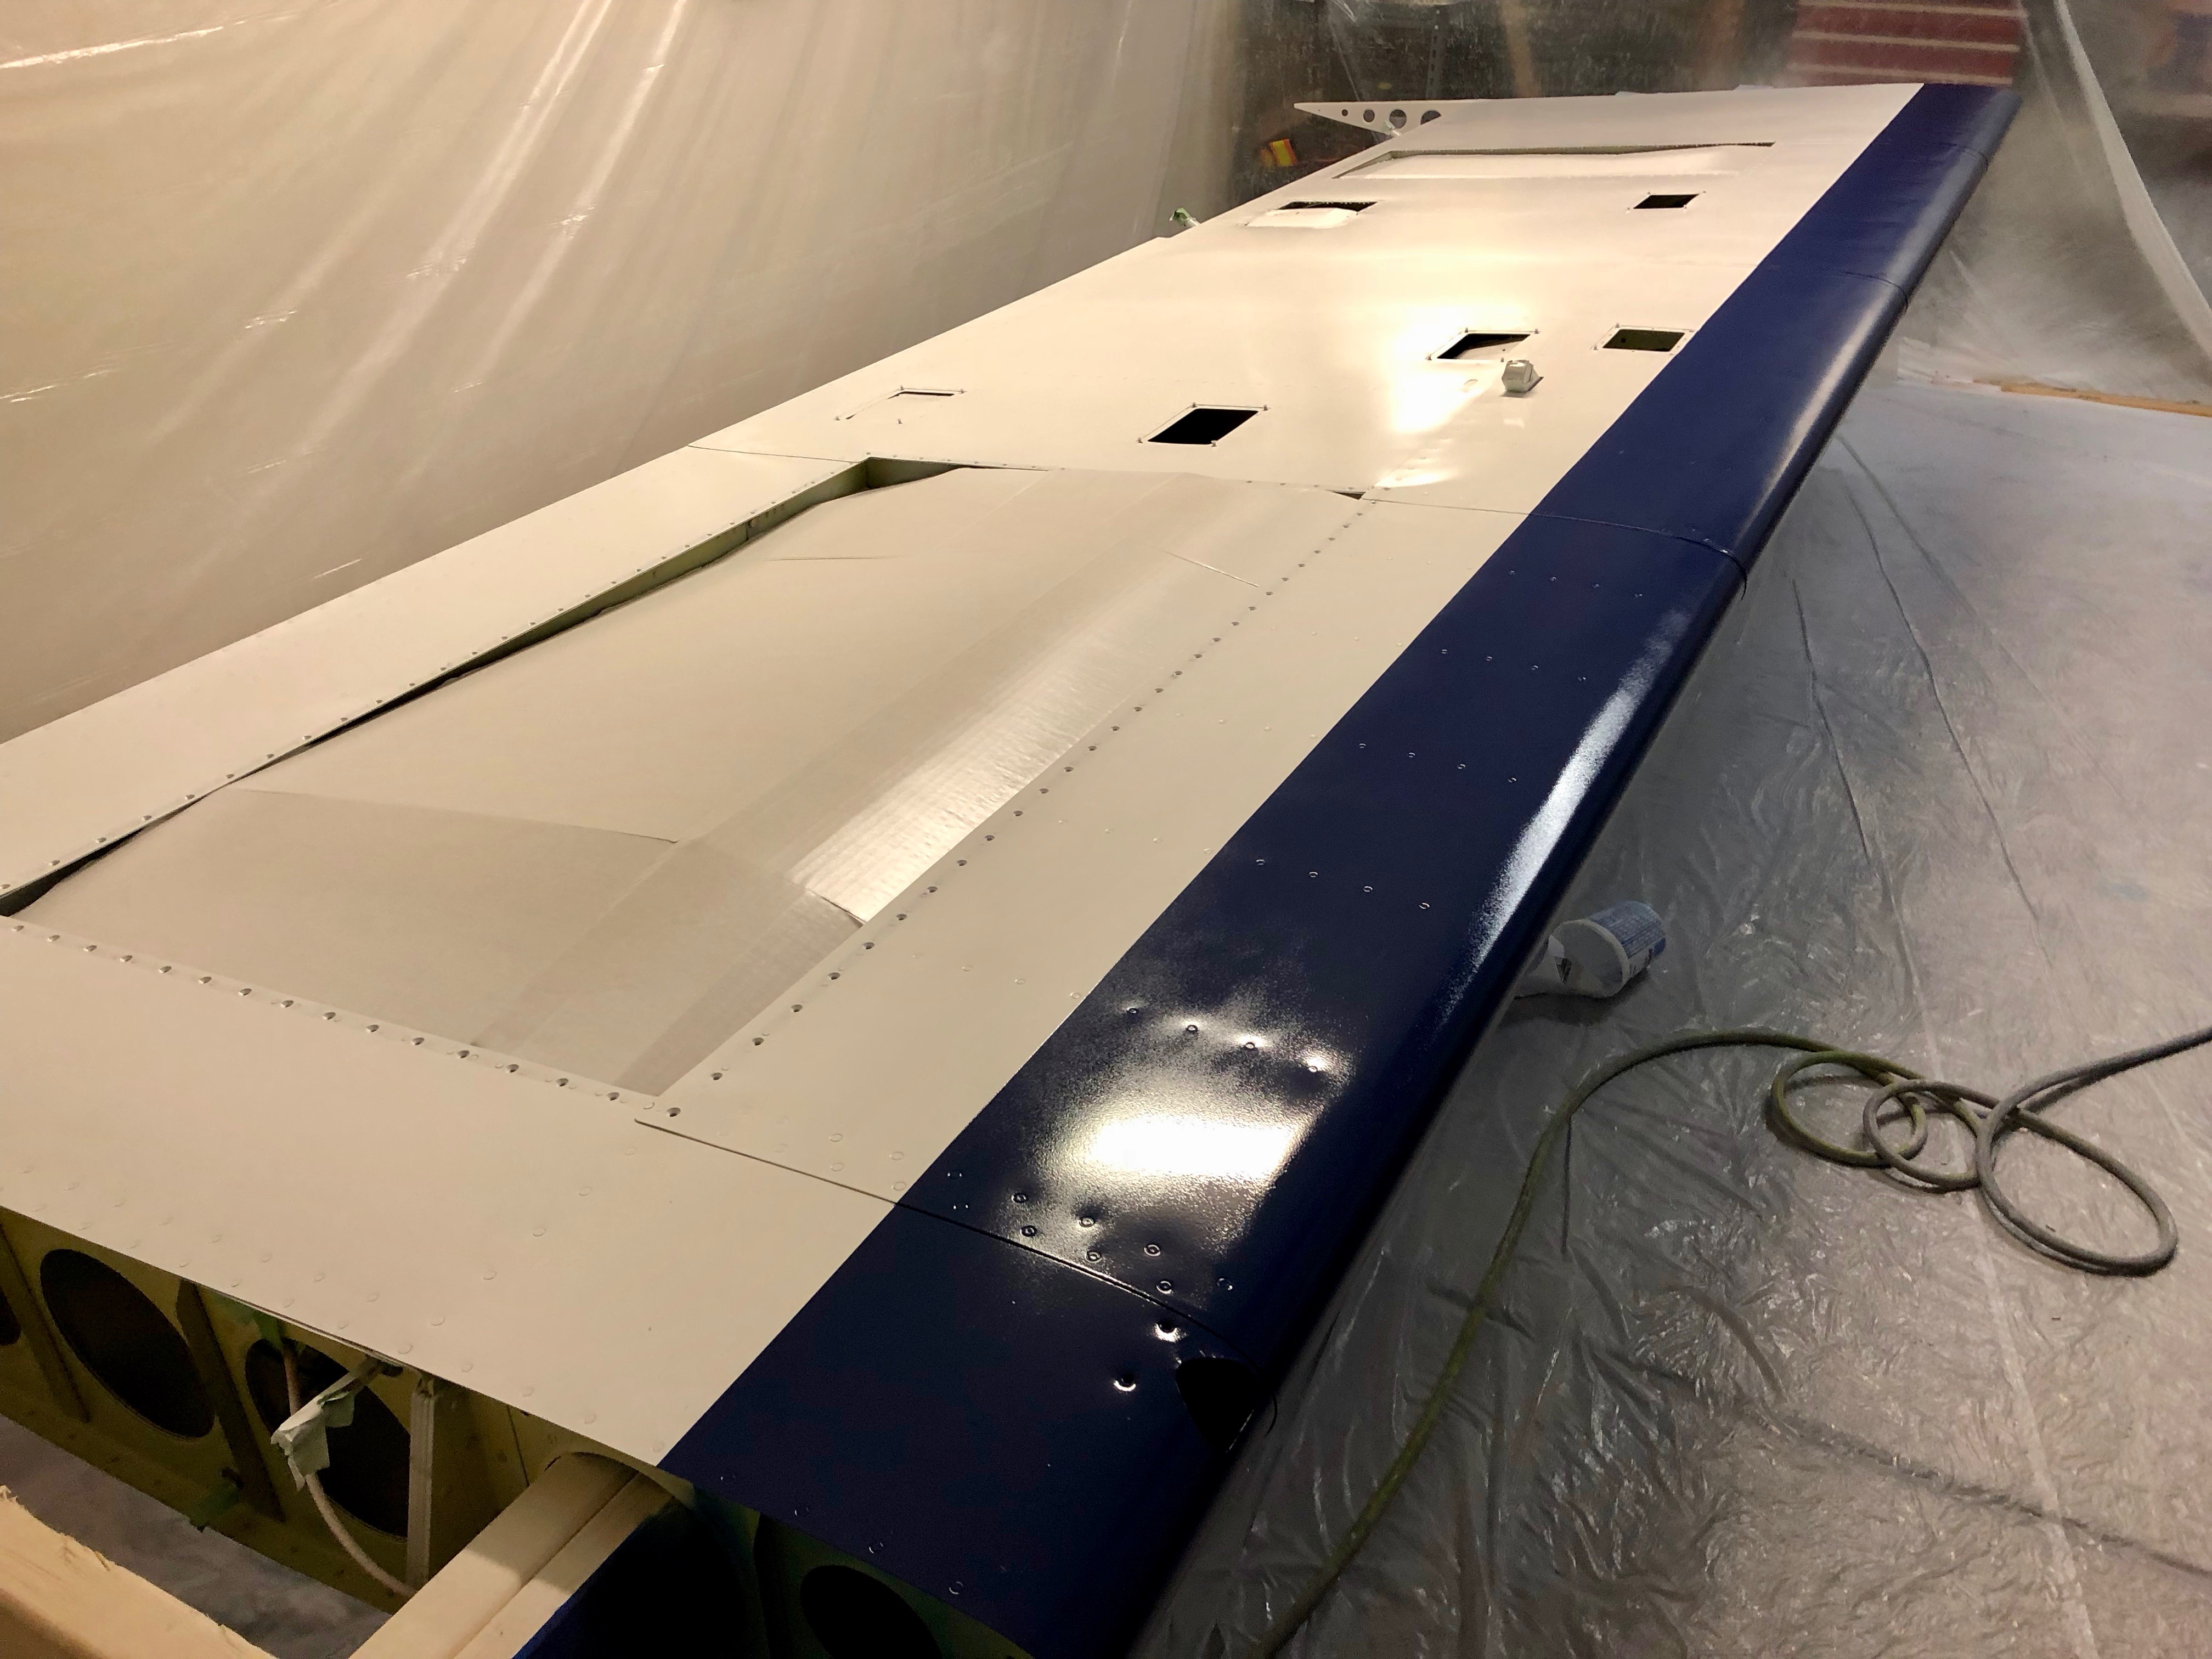
After letting the final coat dry for 7 hours I taped for the blue leading edge.

The blue paint is a bit scary.  The pigment is so potent.  Even one spec in the wrong place will ruin a paint job!

Remarkably it turned out great!!!!

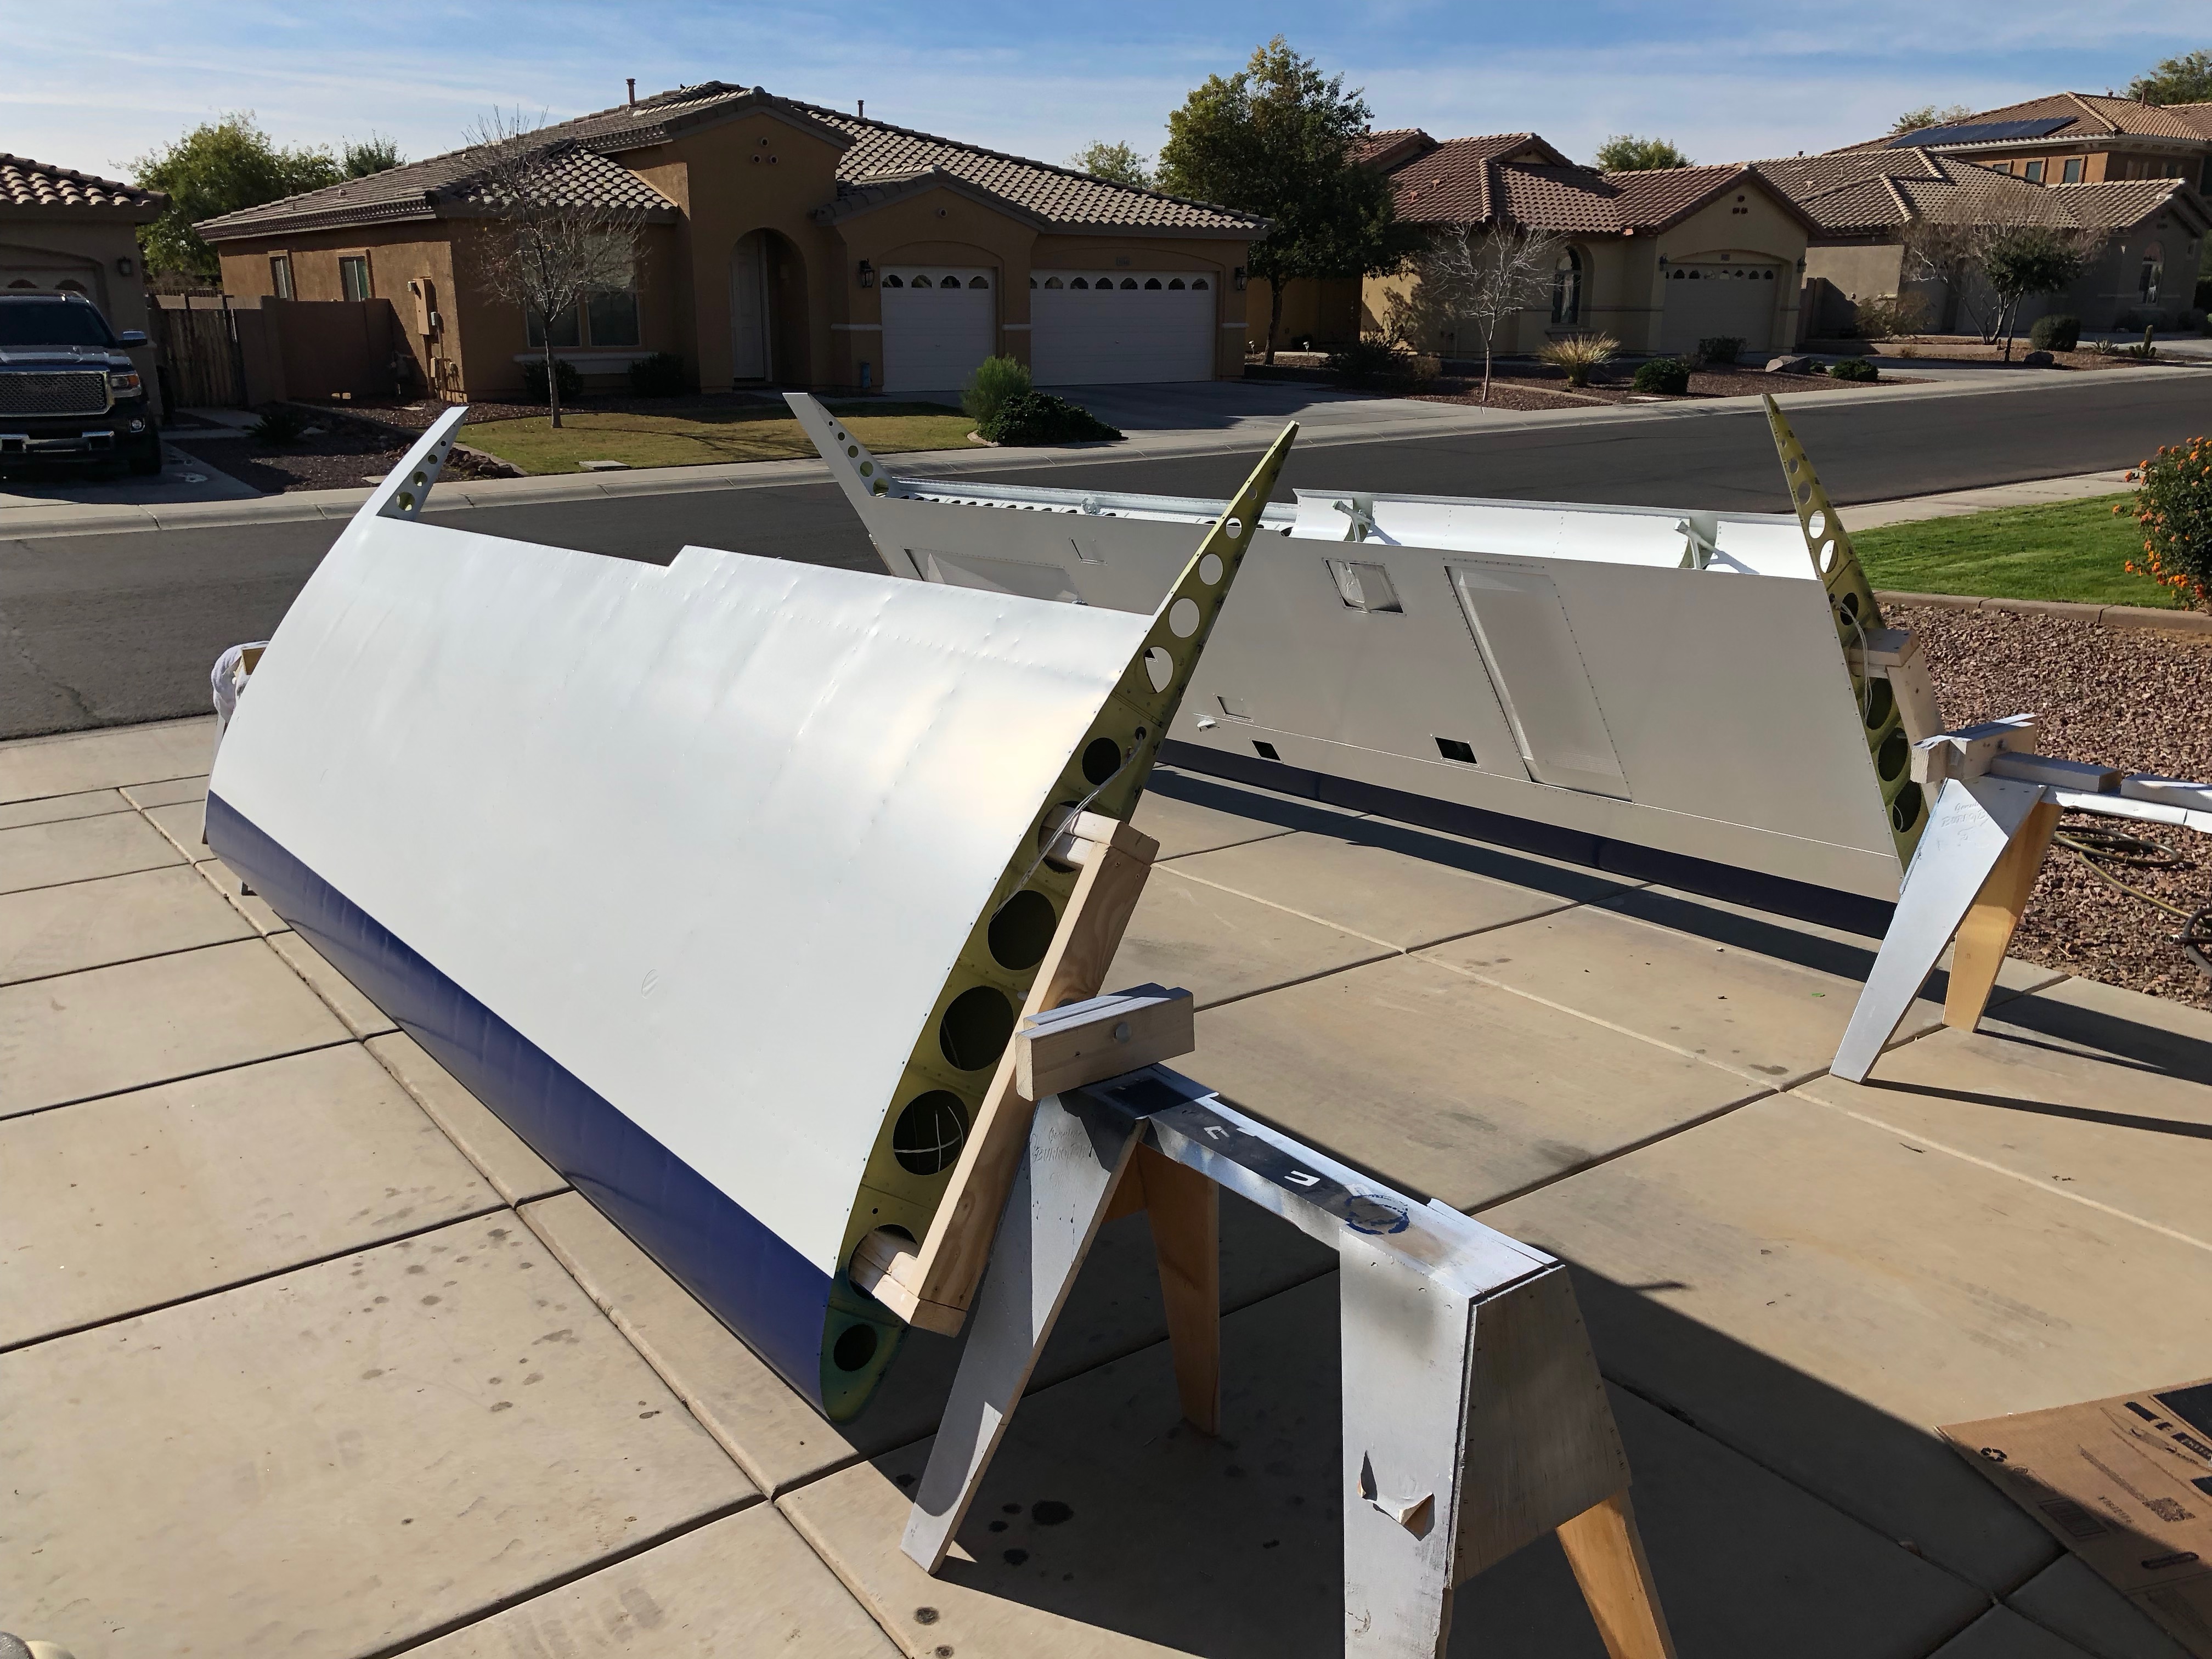
Here they are in daylight.  They look pretty good if I do say so myself!

3D Air conditioning vents

Finding Cessna air conditioning vents parts was hard!  Even when I did find them, they were awfully expensive!  So I decided it was high time to buy that 3D Printer I always wanted.

First I took a picture of the wing so I could get the shape.  Then I uploaded it to a CAD program and traced the shape.

Then I designed the rest of it in CAD.  Kinda fun!

Here’s the finished project! I printed it out of ABS plastic.

I did the same for the wing root mounts.

Pretty cool, huh!

Finishing wing rivets

For Christmas break Joey, Timmy and my dad came out to visit.  I promptly put them to work!  Joey was afraid that rivet pulling would be overly complicated.

Here my dad is pulling a few rivets where there wasn’t room to get a bucking bar in there.  He’s using his rivet puller from when he did AC work as a young man.  Ah the memories it must have brought back!  🙂

Closing the wings

My brother Timmy has been a tremendous help on this plane.  He lives in California and makes the drive out here to AZ to help on the bigger parts of the build.

After I completed the internals of the wings and double checked every cotter pin, stop nut and nut torque we started the riveting of the top wing skin.

Amazingly we got the hang of the communication required and got into a rhythm.  It took two days to finish both wings, but it turned out great with only two small dents from wandering bucking bars.