More wiring harness

DSC05252

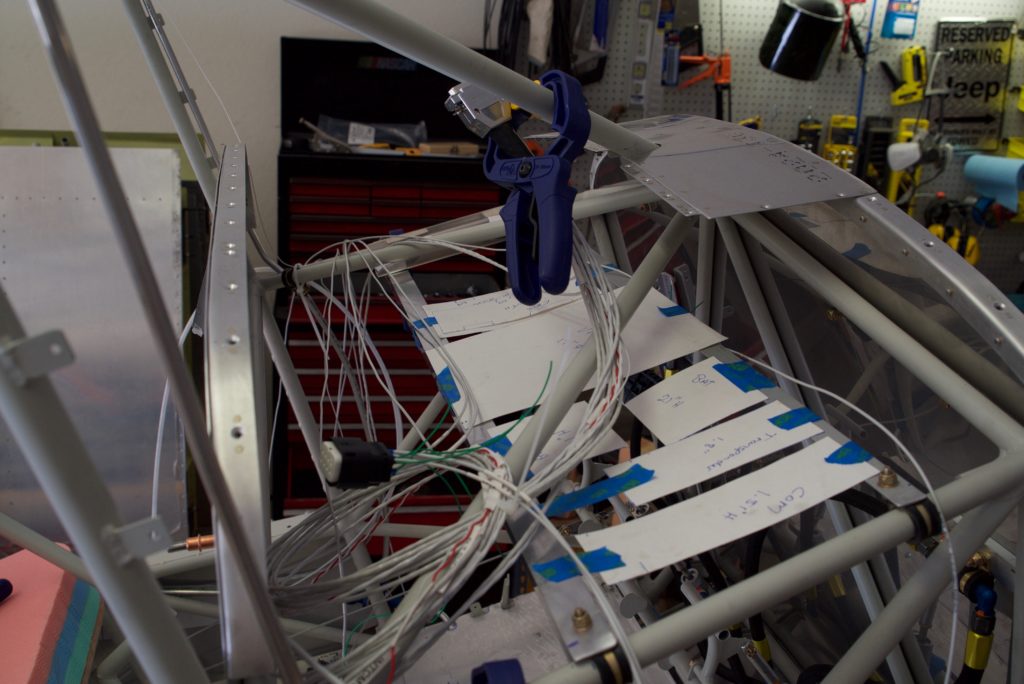
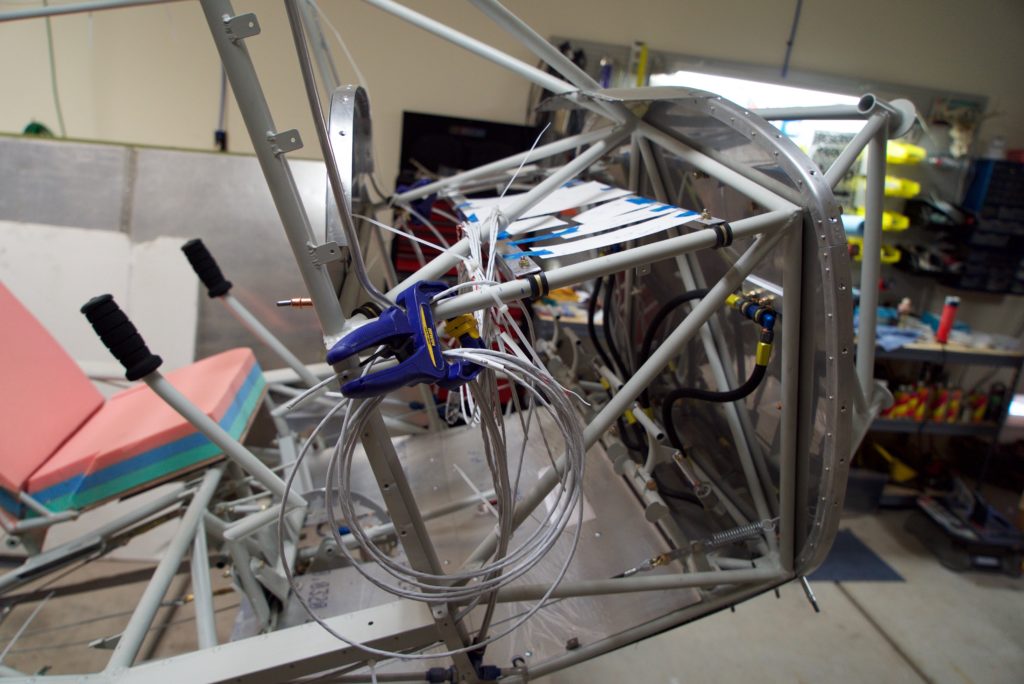
I looked up the dimensions of each avionics competent and made their foot print out of poster board.  Then started arranging them to my liking.  This allowed me to start terminating wire and building the connectors at the proper locations.

You can see in this photo the first of 3 power plugs for the the Vertical Power VPX.

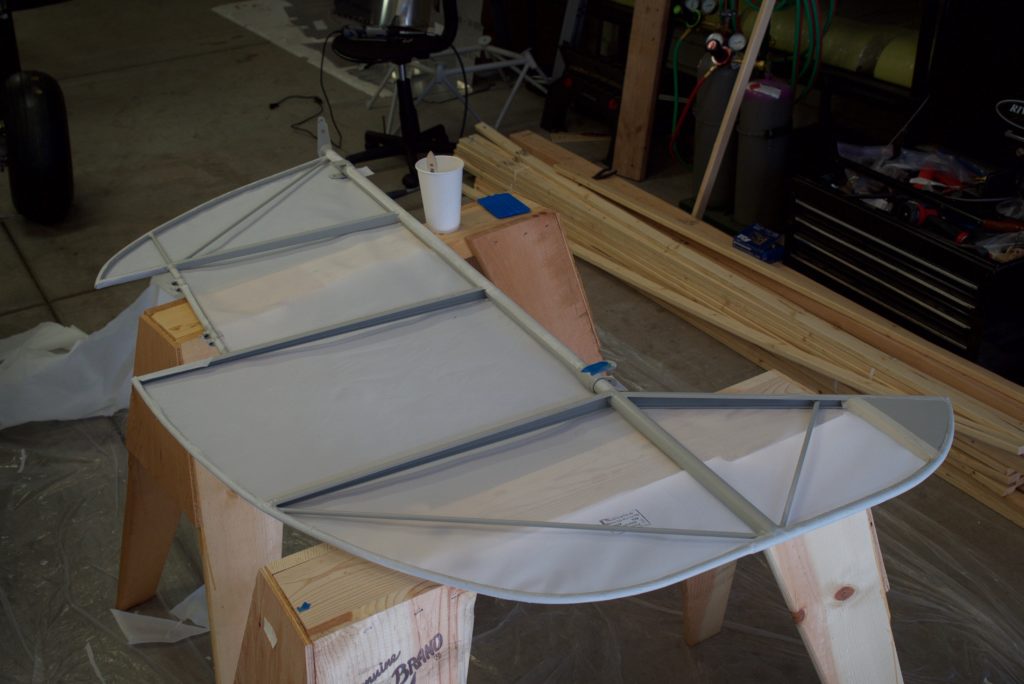
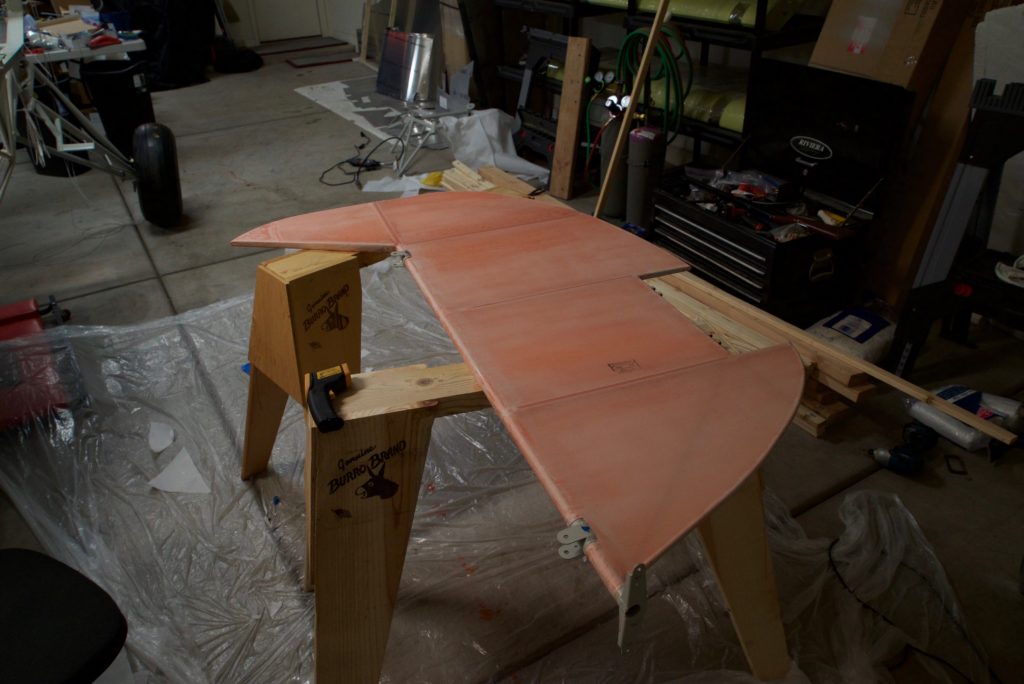
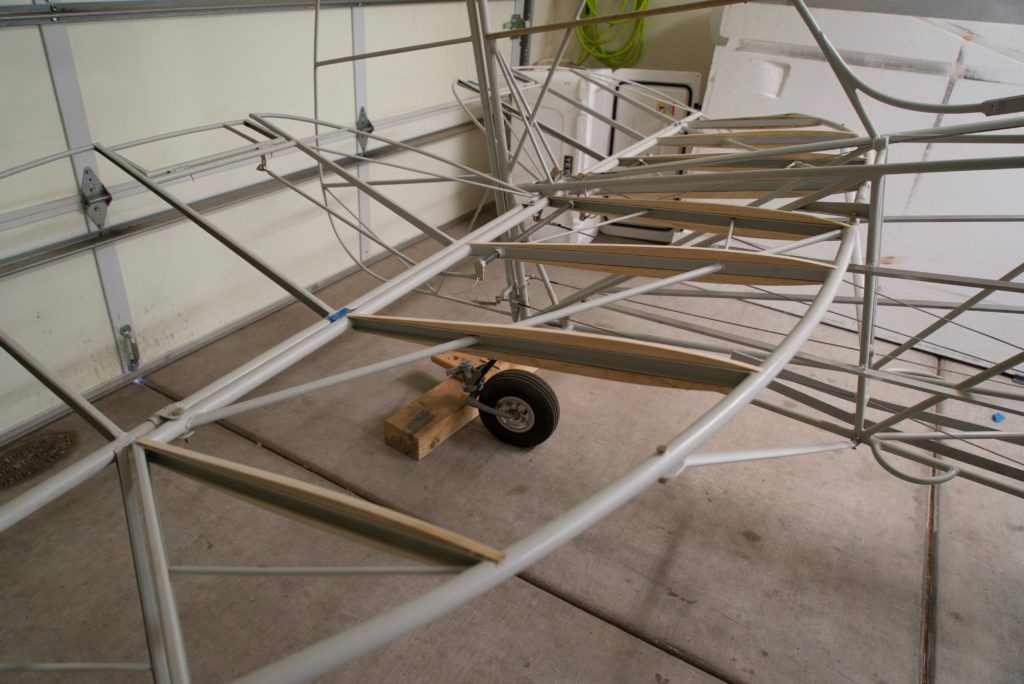
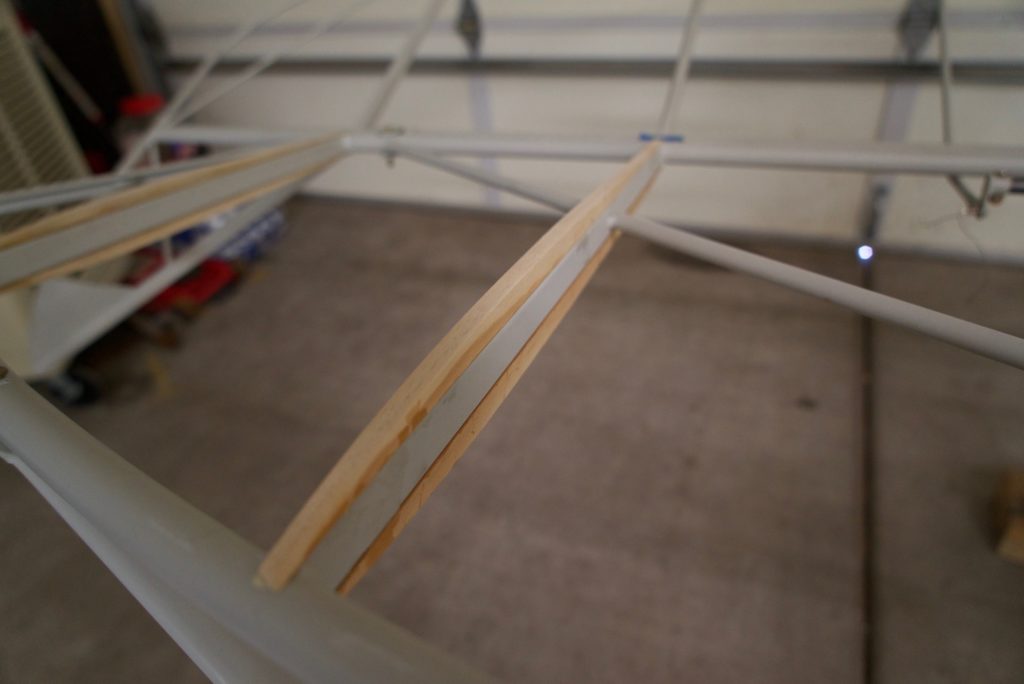
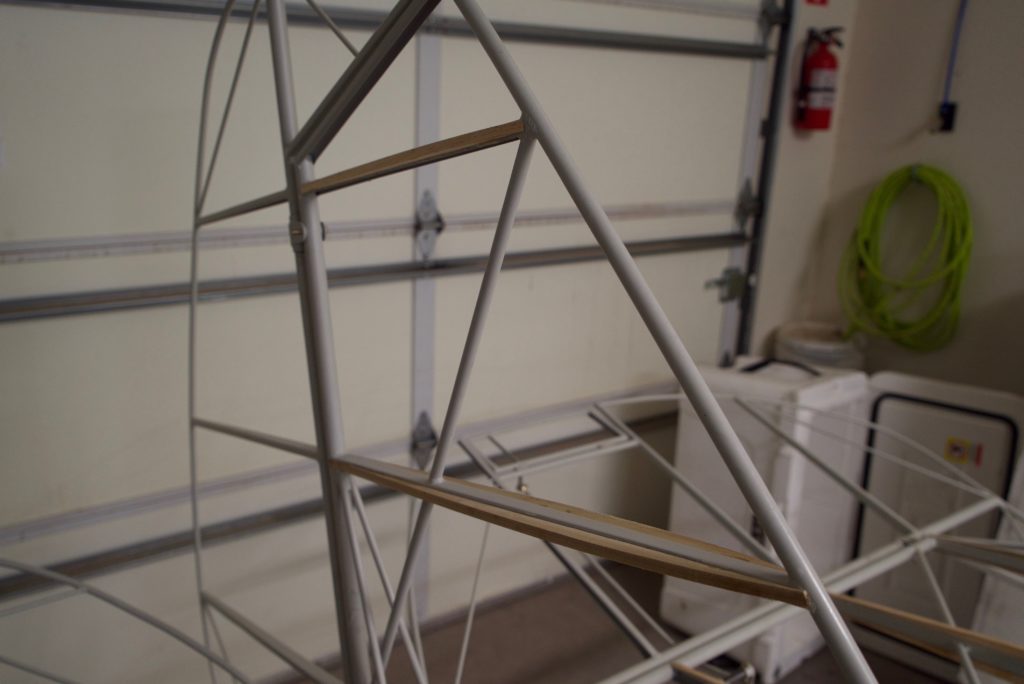
Stabilizer Streamline Wood Airfoil

DSC05246

DSC05247

DSC05248

As part of my kit, I ordered the wood airfoils for the vertical and horizontal stabilizers.  I scuffed and cleaned the surface first, then epoxied the forms using T-88 epoxy.  After that, I sanded then coated them with Polybrush epoxy varnish.

This mod will give substantially more authority to the control surfaces while also reducing drag.  Because of the reduced drag, I can reduce the negative incidence of the horizontal stabilizers from -4 to -3 degrees.  This will further reduce the drag induced by the negative incidence.

This is a win win modification!

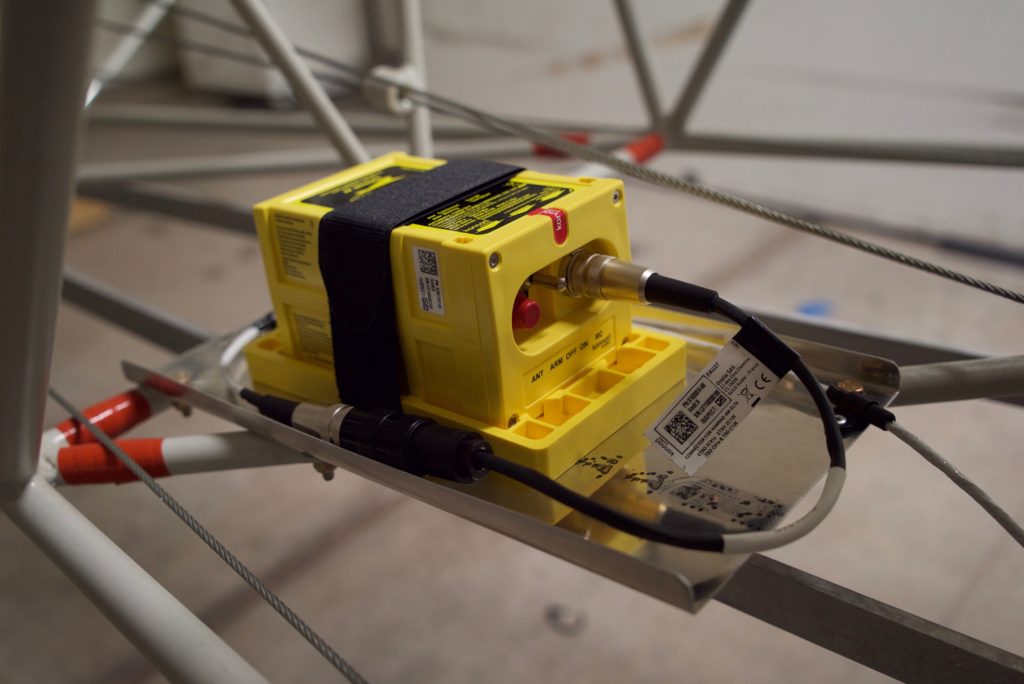
ELT

DSC05245

I decided on a 406/121.5 ELT with integrated GPS, antenna and battery by Kannad.  It’s the Kannad Integra AF.  It comes with a remote panel switch and it will source the ships GPS location as a backup.

Since 121.5 is no longer officially monitored, it’s a good idea to have a 406 ELT.  The 406 will send my GPS location via satellite with it’s specific identifier.  They’ll be able to look up my specific aircraft and pilot details along with phone numbers and names of people I specify.  Then when search and rescue gets there, they’ll be able to home in on the 121.5 signal.

Several people have mounted the external antenna inside the fuselage.  I decided to mount the antenna instead in accordance with the installation manual with the antenna external to the fuselage.  Since the part of the fuselage will be fabric, I’ll need to build a ground plane with copper tape.  Look for a future post on that.

A start on wiring

DSC05243

I decided to build my electrical system around the Vertical Power VPX.  It’s an awesome system that simplifies wiring, provides exceptional reliability and allows substantially superior electrical system monitoring.

I started building a lot of the wiring harness and laying out the avionics tray.

Beacon Bracket

DSC05241

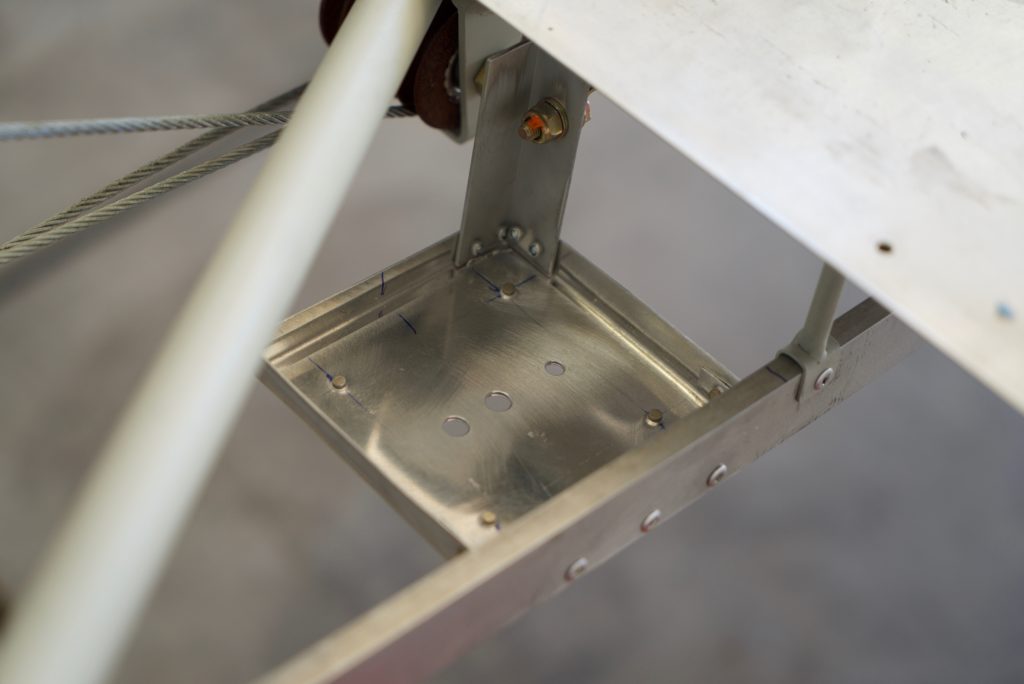
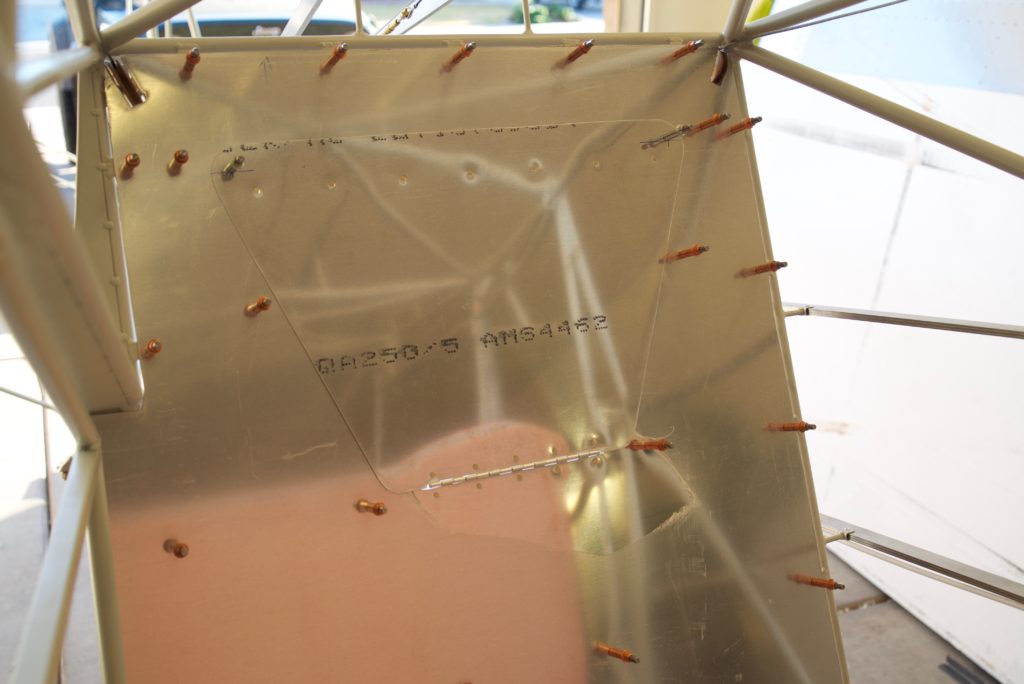
After much consideration, I decided that I did want a beacon.  After substantially more consideration, I decided to place it on the belly, just aft of the main gear.  My reasoning was that since the beacons primary purpose will be for collision avoidance while on the ground, it is most visible on the belly since it’s a tail dragger.

DSC05240

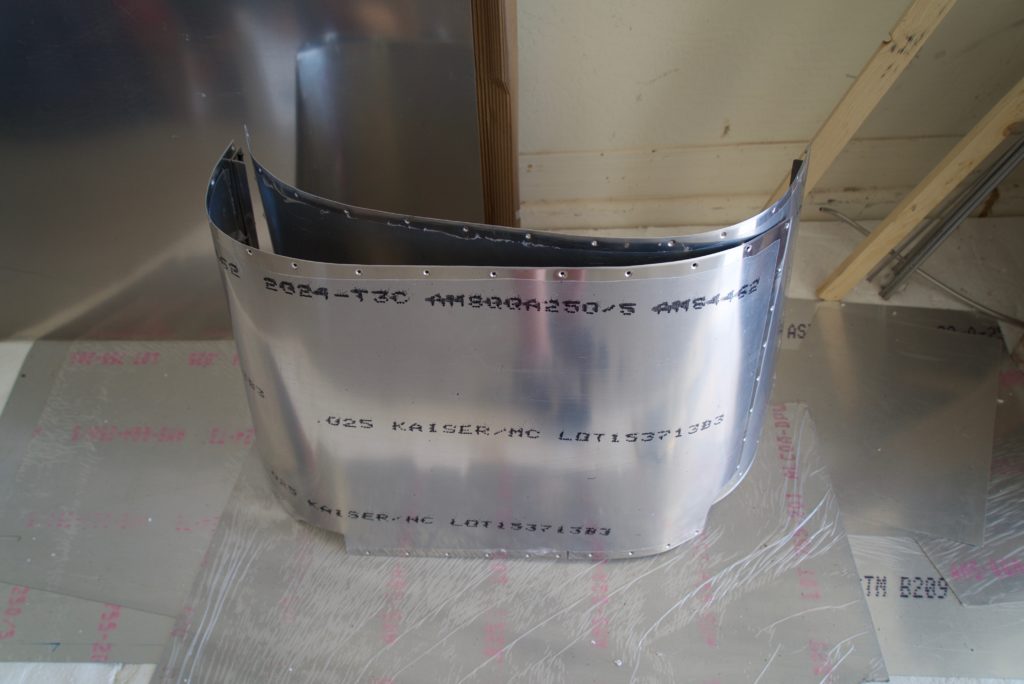
I also finished fabrication of the boot cowl today.

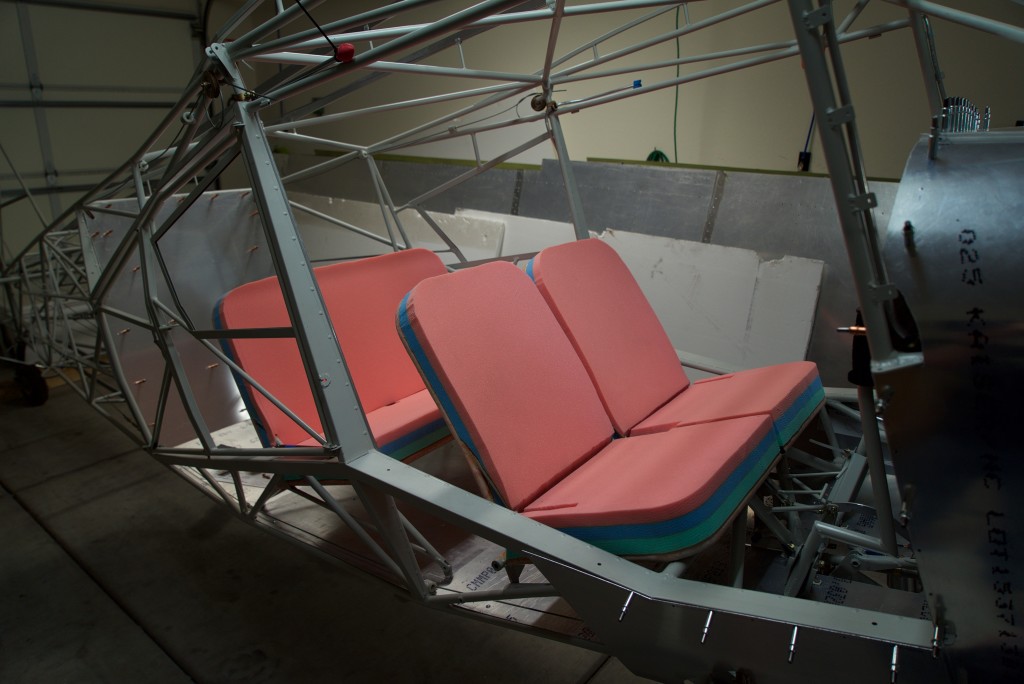
Seat foam

DSC05232

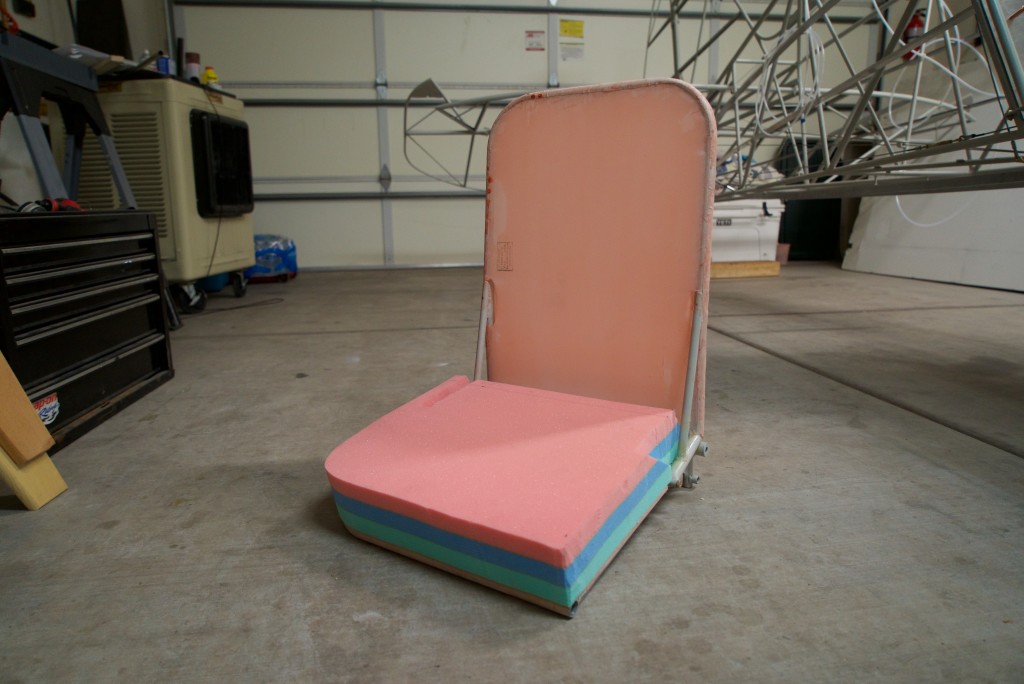
I did the seat pan with PolyFiber.  Then applied PolyBrush.  I’m not sure if the PolyBrush was really required in this situation, but I read that some people wish they had done it.  So, I did.

I ordered the Confor Foam from Hi-Tech Foams.  I met the at Copperstate earlier in the year.  They were extremely helpful and helped me order exactly what I needed with cutting guides.

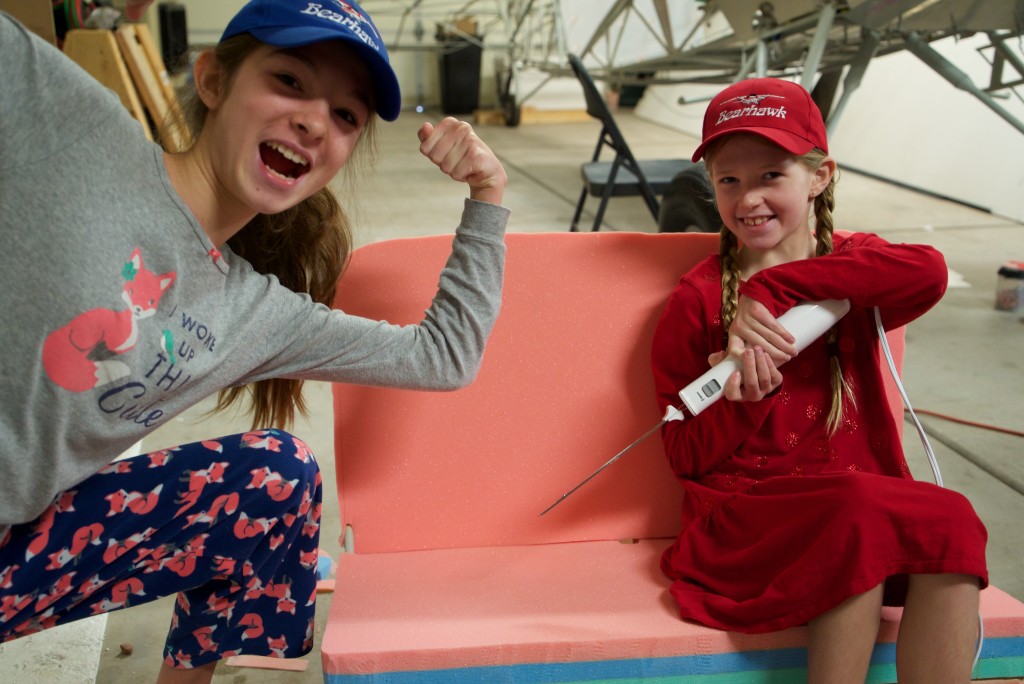
I attached the foam to the seat and to each other with 3M upholstery glue.  Then used a turkey carver to cut the foam.  The foam cuts much better when it’s cold. Luckily, Arizona was abnormally cold during these days!
DSC05231

Here are my little carvers showing their supposed strength and threatening to do some “additional” carving!
DSC05233

They turned out very nice.  I’m very pleased so far!