Brake Calipers

DSC05062

Today I mounted the brake calipers.  They’re the Grove 66-152.  The manual says to mount them straight ahead to slightly down.  As you can see they’re slightly down.  After mounting them I would have preferred them to point a little more forward or even slightly up.  I emailed Mark Goldberg to ask his opinion and he said they’re fine where they are.


DSC05063

The mounting plates for the brakes had holes for AN 6 bolts.  I would have had clearance issues with them that size so I ended up bushing them down to AN 5.

Landing Gear

DSC05058

The Bearhawk normally comes with streamlined (airfoil shaped) landing gear struts.  Some people have noted that in a severe ground loop the normal strut could collapse.  So Mark Goldberg was kind enough to swap those out for these round ones at no additional charge.

These upgraded struts will beef up the landing gear substantially!  I will need to put some kind of airfoil fairing on them eventually.

DSC05056

It looks pretty good sitting on it’s own landing gear now!  As you can probably see, the landing gear looks rather narrow.  This is because it doesn’t have full weight on wheels yet.  It will eventually widen the gear an extra 10″ once full weight is on it.

The landing gear went together rather easily.  The only problems I ran into was not having beefy enough retaining ring pliers and the rod ends not threading into the piston.  So I had to make a quick run to AutoZone to pick up some heavy duty retaining ring pliers.  Then I made a trip to Ace Hardware to pick up a tap for the threads.  I had never tapped or cleaned up threads before, but EAAVideo.org has great videos for these kinds of things.  The threads cleaned up nicely.

Floor Boards

DSC05041

The floor boards were mostly fit to size.  However,  some final fitting was needed.  For removing large amounts of metal, the grinder was invaluable.

DSC05044

I then finished filing them to final size.

DSC05053

Jessica and I spent the rest of the day match drilling the mounting tabs to the floor and deburring everything.  They turned out very nice!  We even put seats in and made airplane noises!


Horizontal Stabilizer

DSC04989

Mounting the horizontal stab was a simple bolt on process.

DSC05027

I mounted the elevators and started calculating how much weight it would take to balance them.  You have to estimate how much the covering materials will weigh.  Then cast lead weights for the front of the elevators so their neutrally balanced.

I don’t have any pictures of the casting process, but it was the most frustrating part so far.  My welding torch that I was using to melt the lead weights wasn’t working properly.  It’s still over 100 degrees outside and with all my breathing equipment and other safety equipment on, I was hot to say the least.  Just about the time the lead would melt, my torch would go out.  This went on for hours.

Not one to give up easily, I persisted.  It took two days to get it right, but in the end it’s done right and it’s behind me!  Now on to much more fun parts of the project!

Organizing & Rudder Pedals

Today we spent the morning organizing and checking inventory.  Then moved on to the rudder pedals.  I had planned on putting the landing gear on first, but the strut springs were on backorder.

DSC04982

So far I am very impressed with the kit!  Very good quality and workmanship.  Everything is bolt on so far, but there is some measuring to do to make sure everything is in the right place.

I’m purposely moving very slow.  I’m reading the manual several times, measuring 8-10 times and contemplating every alternative before I drill my first hole in this airplane!!

Our kit arrives!

DSC04720Mike arrived with two Bearhawks!  We only got one though.

DSC04904My wife Cati jumped right in and took control of the situation!

DSC04724Mike made quick work of unwrapping everything for unloading.  The fuselage came packed with all the parts.

DSC04725The wings were packaged separately in two wing crates.

DSC04756I invited my good friend Andy to help supervise.  He did a marvelous job!

DSC04844The wings were surprisingly light!  I had built some EAA wing slings to hold the wings so we could return the wing crates.

DSC04853Cati and Tori were very happy with how everything was moving along.  My oldest daughter Jessica was the one behind the camera.  So no pictures of her here.

DSC04912We loaded the empty wing crates back on the flatbed.

DSC04973Now our garage is full of Bearhawk parts!!  My whole family is really excited to get started on the project!

DSC04977Good times were had by all!

Oshkosh 2015

I had never been to Oshkosh before and decided this would be a perfect year to go.  I’m glad I did!  I’ve always heard of how cool Oshkosh was, but it was even better than I imagined.  It’s very cool to be around so many like minded people that are all there to learn about and appreciate all things aviation!

I spent most mornings attending the workshops for fabric covering, spray painting, gas welding and metal working.  Then in the afternoons I attended multiple forums about backcountry and bush flying, mountain flying, hand propping, aircraft maintenance, owner liability, mastering the tailwheel, air-camping and breakdowns away from home.

In-between all that I found BearHawk Aircraft, Dynon Avionics, Grove Aircraft, Hartzell Propellers, Lycoming Motors, ECI Motors and several others to learn about their products and pick their brains!

If you’re not familiar with Oshkosh, here’s a quick overview video: https://youtu.be/YroWJkULjac

DSC04499

I flew into MKE and rented the funniest looking little car to drive into Oshkosh.  Camping at Oshkosh was a blast!

DSC04572

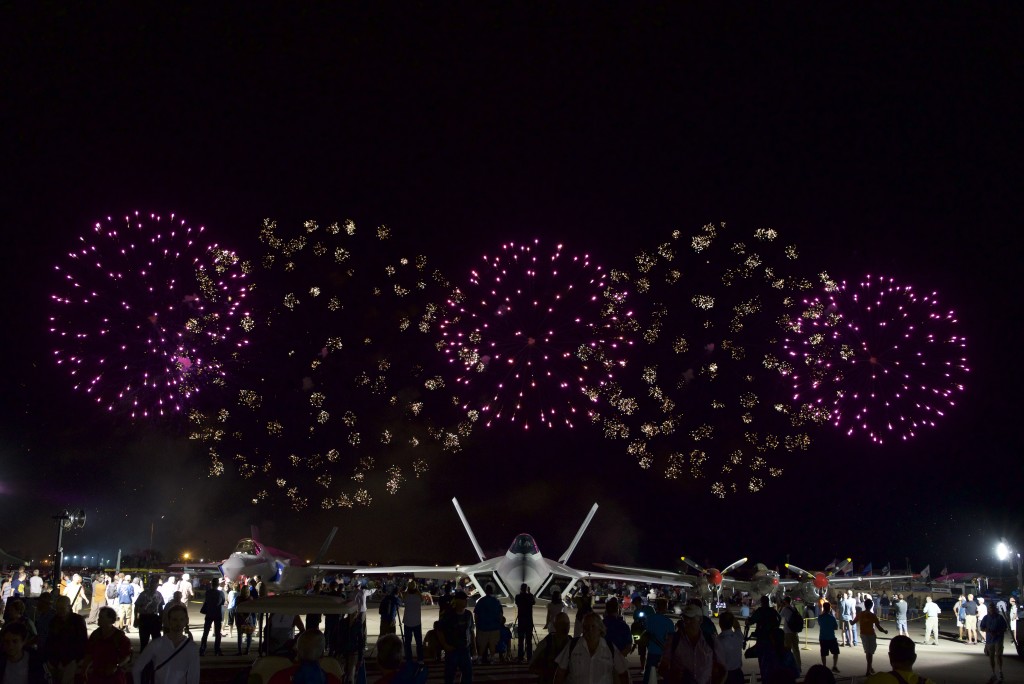
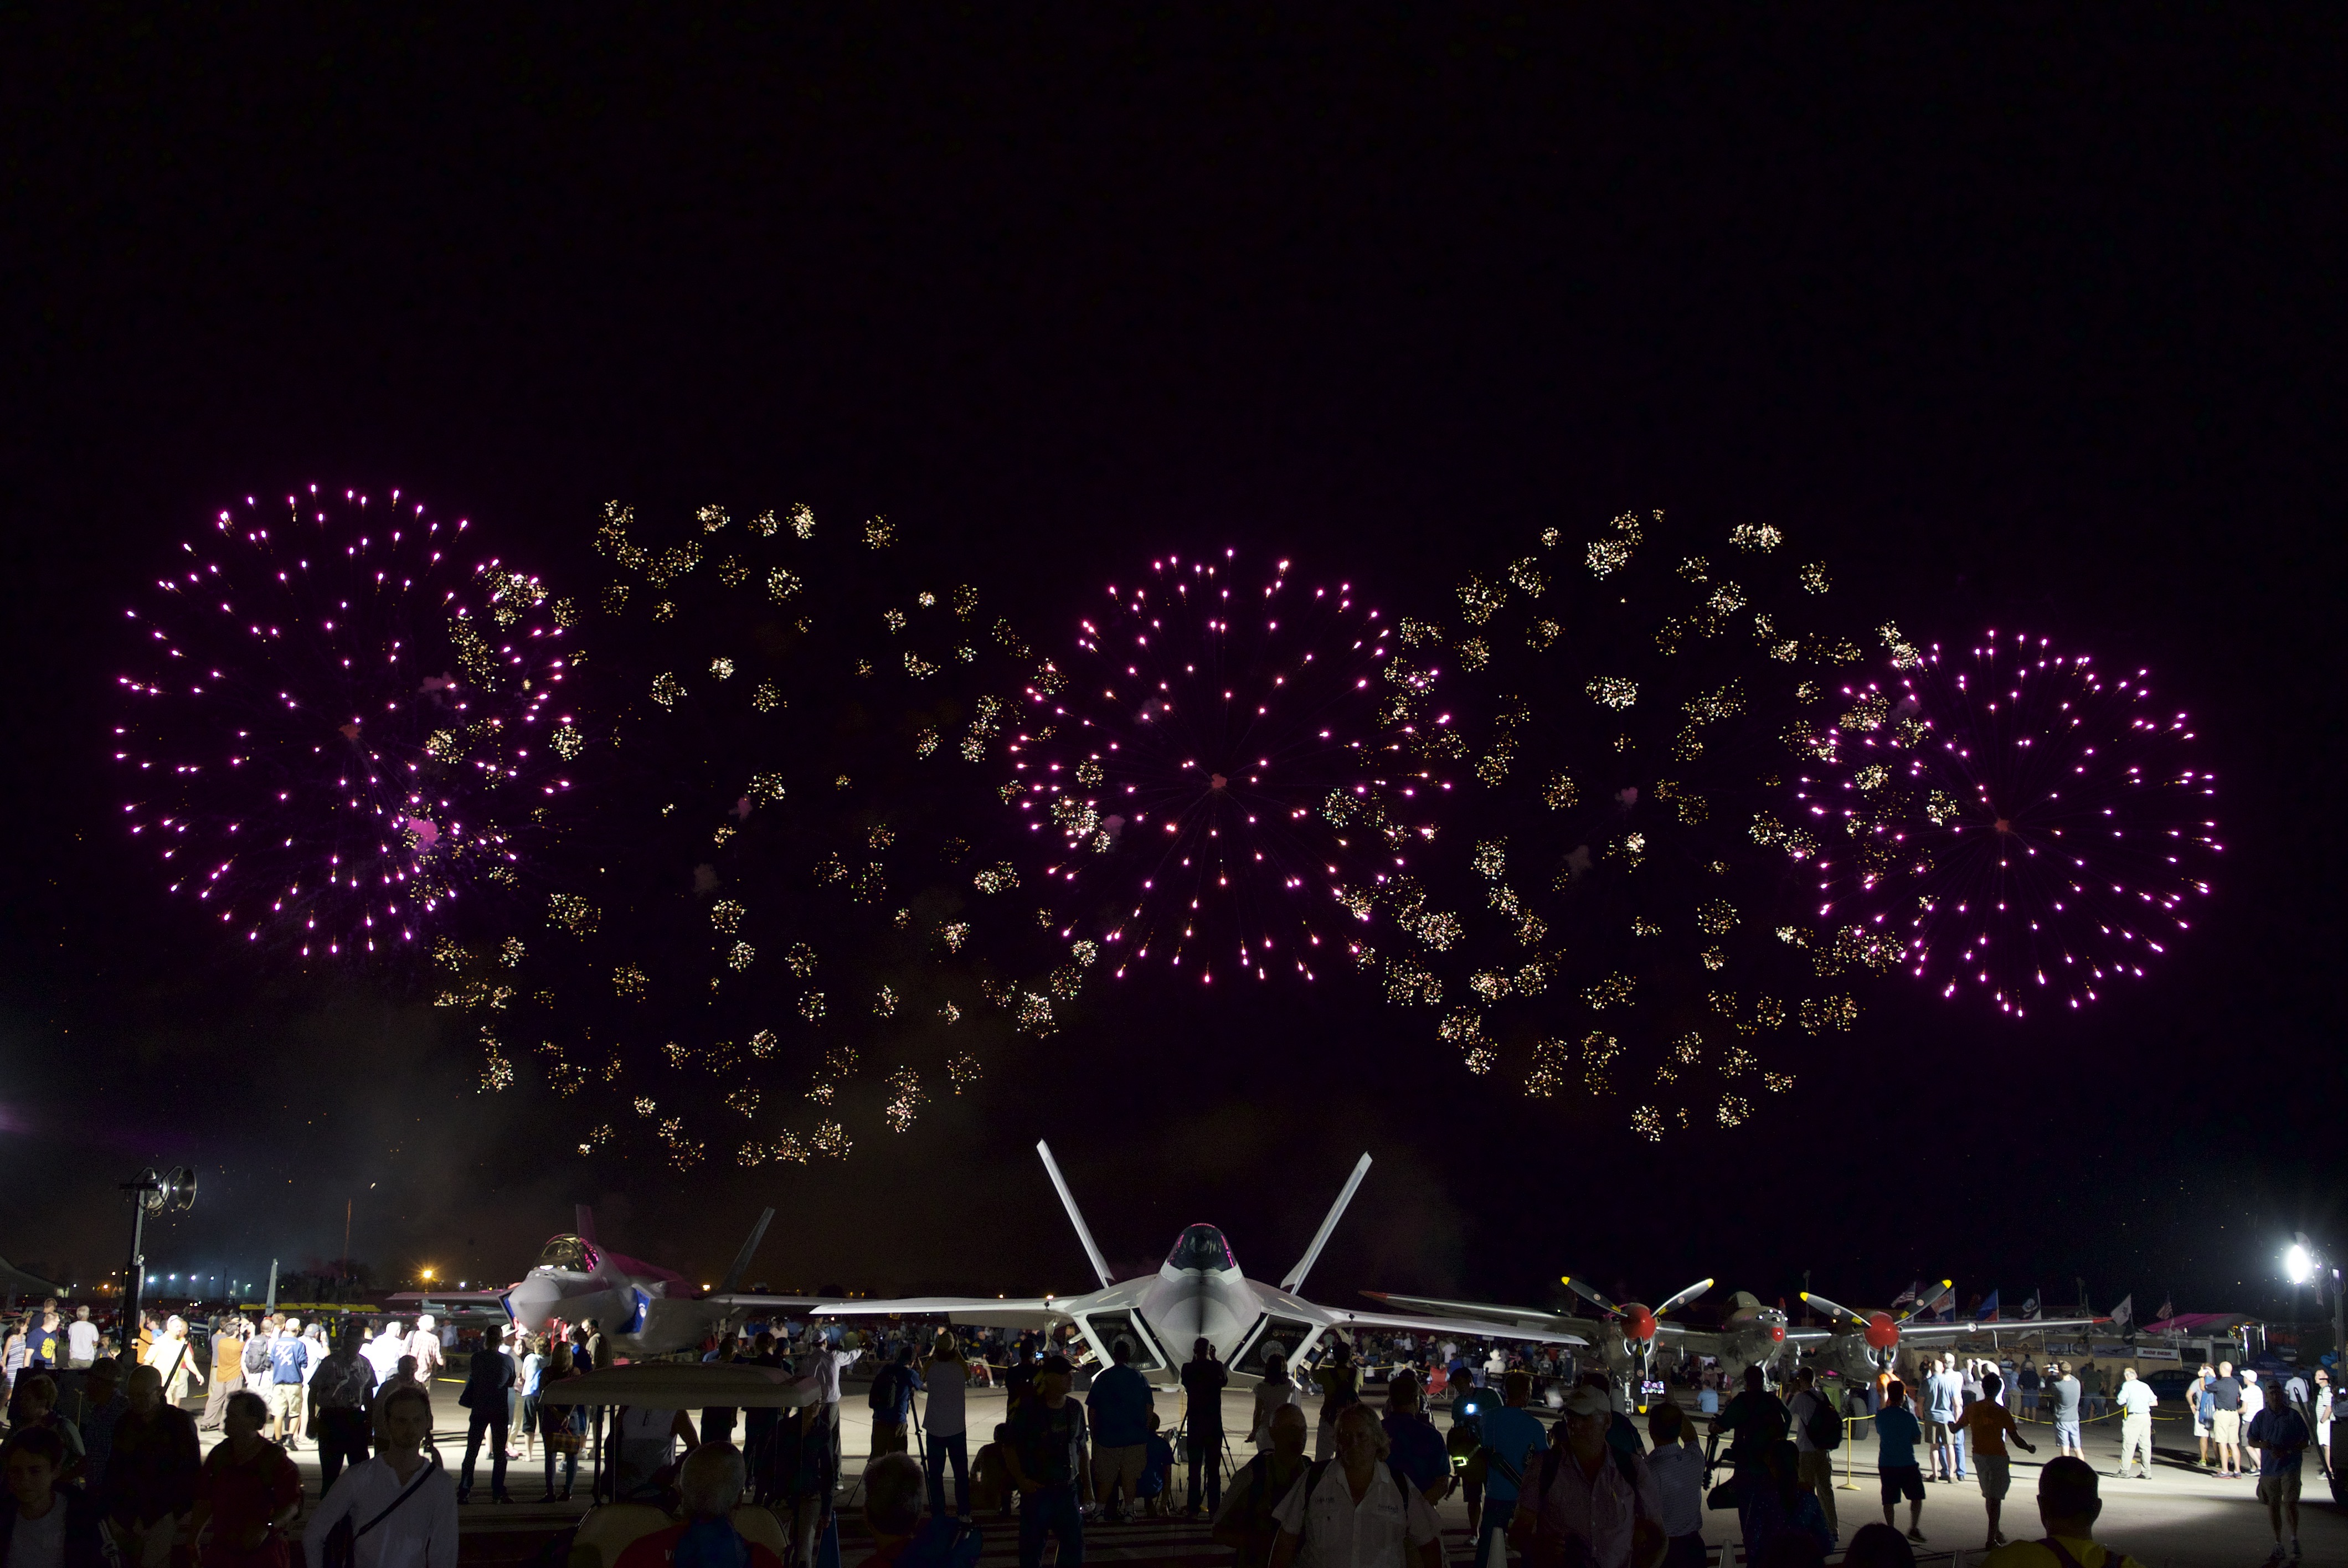
One of the nights they had a night time airshow with fireworks.


DSC04516

DSC04520

DSC04518

DSC04521

DSC04525

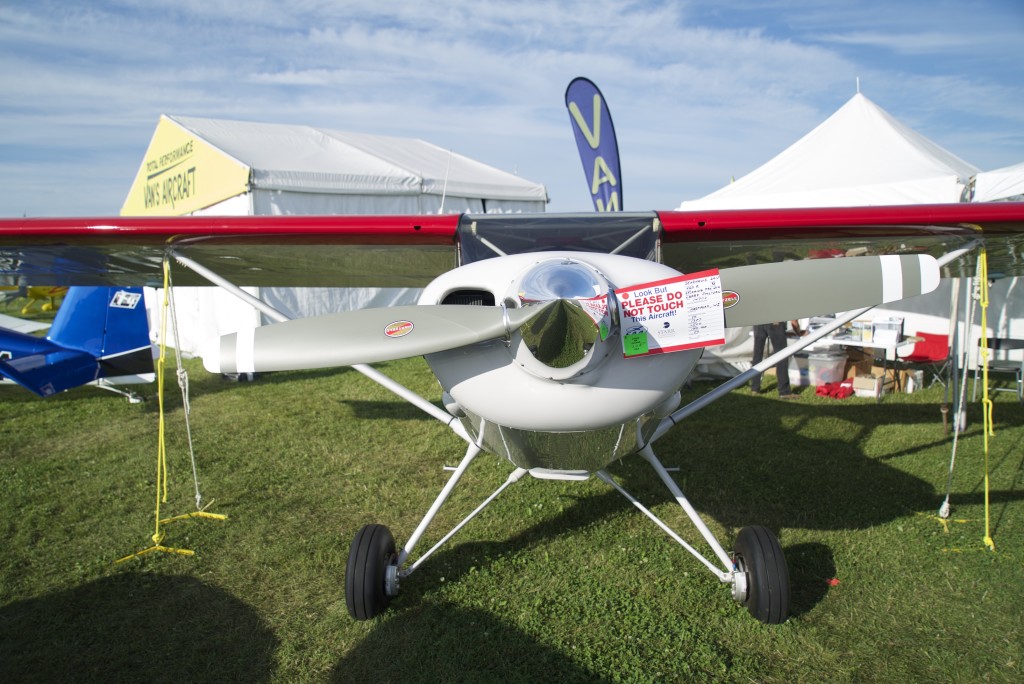
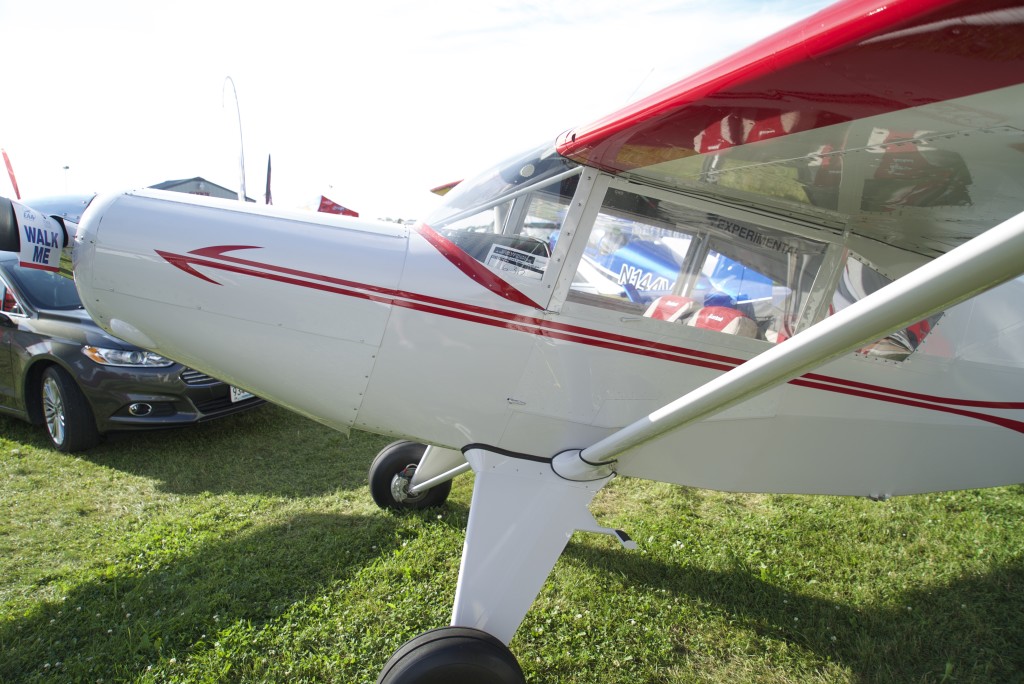
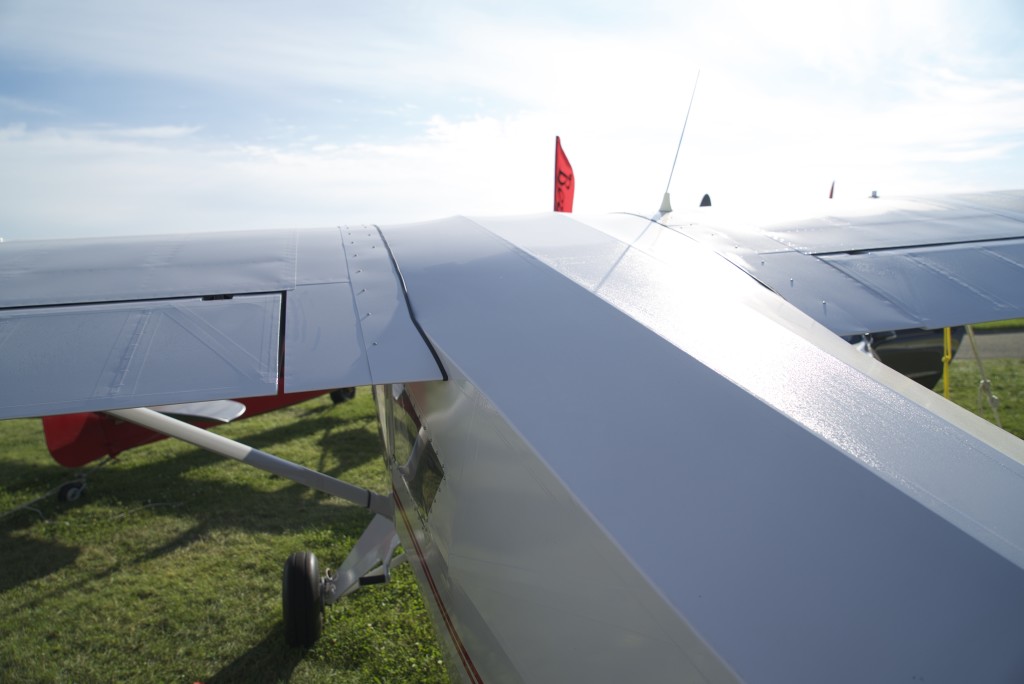
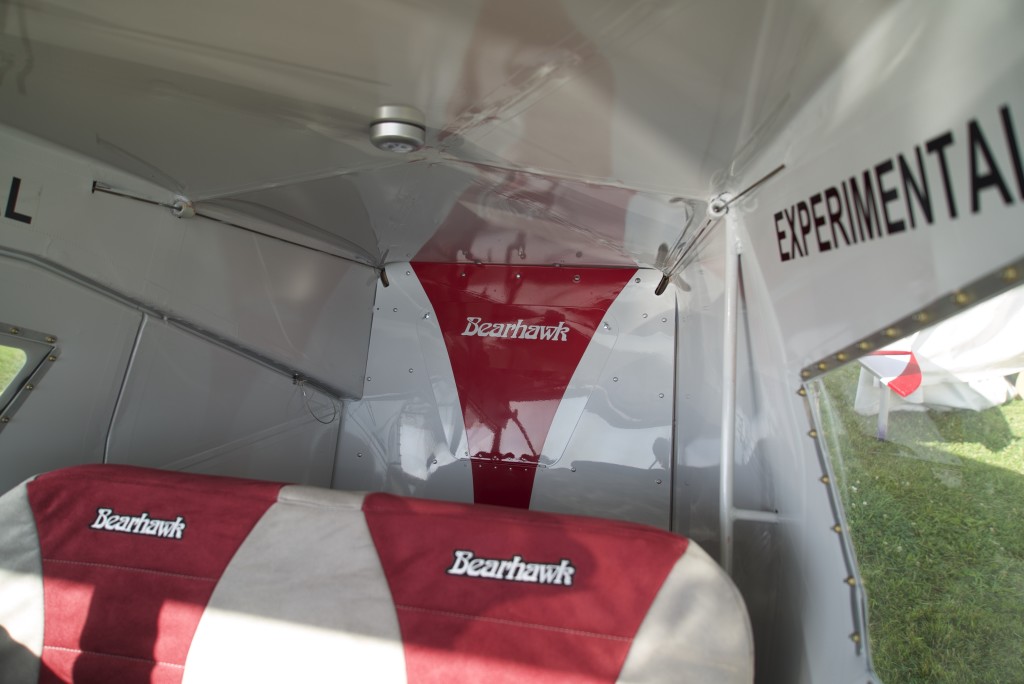
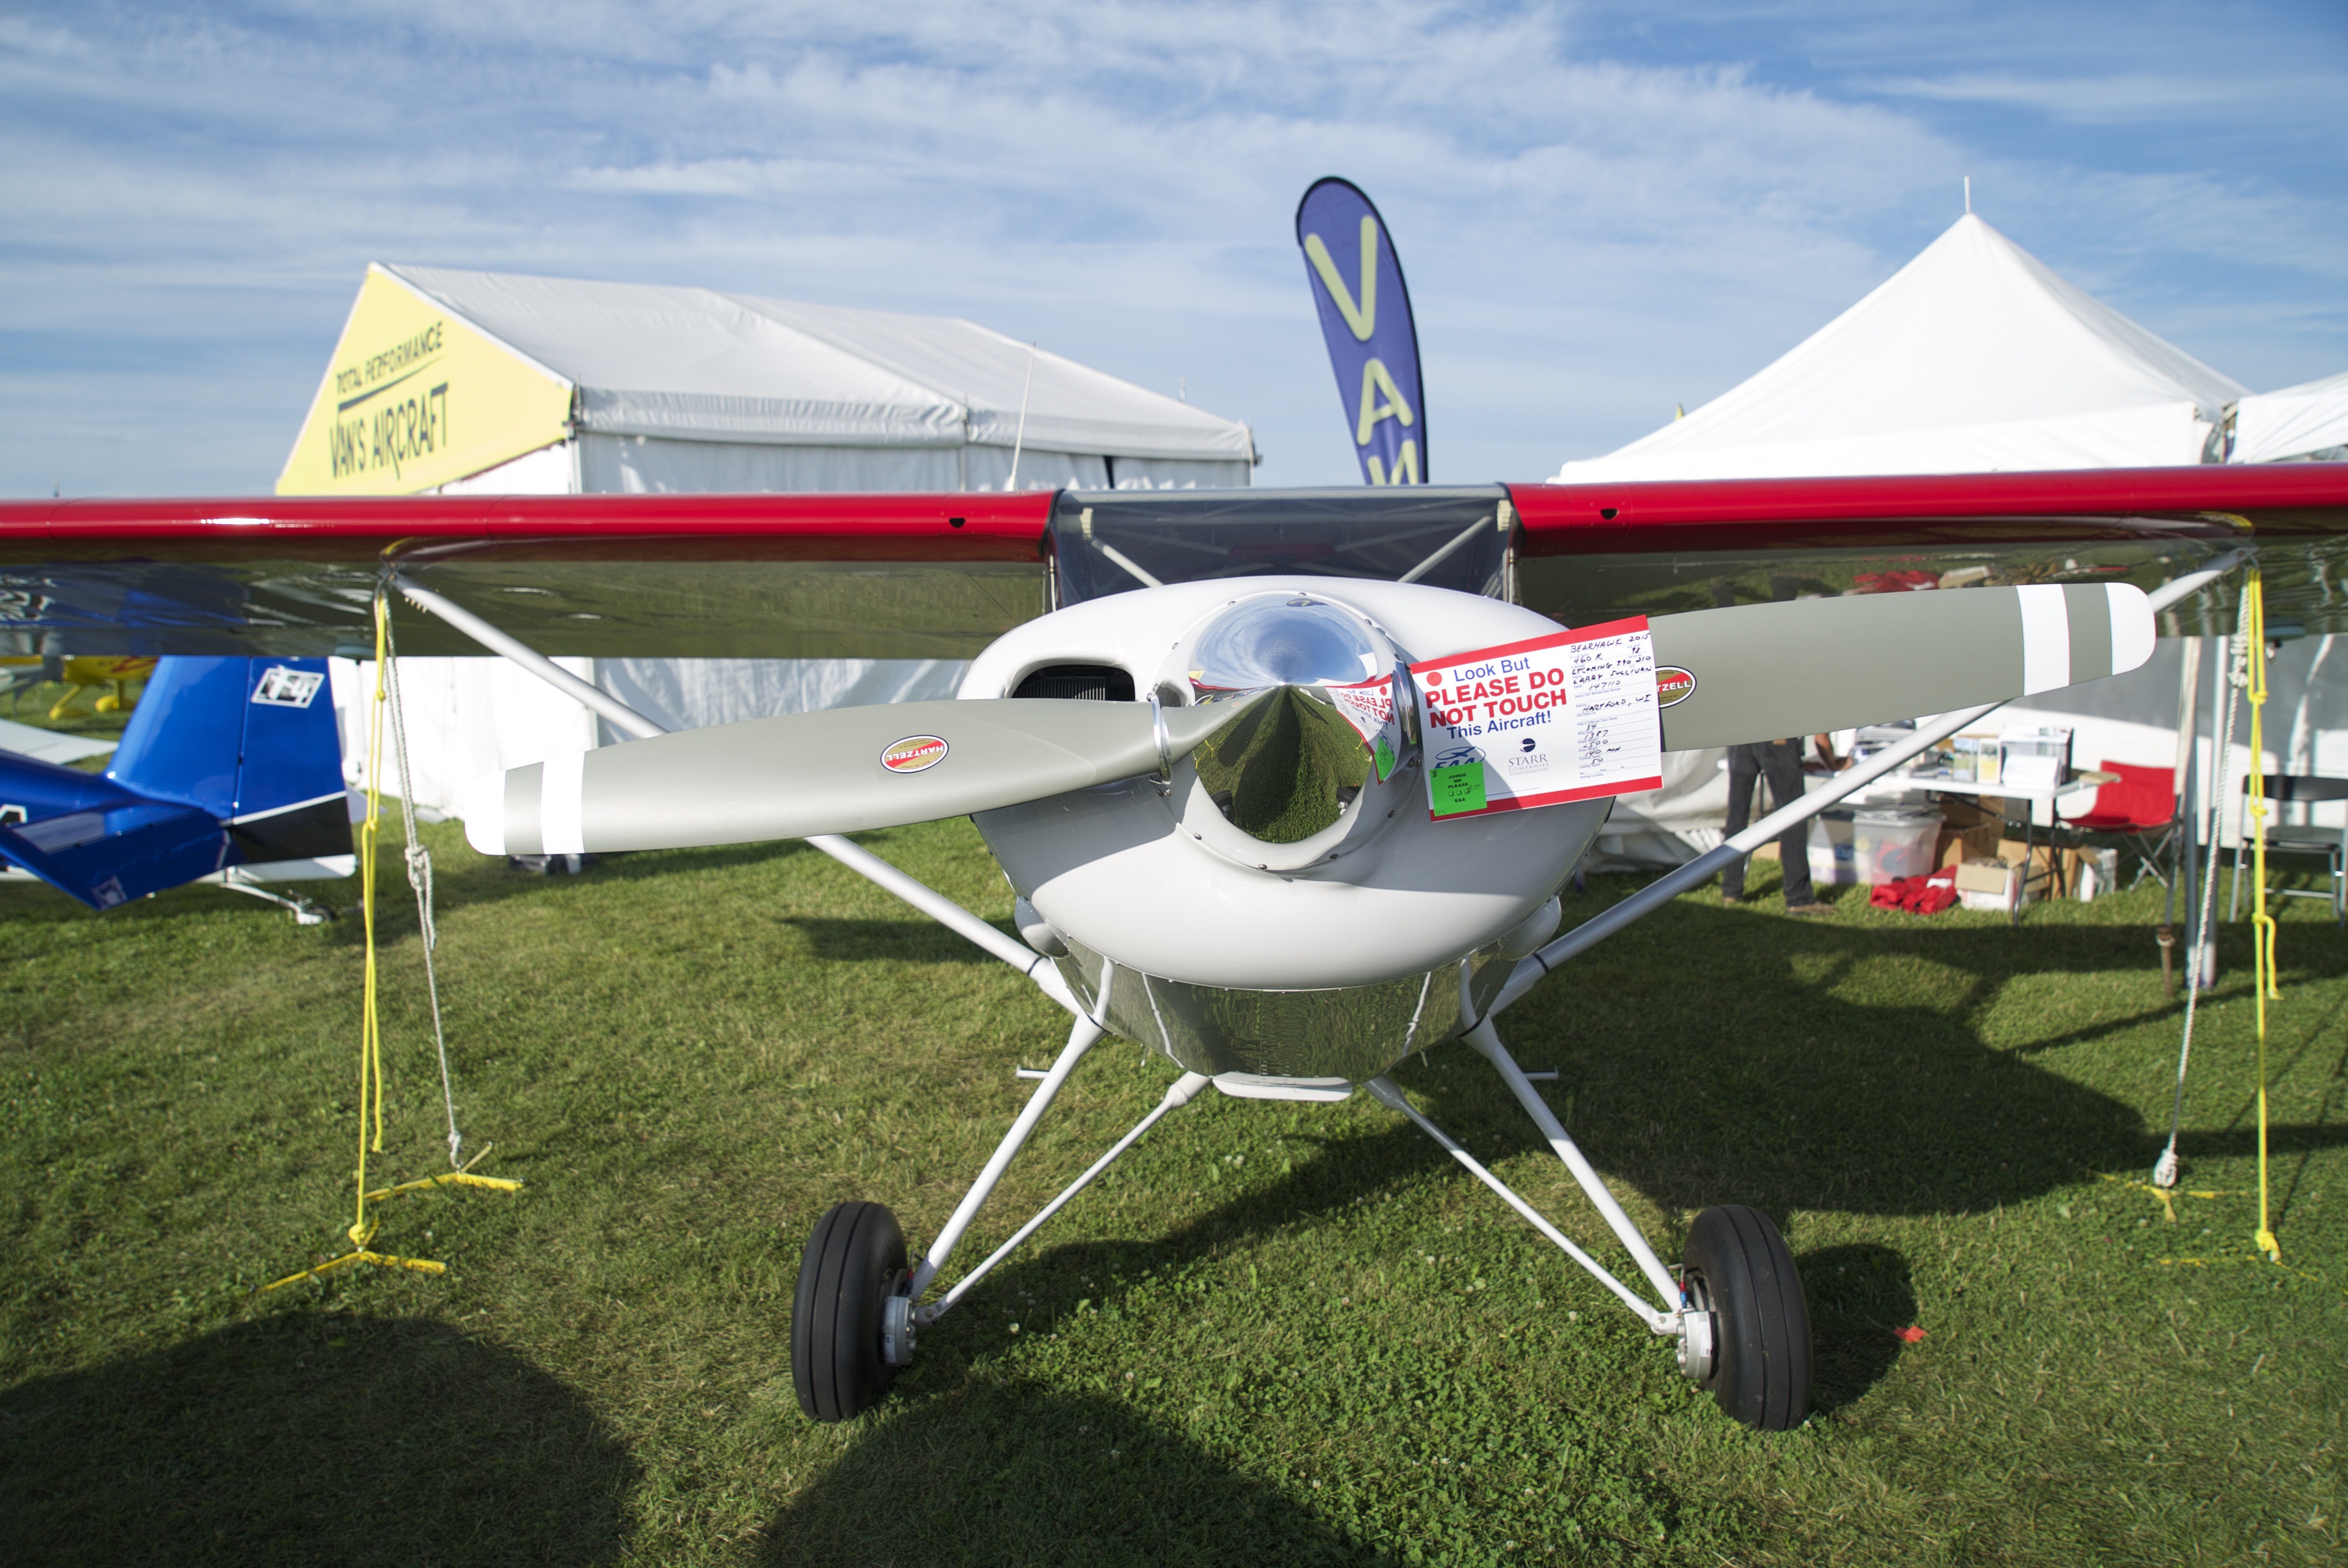
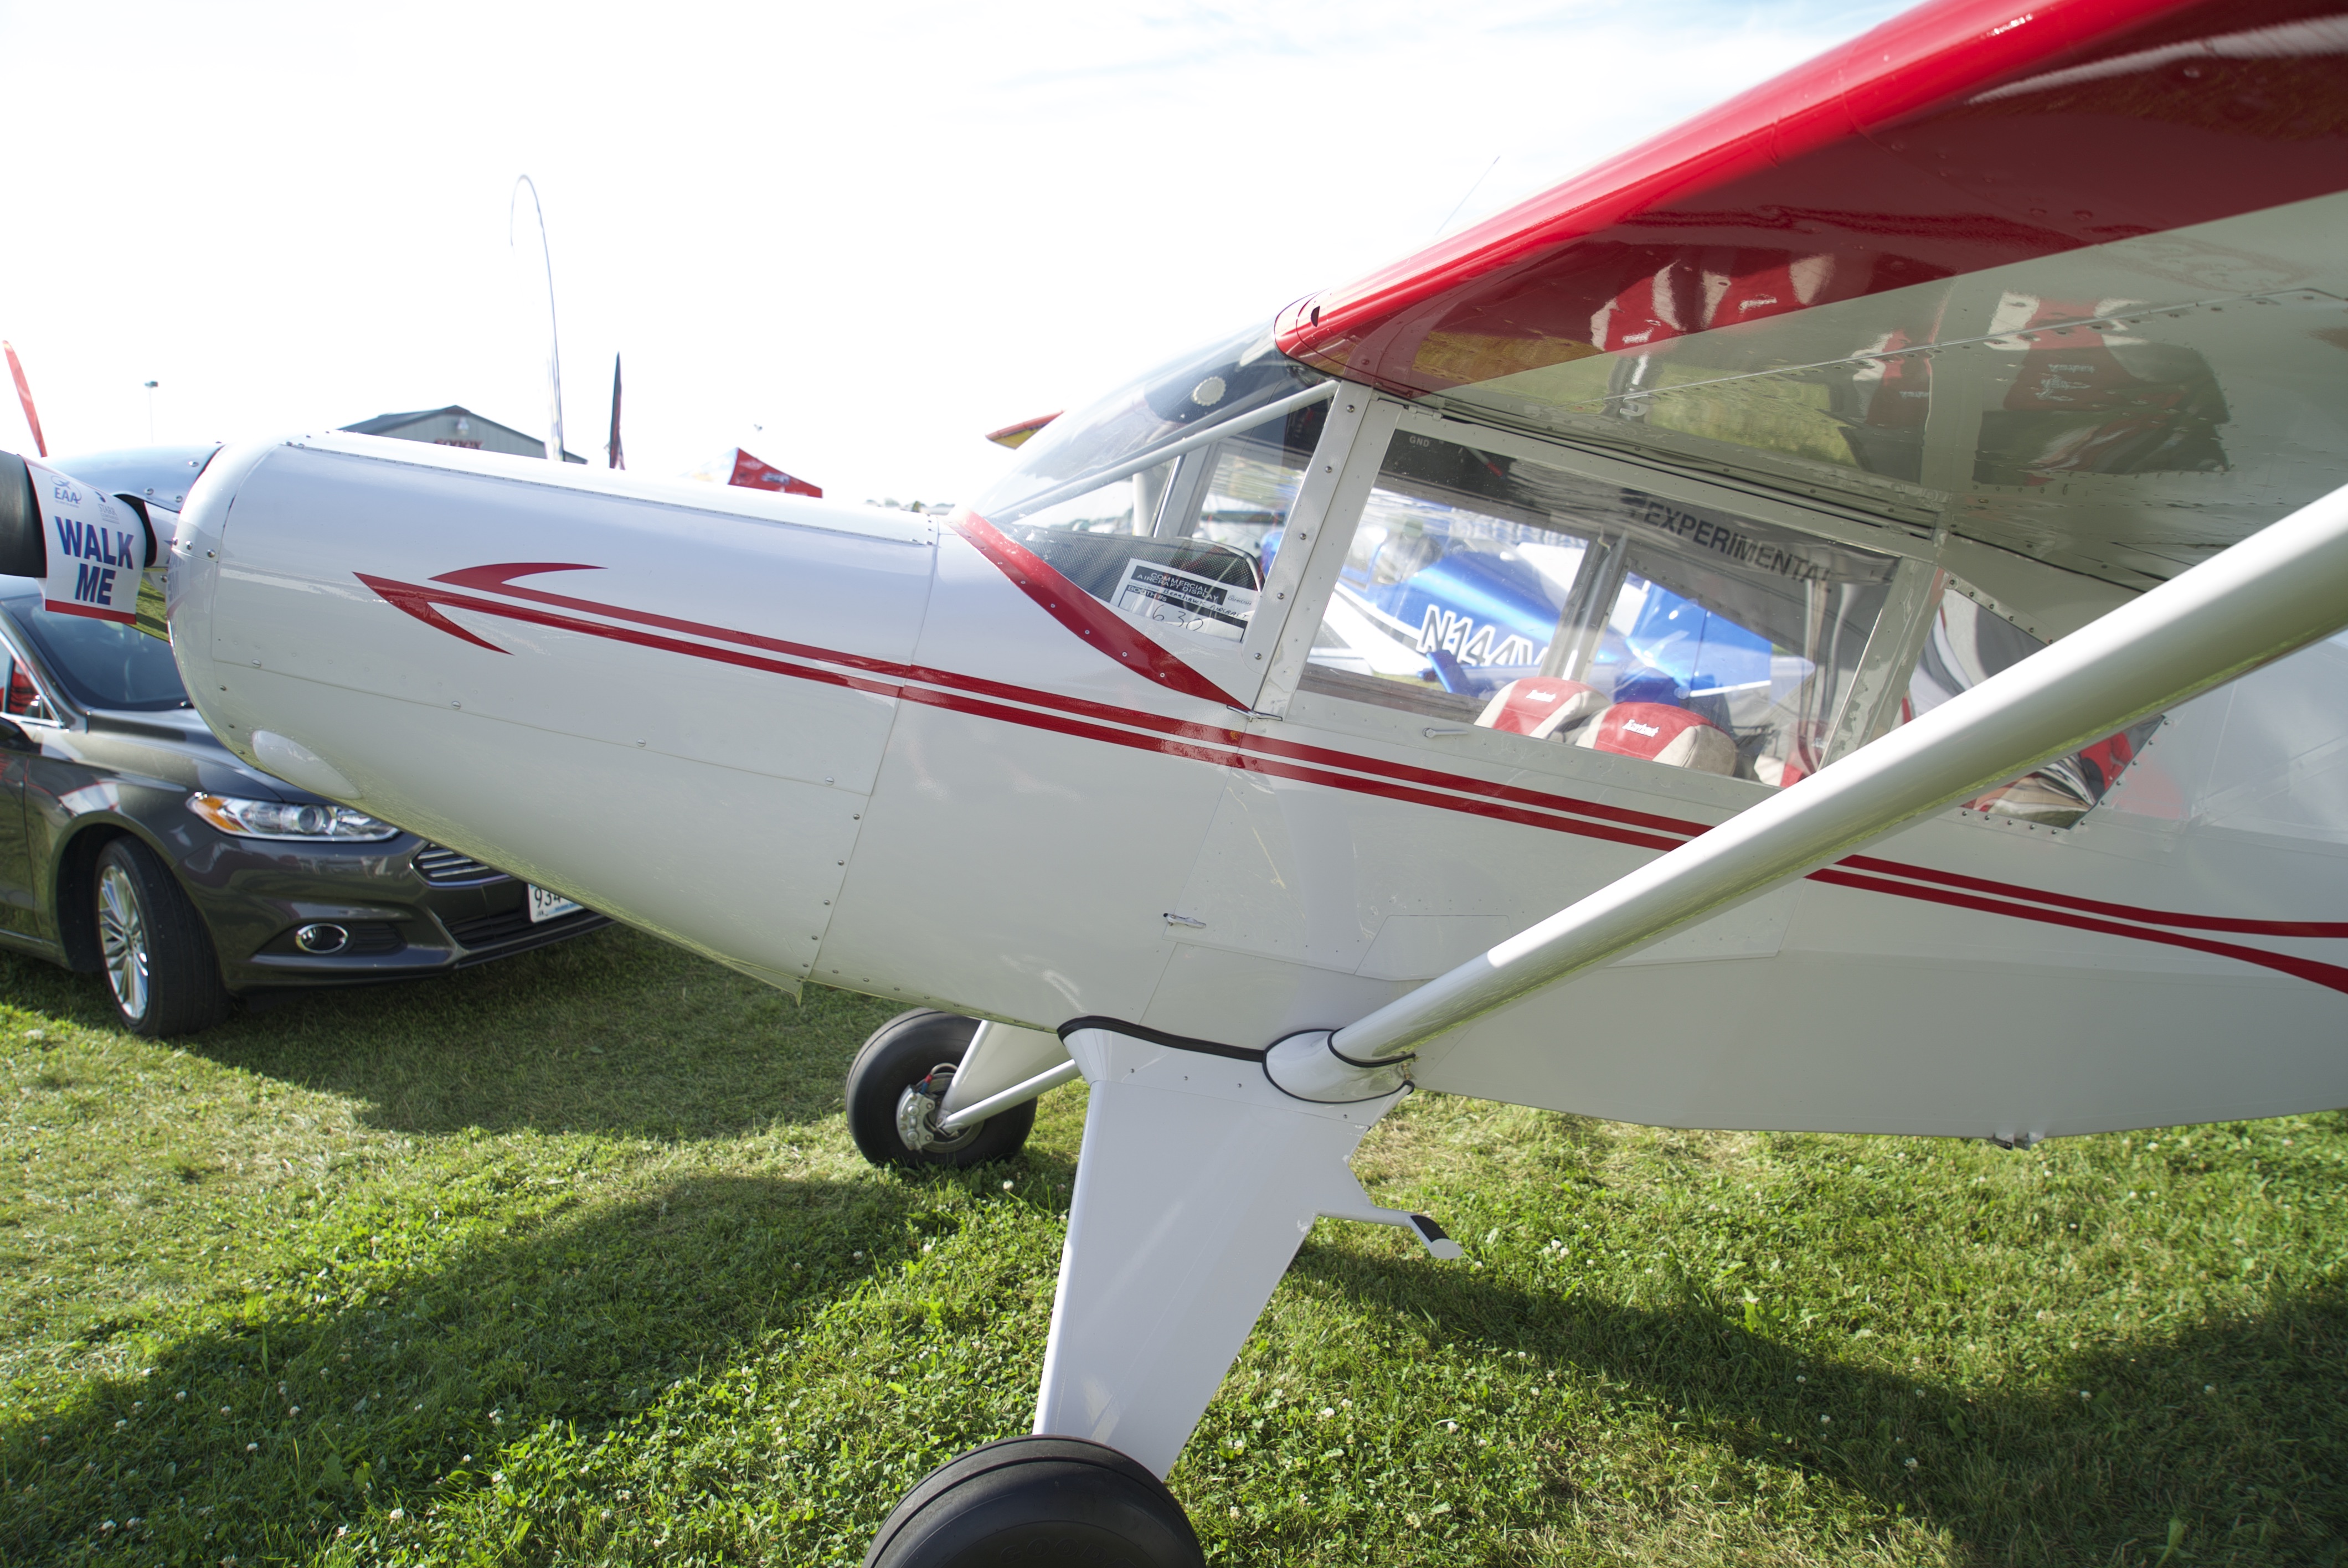
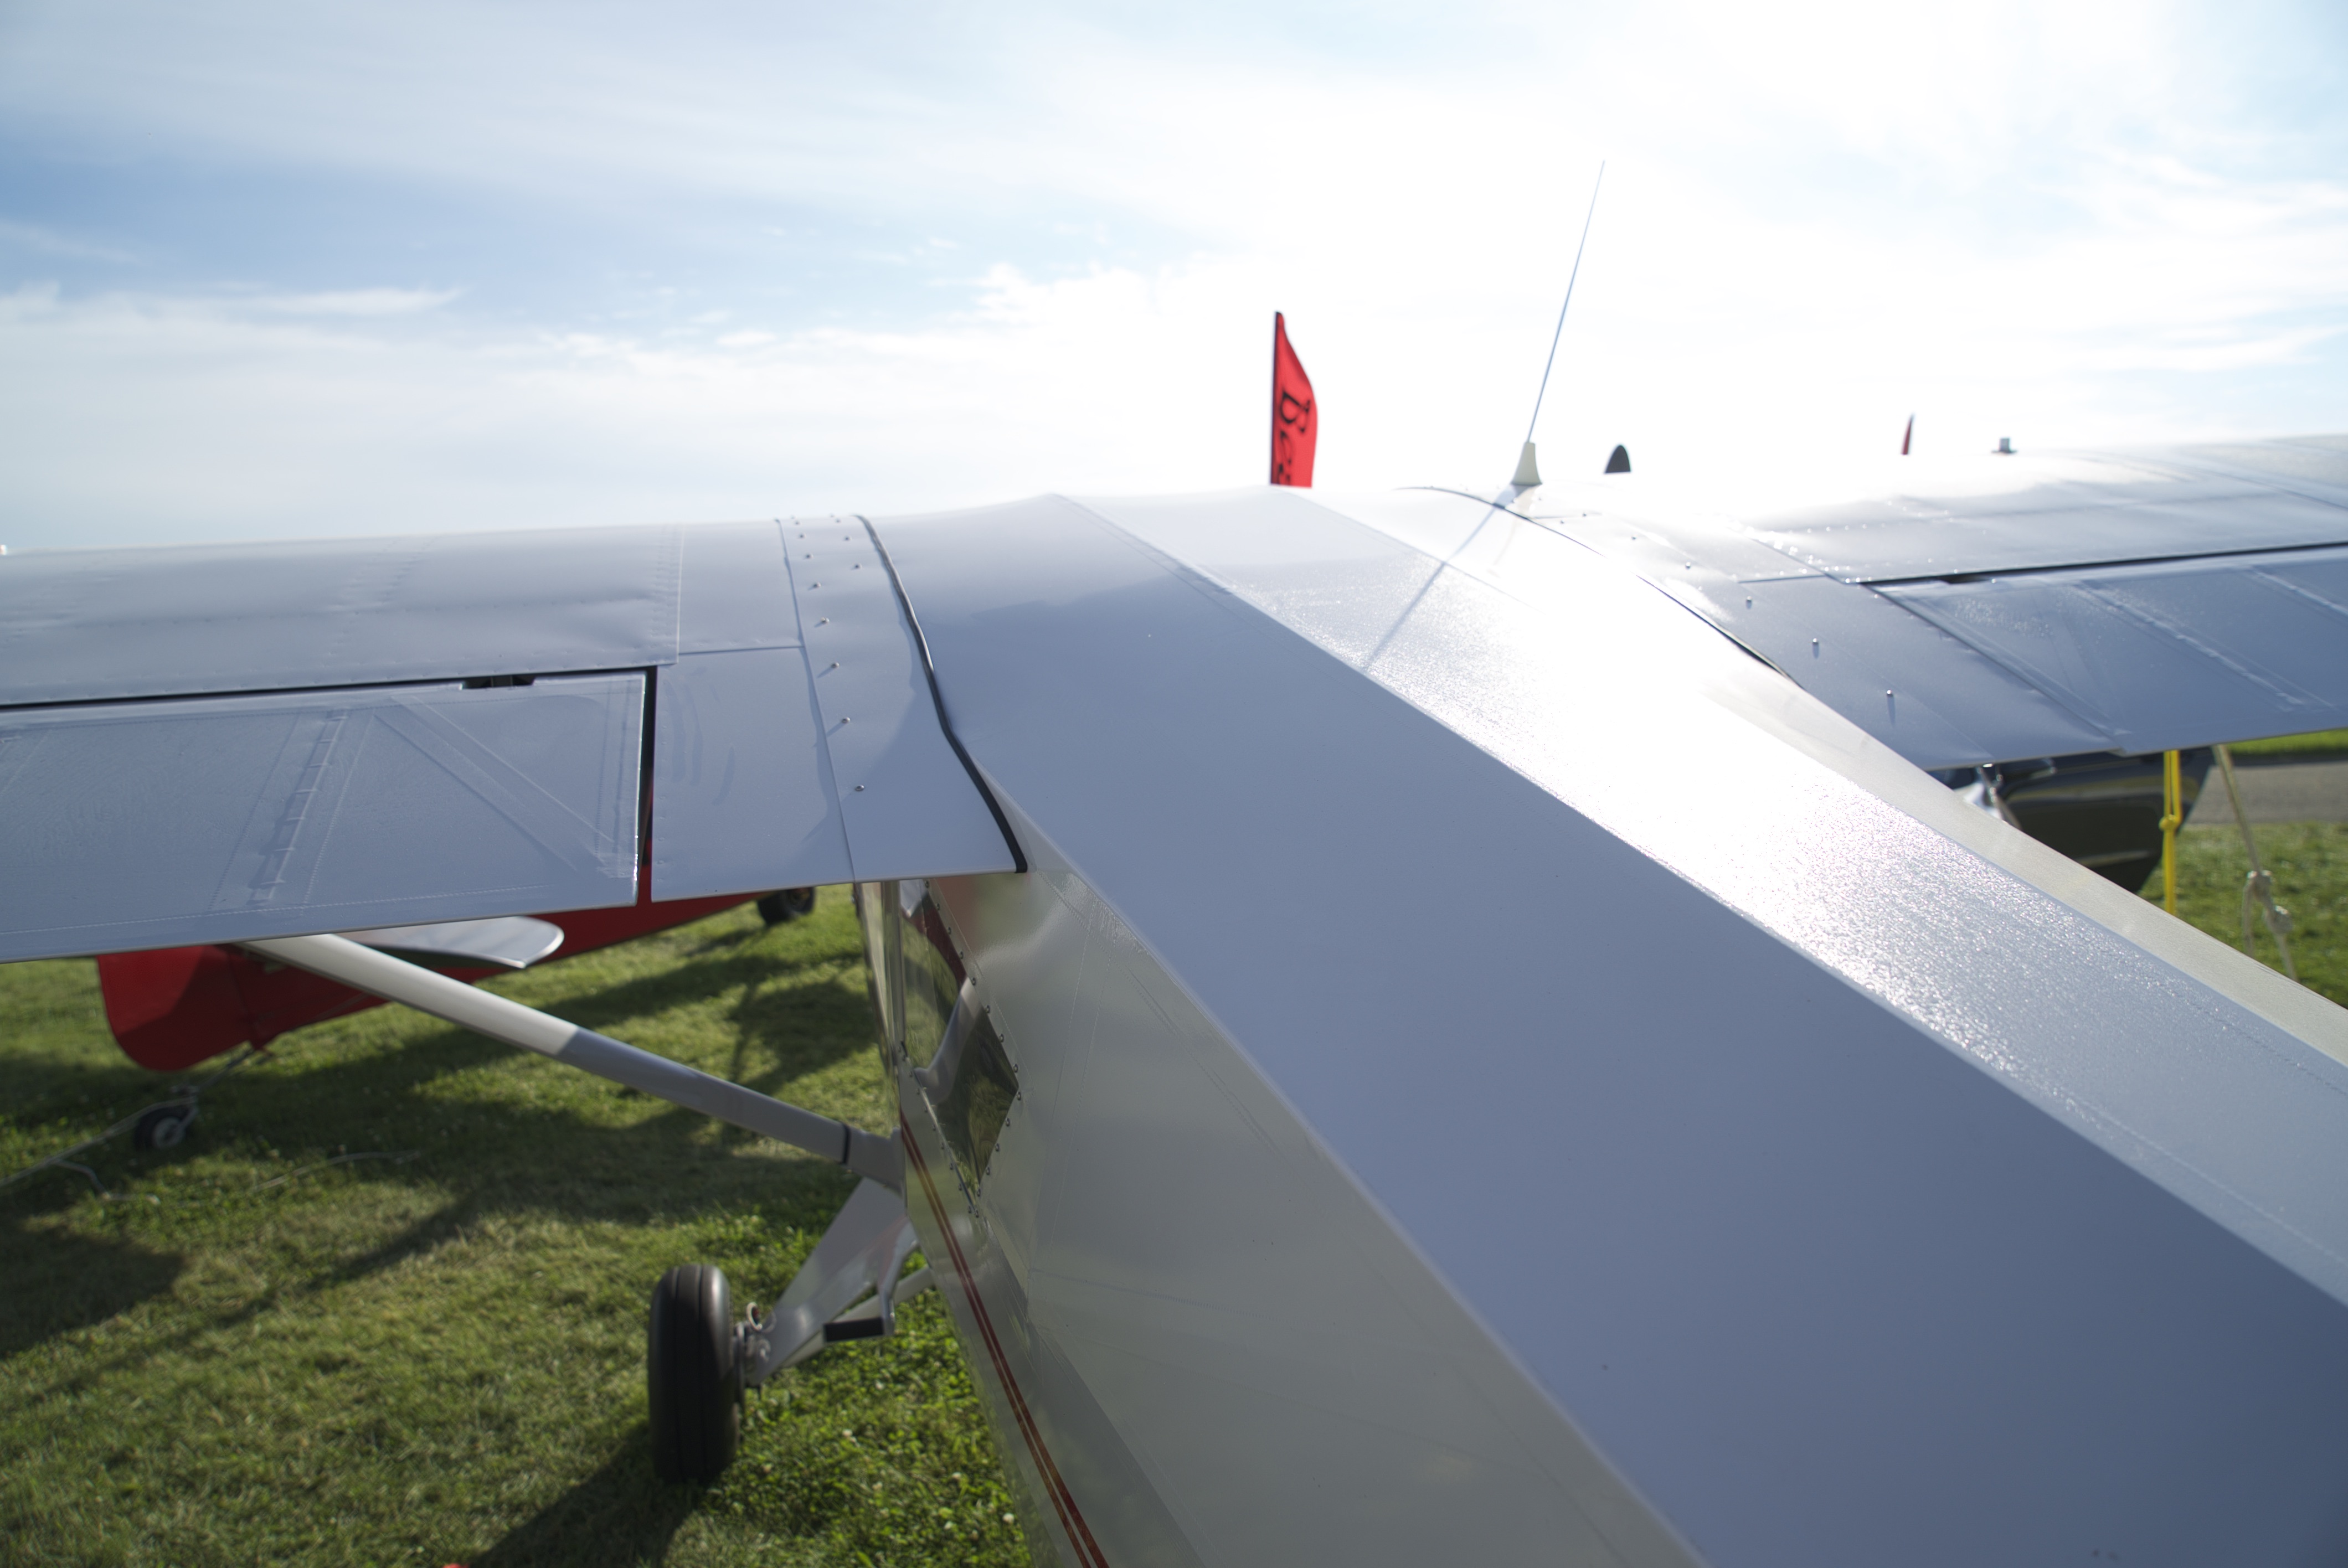
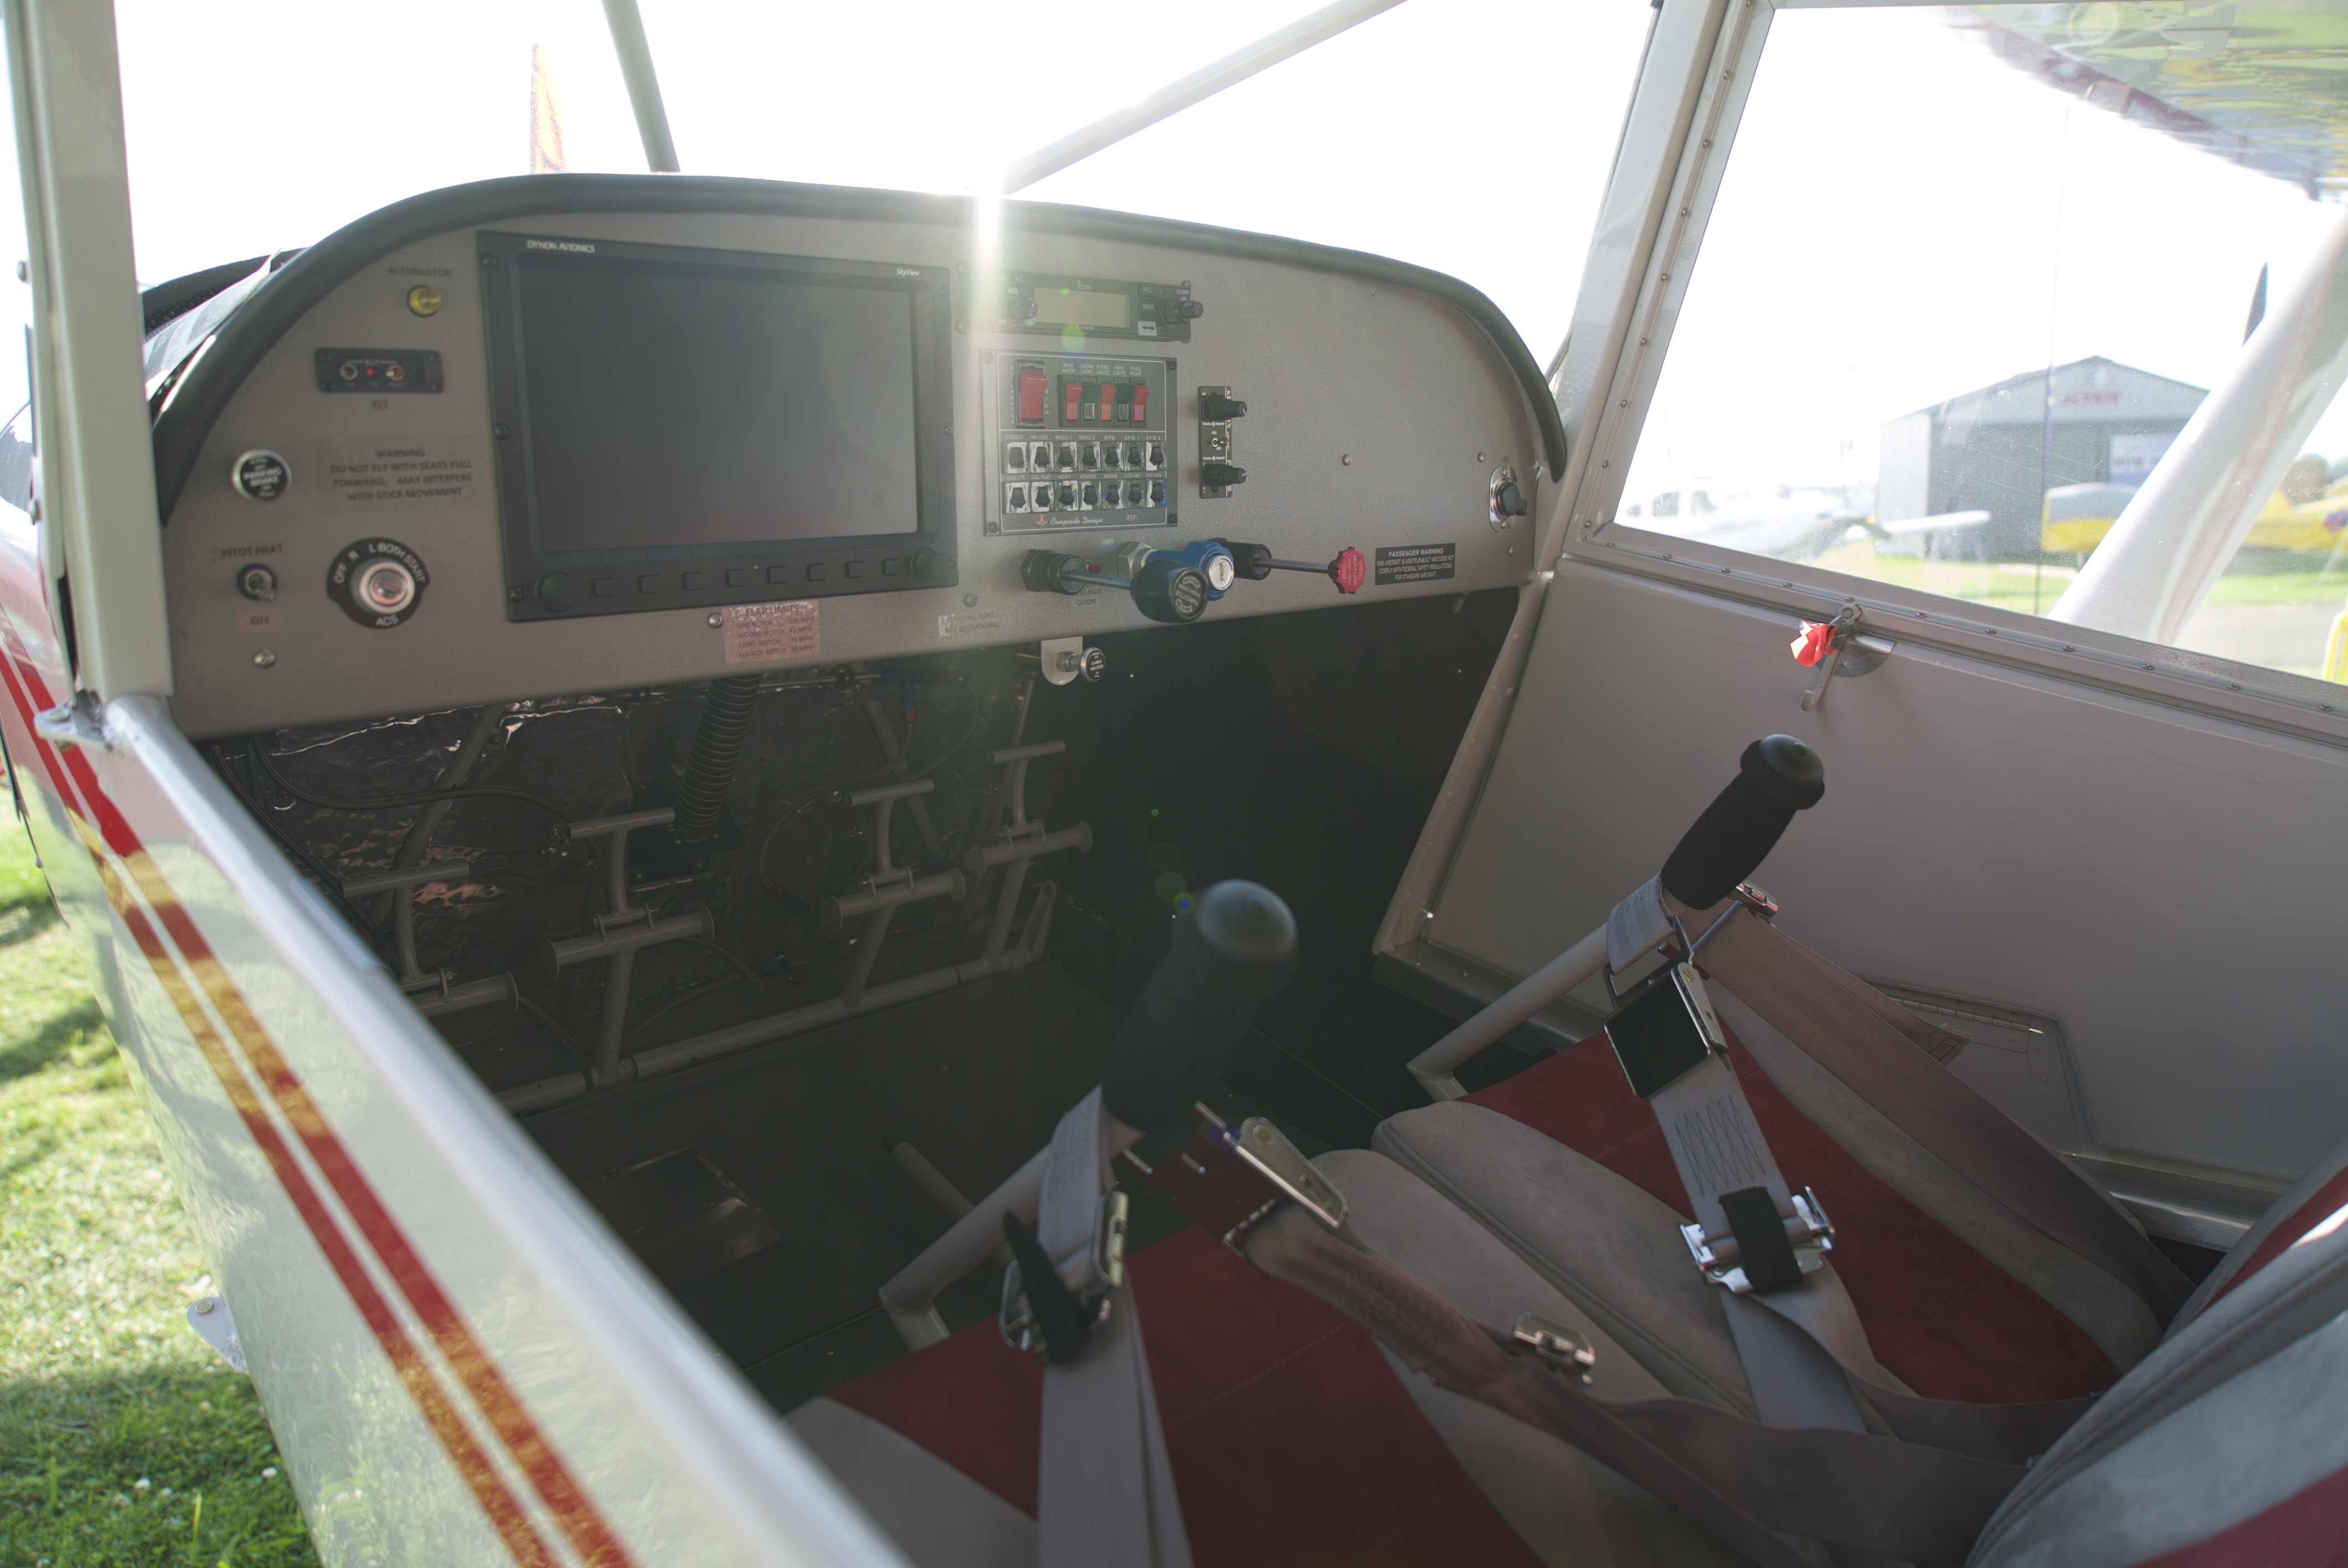
I stopped by Bearhawk Aircraft and found this beautiful 4-place Bearhawk.

DSC04538

DSC04542

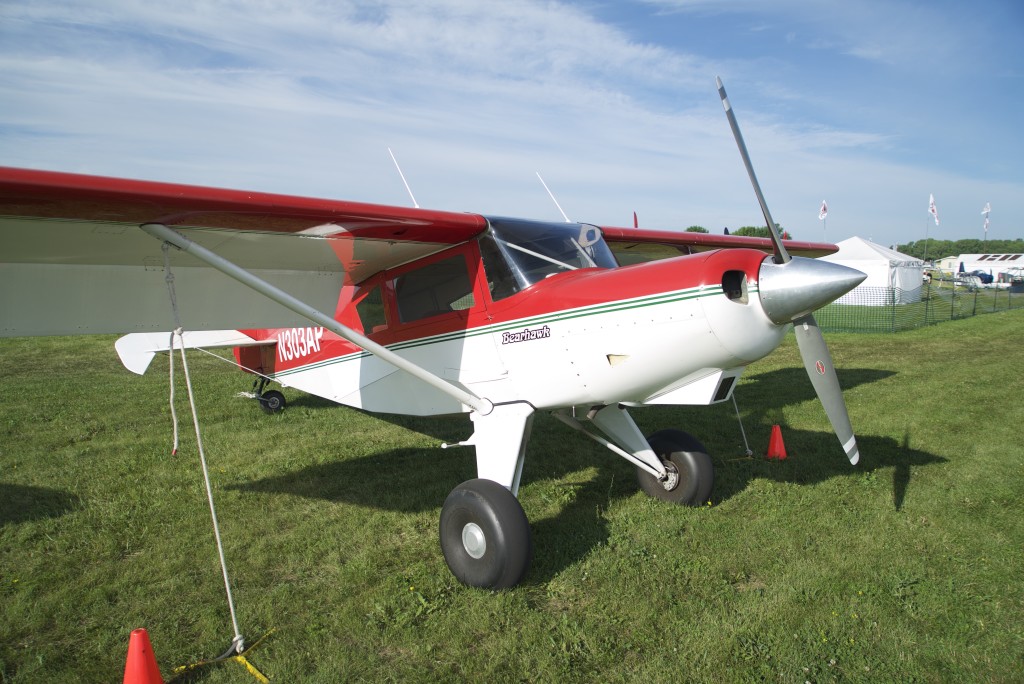
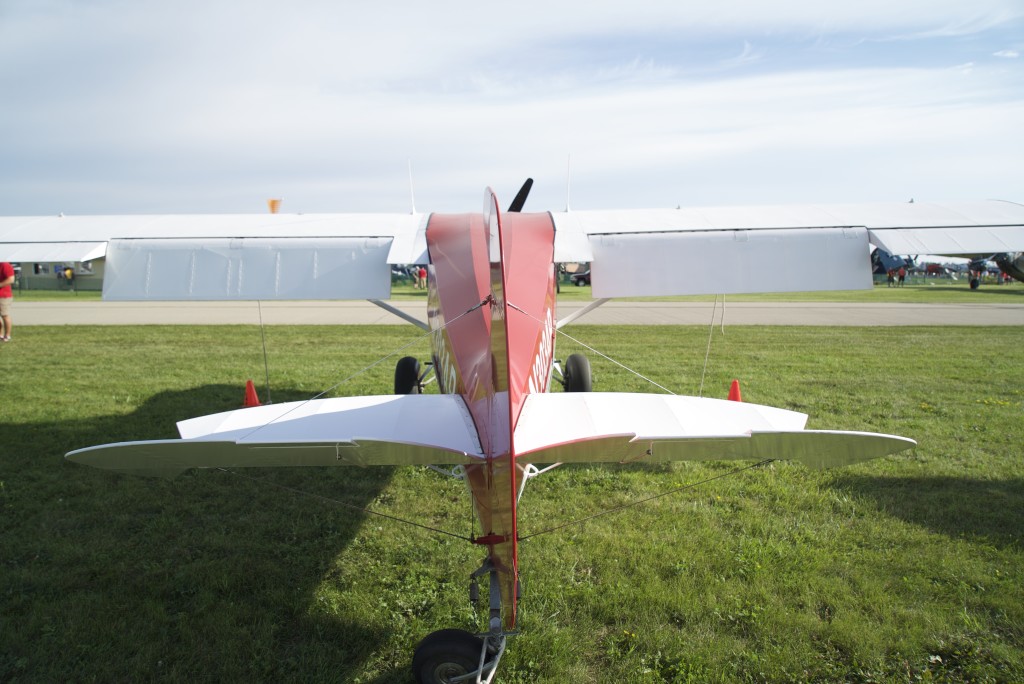
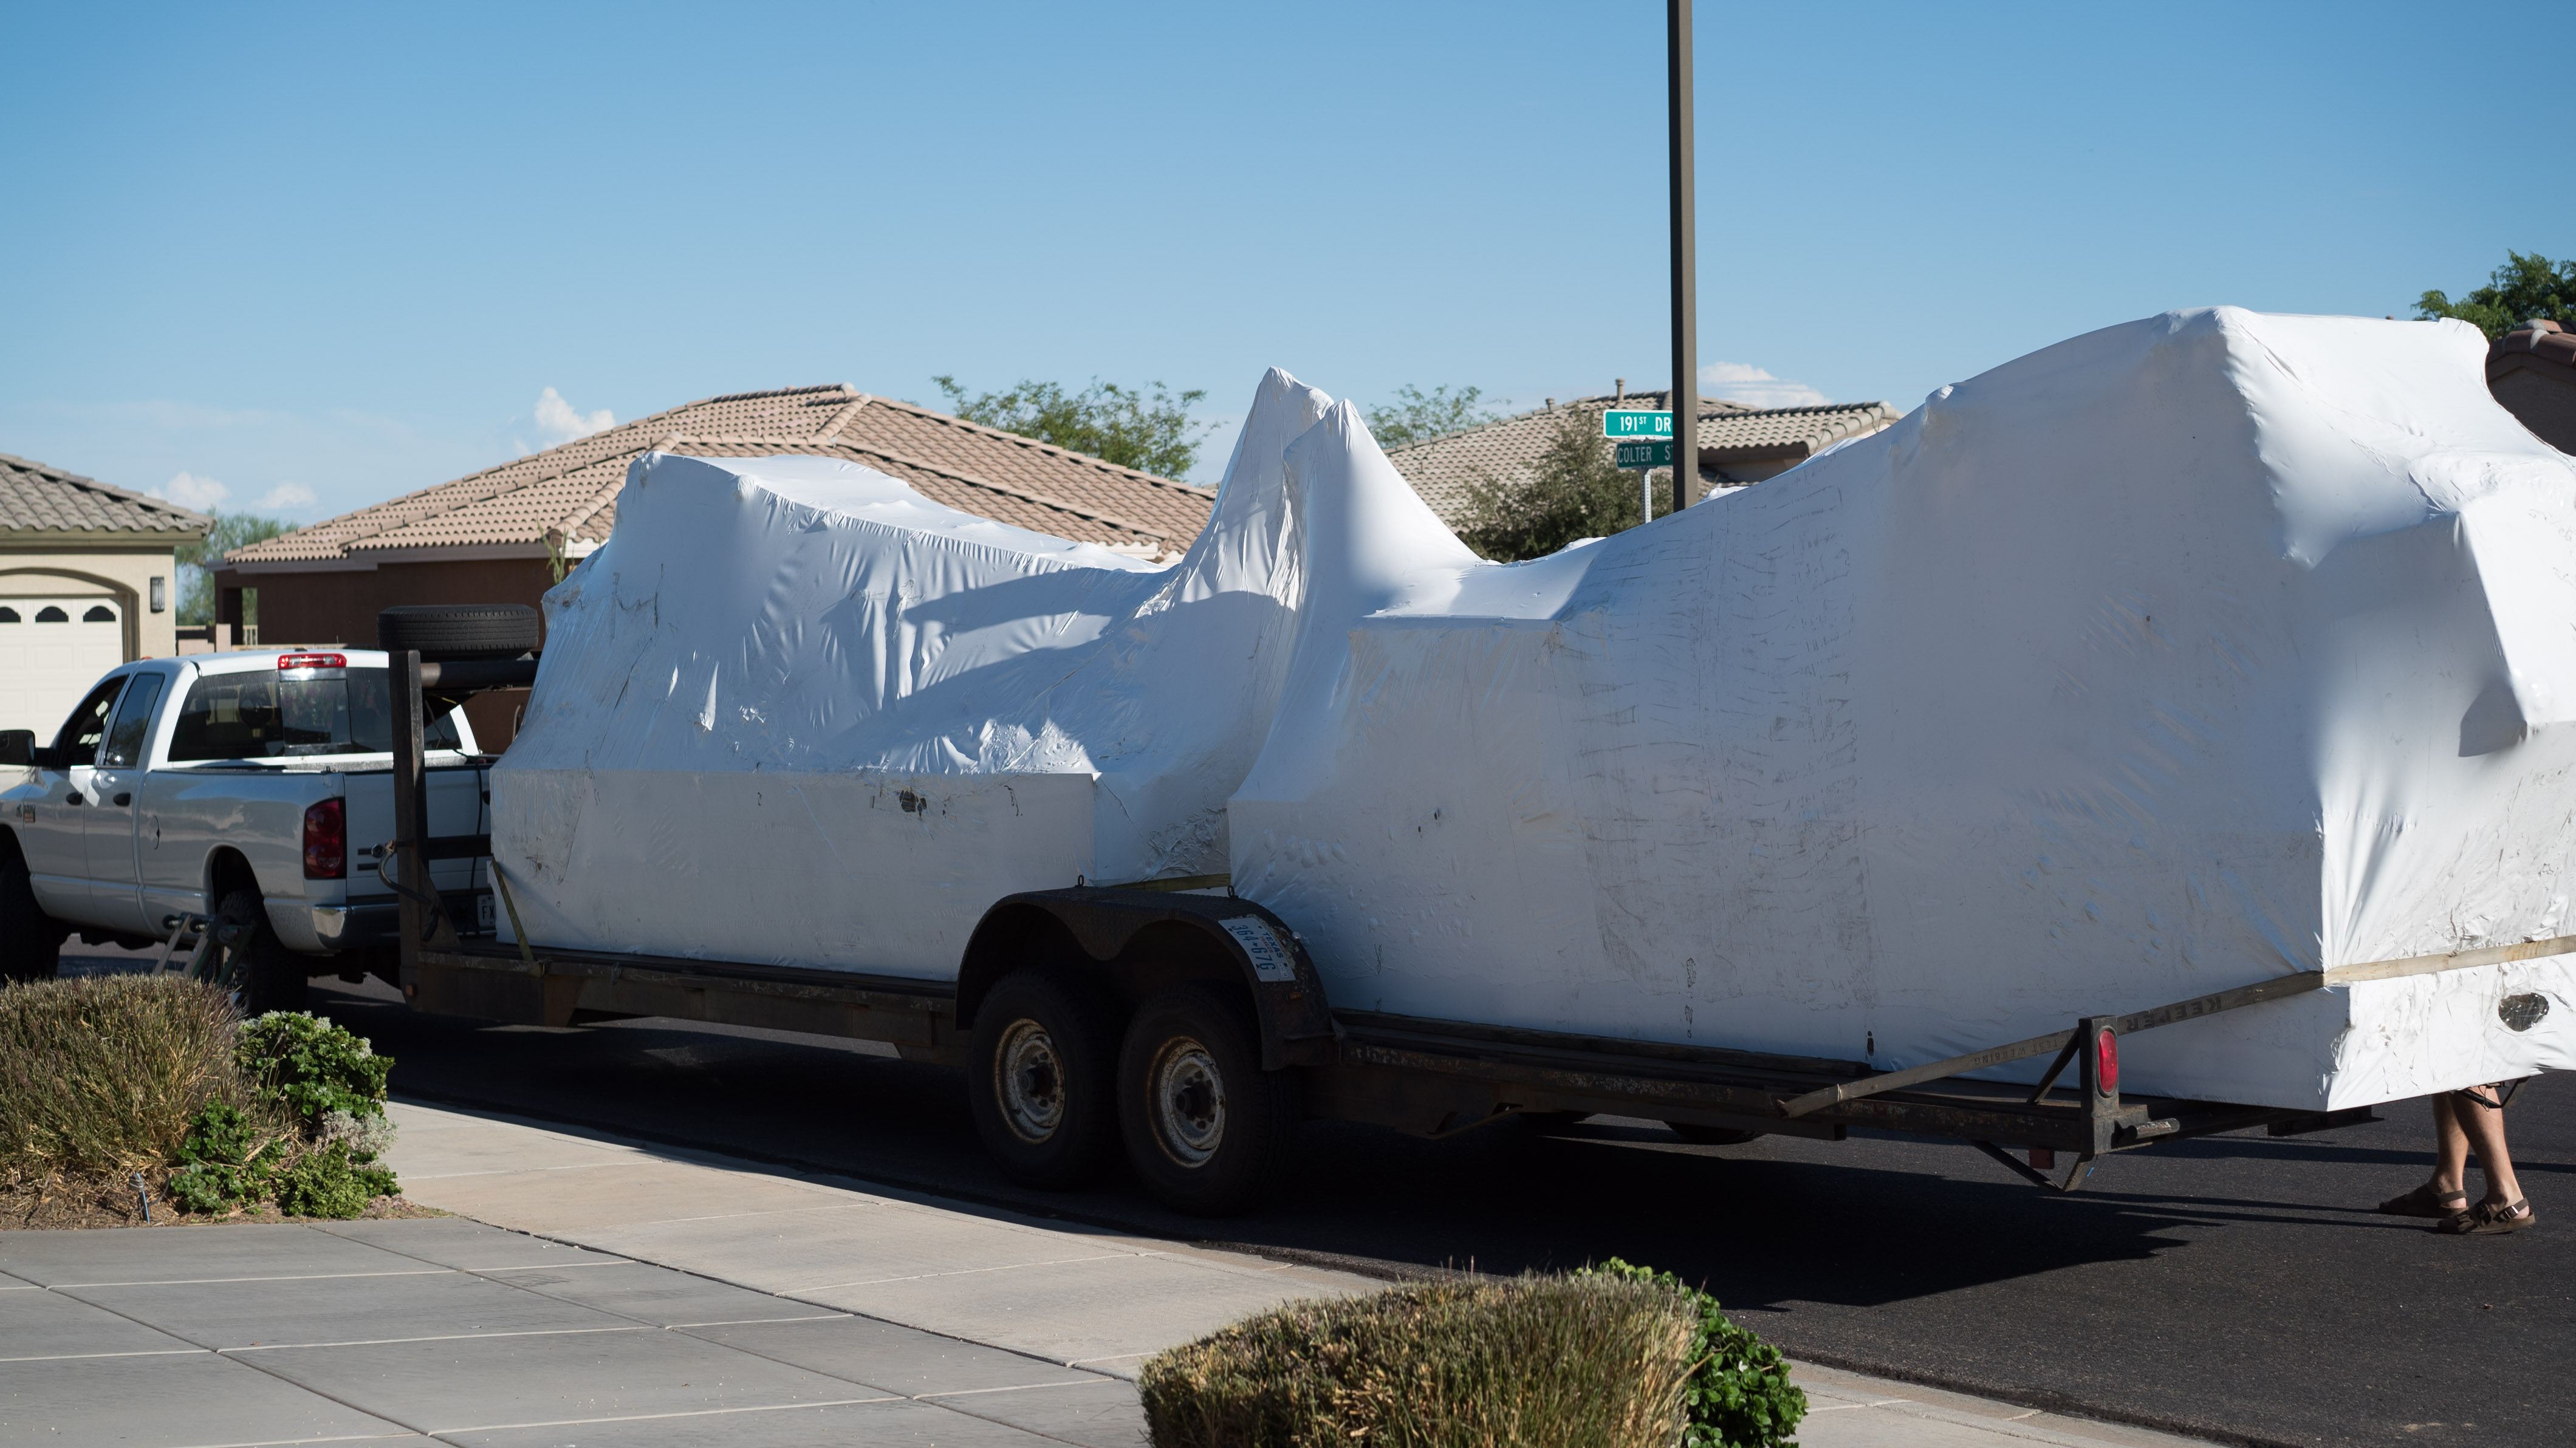
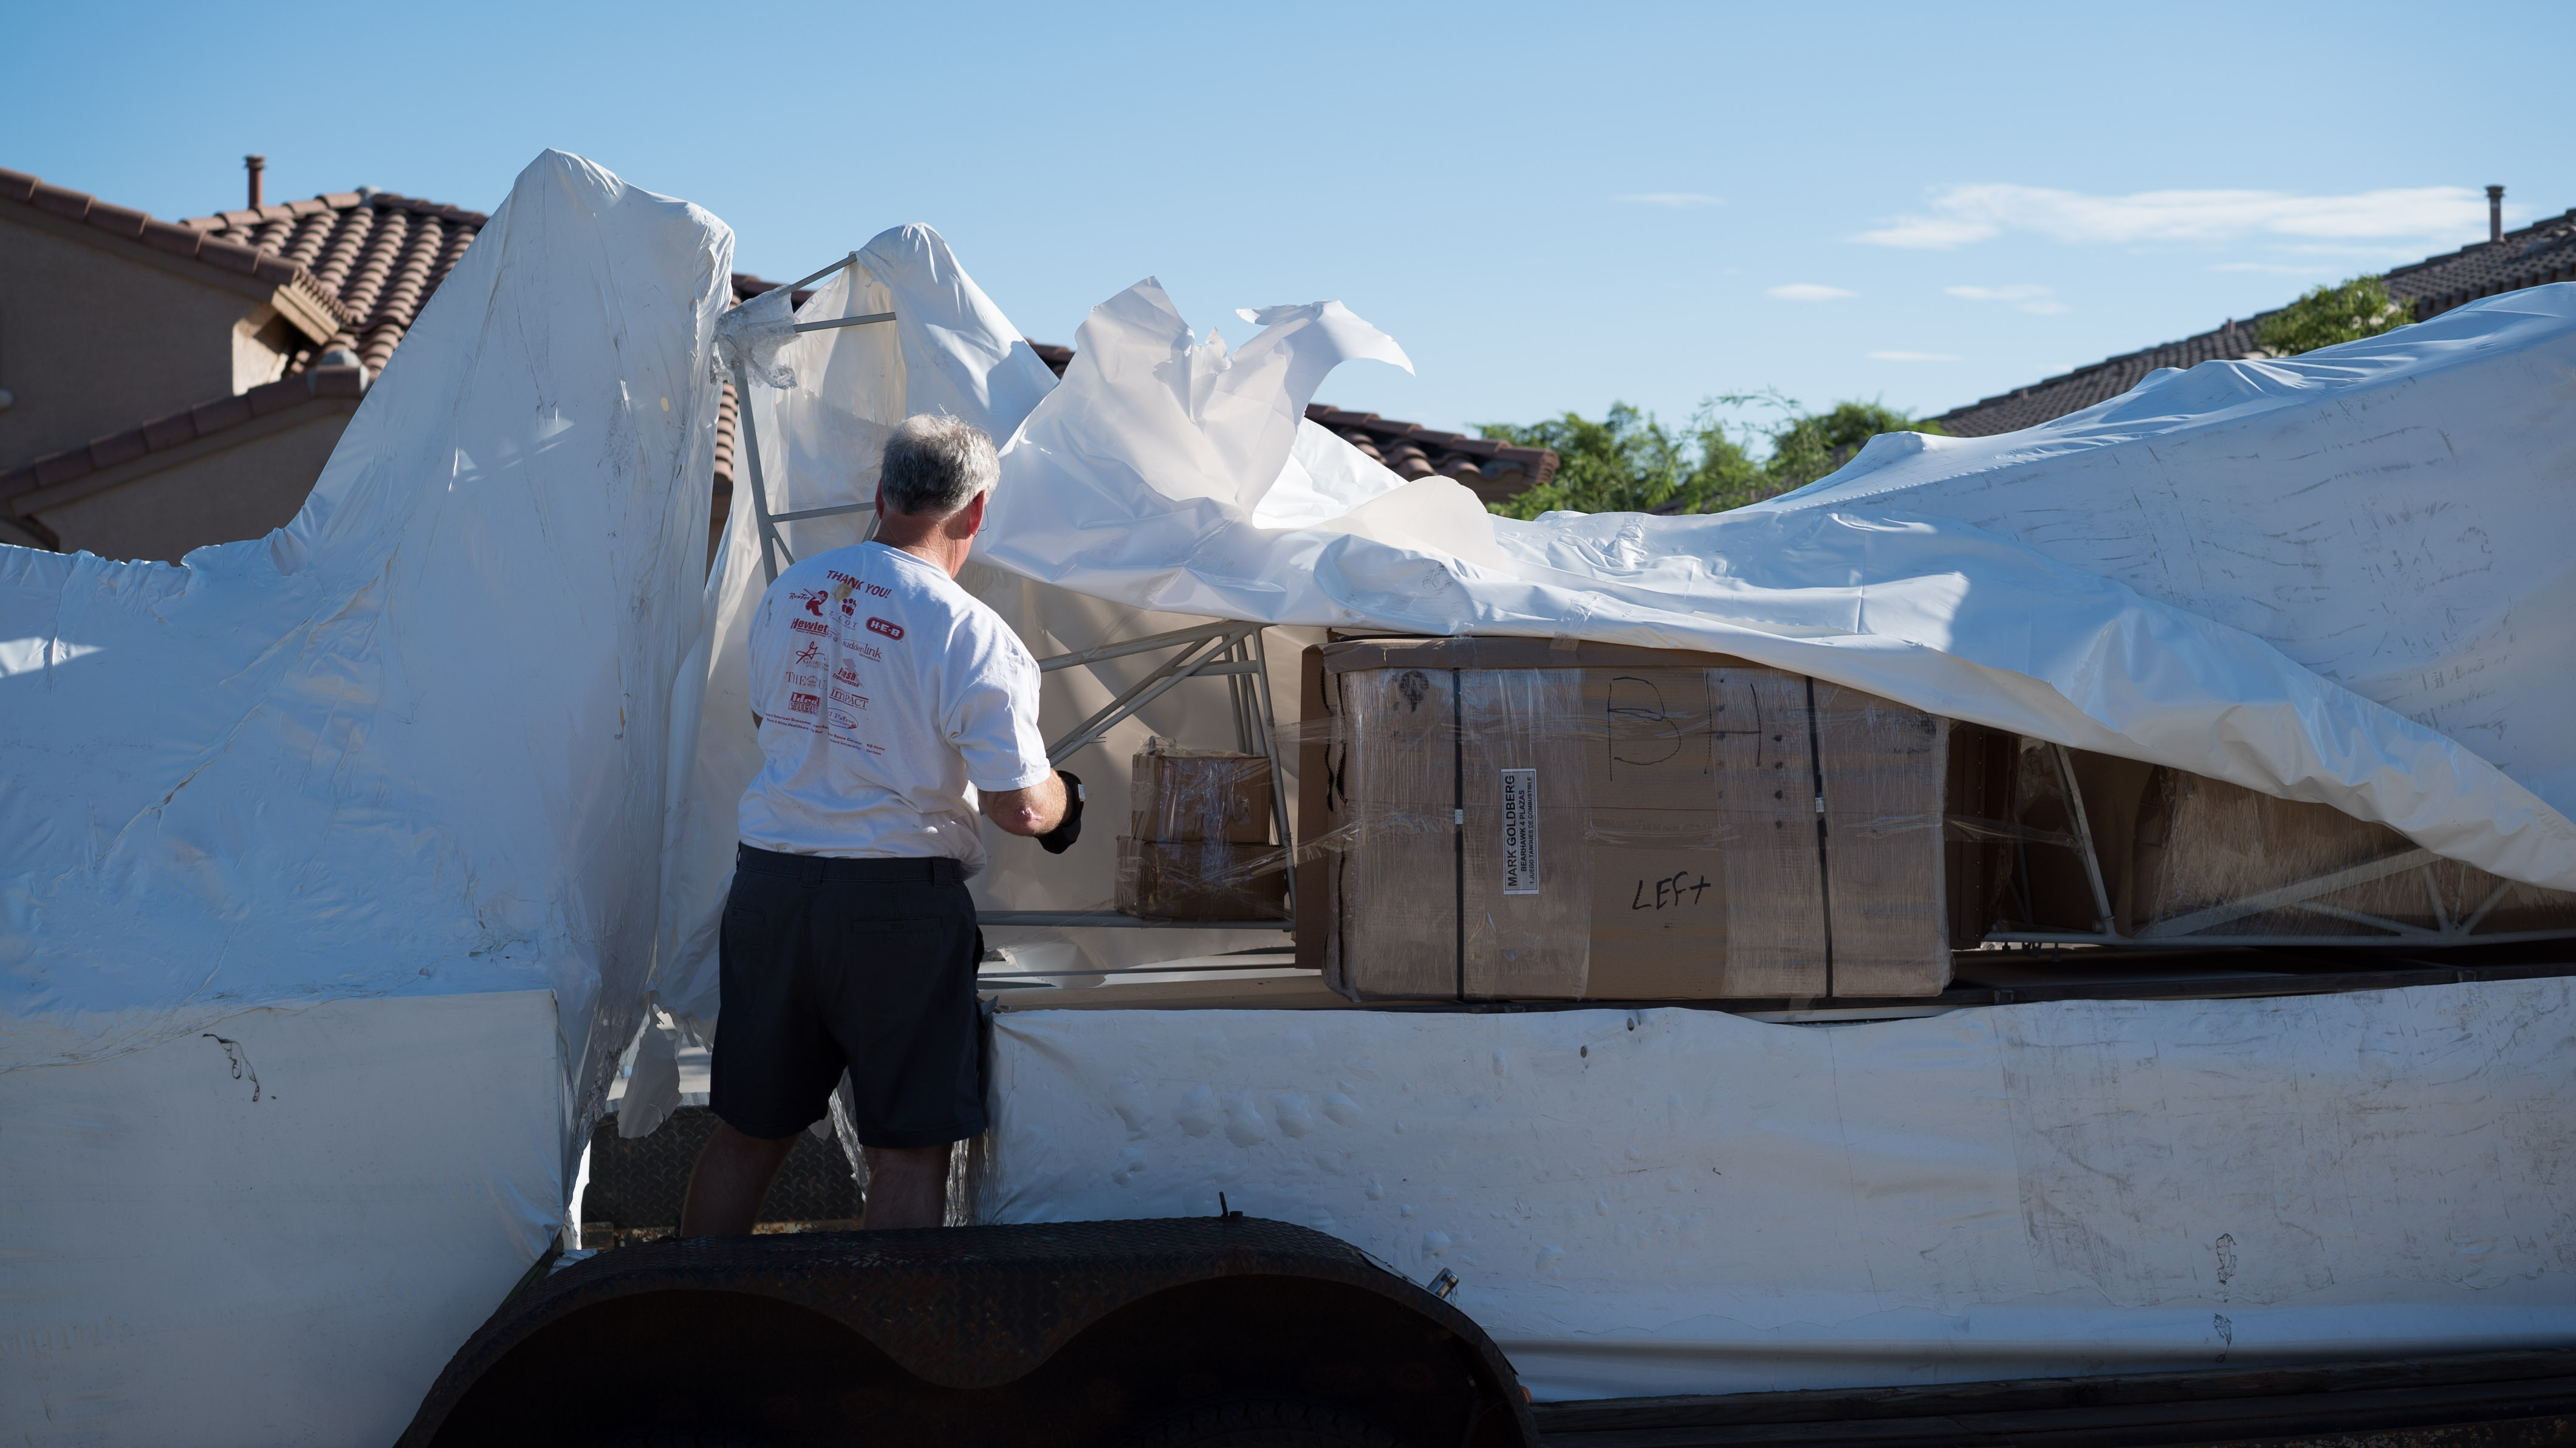
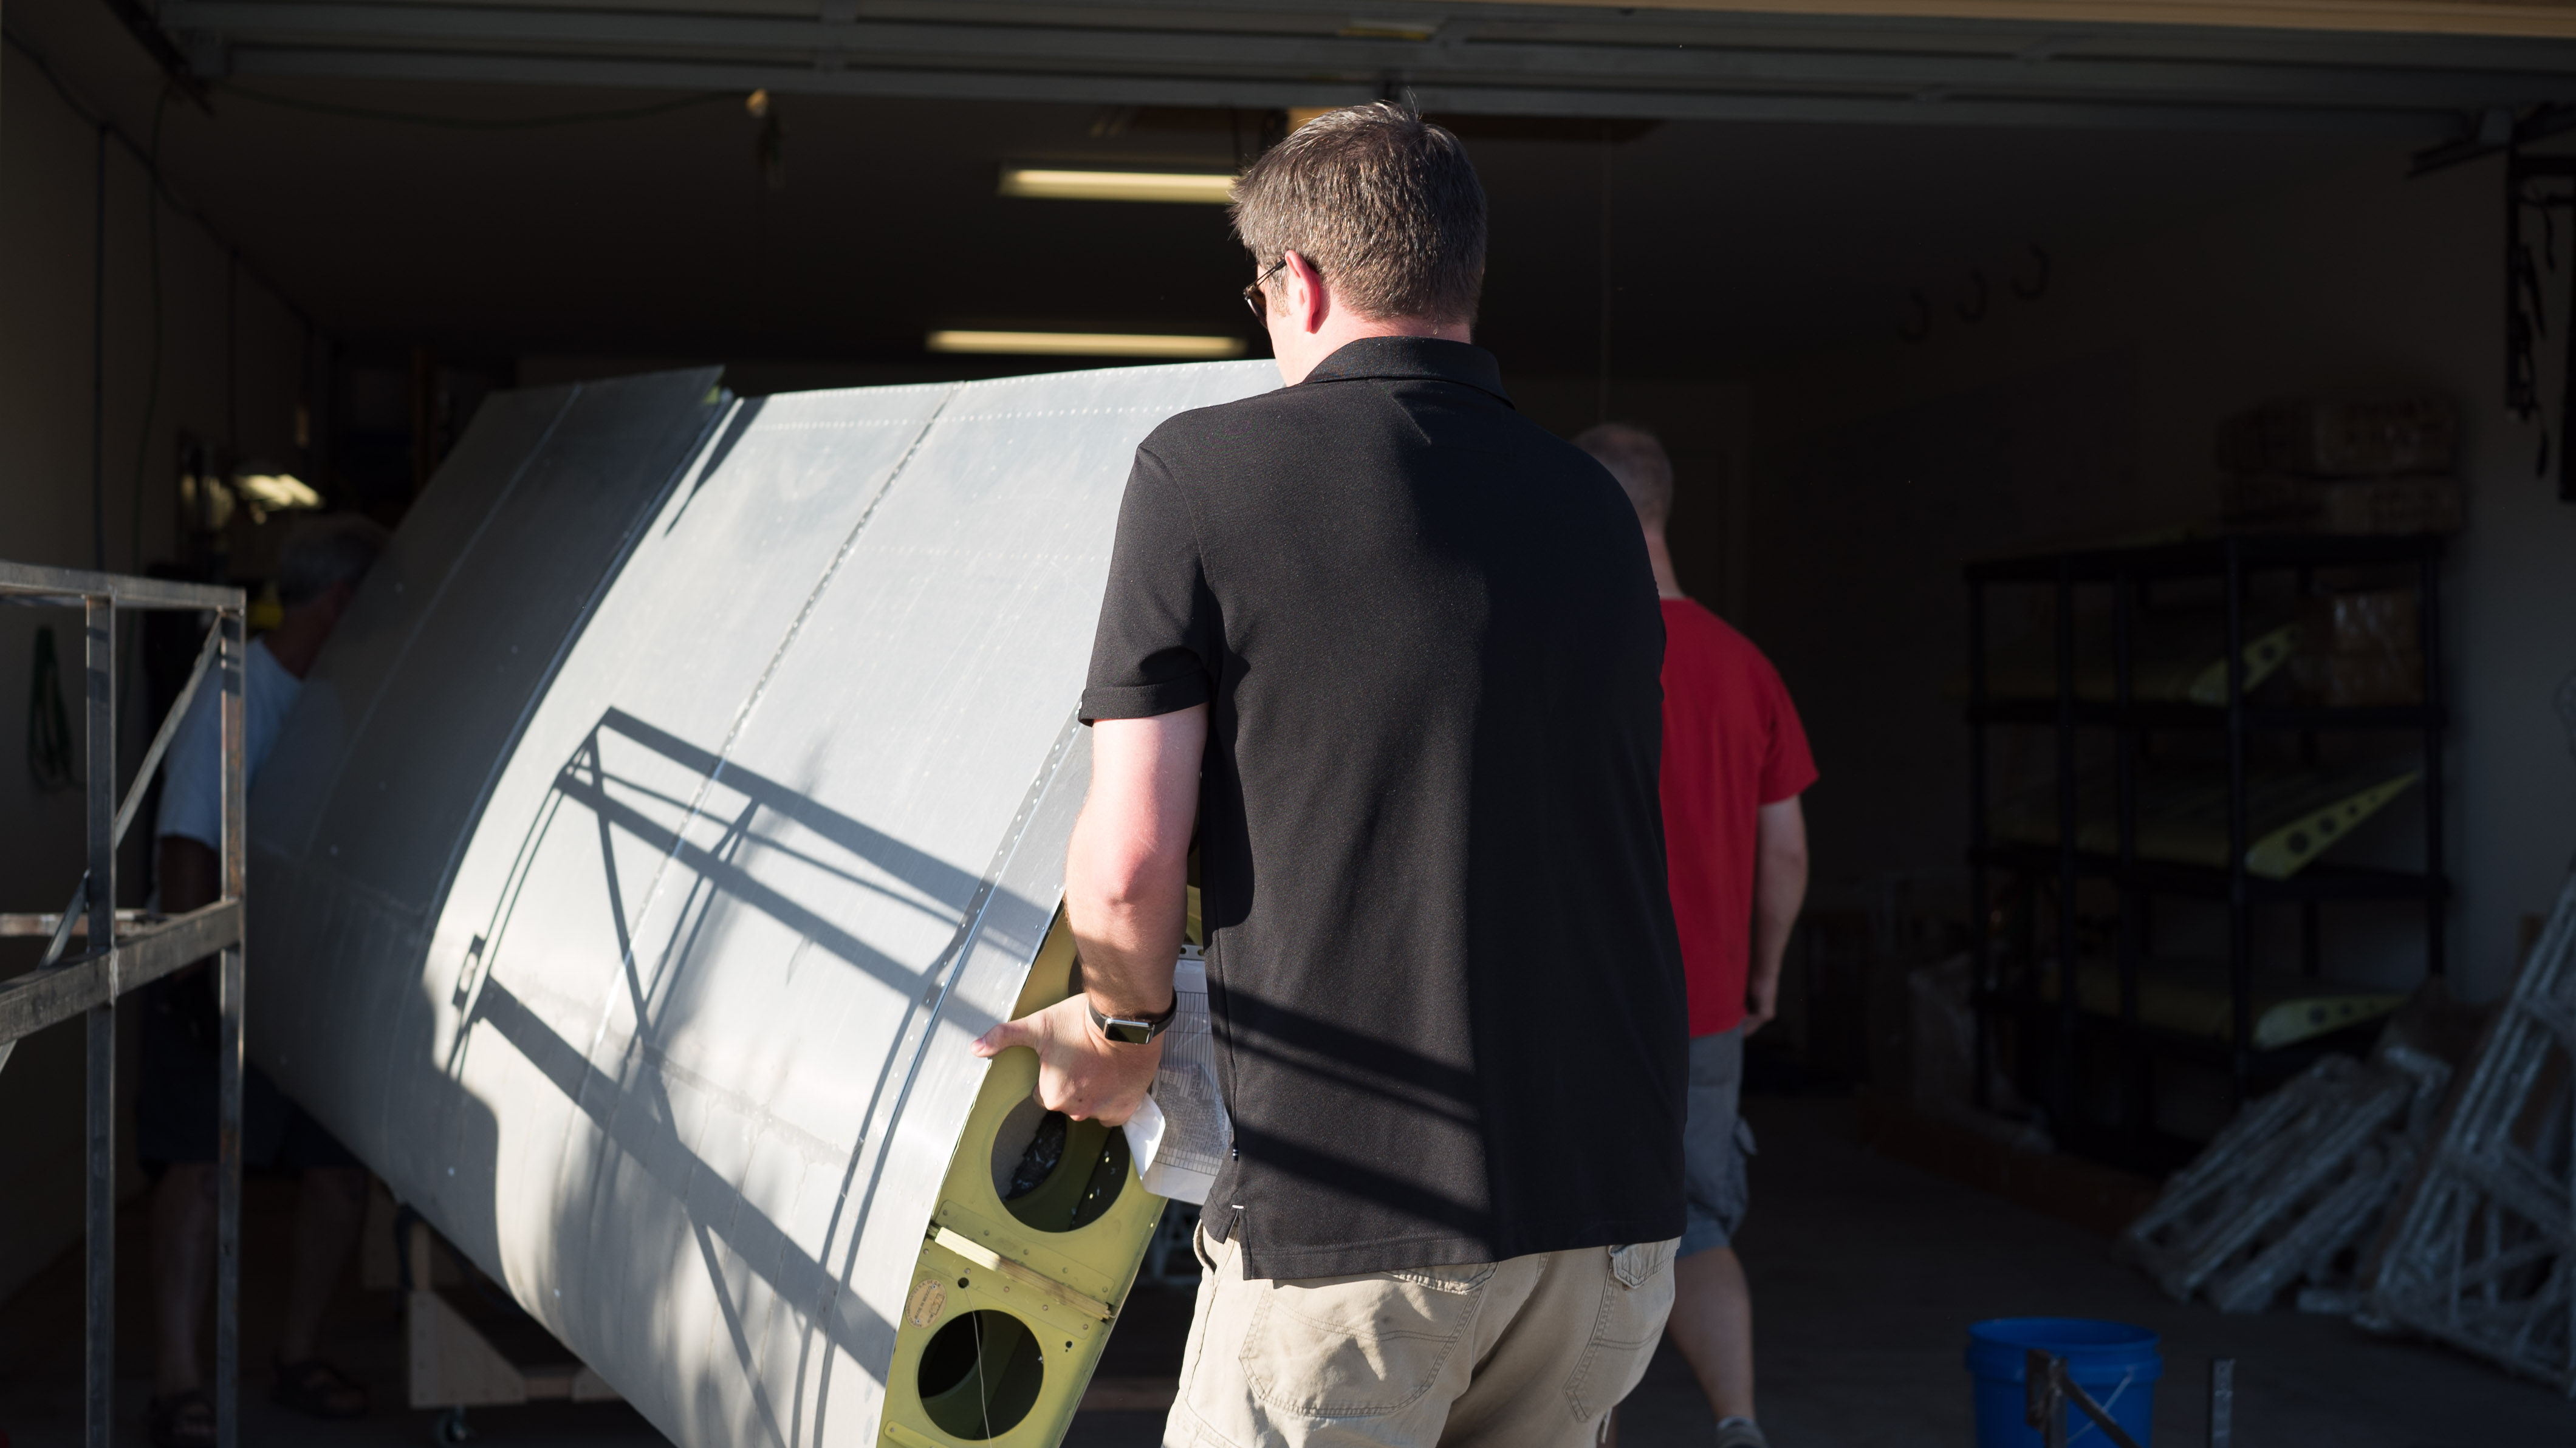
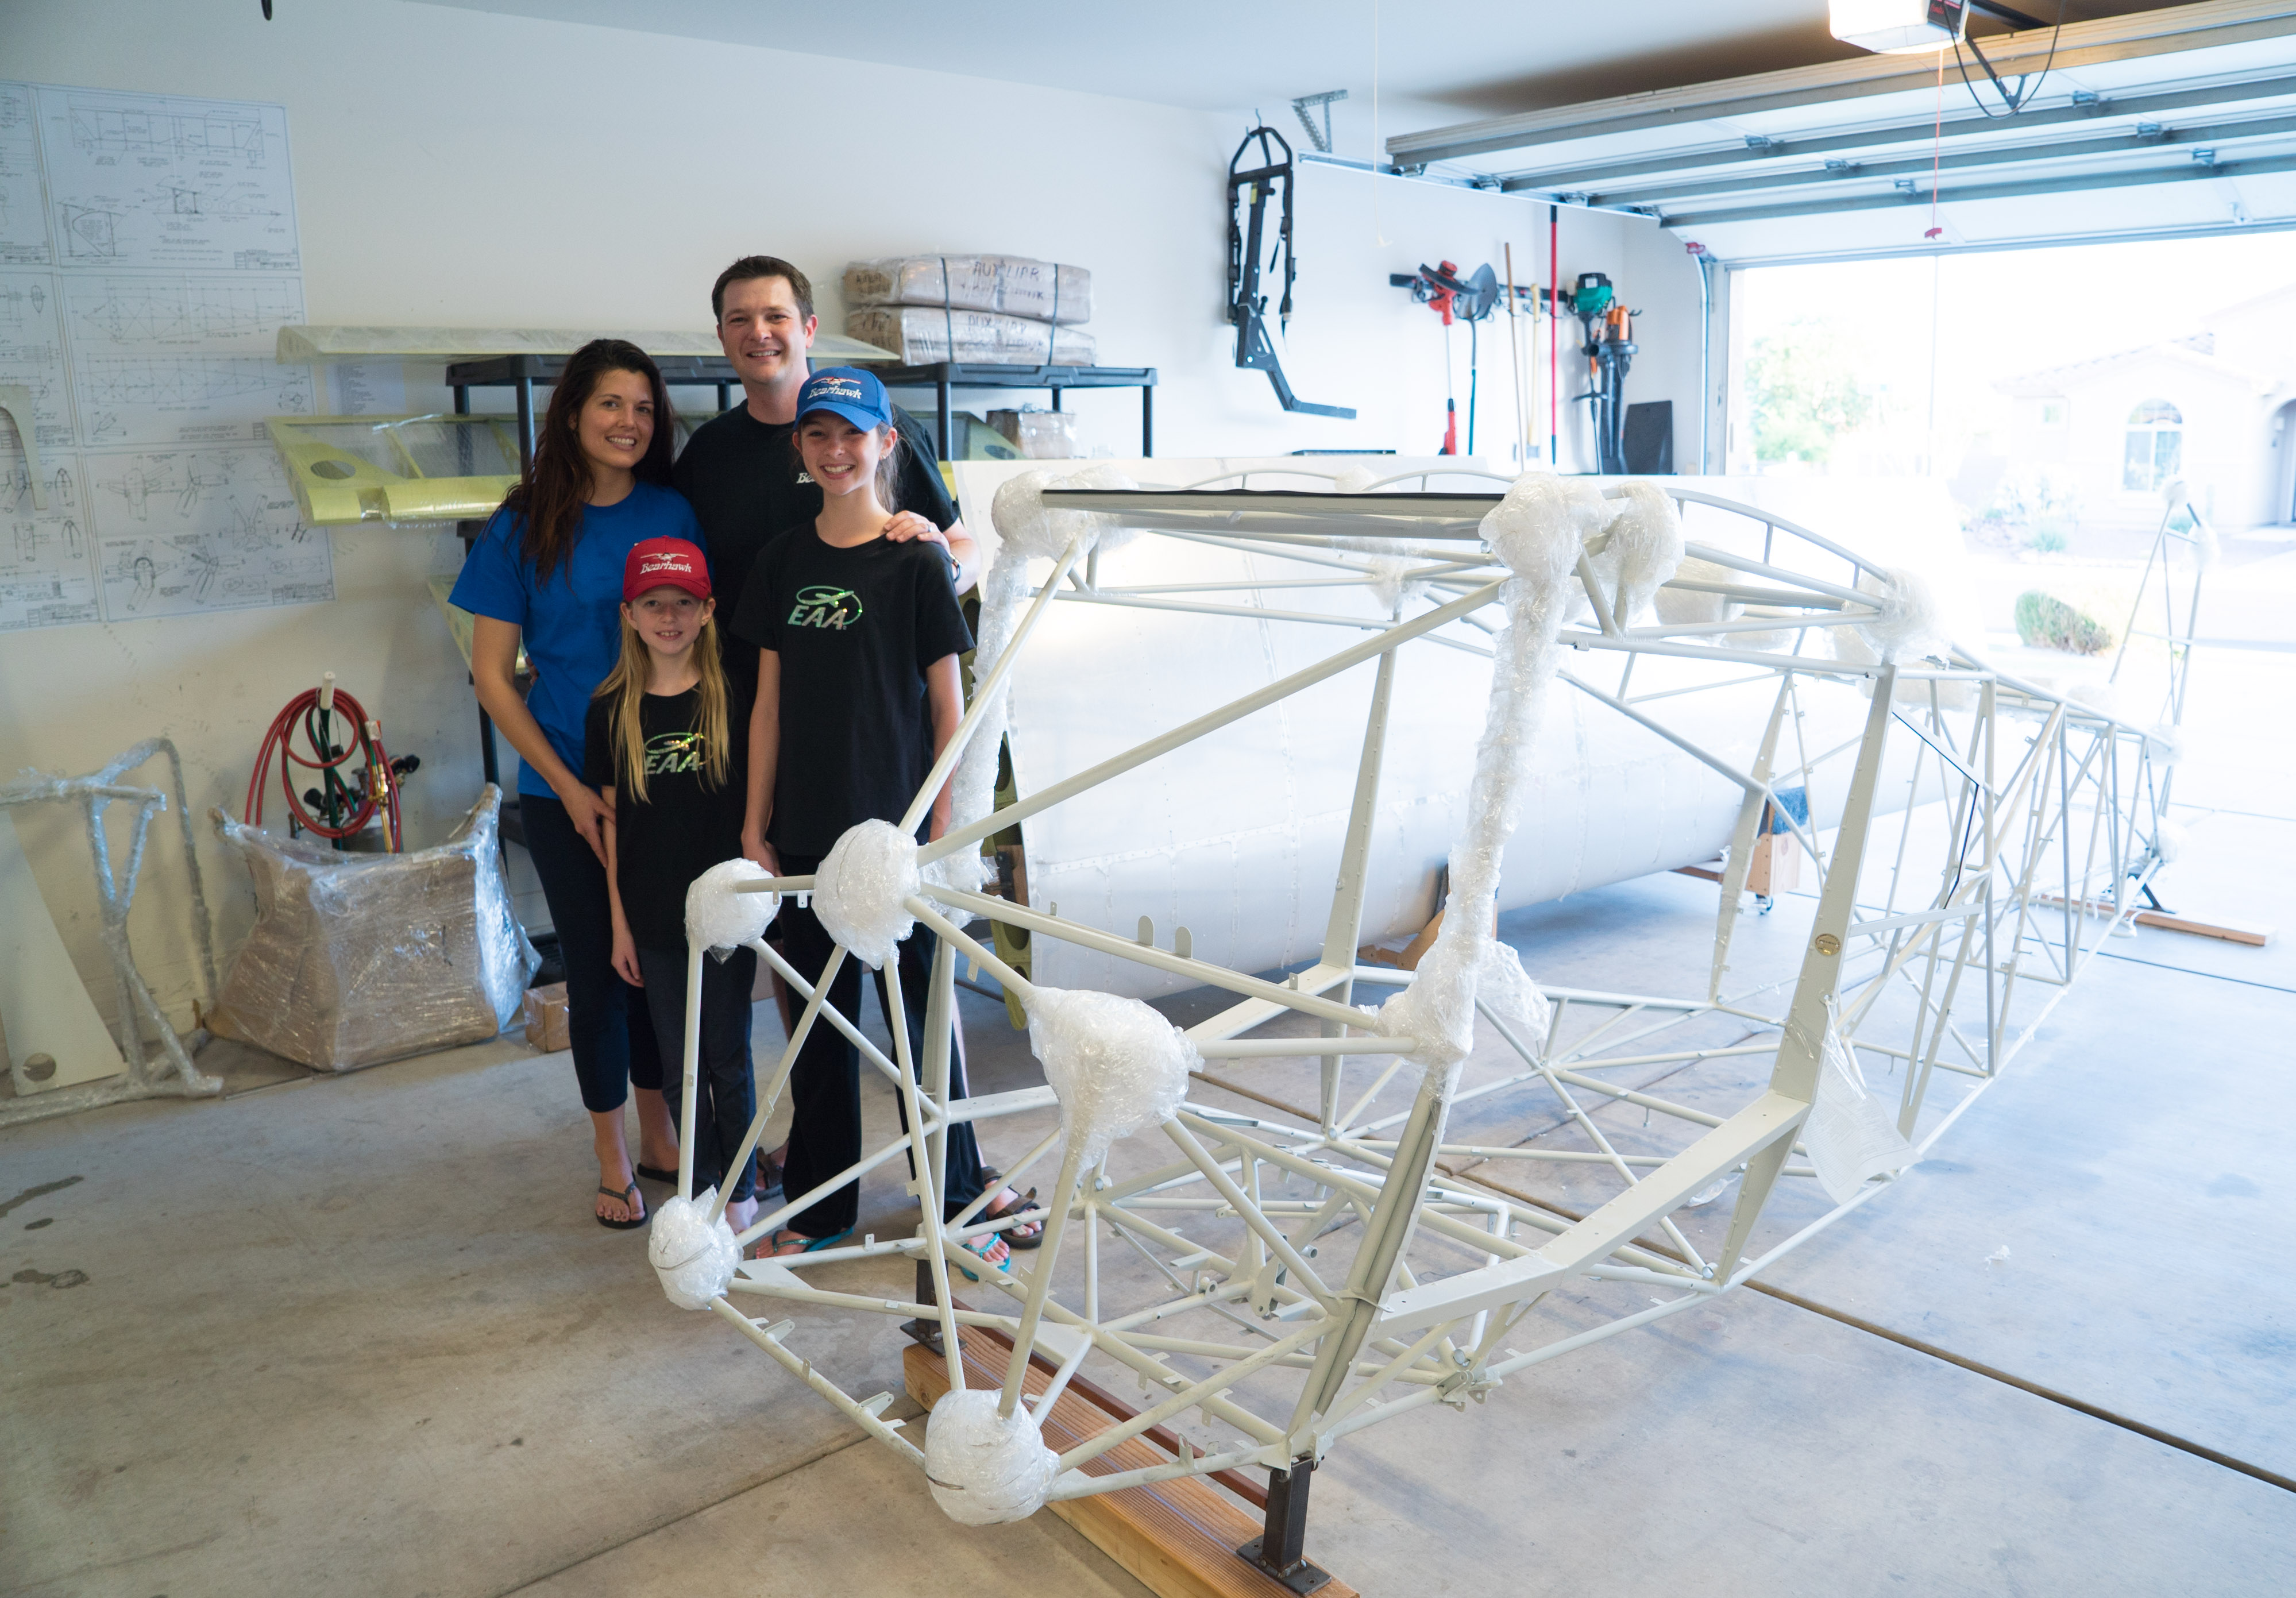
I found Mark Goldberg and he took me over to see his 4-place Bearhawk.  Mark was extremely helpful and answered all my questions.  After sitting in it and talking for quite a while I decided to purchase the kit.

kit005

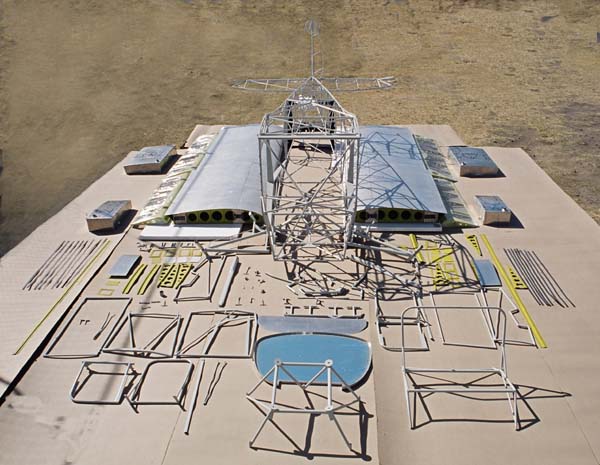
My kit should arrive in late September!!!