Wing and tail root fairings

It’s a funny thing.  These look relatively simple and I thought they wouldn’t take much time.  However, I was very wrong.  It took me early 2 days to get these to fit the way I liked.

I used poster board to create a template for the leading and trailing edges.  My lovely wife Cati helped me tape everything together.

Timmy worked on the tail fairings.

Flap repair

My brother Timmy came out to help again.  He’s great help but a little hard on things!  When we were trying to fit the window frames he accidentally put a tear in the flap with the freshly cut aluminum of the door frame.

I masked off the area.

I used MEK to take down the layers all the way down to the fabric.  The tear wasn’t really all that bad.

I got task saturated and forgot to take more pictures.  But I used PolyTac to apply a patch, then brushed on a few layers of PolyBrush.  Then I sprayed several layers of PolySpray and sanded.  Then the final coat of PolyTone.  The patch is barely visible now.

Windows

The window frames weren’t too hard to build.  Again I used flush rivets on the outside.

#6 pk screws were used to hold the clamps in place.

Here it is with the plexiglass in place.

Finally painted with the plexiglass reinstalled!  Looking great!

Nav lights

I purchased the 3 in 1 Aveo nav lights.  They have a the wing position light (green or red), white rear position light and a strobe.

Per FAR 23.1389 the requirement to not have a white light on the tail is that from 70 to 180 degrees you must be able to see the white light.  From directly behind you can see both white lights.  So I’m good to go!

Wing tips

Fiberglass time for the wing tip lights and trailing edge extensions.  Fiberglass is relatively easy, but requires so many steps to make it look nice.

After fiberglassing the light mounts and extensions I started the process of spraying Smooth Prime then sanding.  I repeated that process 3 or 4 times.  After the final coat I remanded with 400 grit sand paper I epoxy primed then sprayed white poly tone.

I masked for the blue pant and sprayed away.

The lines turned out nice and crisp,

There’s the final product.  Turned out great!

Major Setback

We were making such tremendous progress on the plane and the weather was still great!  Until…..  The airport decided they needed to tear up all the asphalt and put down new asphalt.

During this time they did not allow anyone access to their hangar at all.  One guy did try to access his hangar and they threatened prosecution.

So, I was completely unable to access my airplane for a solid month.  Not only was I losing time working on my plane, but the worst part was that this was the last month of nice weather before the brutal summer.

Skinning the doors & some MVP excitement!

Timmy came back out from California to help me skin the doors.  We decided to do flush rivets on the doors.  This meant carefully countersinking the holes.  Usually you’d want to dimple .025″ aluminum, but since this isn’t structural the builders manual said it’s perfectly acceptable to do it this way.

Turned out great by the way!

Tori and Timmy, my two best helpers did a little dance to show how excited they are that the plane is coming along so well!

First Engine Run!!!!

After getting everything secured we decided it was high time to start the engine for the first time.

We followed Bob’s startup and break-in procedure very carefully.  We removed the bottom spark plugs, cranked the engine until we saw oil pressure.  Then reinstalled the spark plugs and started it up.  We let it idle for 3 minutes at 1200 – 1400 RPM.  After shut down we found one small leak by the prop governor.  I hand’t tightened one of the bolts all the way.  Tightening that bolt fixed the leak.

Here’s a video of the first engine run:  First Engine Run


Fuel flow test

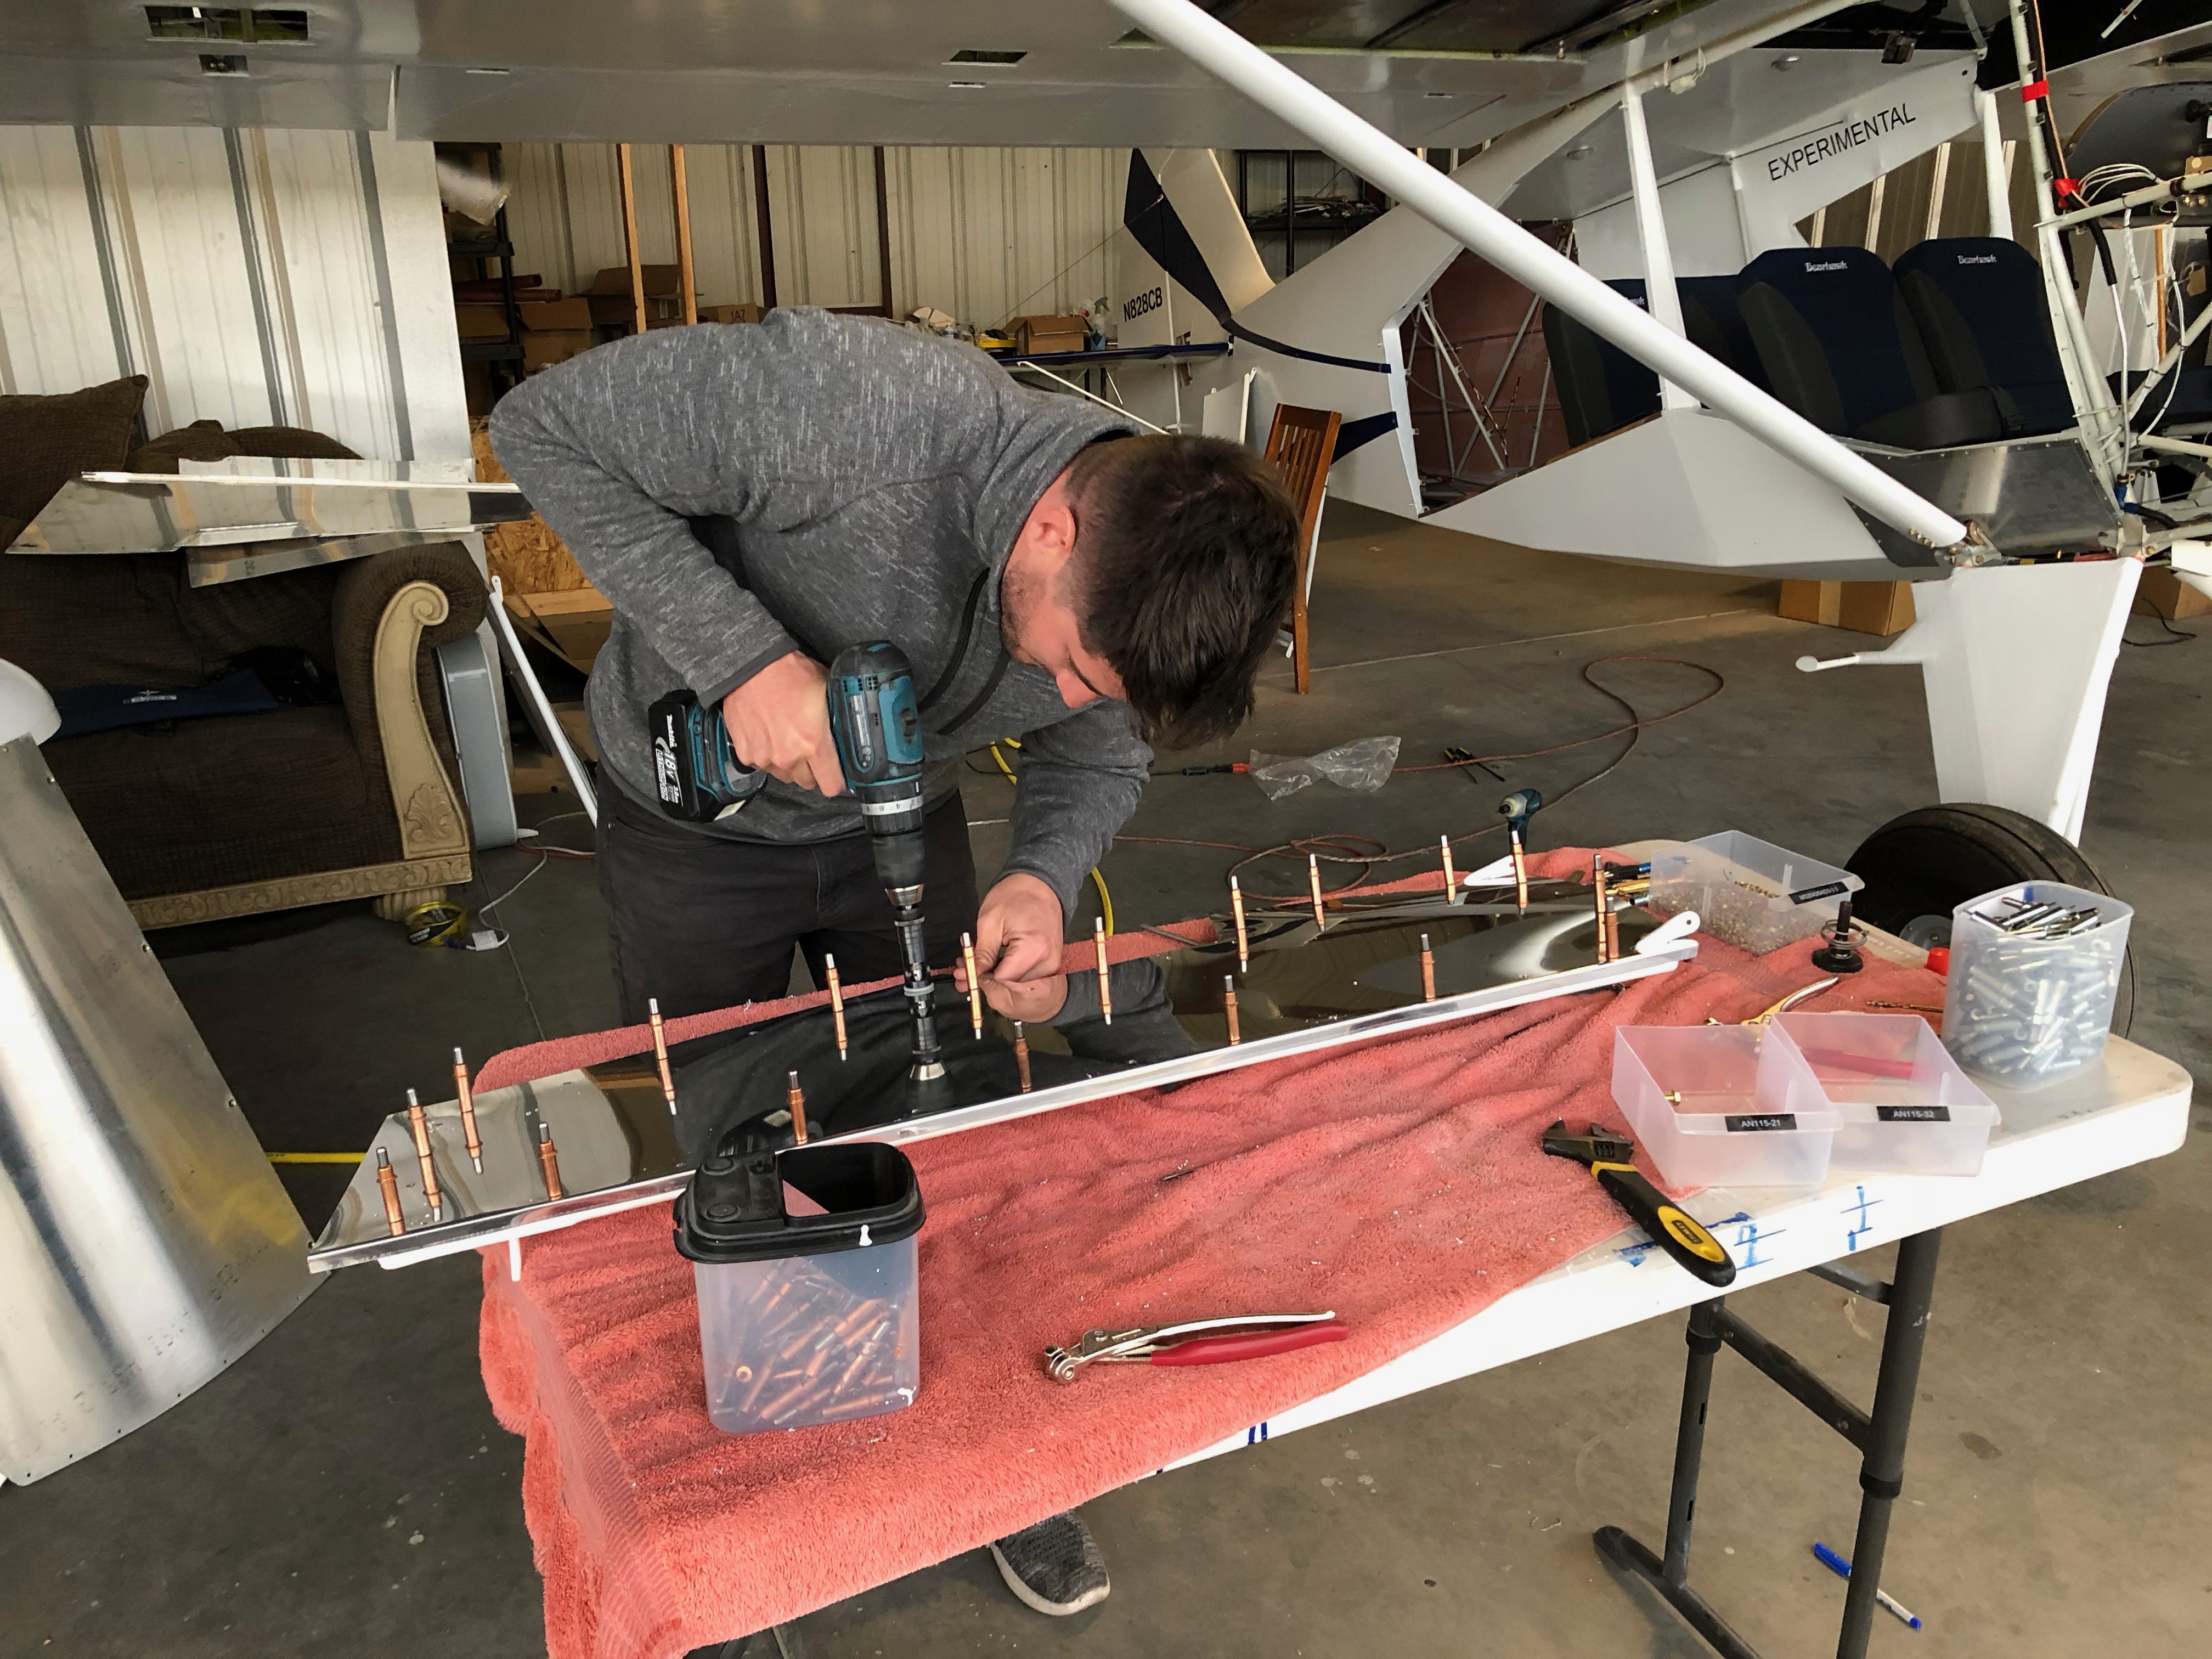
The Bearhawk fuel system is gravity fed with no fuel pumps.  As I previously mentioned I took great care to make sure there were no 90 degree turns in the fuel lines and that everything went smoothly continuously downhill.  So now is the moment of truth.  How good did I do?

The fuel flow testing was done in accordance with the 14 CFR 23.955. Here are the criteria:

1. Place the aircraft with a nose high attitude that exceeds its maximum climb angle plus 5 degrees (the 5 degrees is the assumed angle of attack).

2. Put minimal fuel in the tanks.

3. Take the fuel supply hose loose at the carburetor and prop it up at the same level as the carburetor inlet.

4. The measured fuel flow should be at least 150% (125% if you have a fuel pump system) of the takeoff fuel consumption for the engine.

Russ Erb did a lot of the calculating on this. According to his numbers the fuselage should be placed at about 19 degrees nose up attitude.


So what is 150% of takeoff fuel consumption?  My O-540 has a BSCF of .50 at full take off power.  So the math looks like this:

.50 BSFC x 260 HP / 6 = 21.6 GPH x 150% = 32.5 GPH

So the engine for this Bearhawk drinks 21.6 gallons per hour at full takeoff power.  The FAA wants to see fuel flow rates in excess of 150% of that.  So 32.5 is our goal.

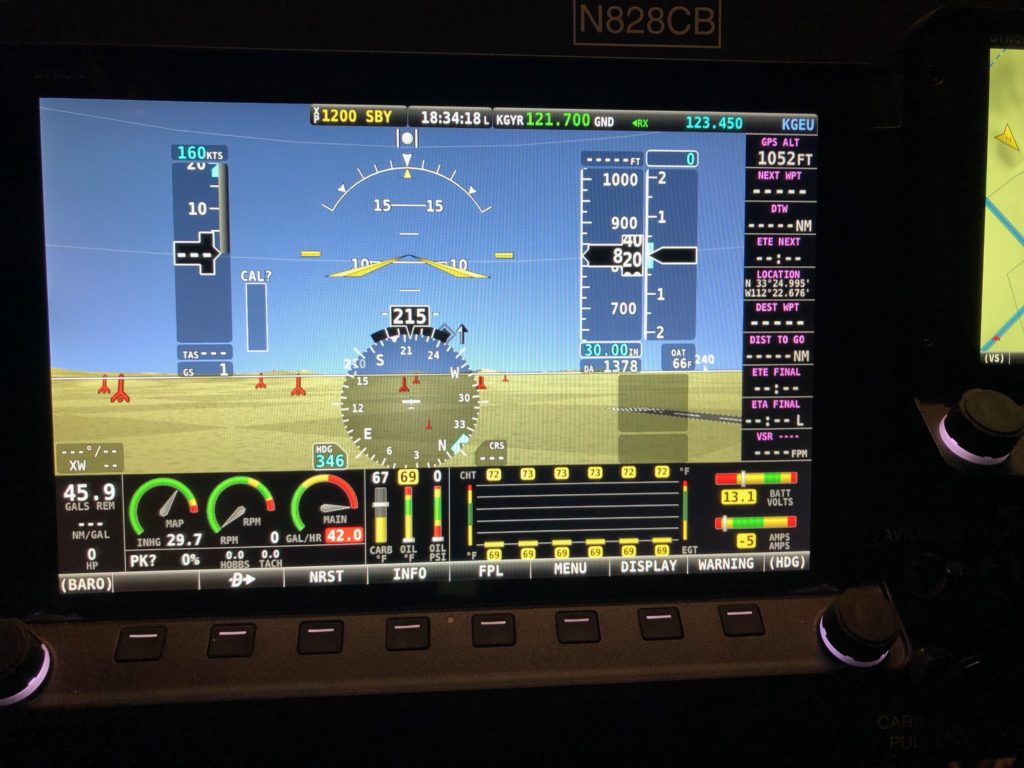
To start with, we put 2.5 gallons in each tank and did a quick fuel flow test in a 3 point attitude.  Wow!  42.0 GPH looks promising!  Now on to the real fuel flow test. (disregard the gallons remaining. I don’t have electronic fuel sensors and that was just a default value)

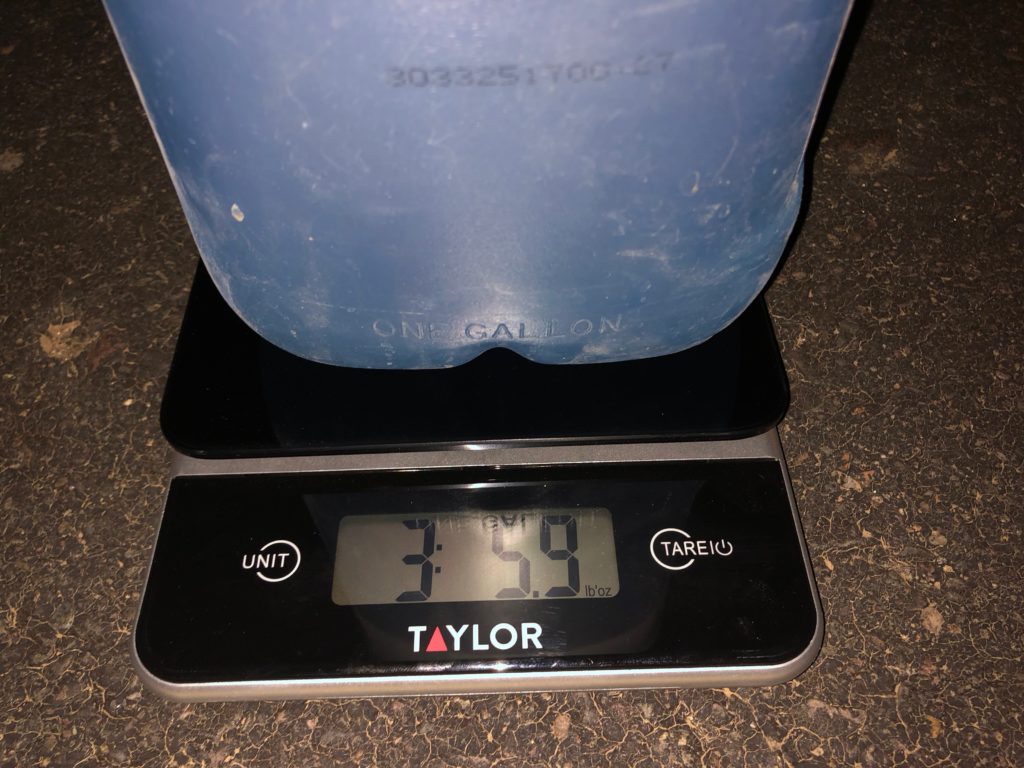
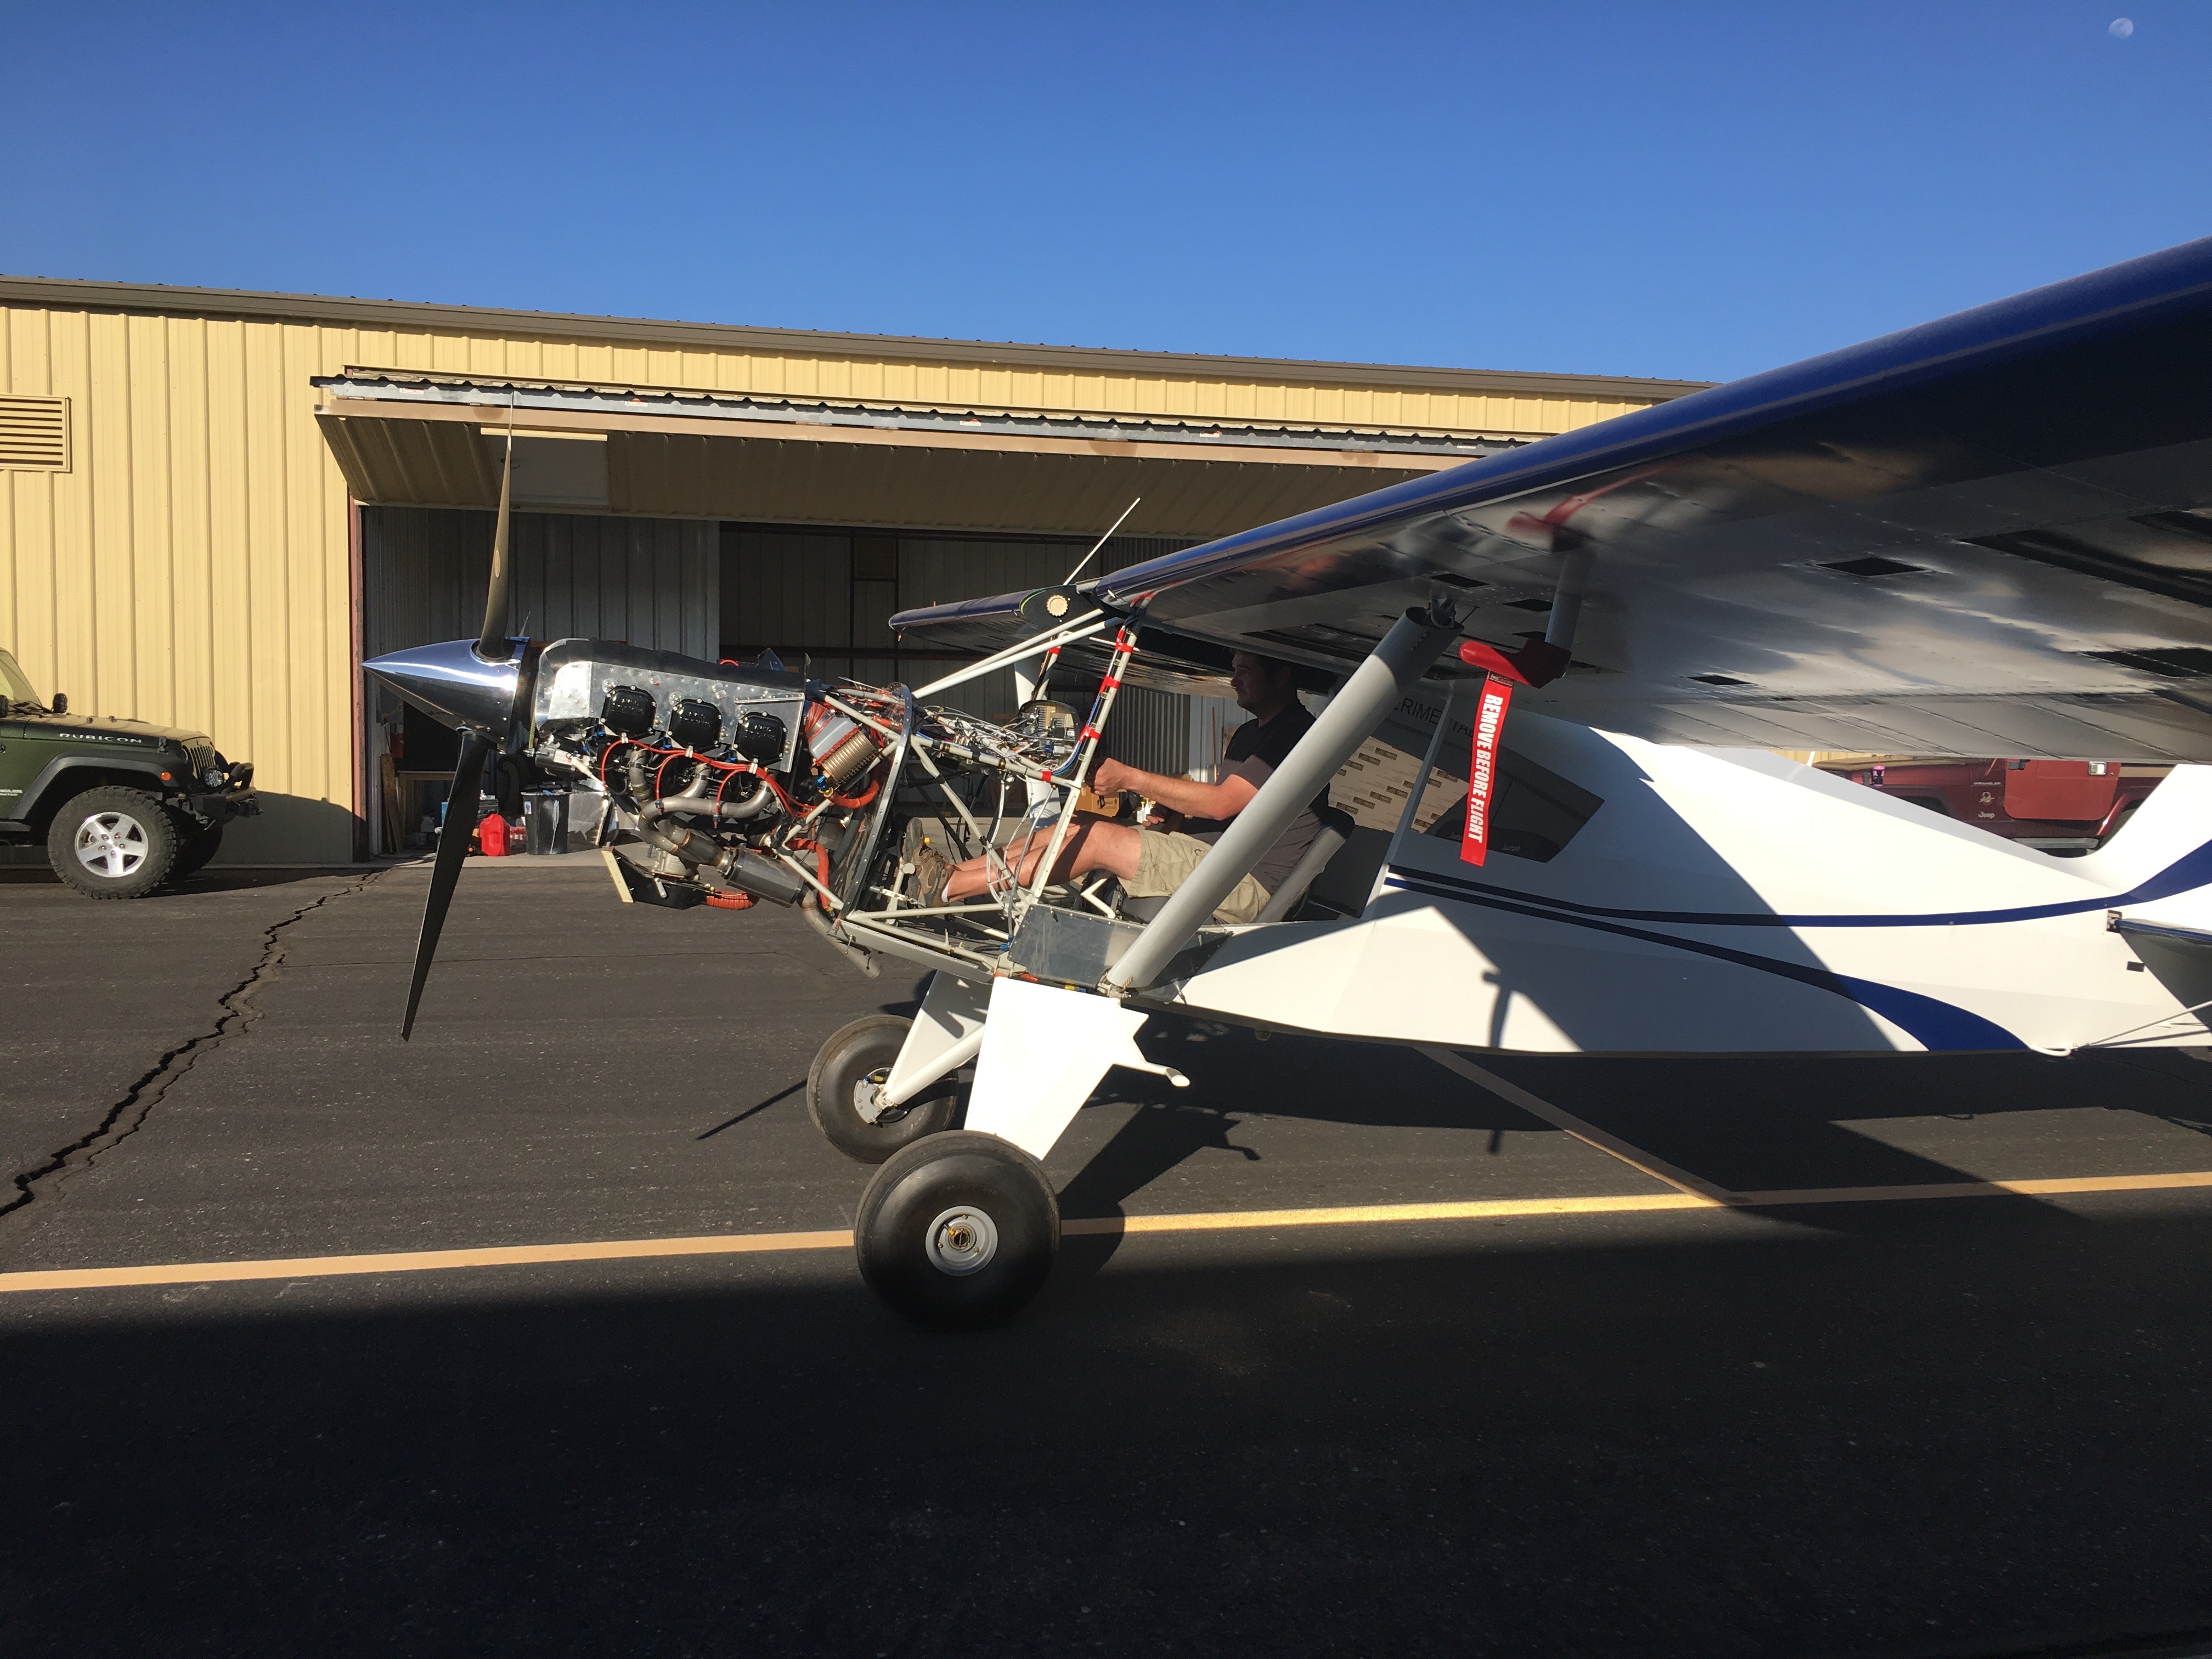
My brother and I pushed my Bearhawk to a nearby drainage ditch to put the tail in so we could attain the required 19 degrees pitch up attitude.  Next we place 2.5 gallons of fuel in each tank, purged the system of air and attached gallon water jug to catch the fuel from the fuel line at the carburetor.

I flipped the fuel selector to both and timed for exactly 60 seconds at which point I flipped the fuel selector to off.

We did the procedure 5 times. Each time it was nearly the same, but we averaged the results just to be sure.

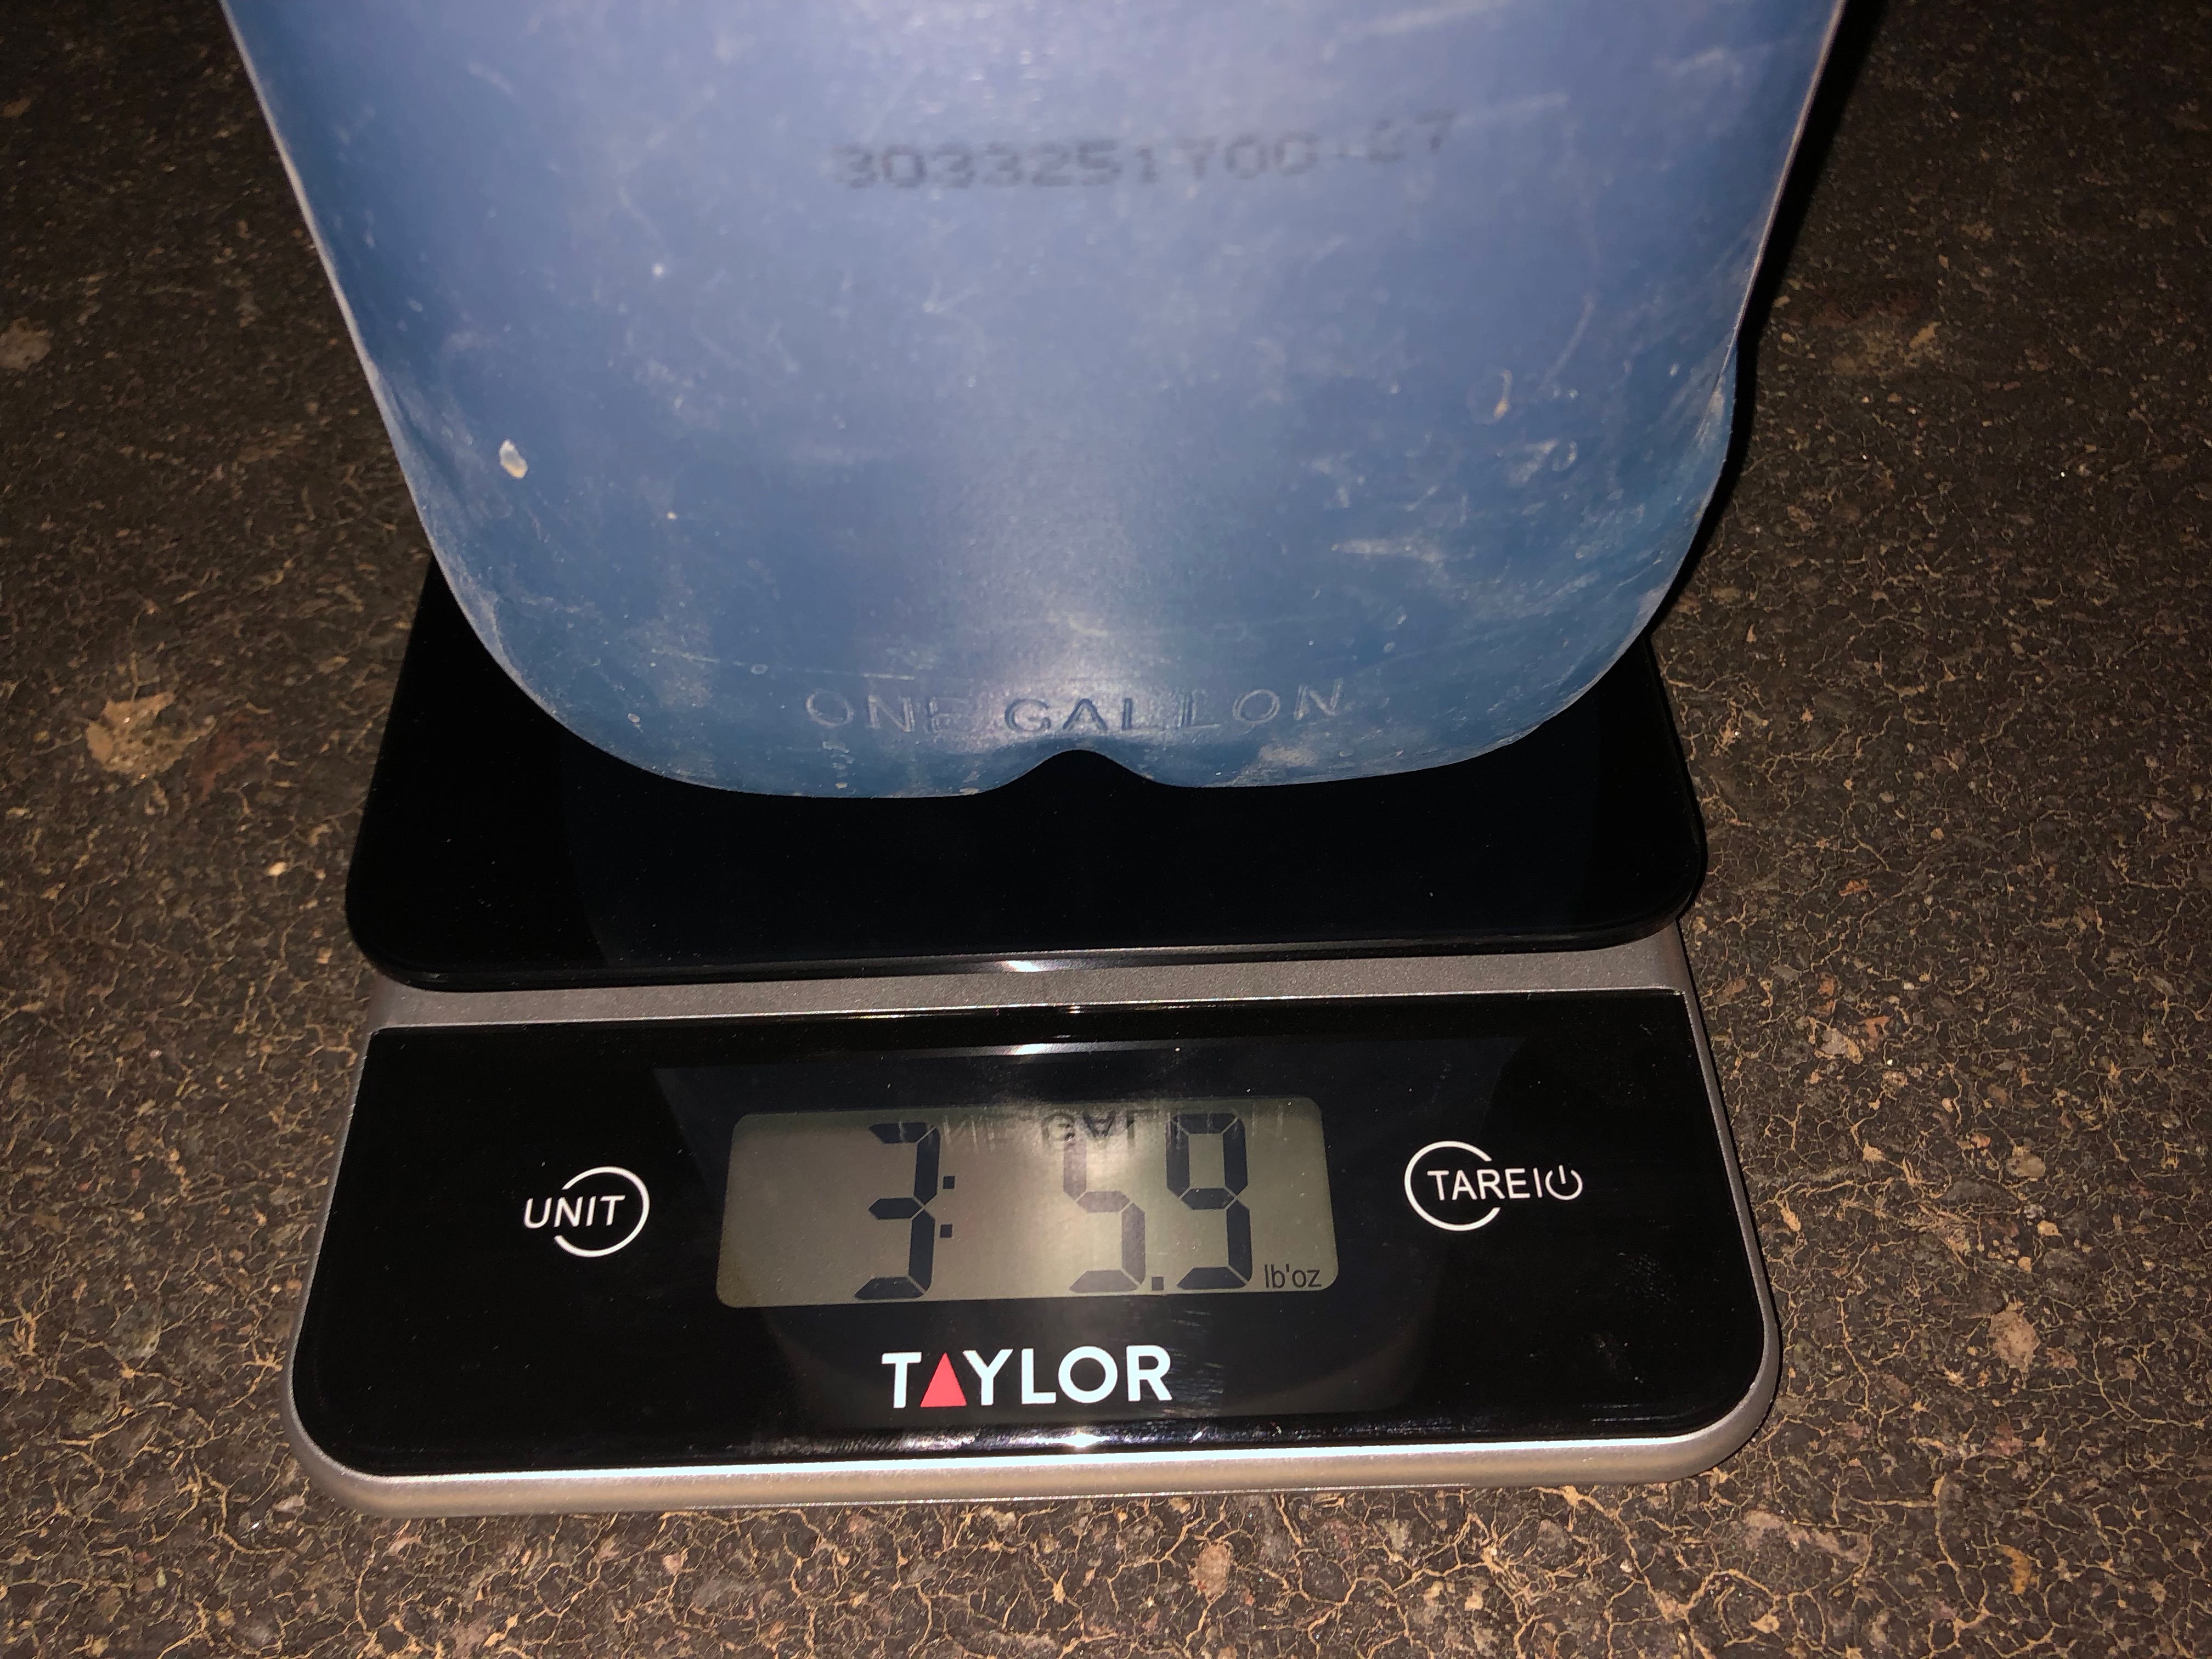
The average came in at 3 lbs 6 oz after 1 minute.  That comes out to 3.38 lbs.  So the math follows that 3.38 lbs x 60 minutes = 202.8 lbs.  202.8 lbs / 6 lbs per gallon = 33.8 GPH.

32.5 GPH was the goal.  33.8 GPH was our result.

So, at 5 degrees above max pitch our gravity fed fuel system is able to supply 156% of required fuel flow at max power at sea level.  Talk about overkill!!  But the most important thing is that it exceeds FAA guidance.