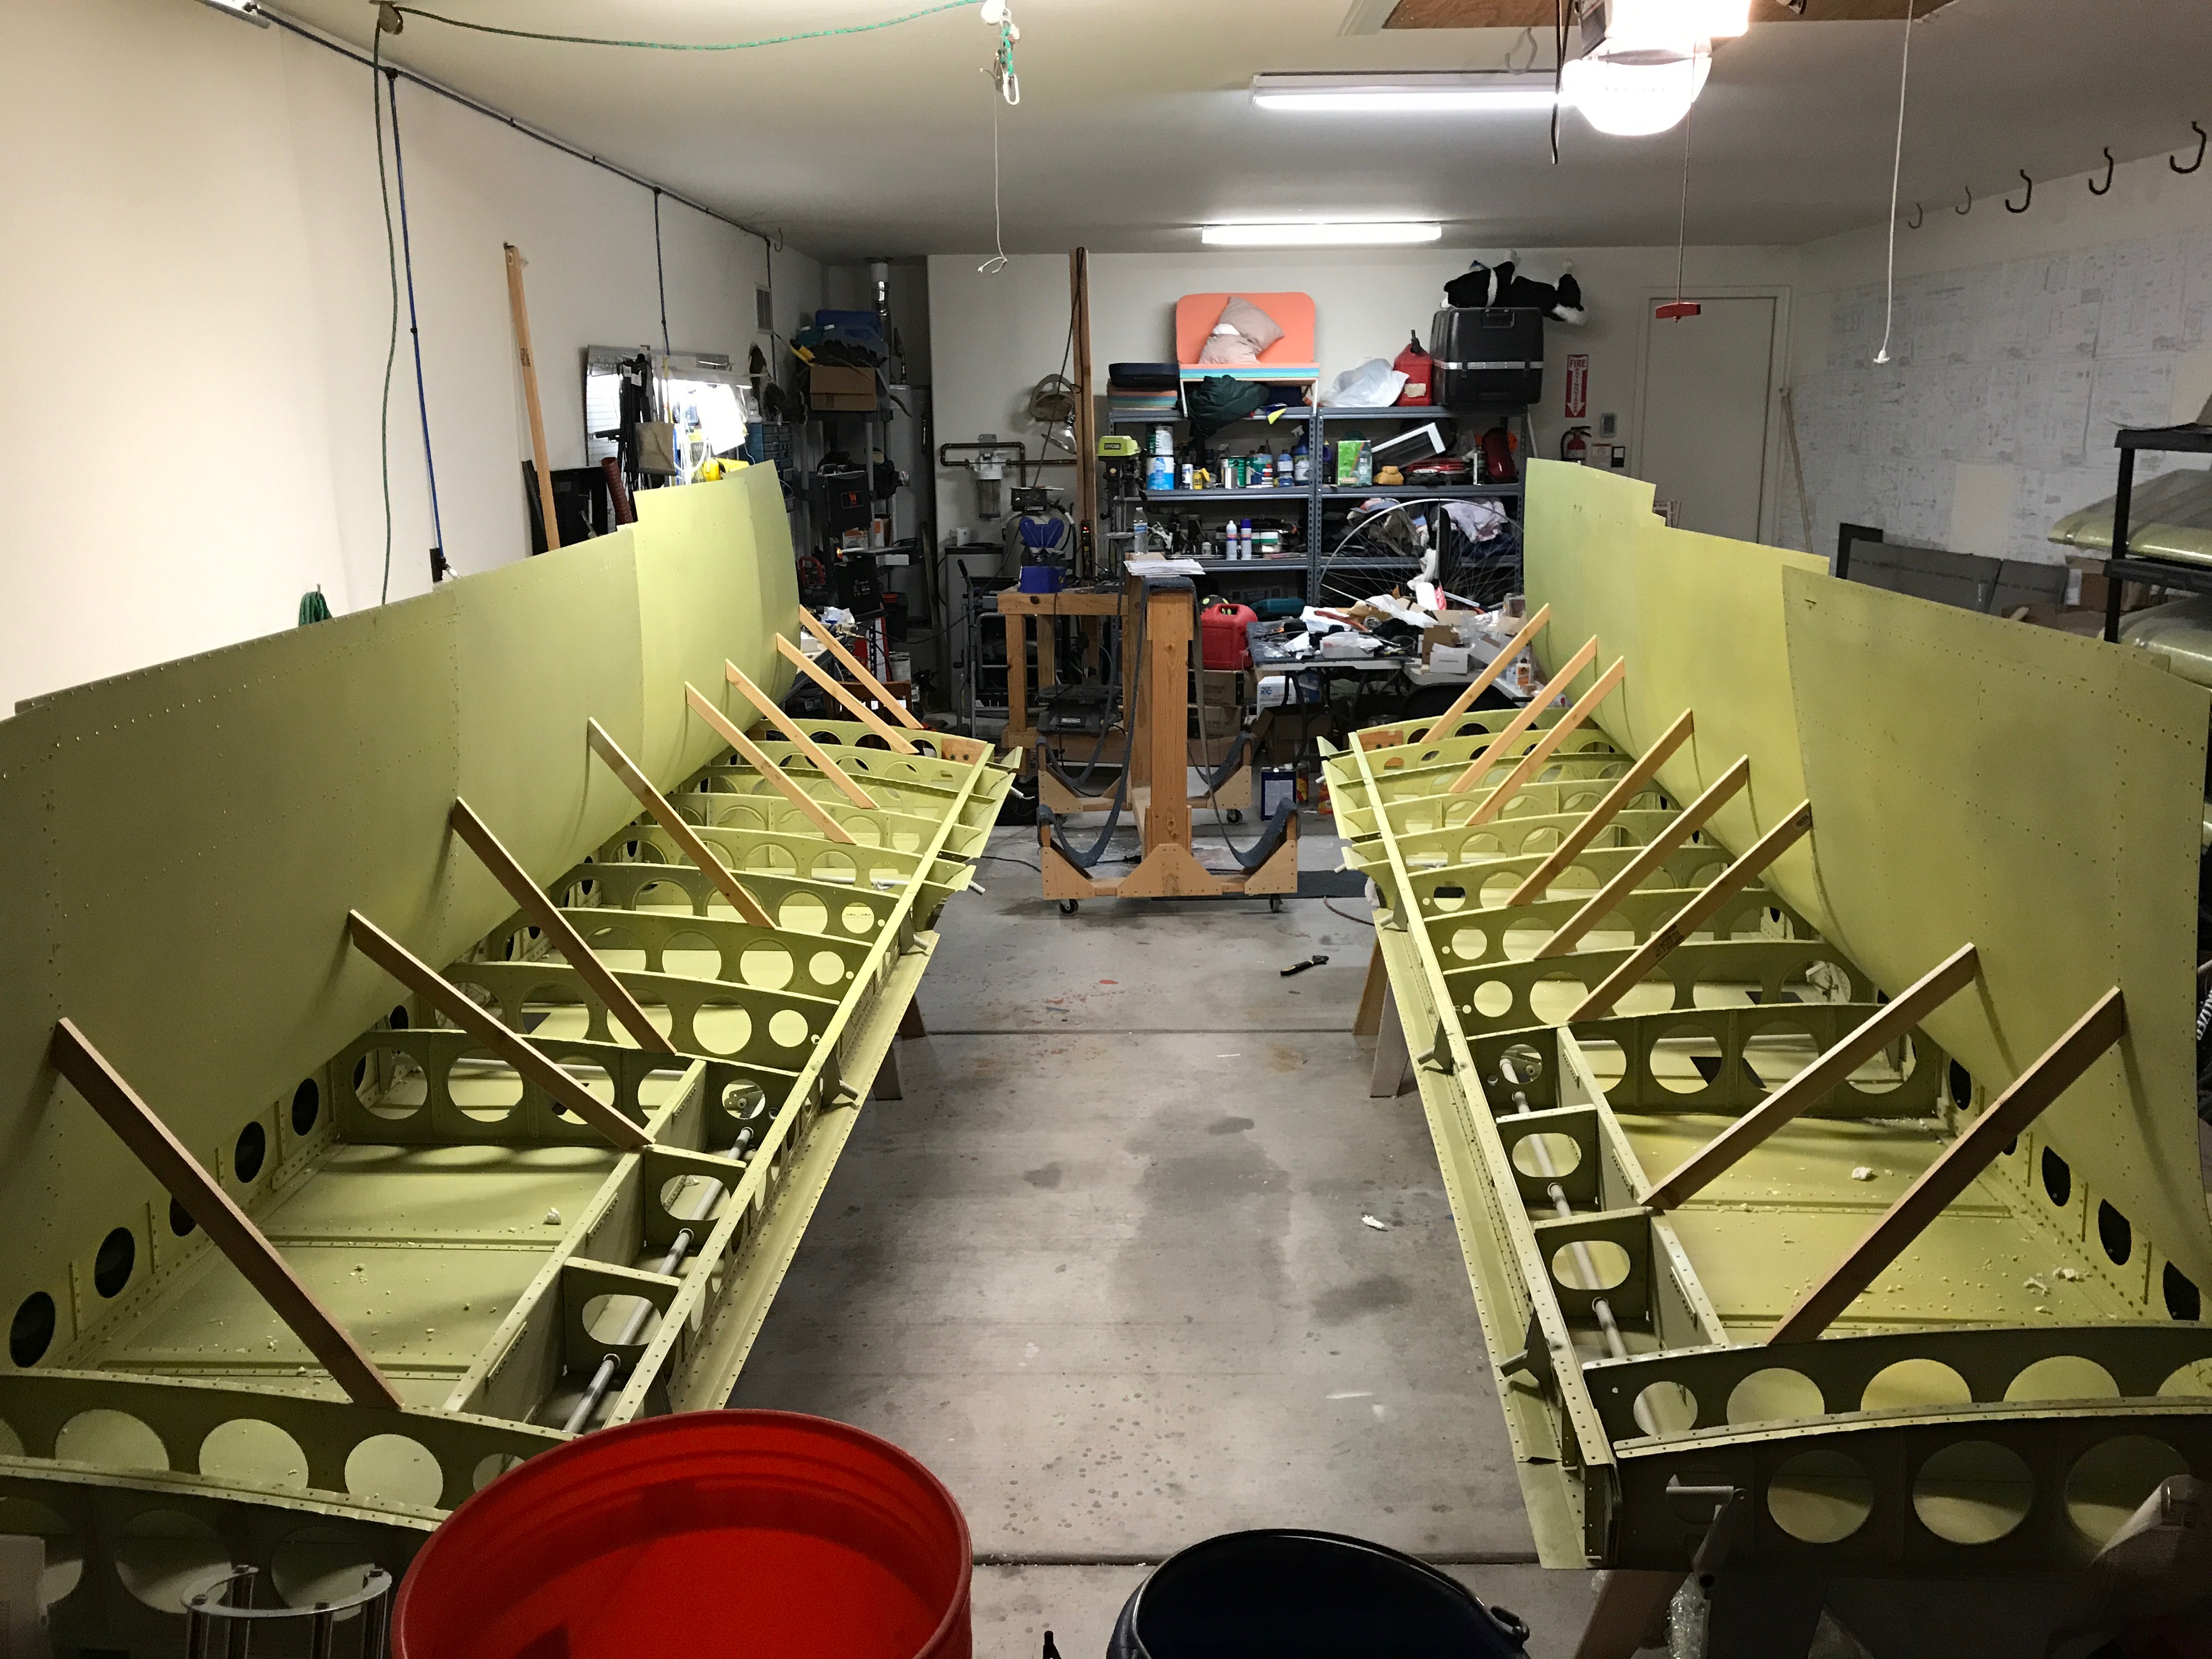
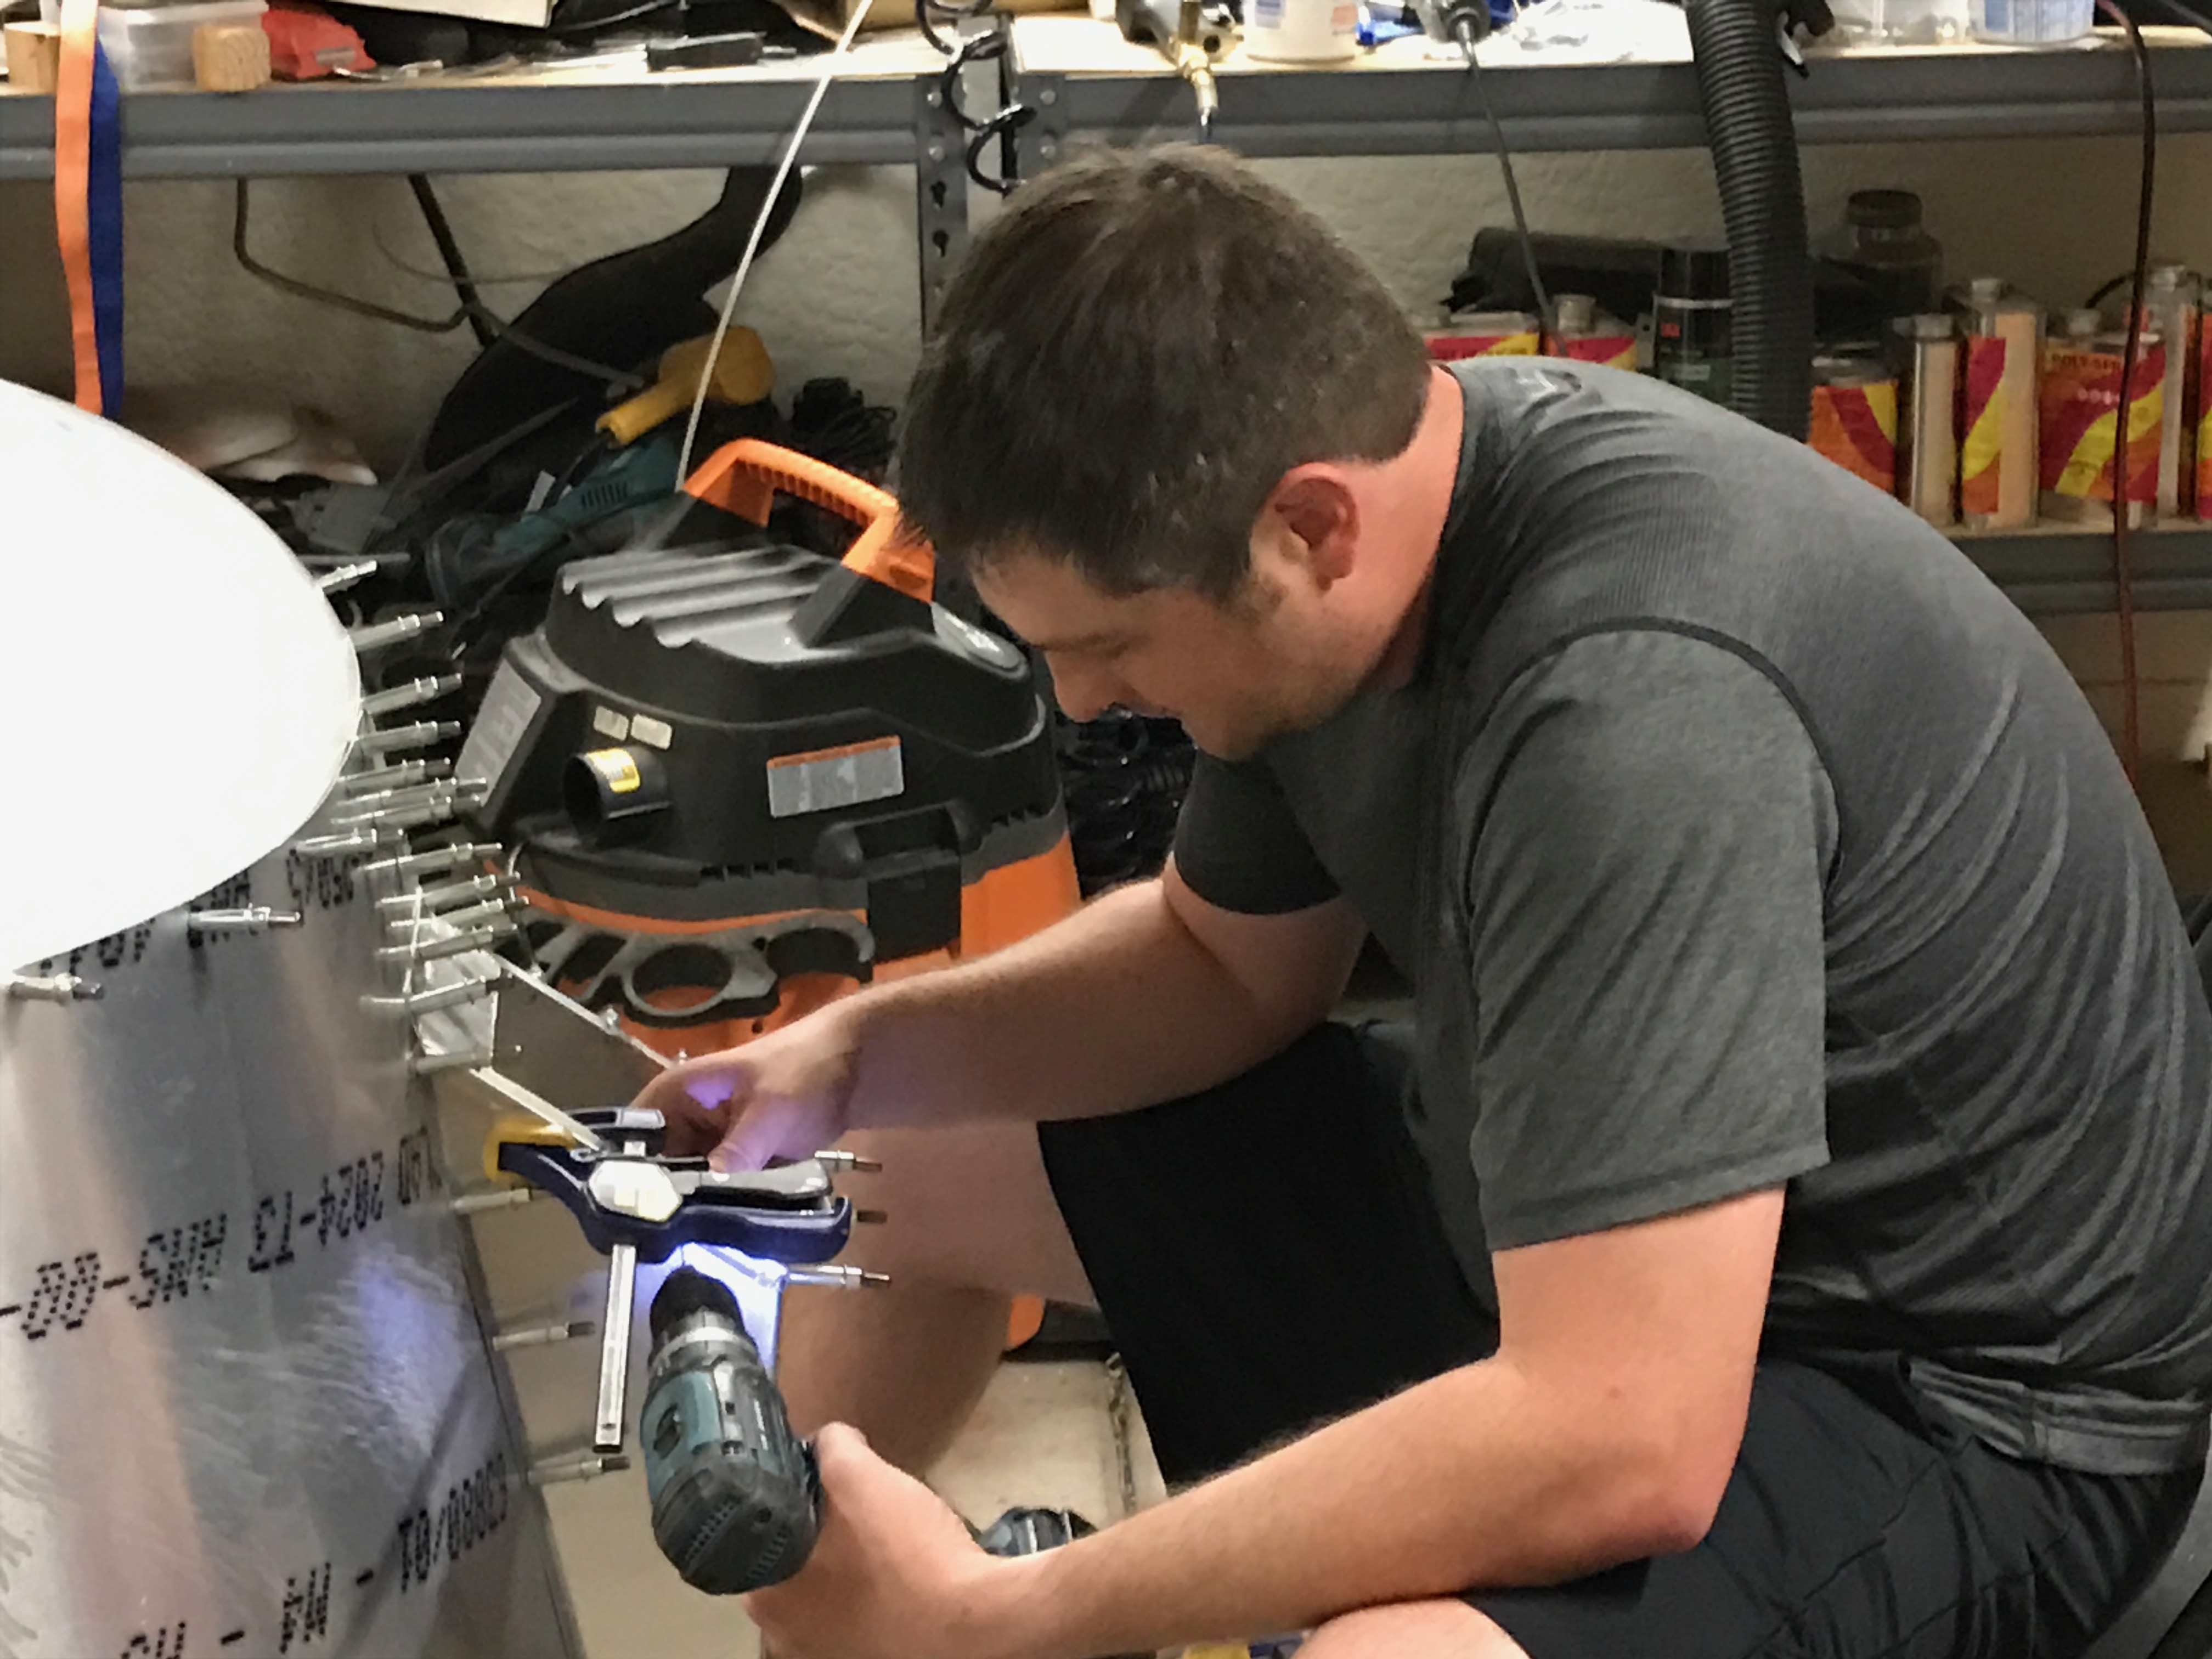
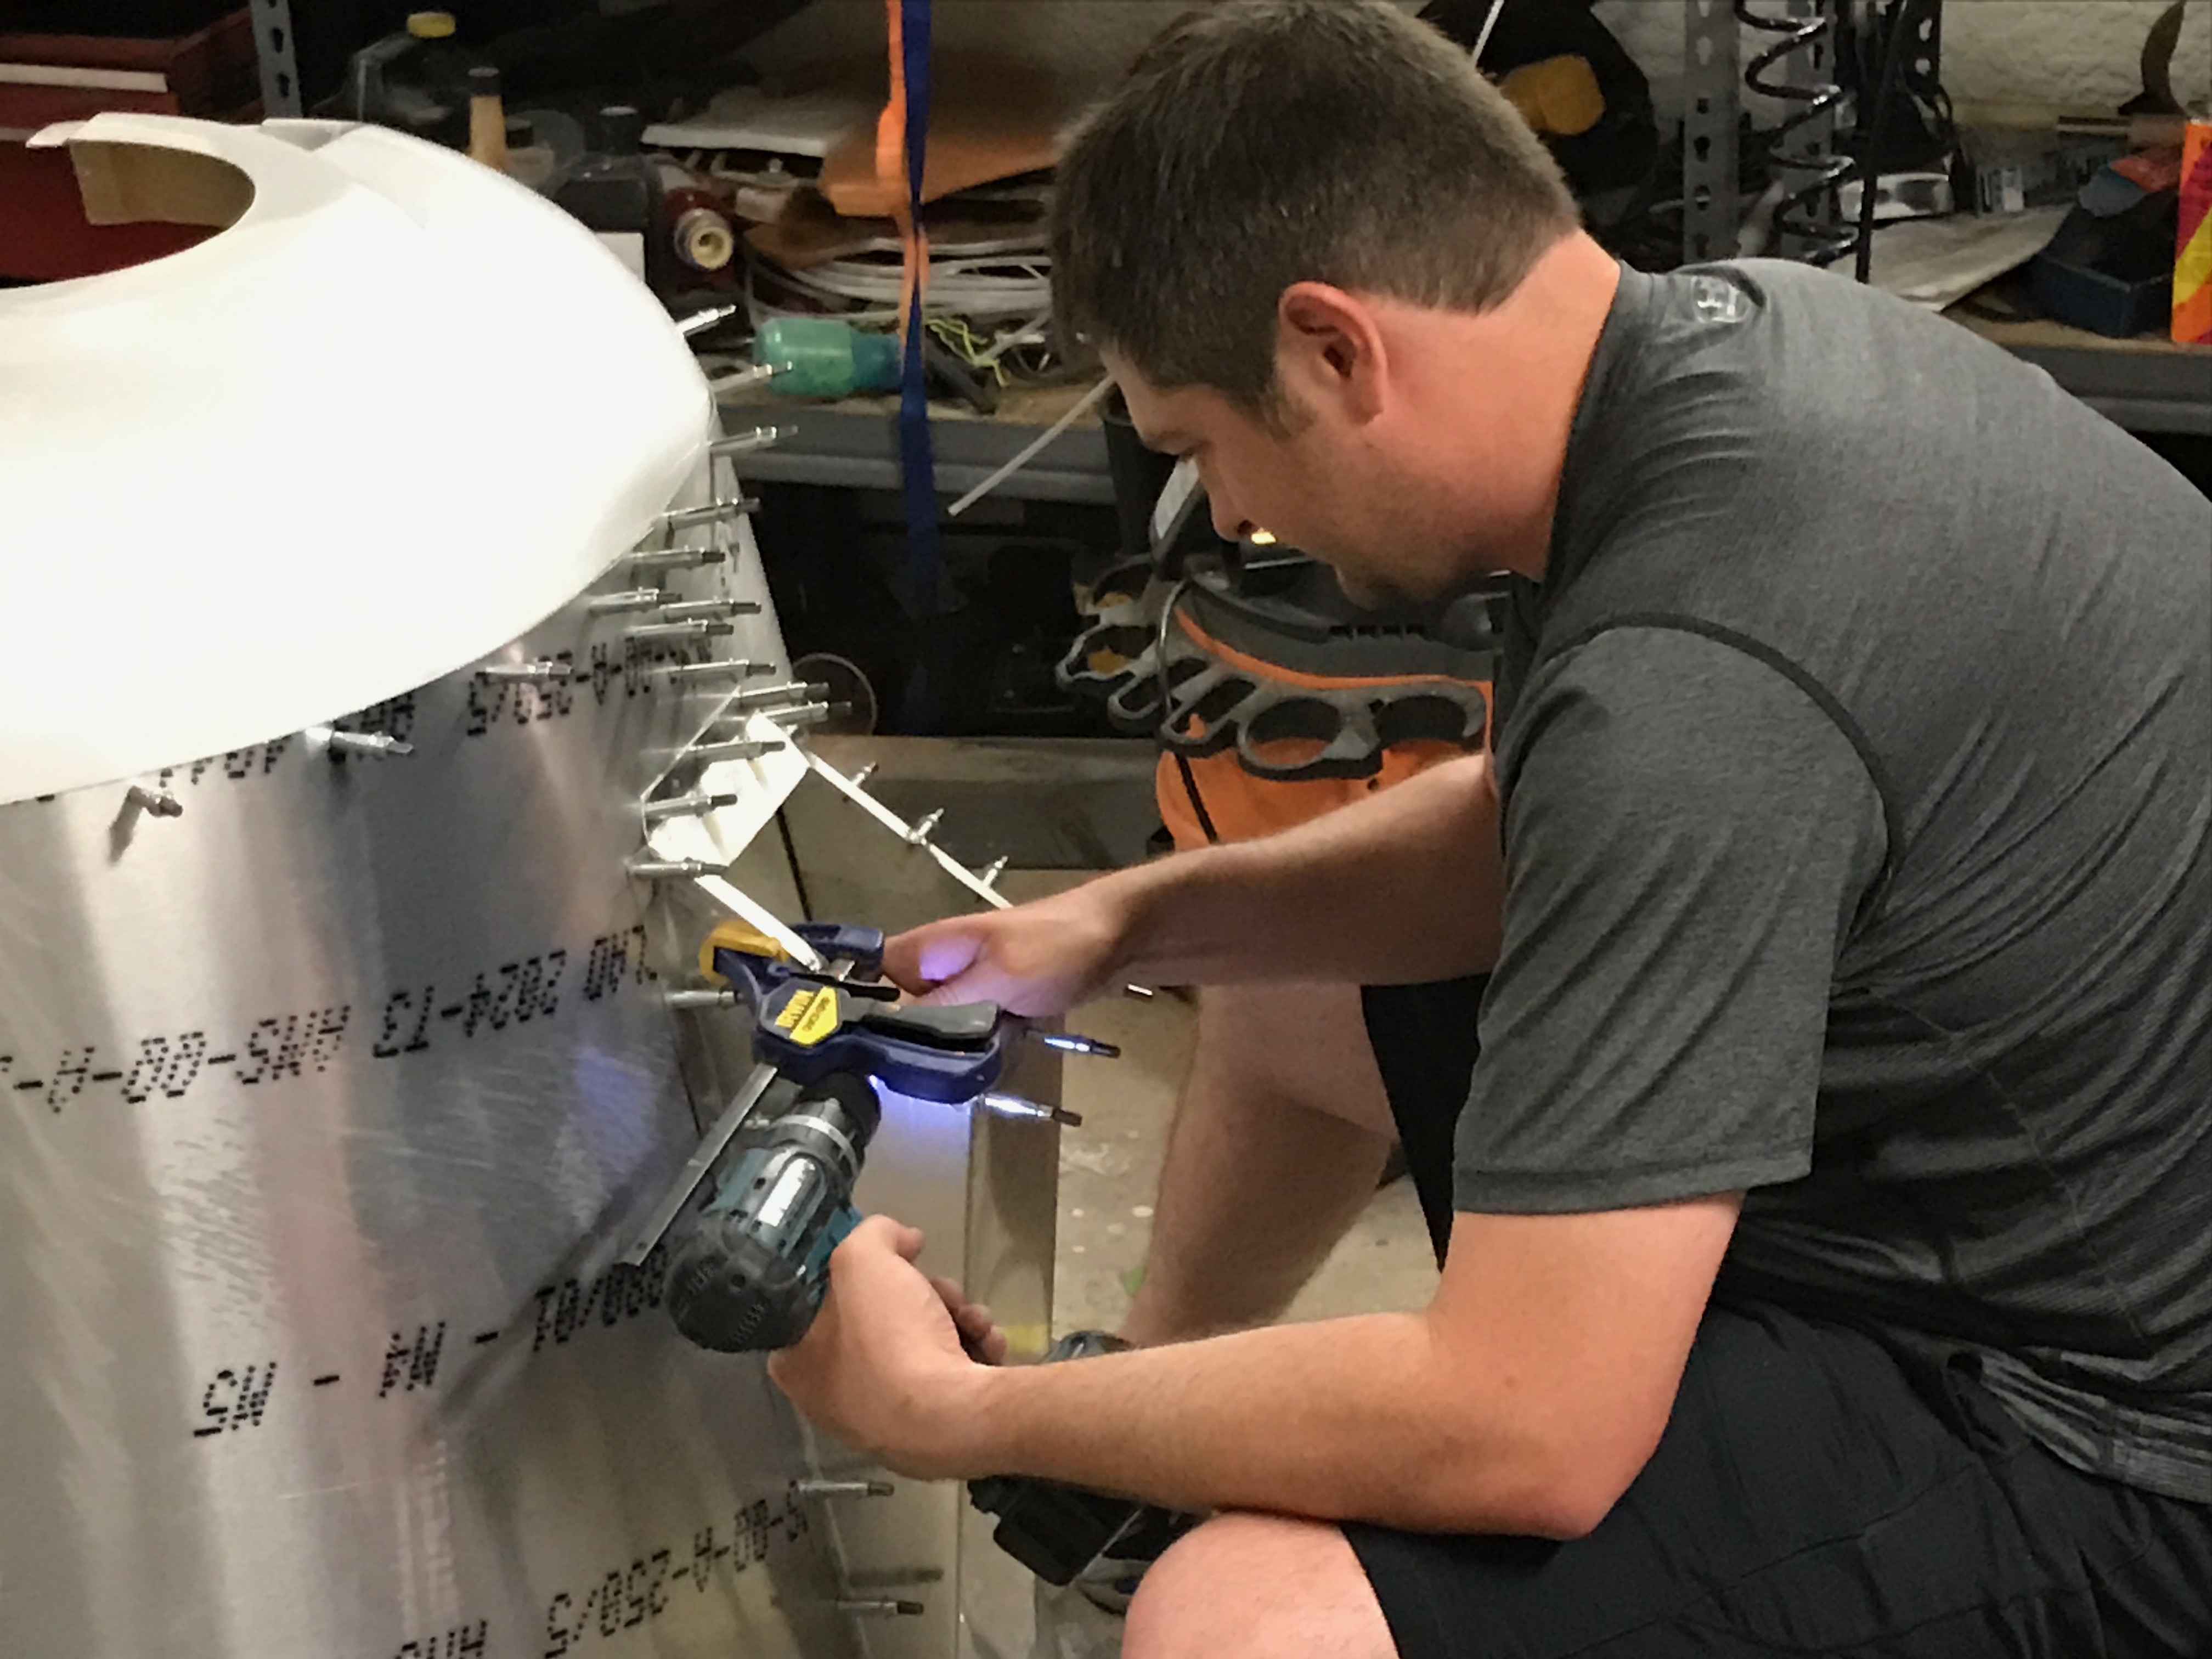
Now that the fuselage is safely in the hangar it’s time to move on to the wings. I used 1×2 supports with finishing nails in them to hold the wing skin open. Worked great!
Now that the fuselage is safely in the hangar it’s time to move on to the wings. I used 1×2 supports with finishing nails in them to hold the wing skin open. Worked great!
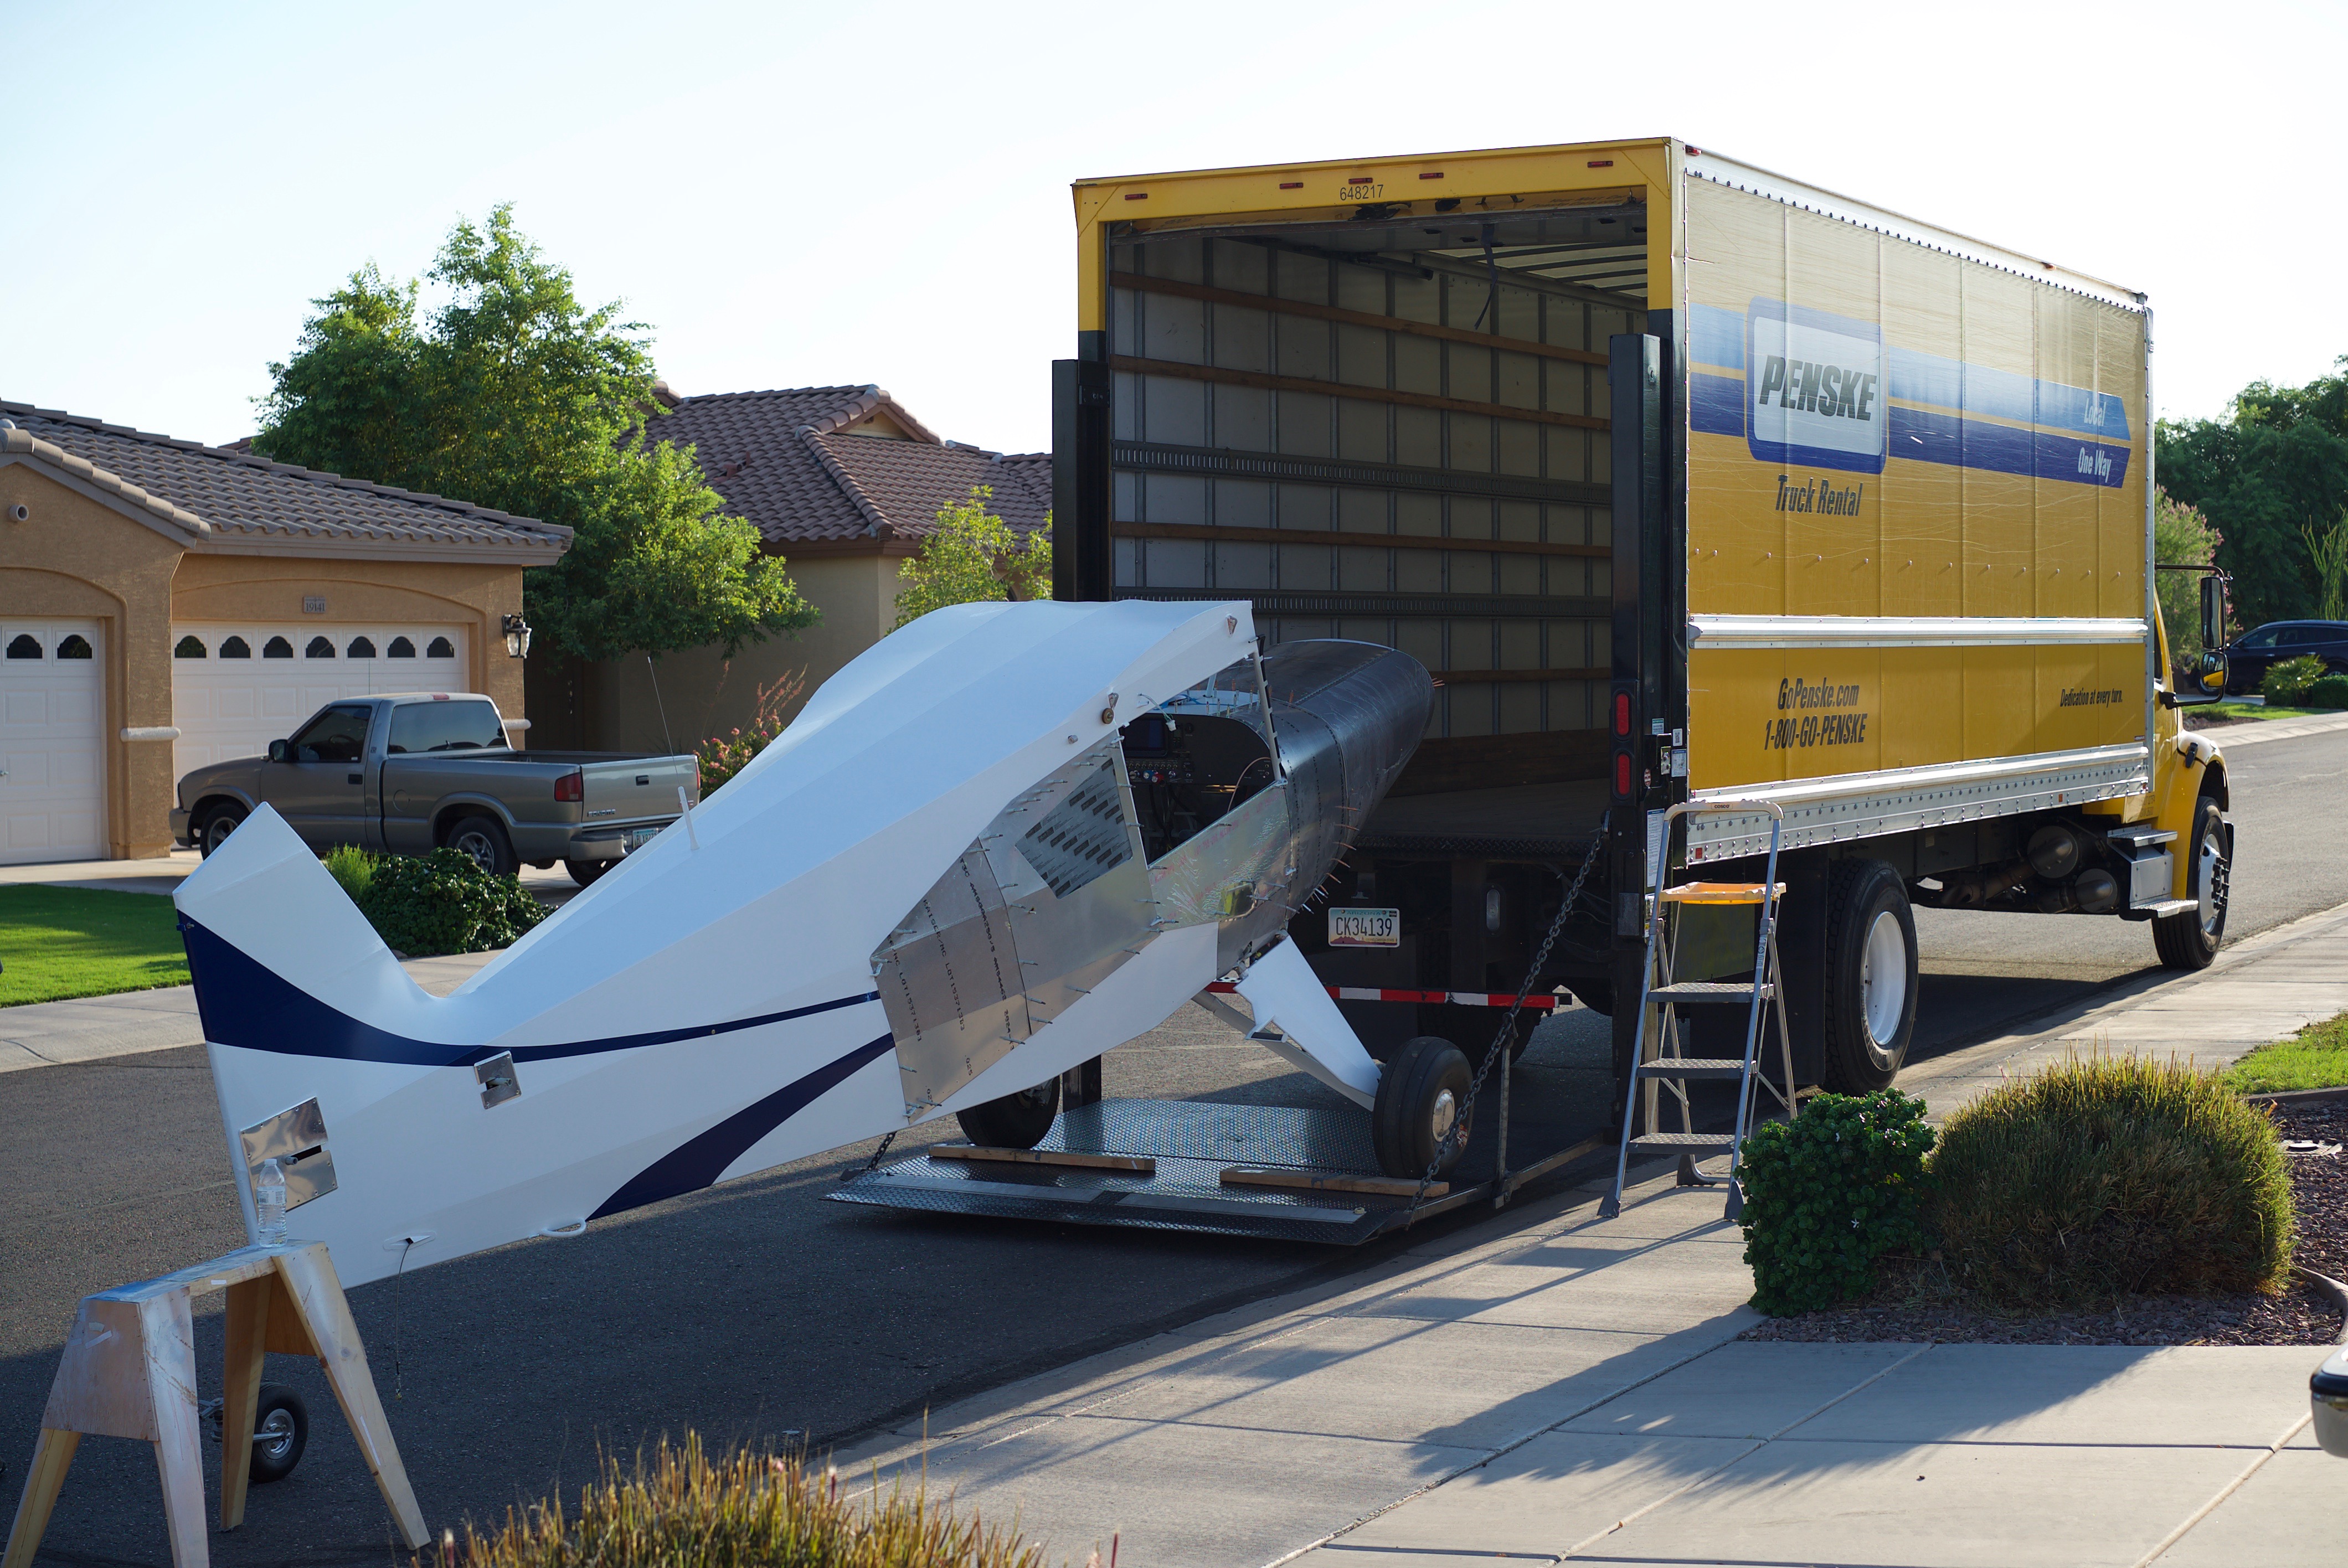
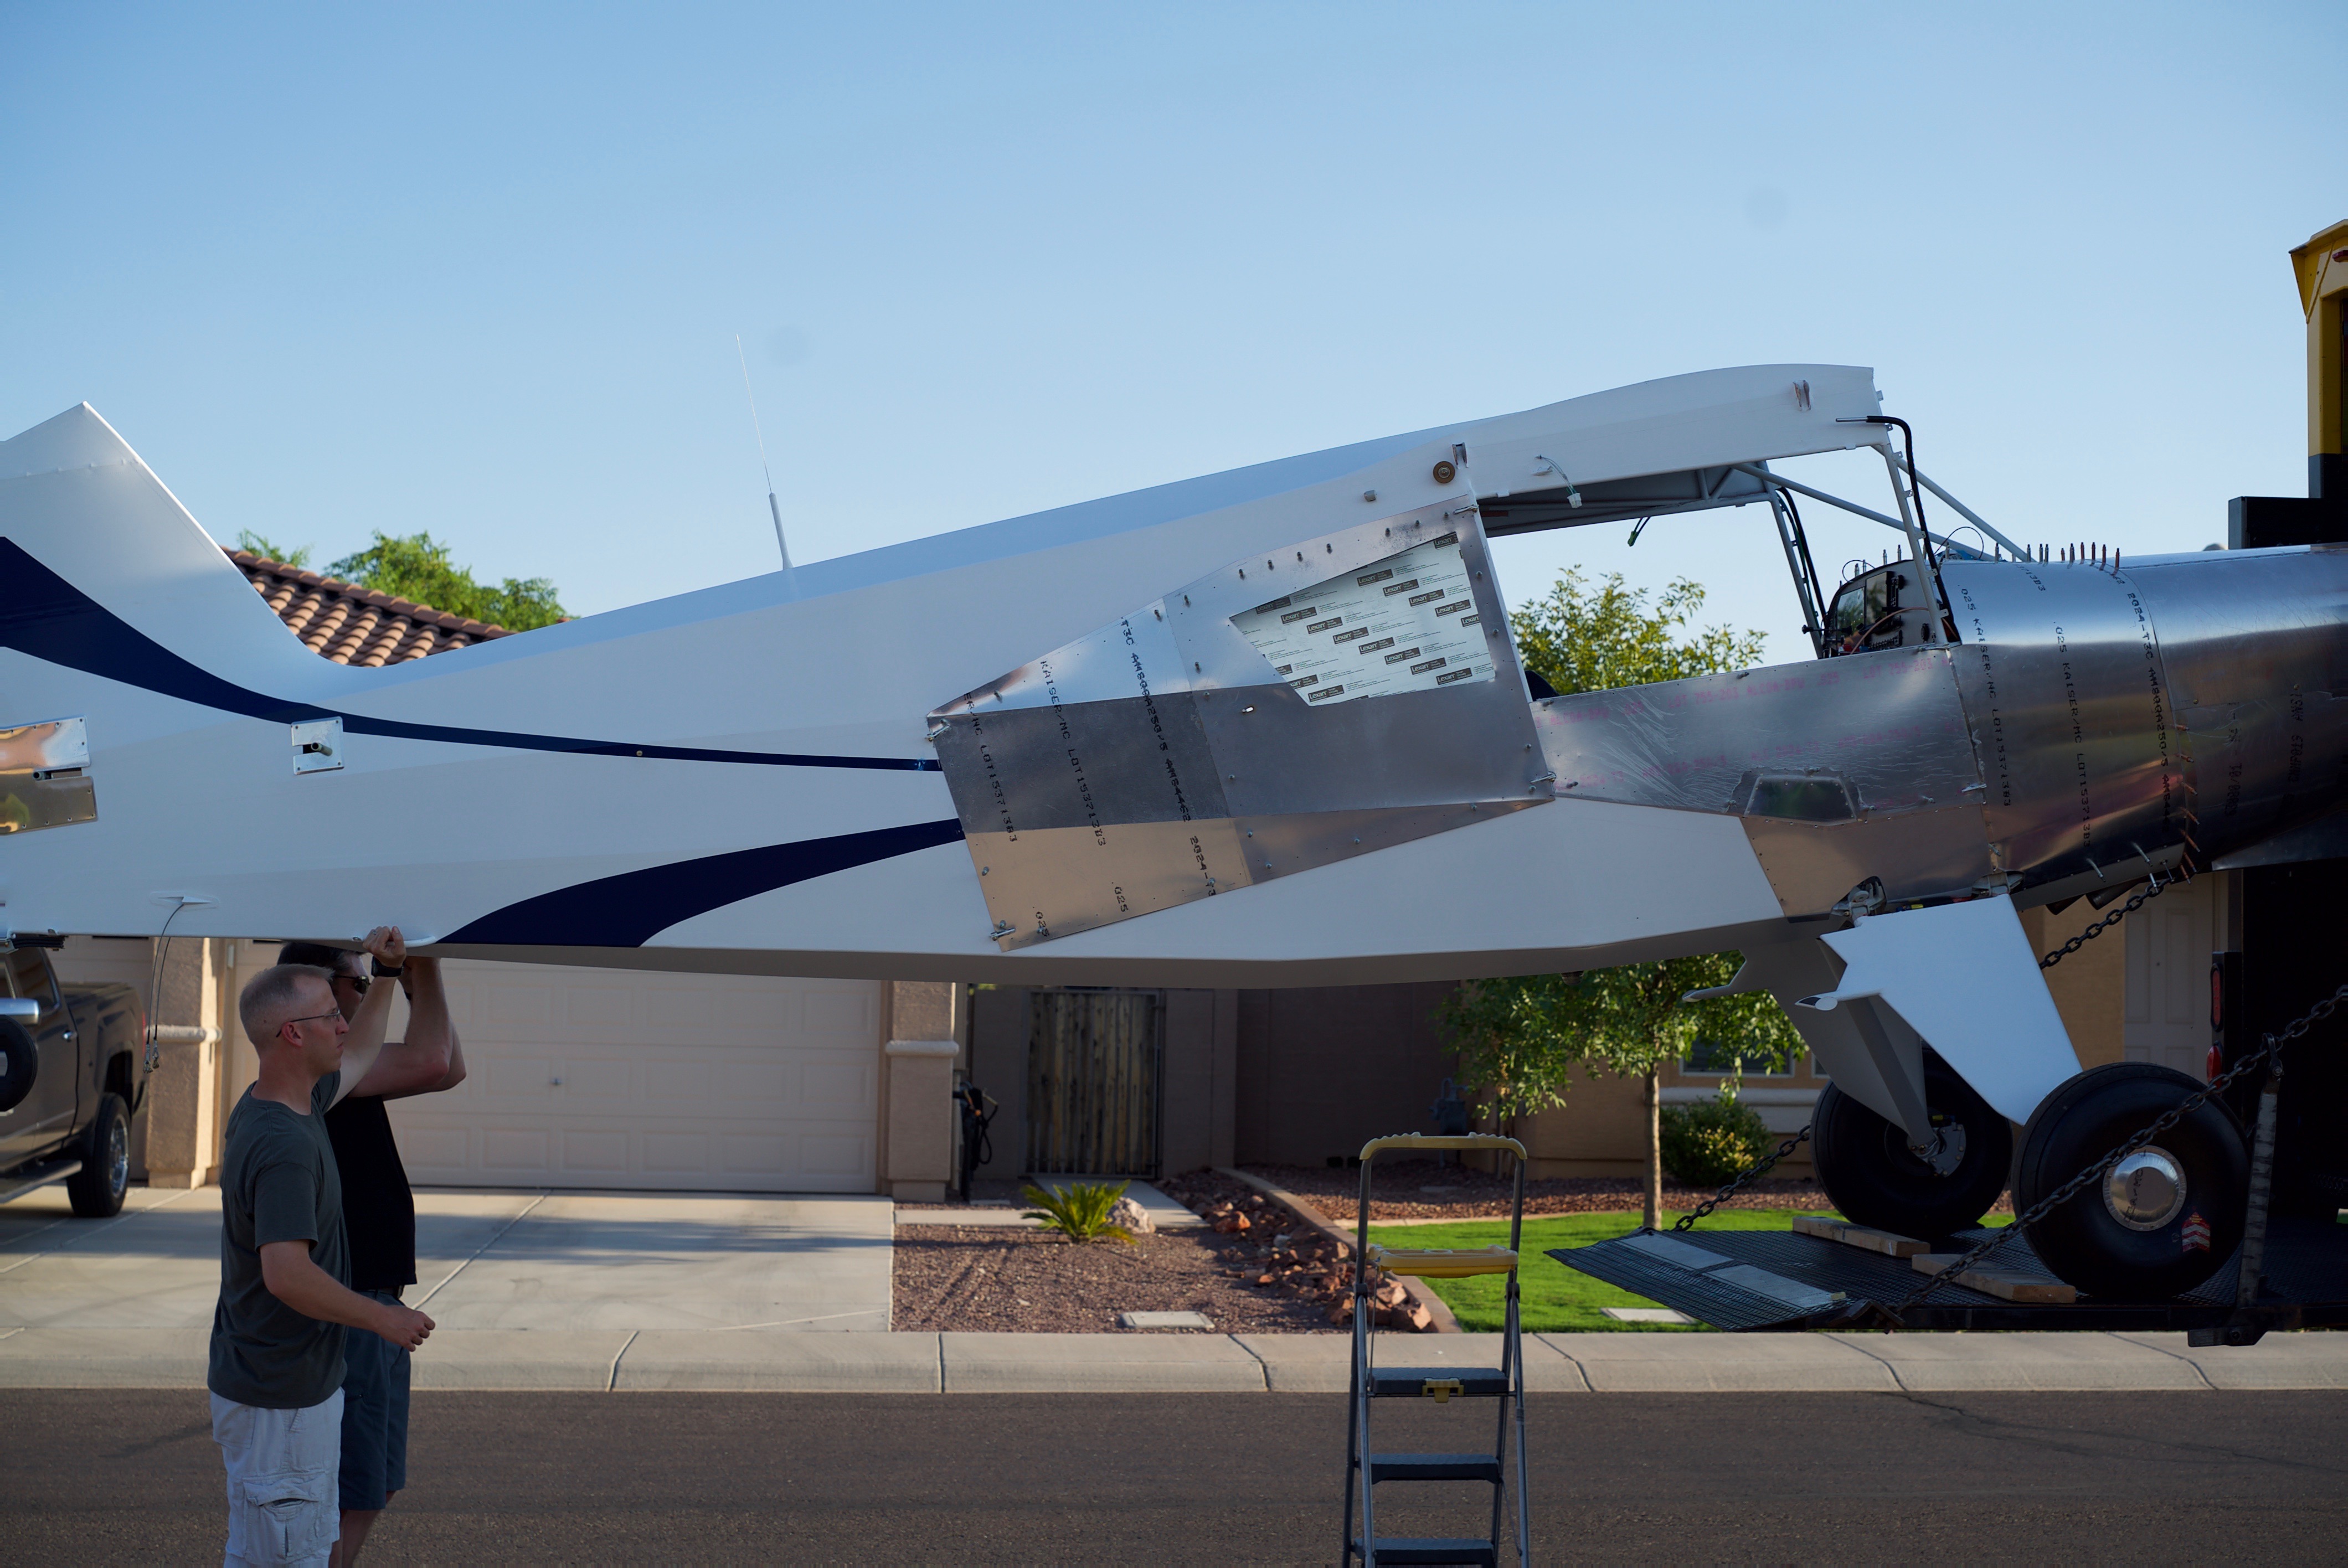
Moving the fuselage to the airport was seriously nerve wracking for me! I was so afraid of it getting damaged. But it went great!
I rented a Penske truck with a hydraulic lift. We placed the main wheels on the lift.
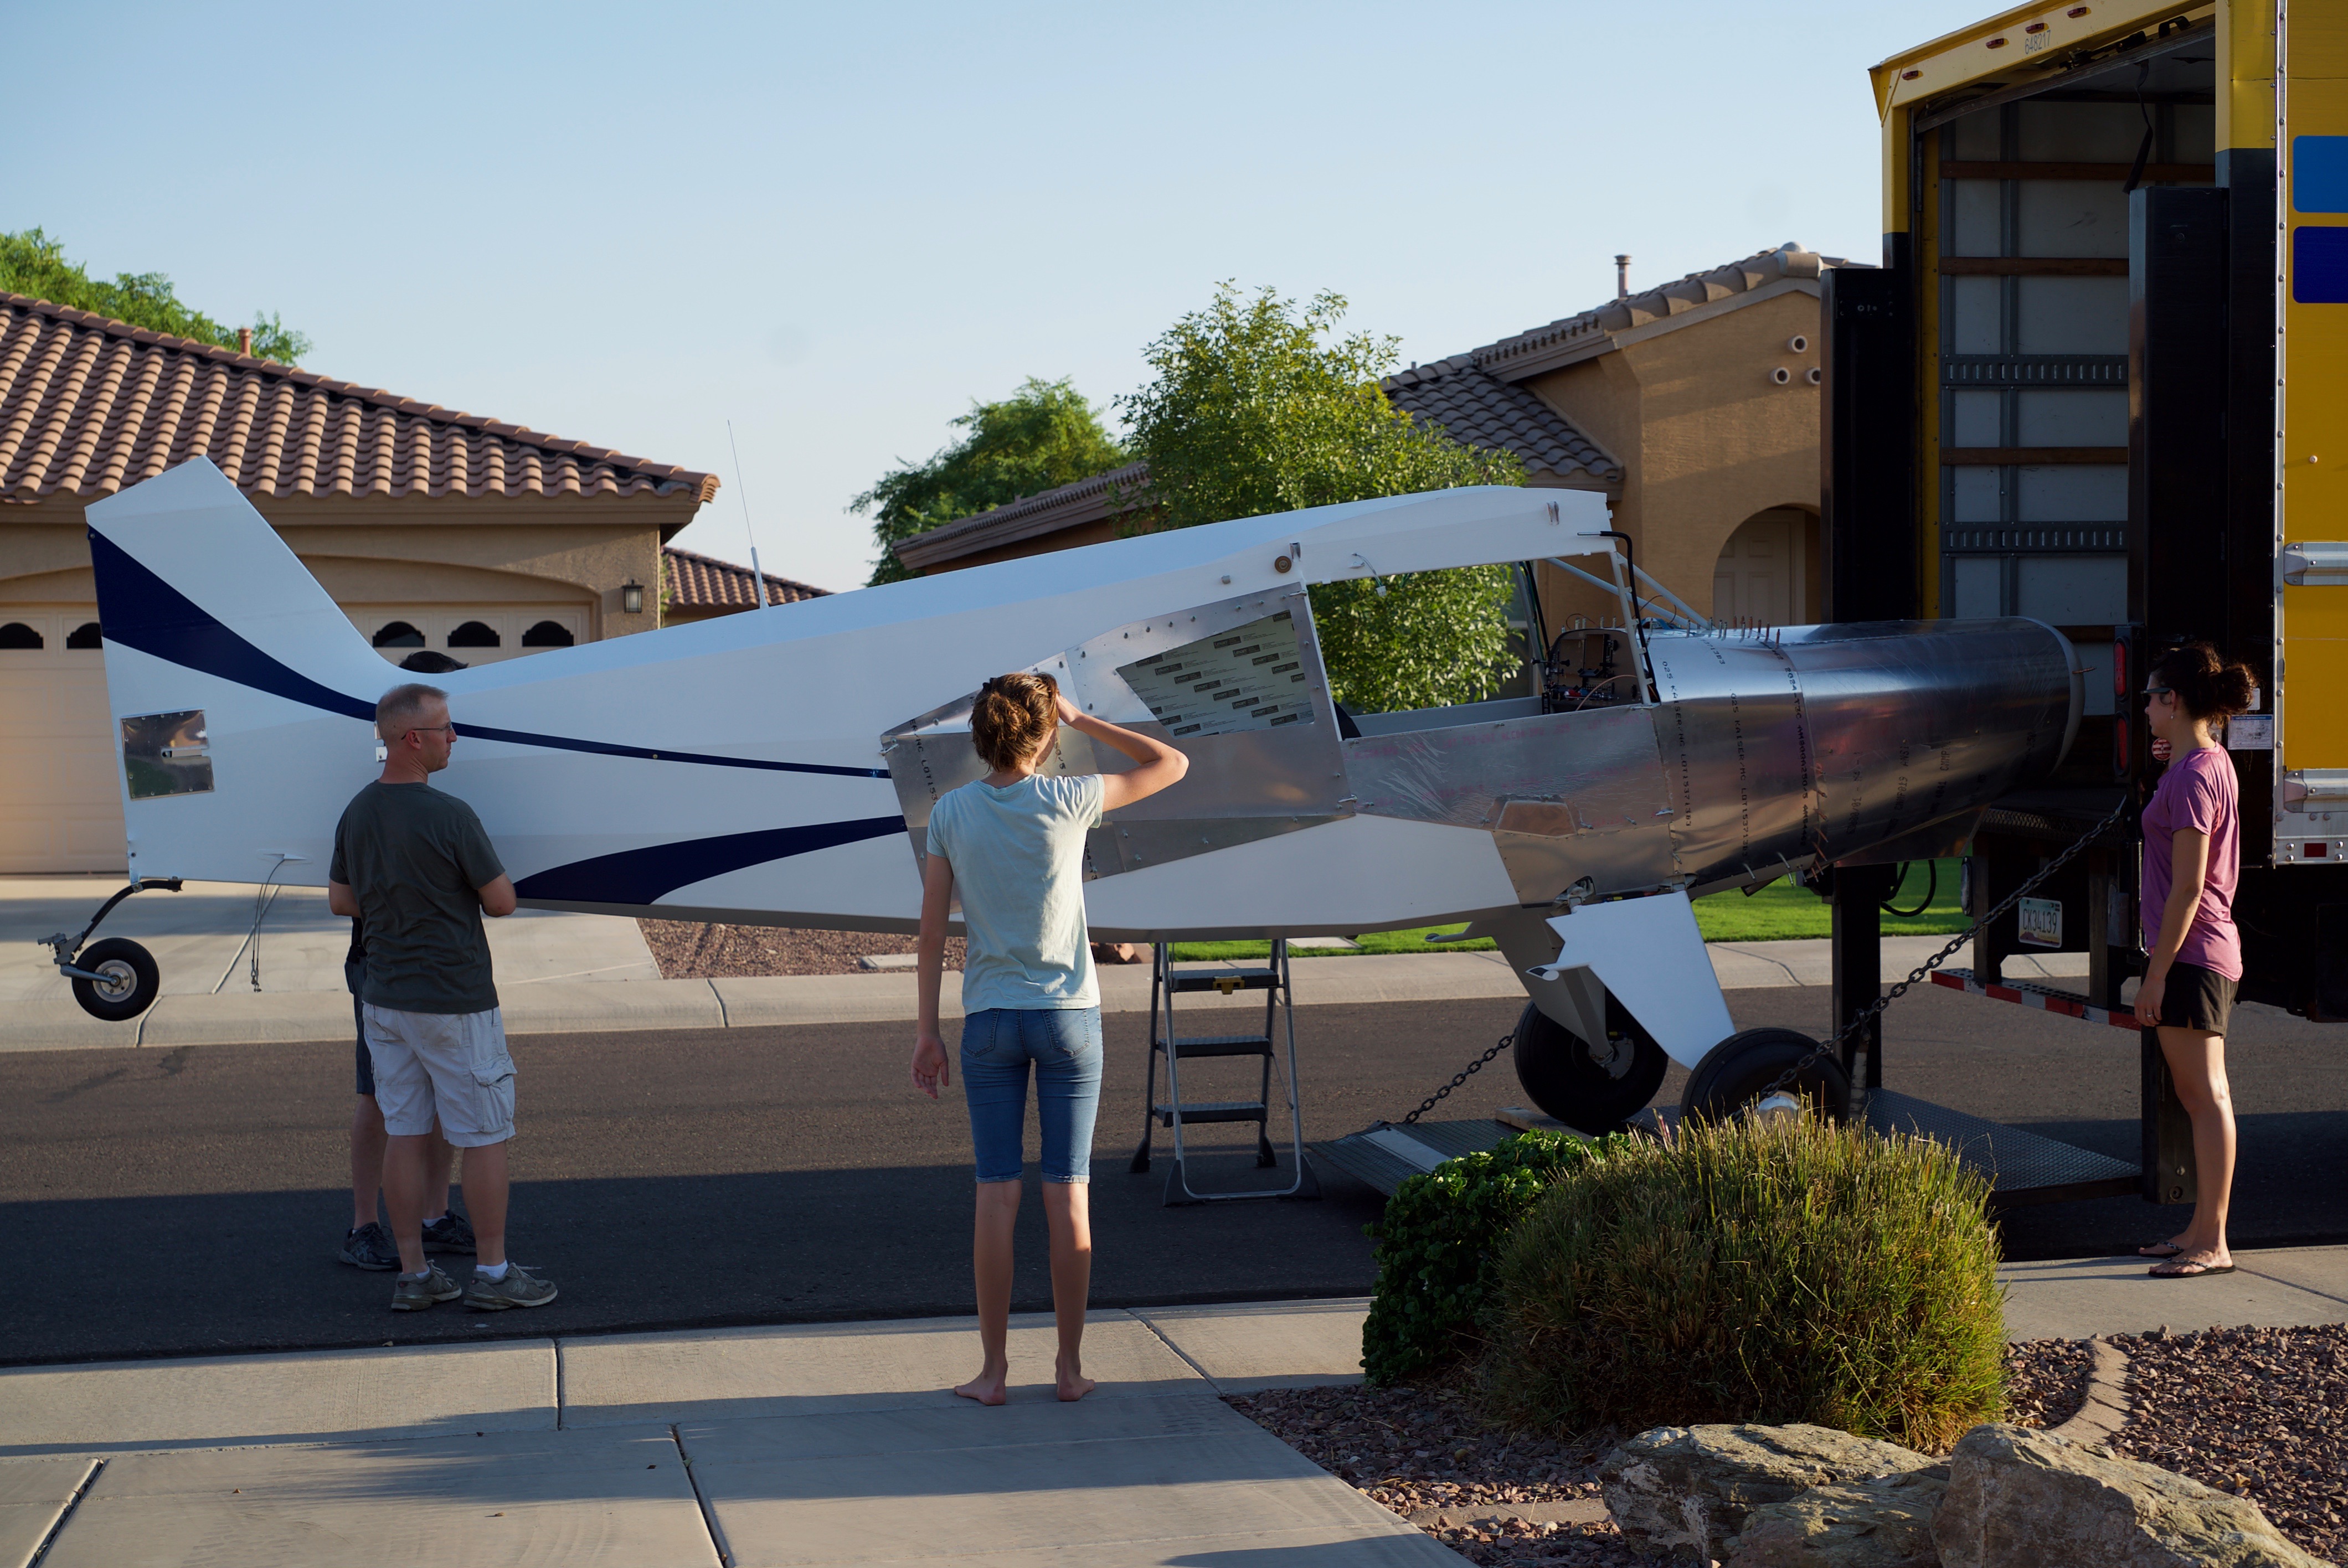
My friend Andy and I manually raised the tail.
My wife raised the lift.
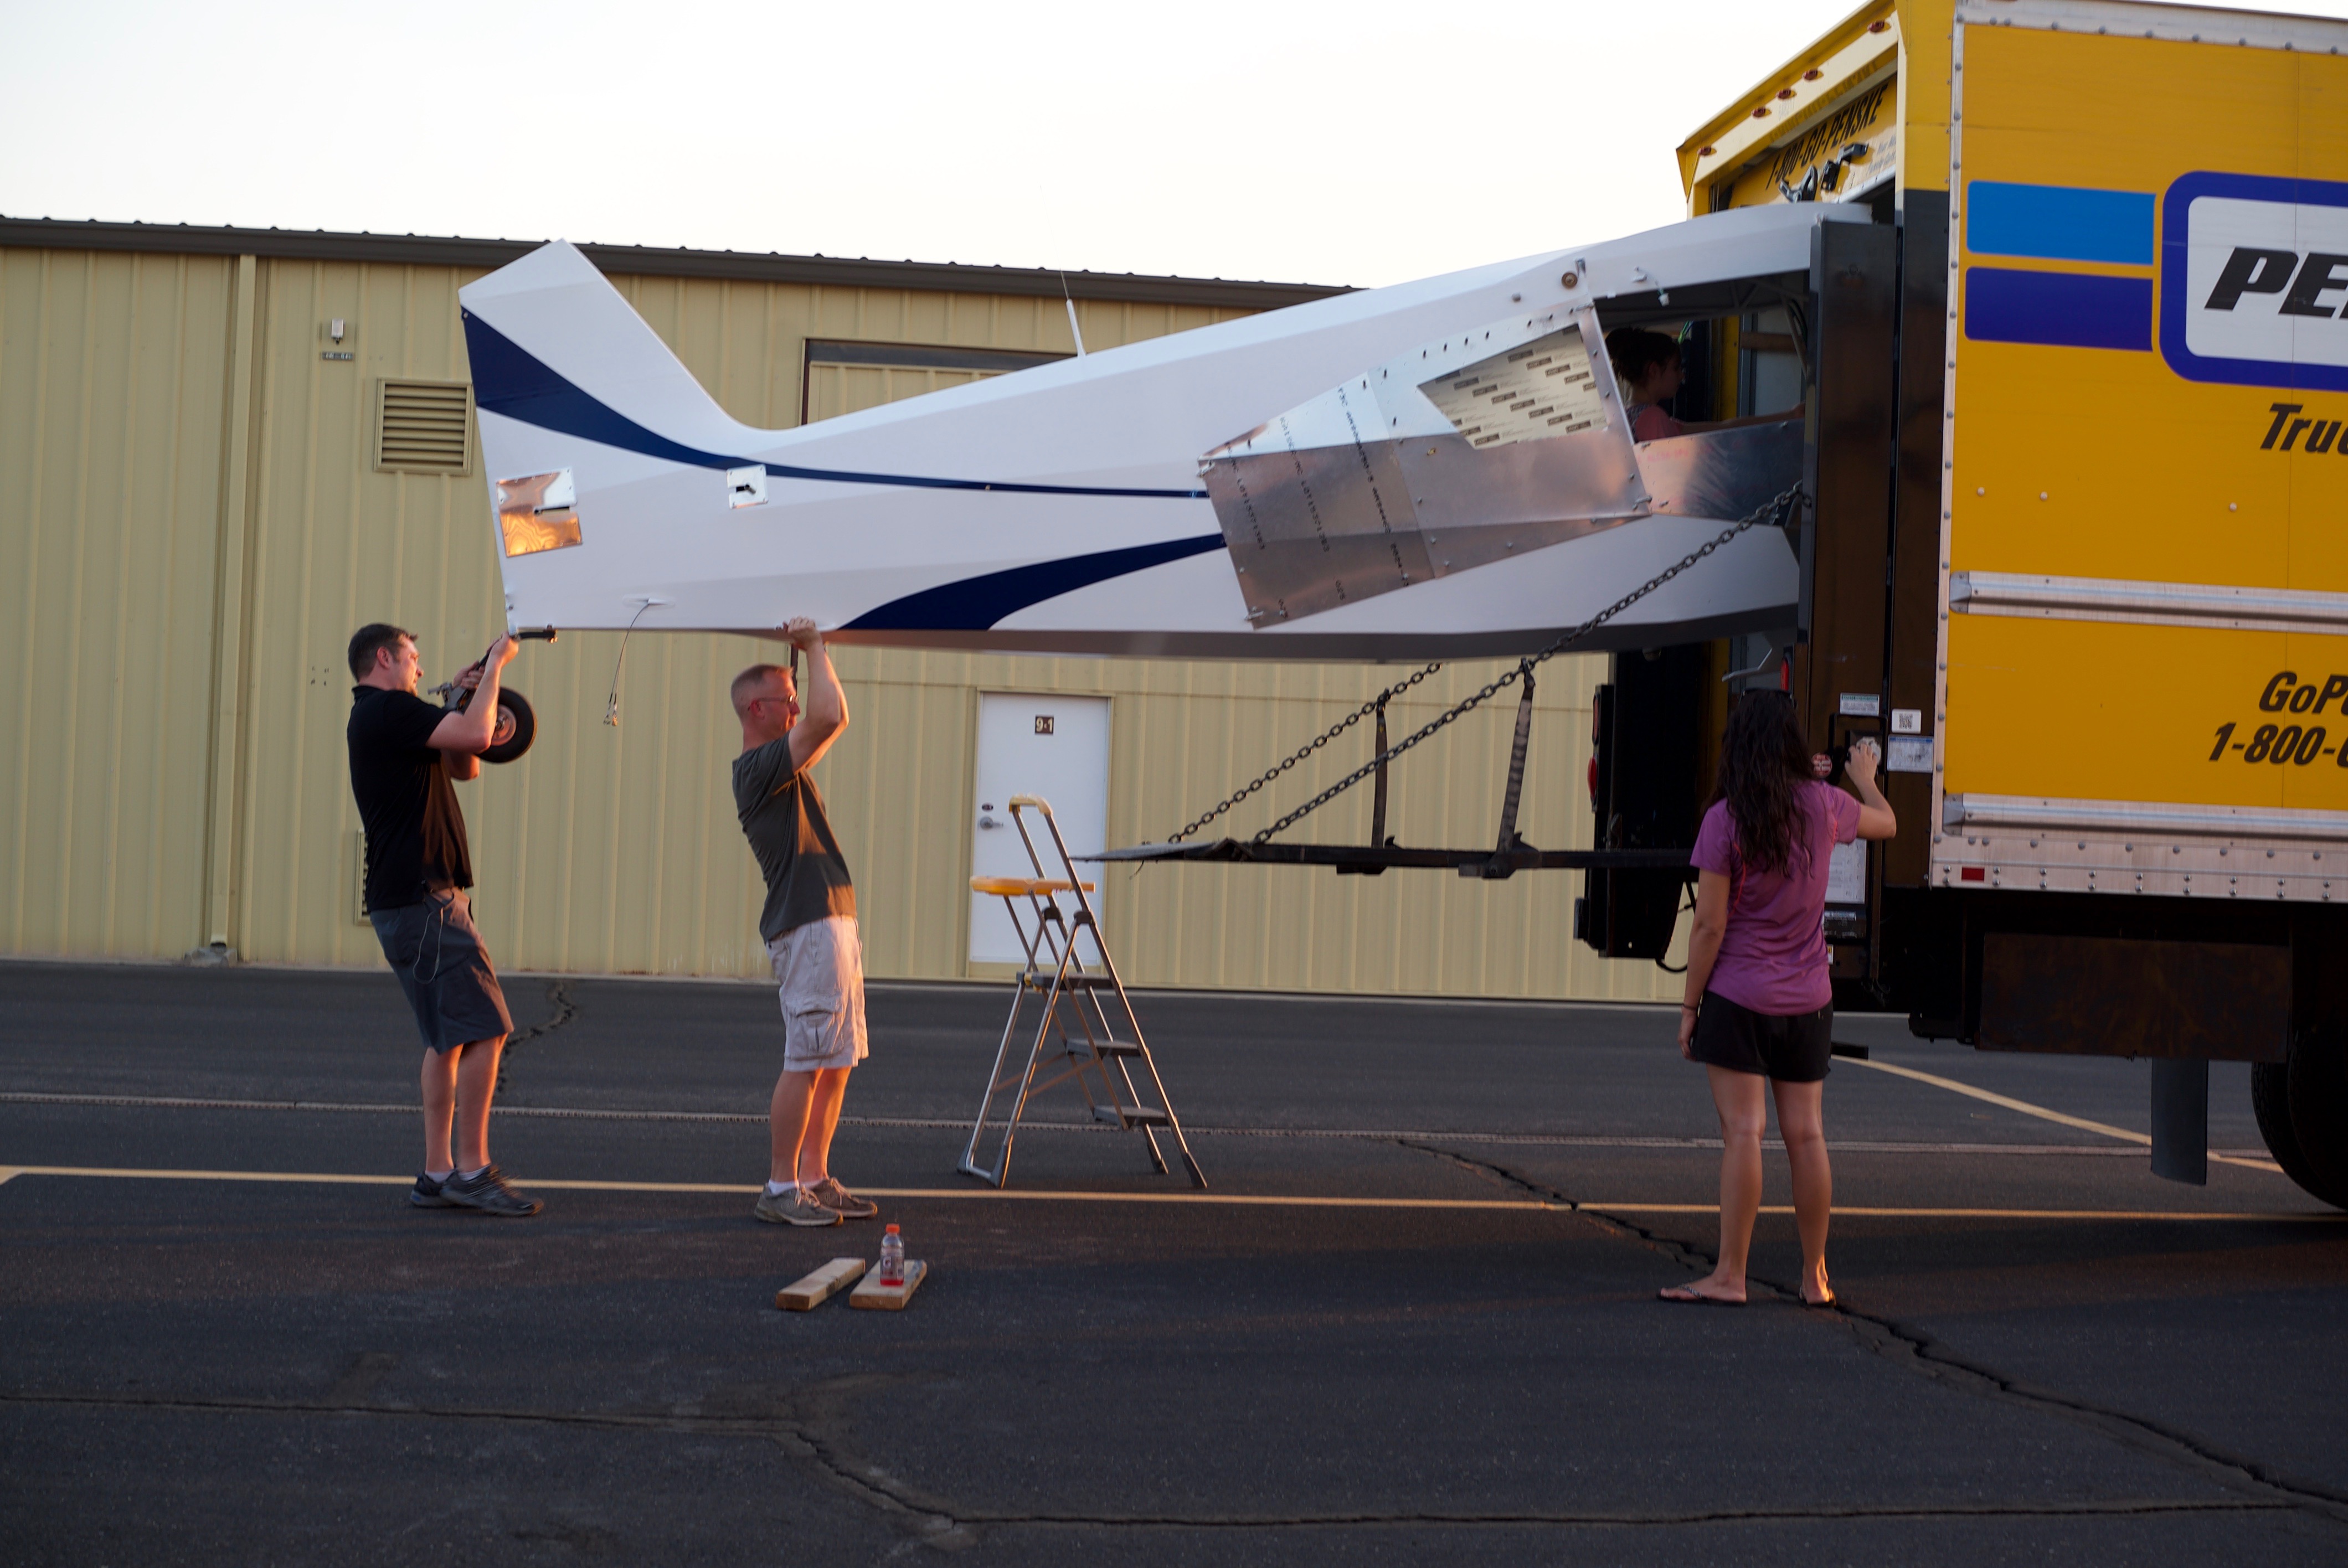
After a very careful and slow drive to the airport we extracted the fuselage in reverse order. If you pay close attention, the door didn’t open all the way and it scuffed the top of the fuselage. Not bad, but needed a little paint touchup.
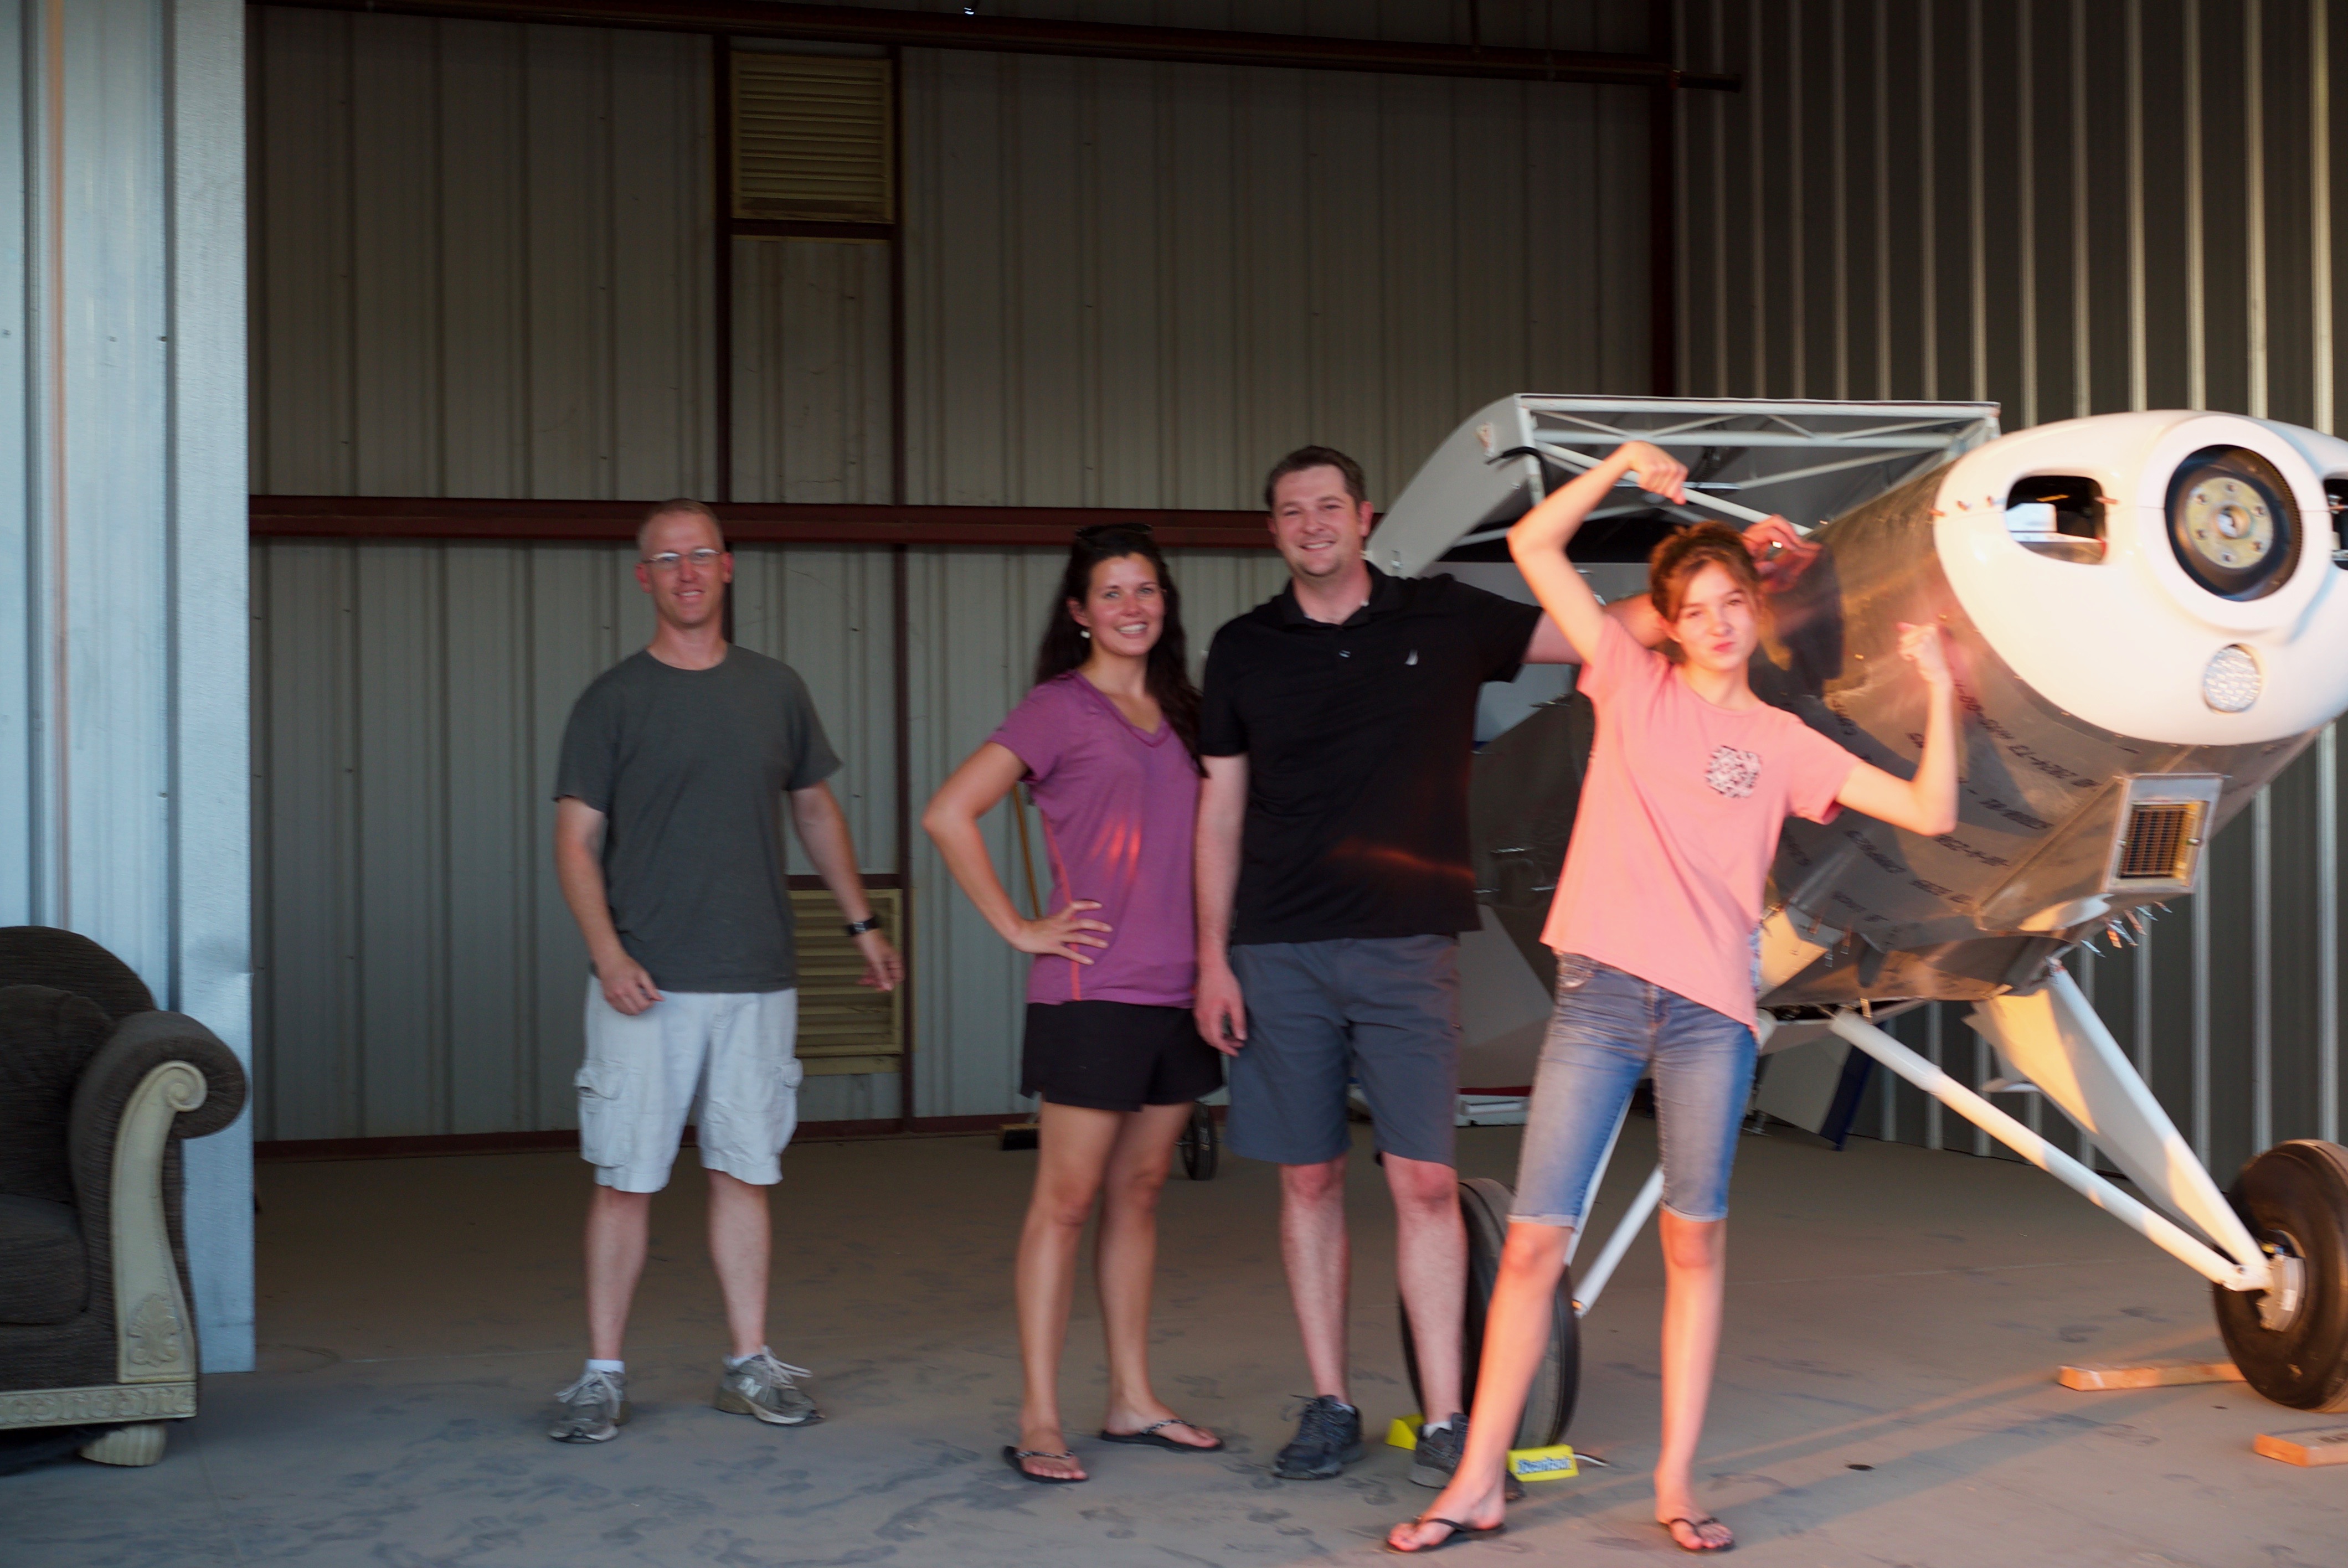
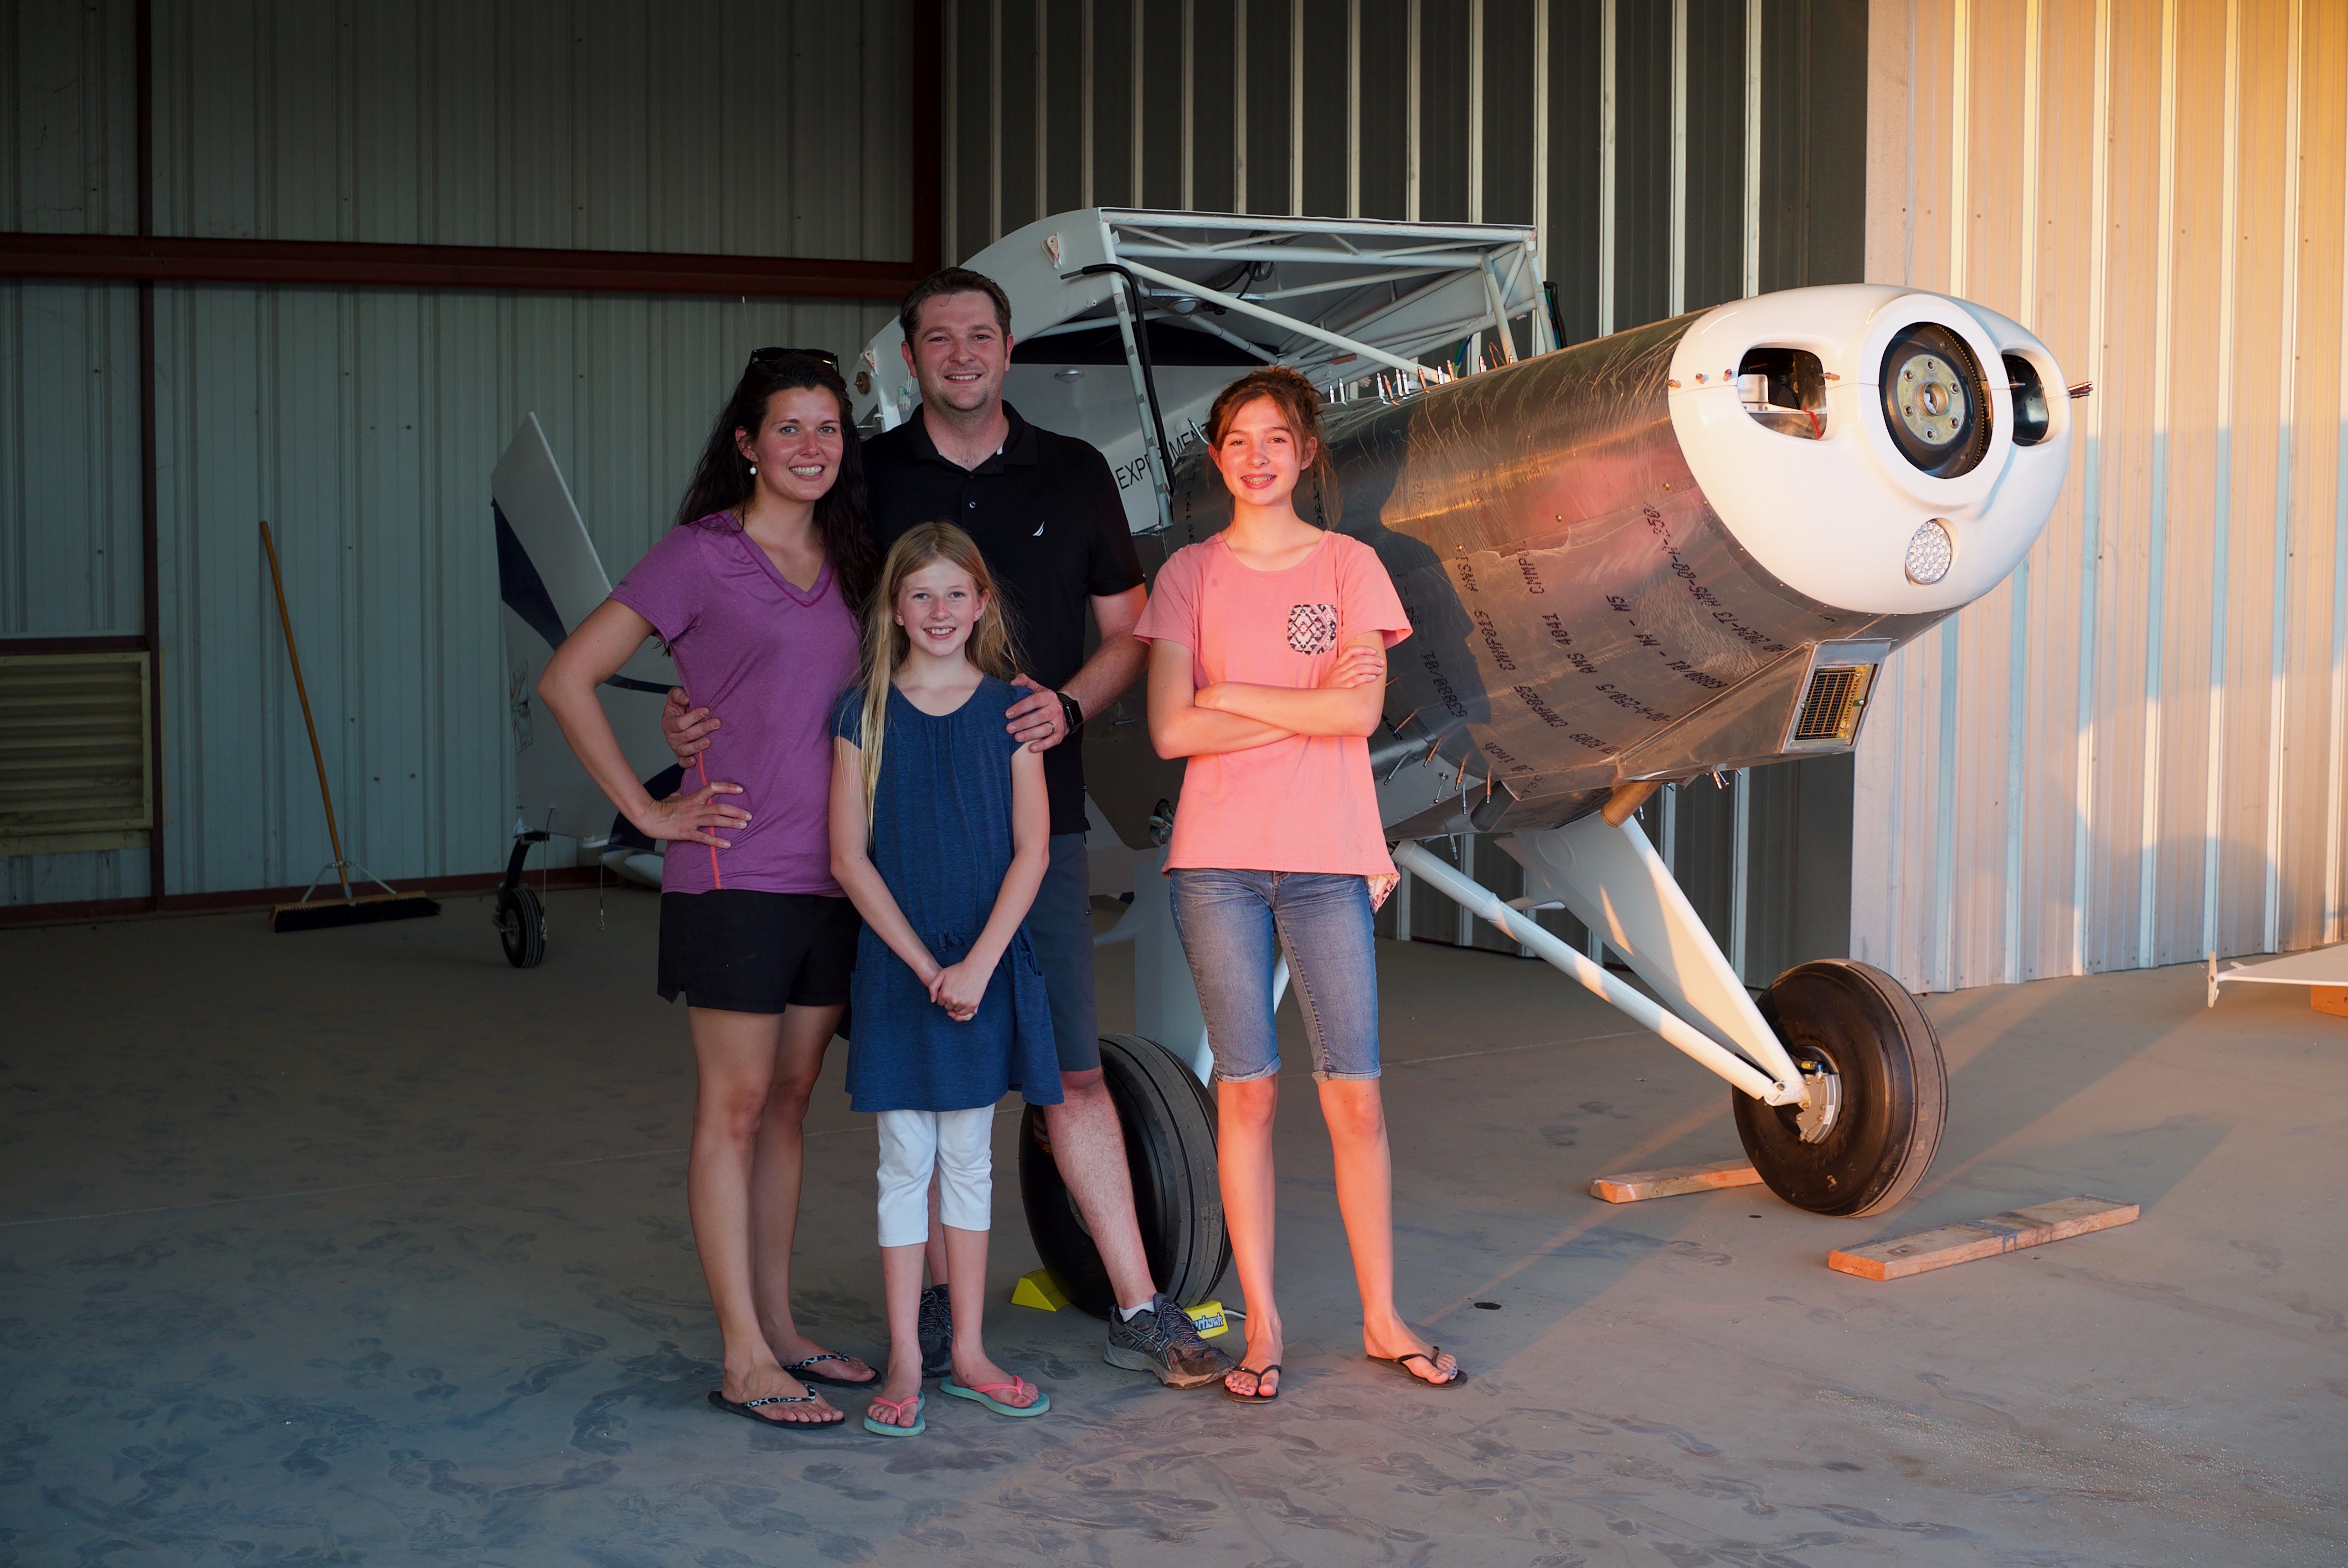
Success!! One fuselage in the hangar!
Today Ron Decandia came by to do our third tech visit. Everything was good and Ron didn’t have any squawks for me.
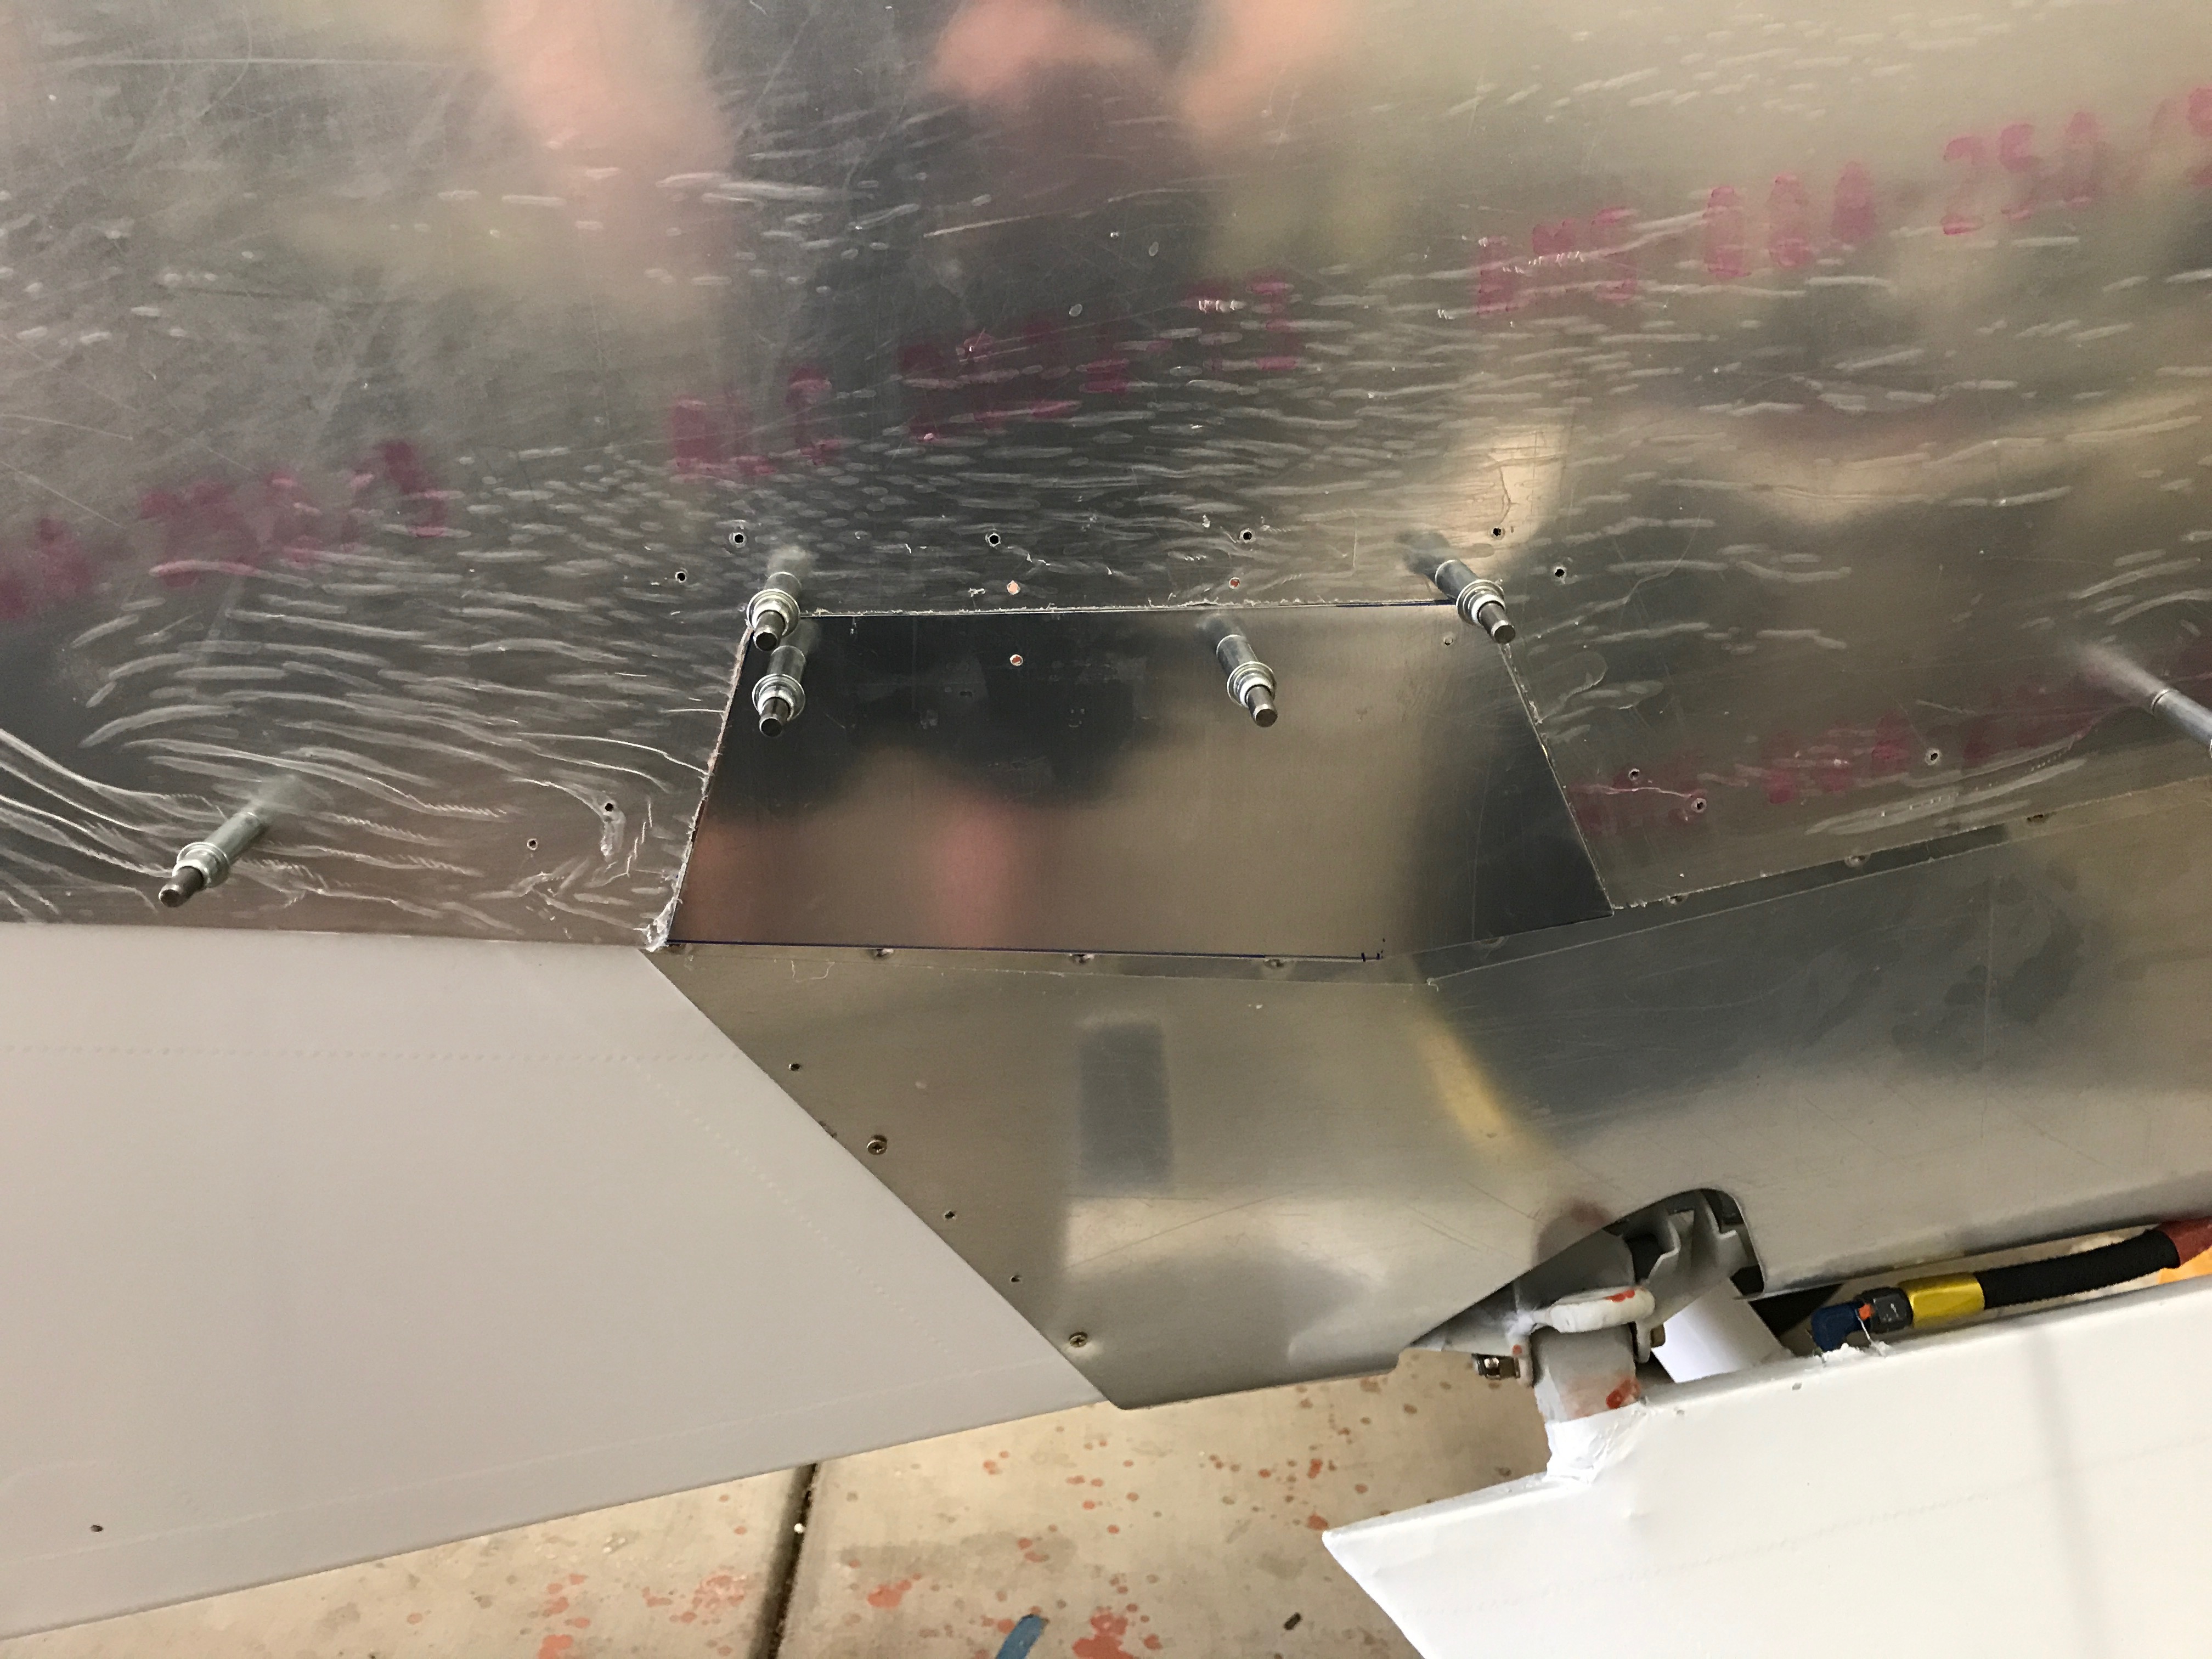
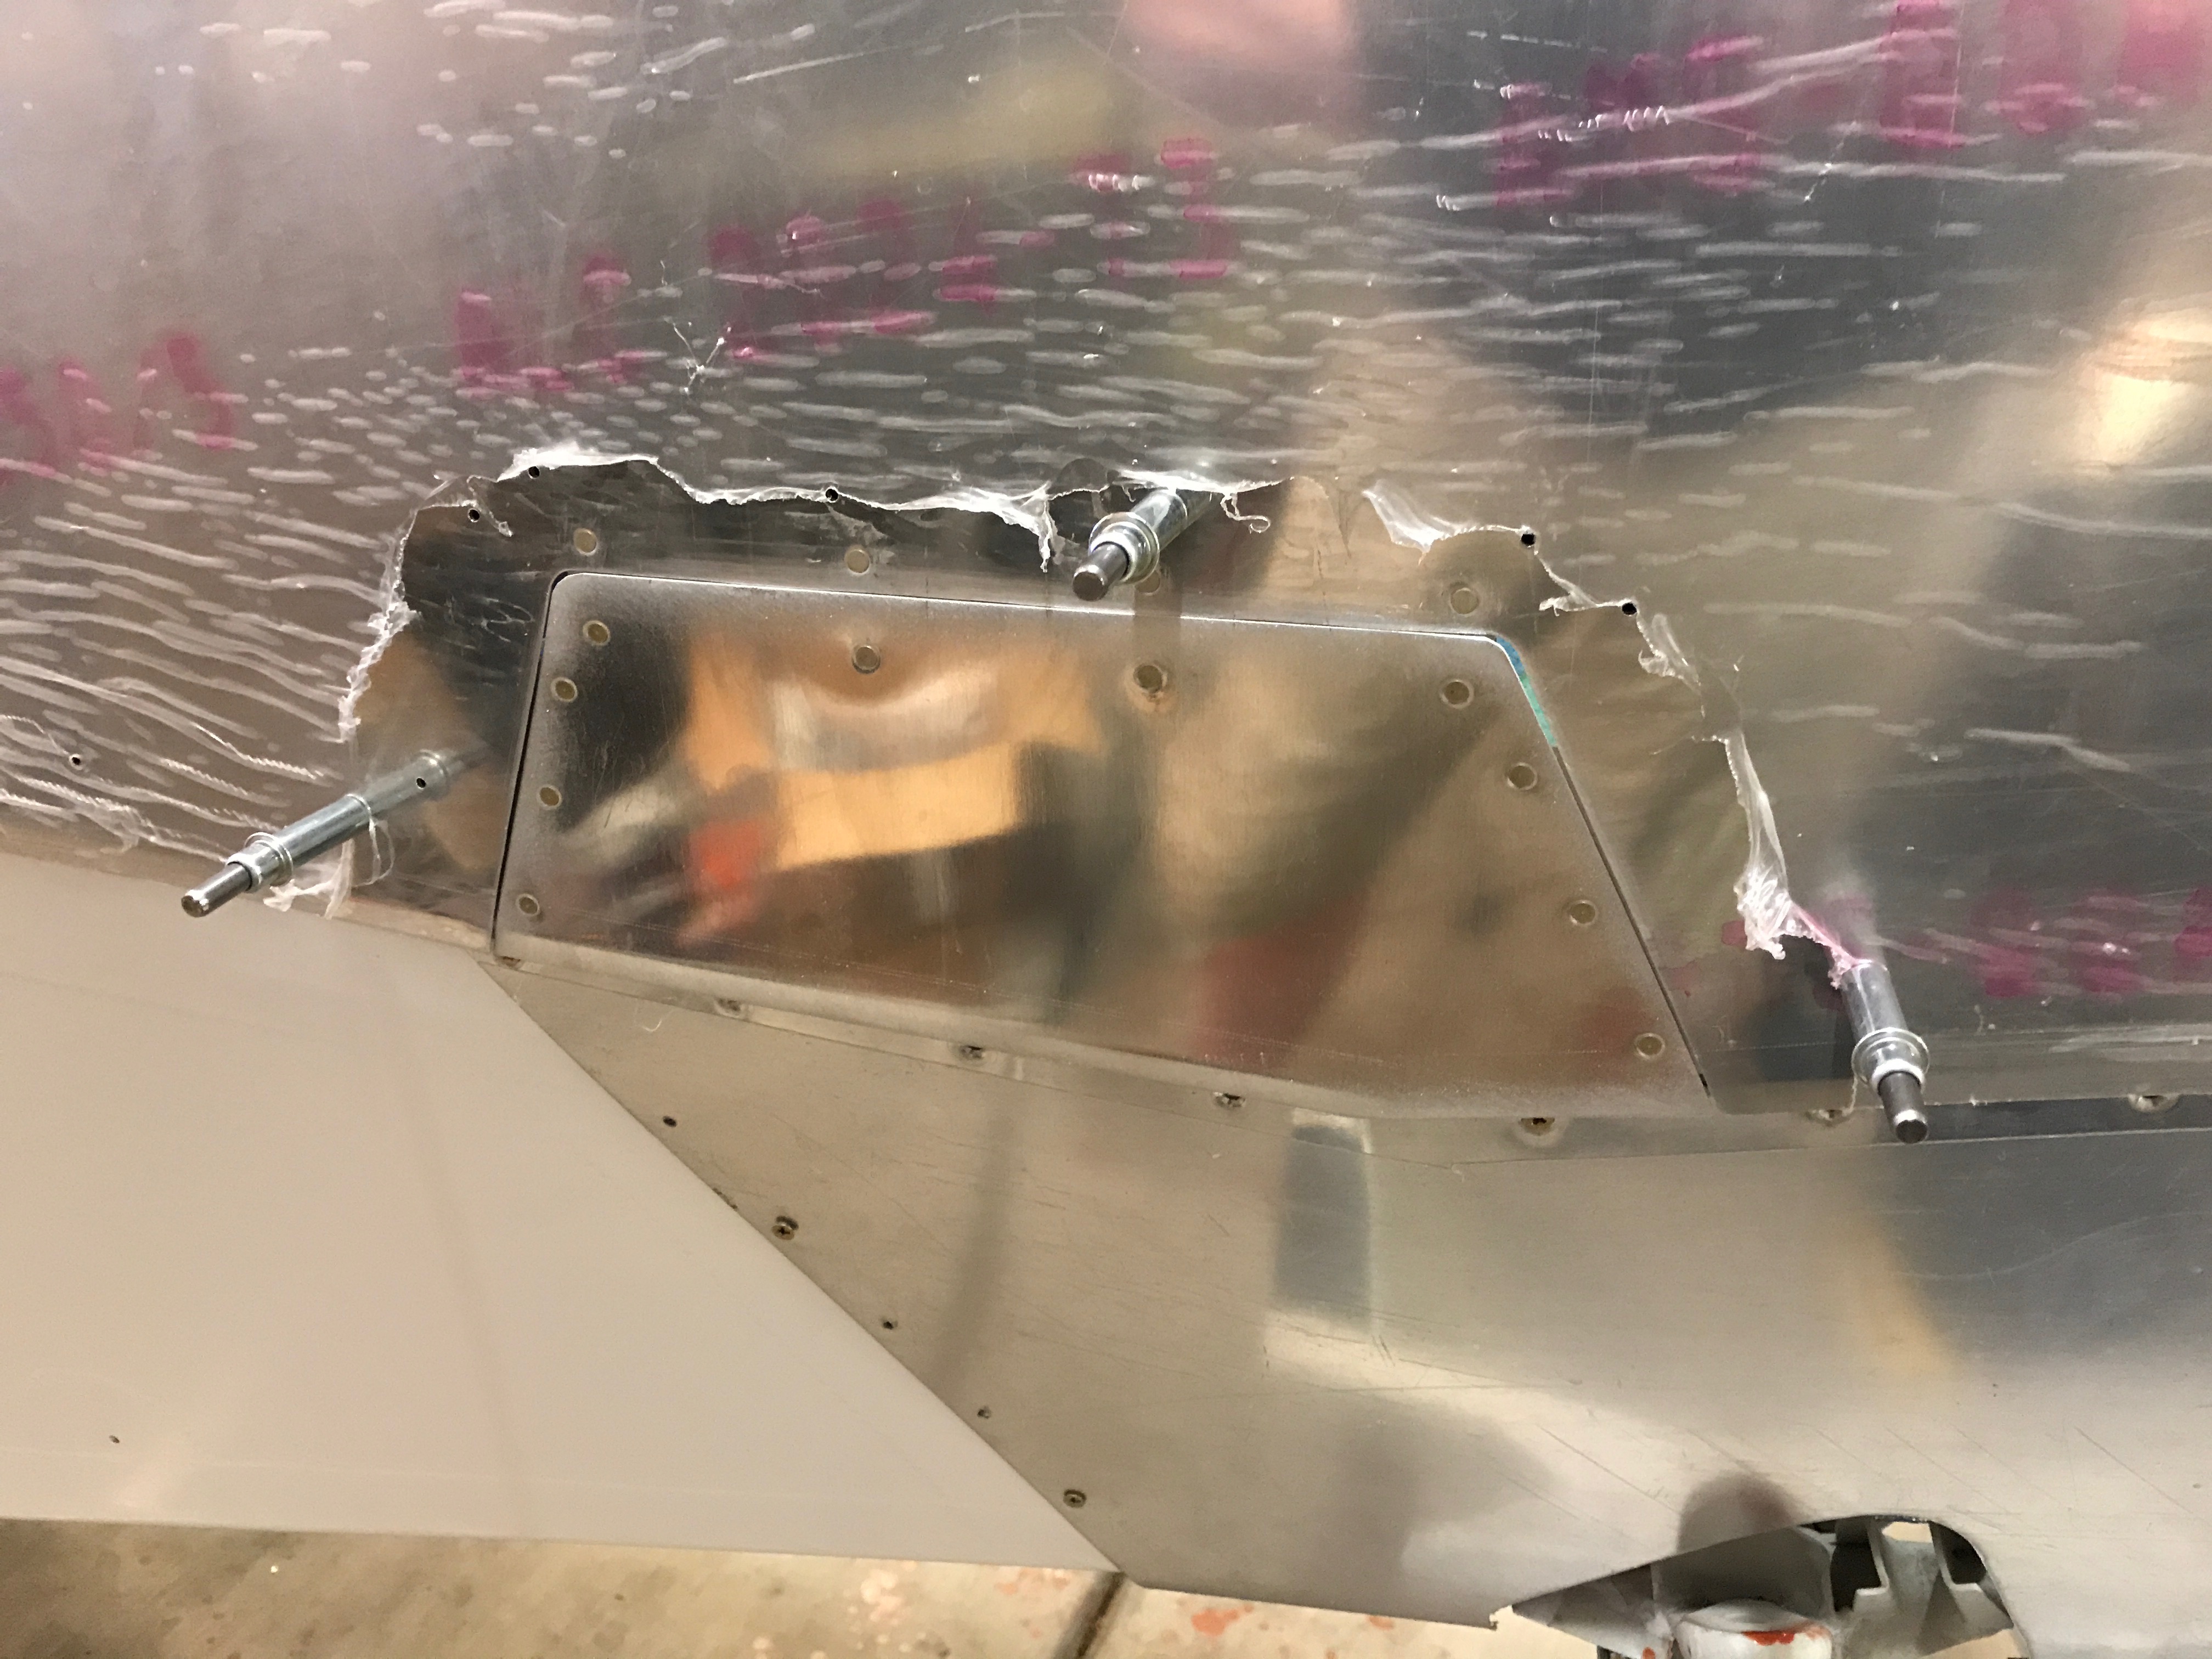
Today I fabricated the mouse doors that allow the main door to be opened farther and provide a space for the lift strut to go.
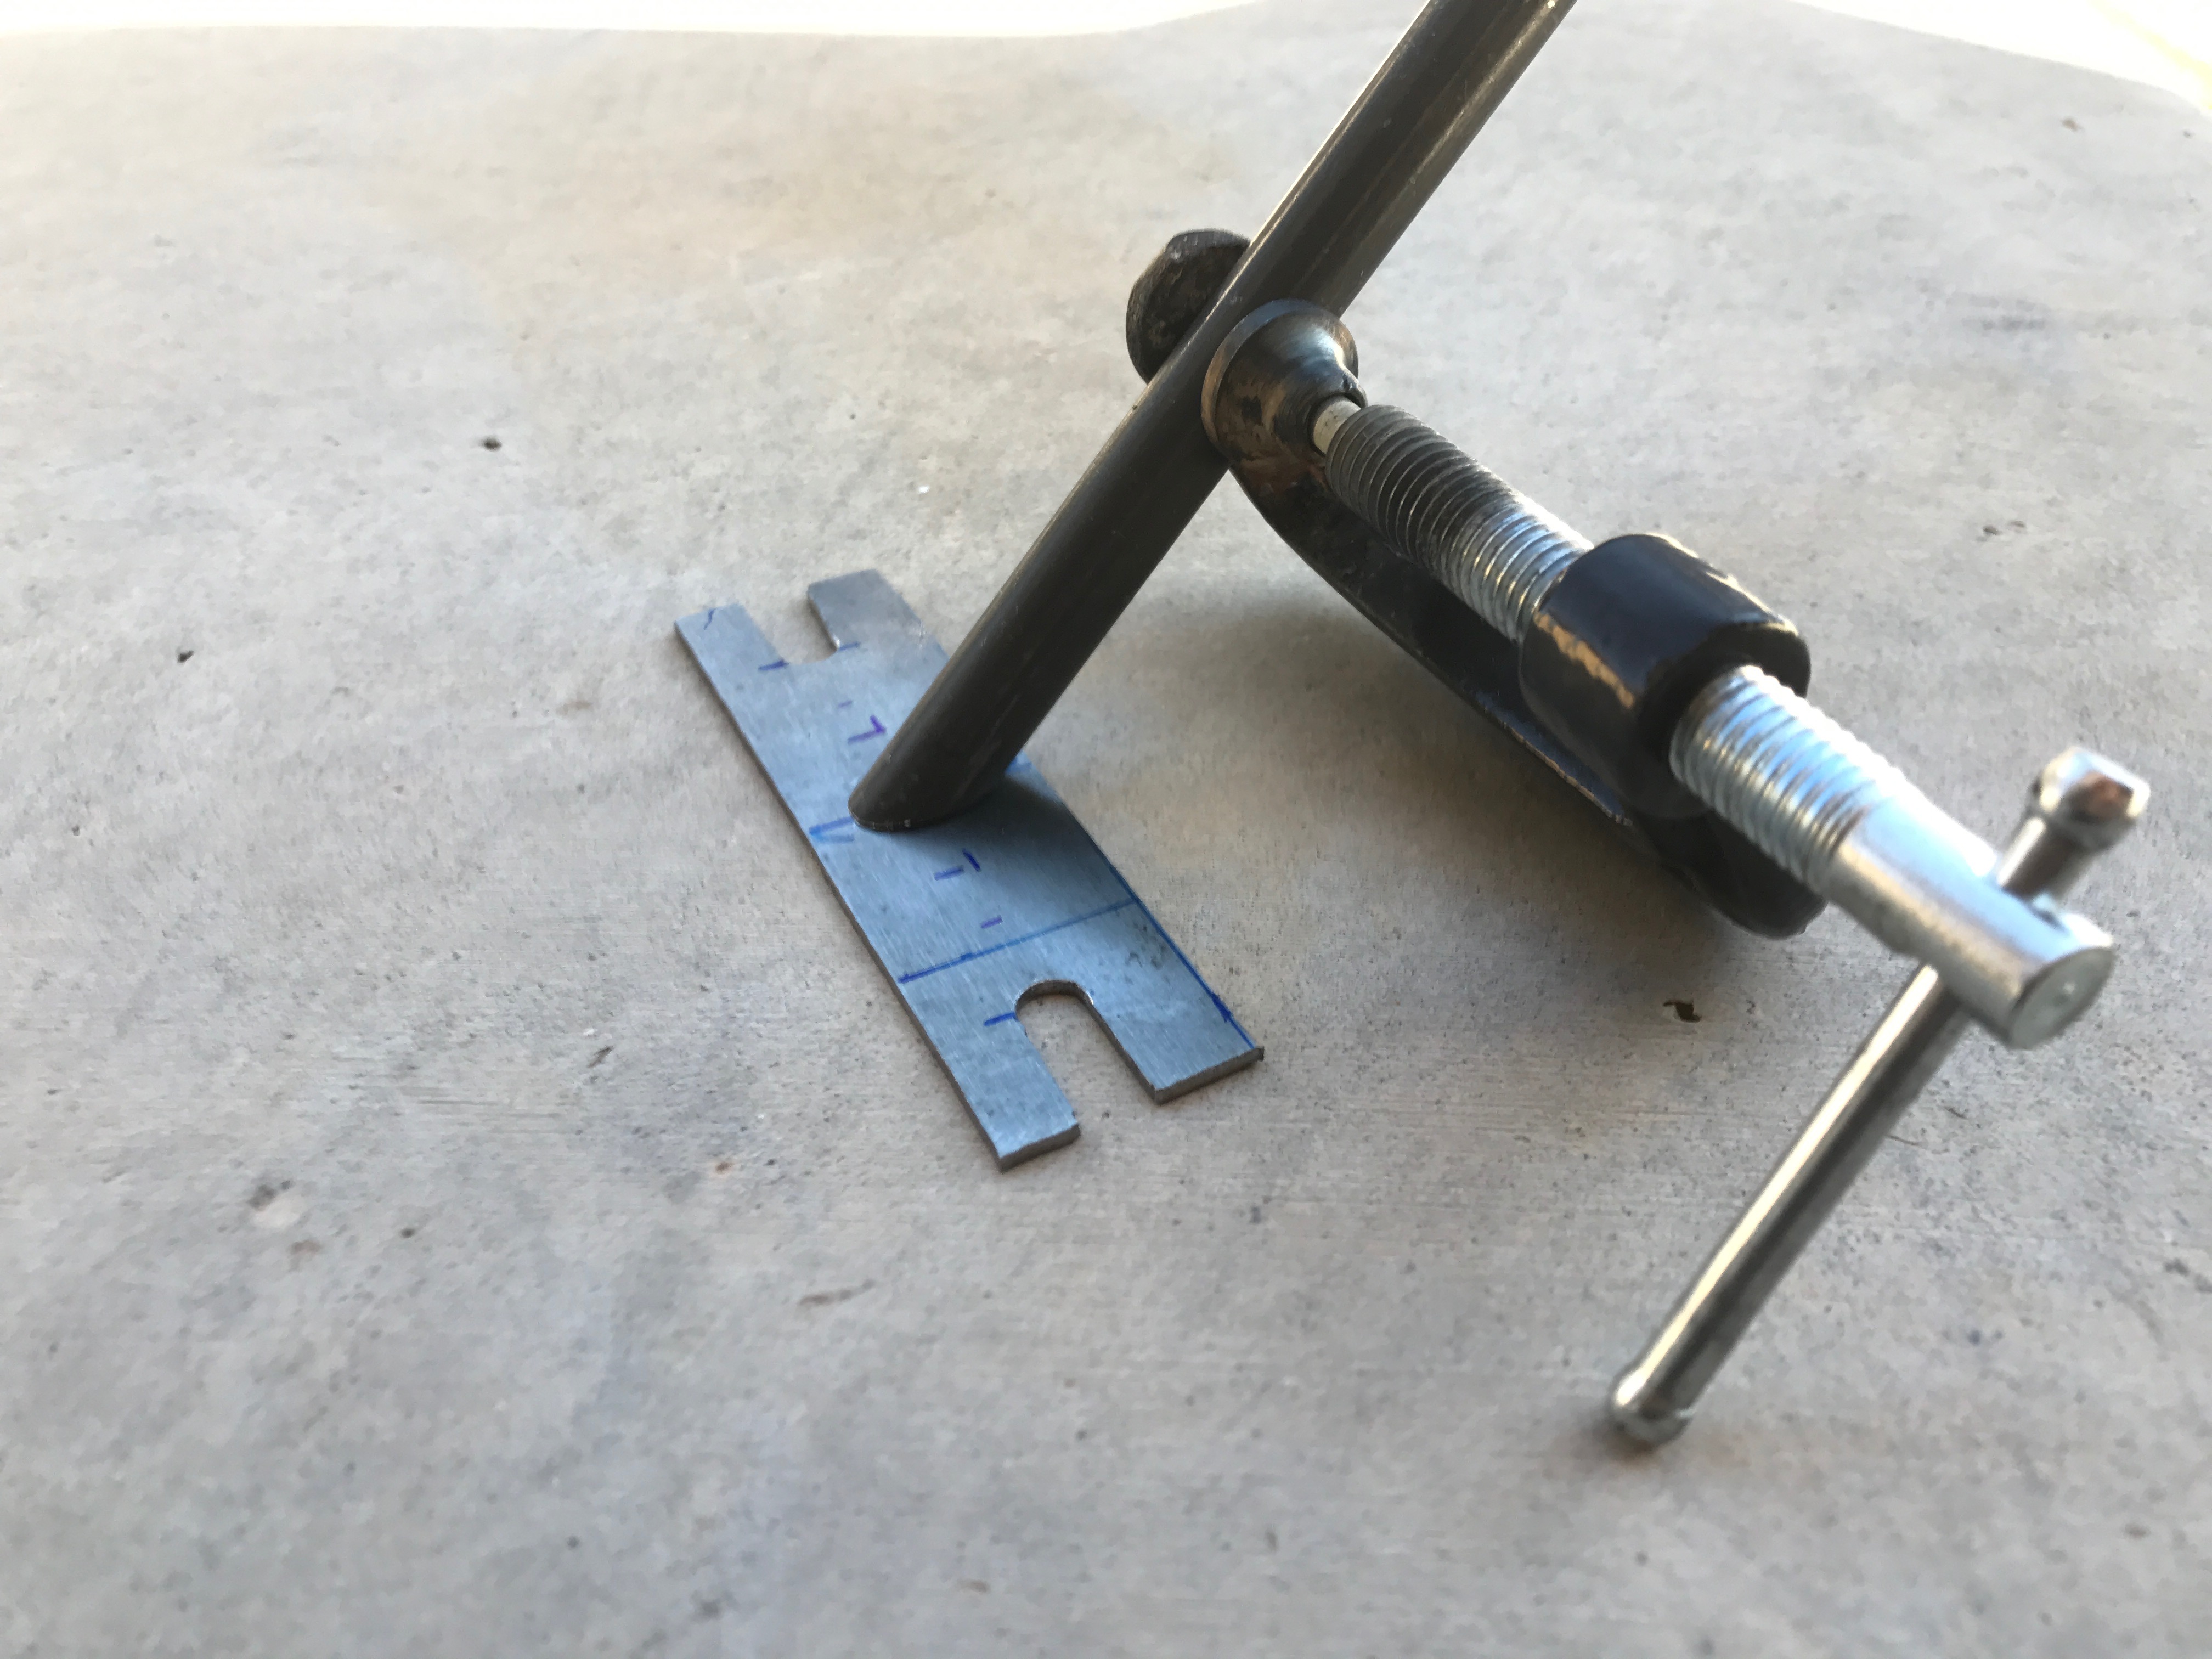
I couldn’t find a good bracket to attach the throttle and mixture cables to. So, I decided to fabricate one. I mocked up the part then cut the steel to the right size and angle. I used my oxyacetylene welder to do the welding. Then primed and painted it.
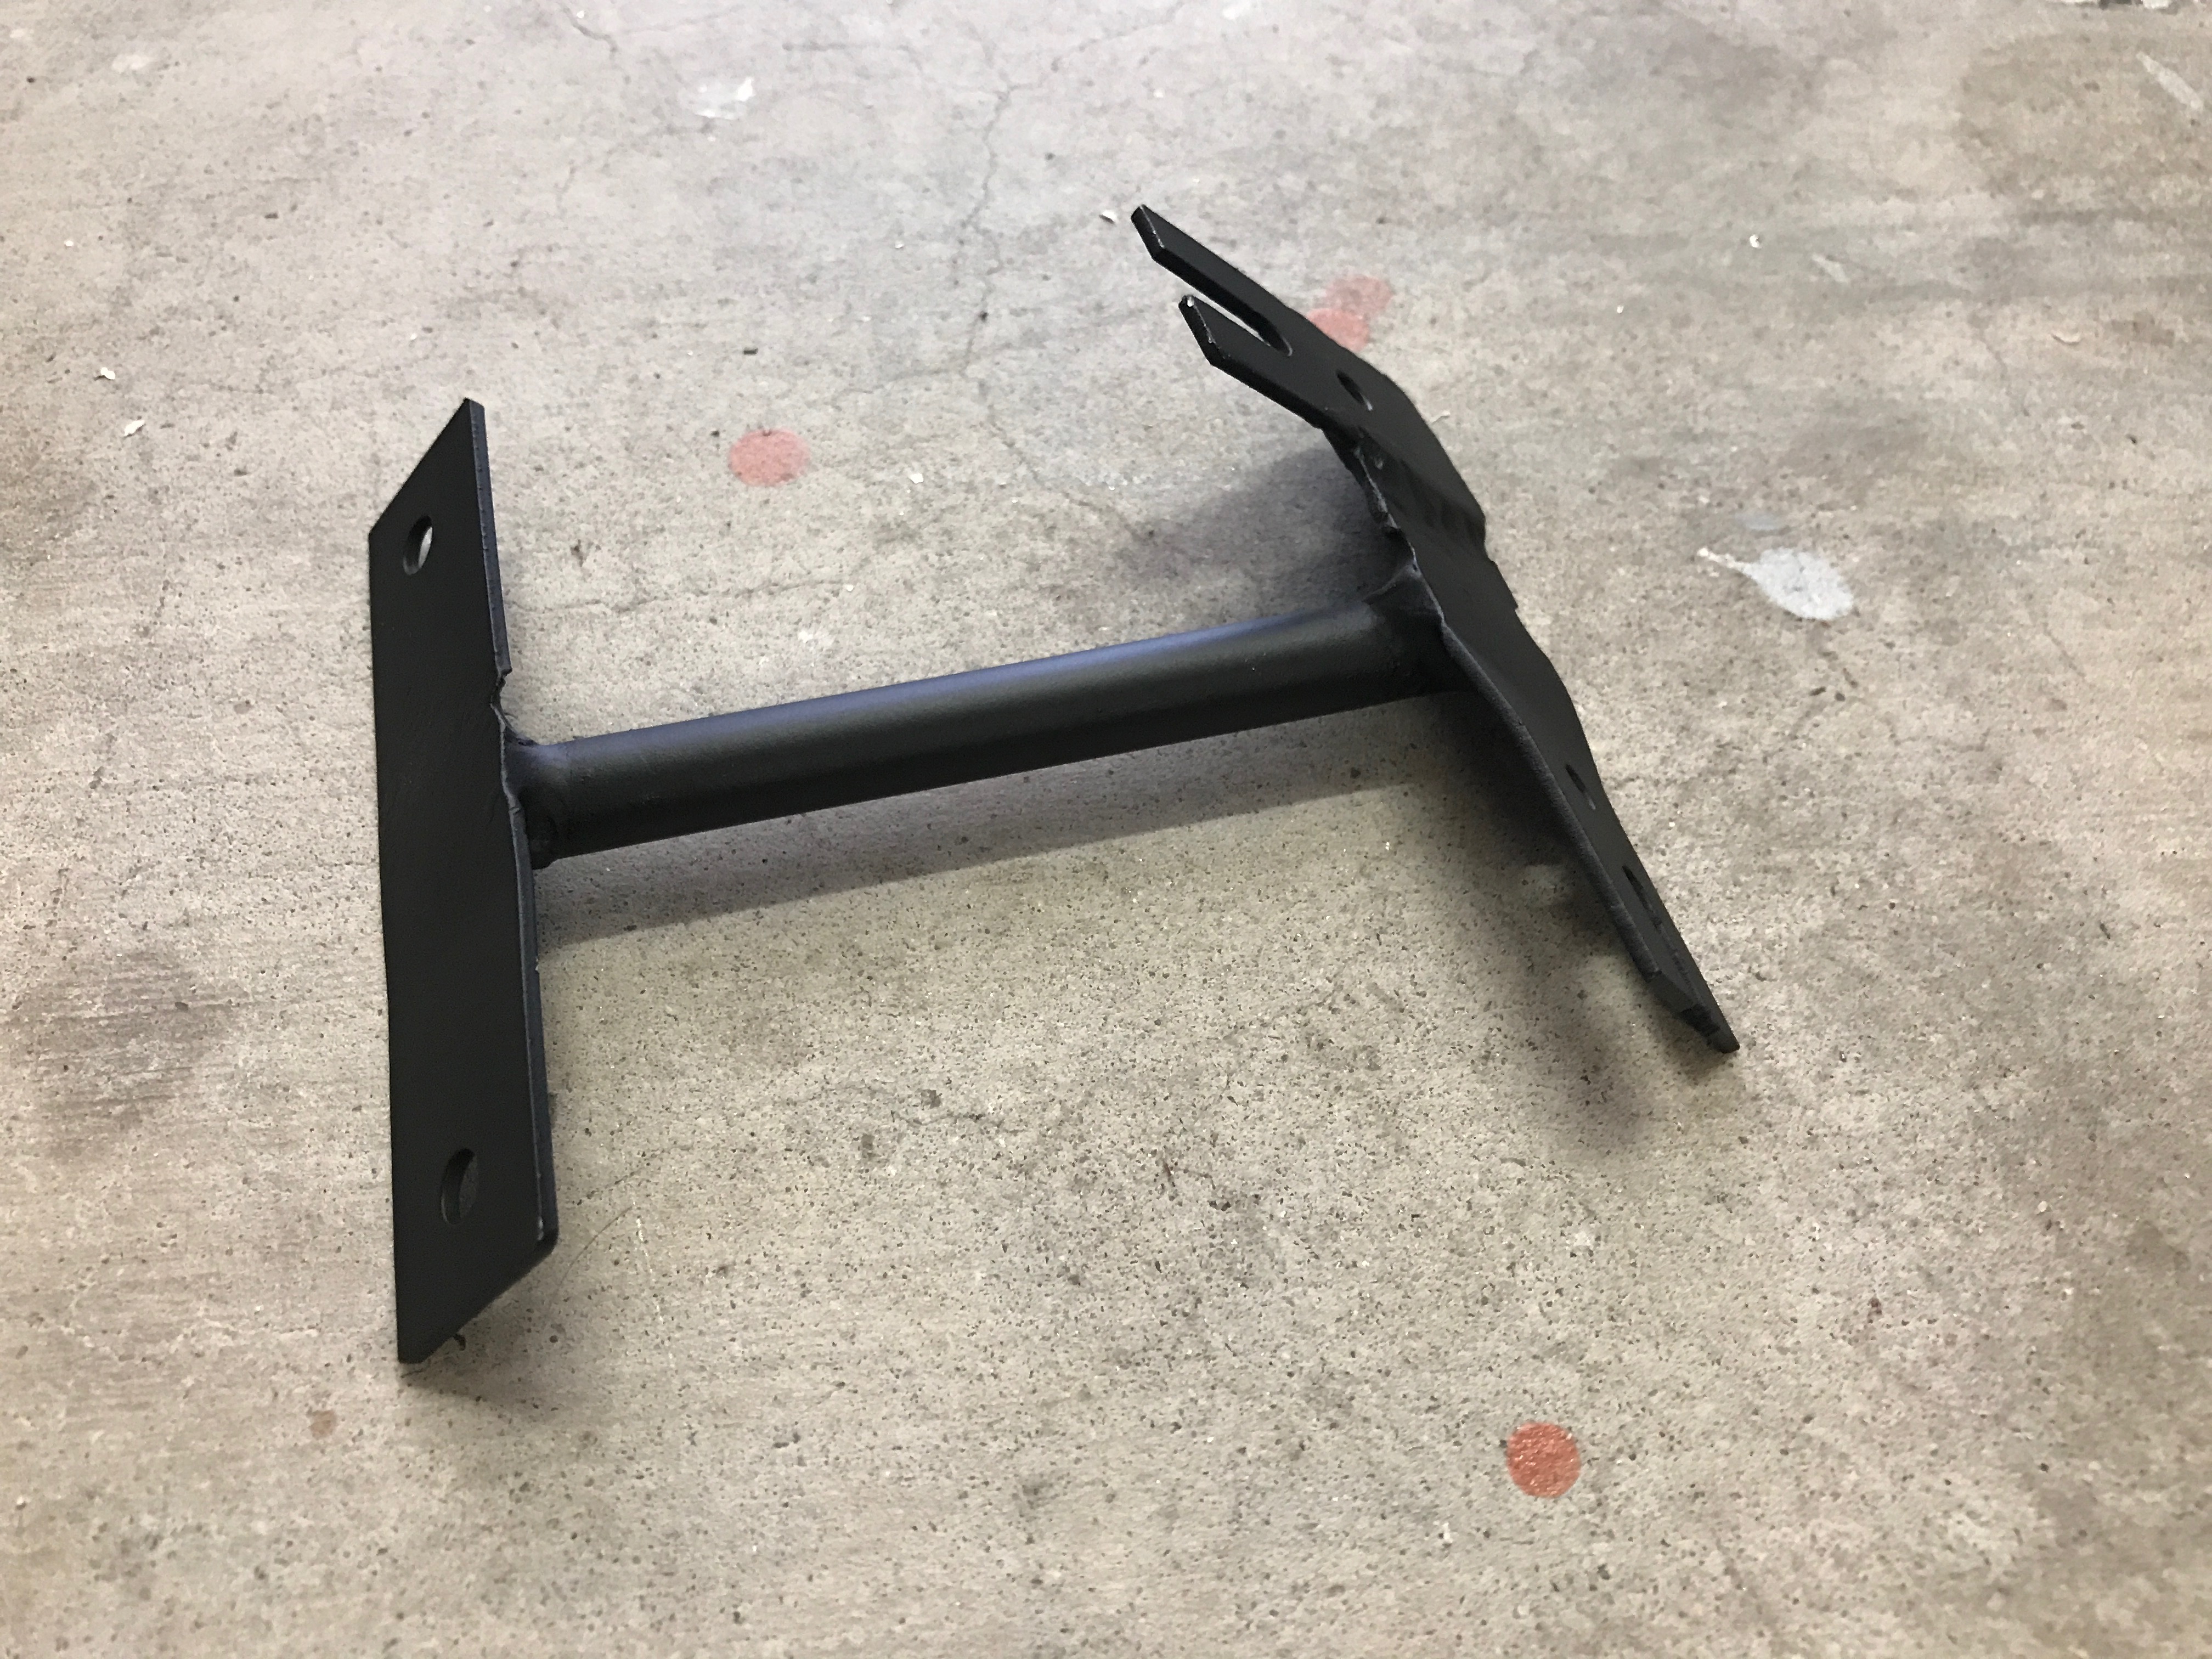
It will certainly get the job done!
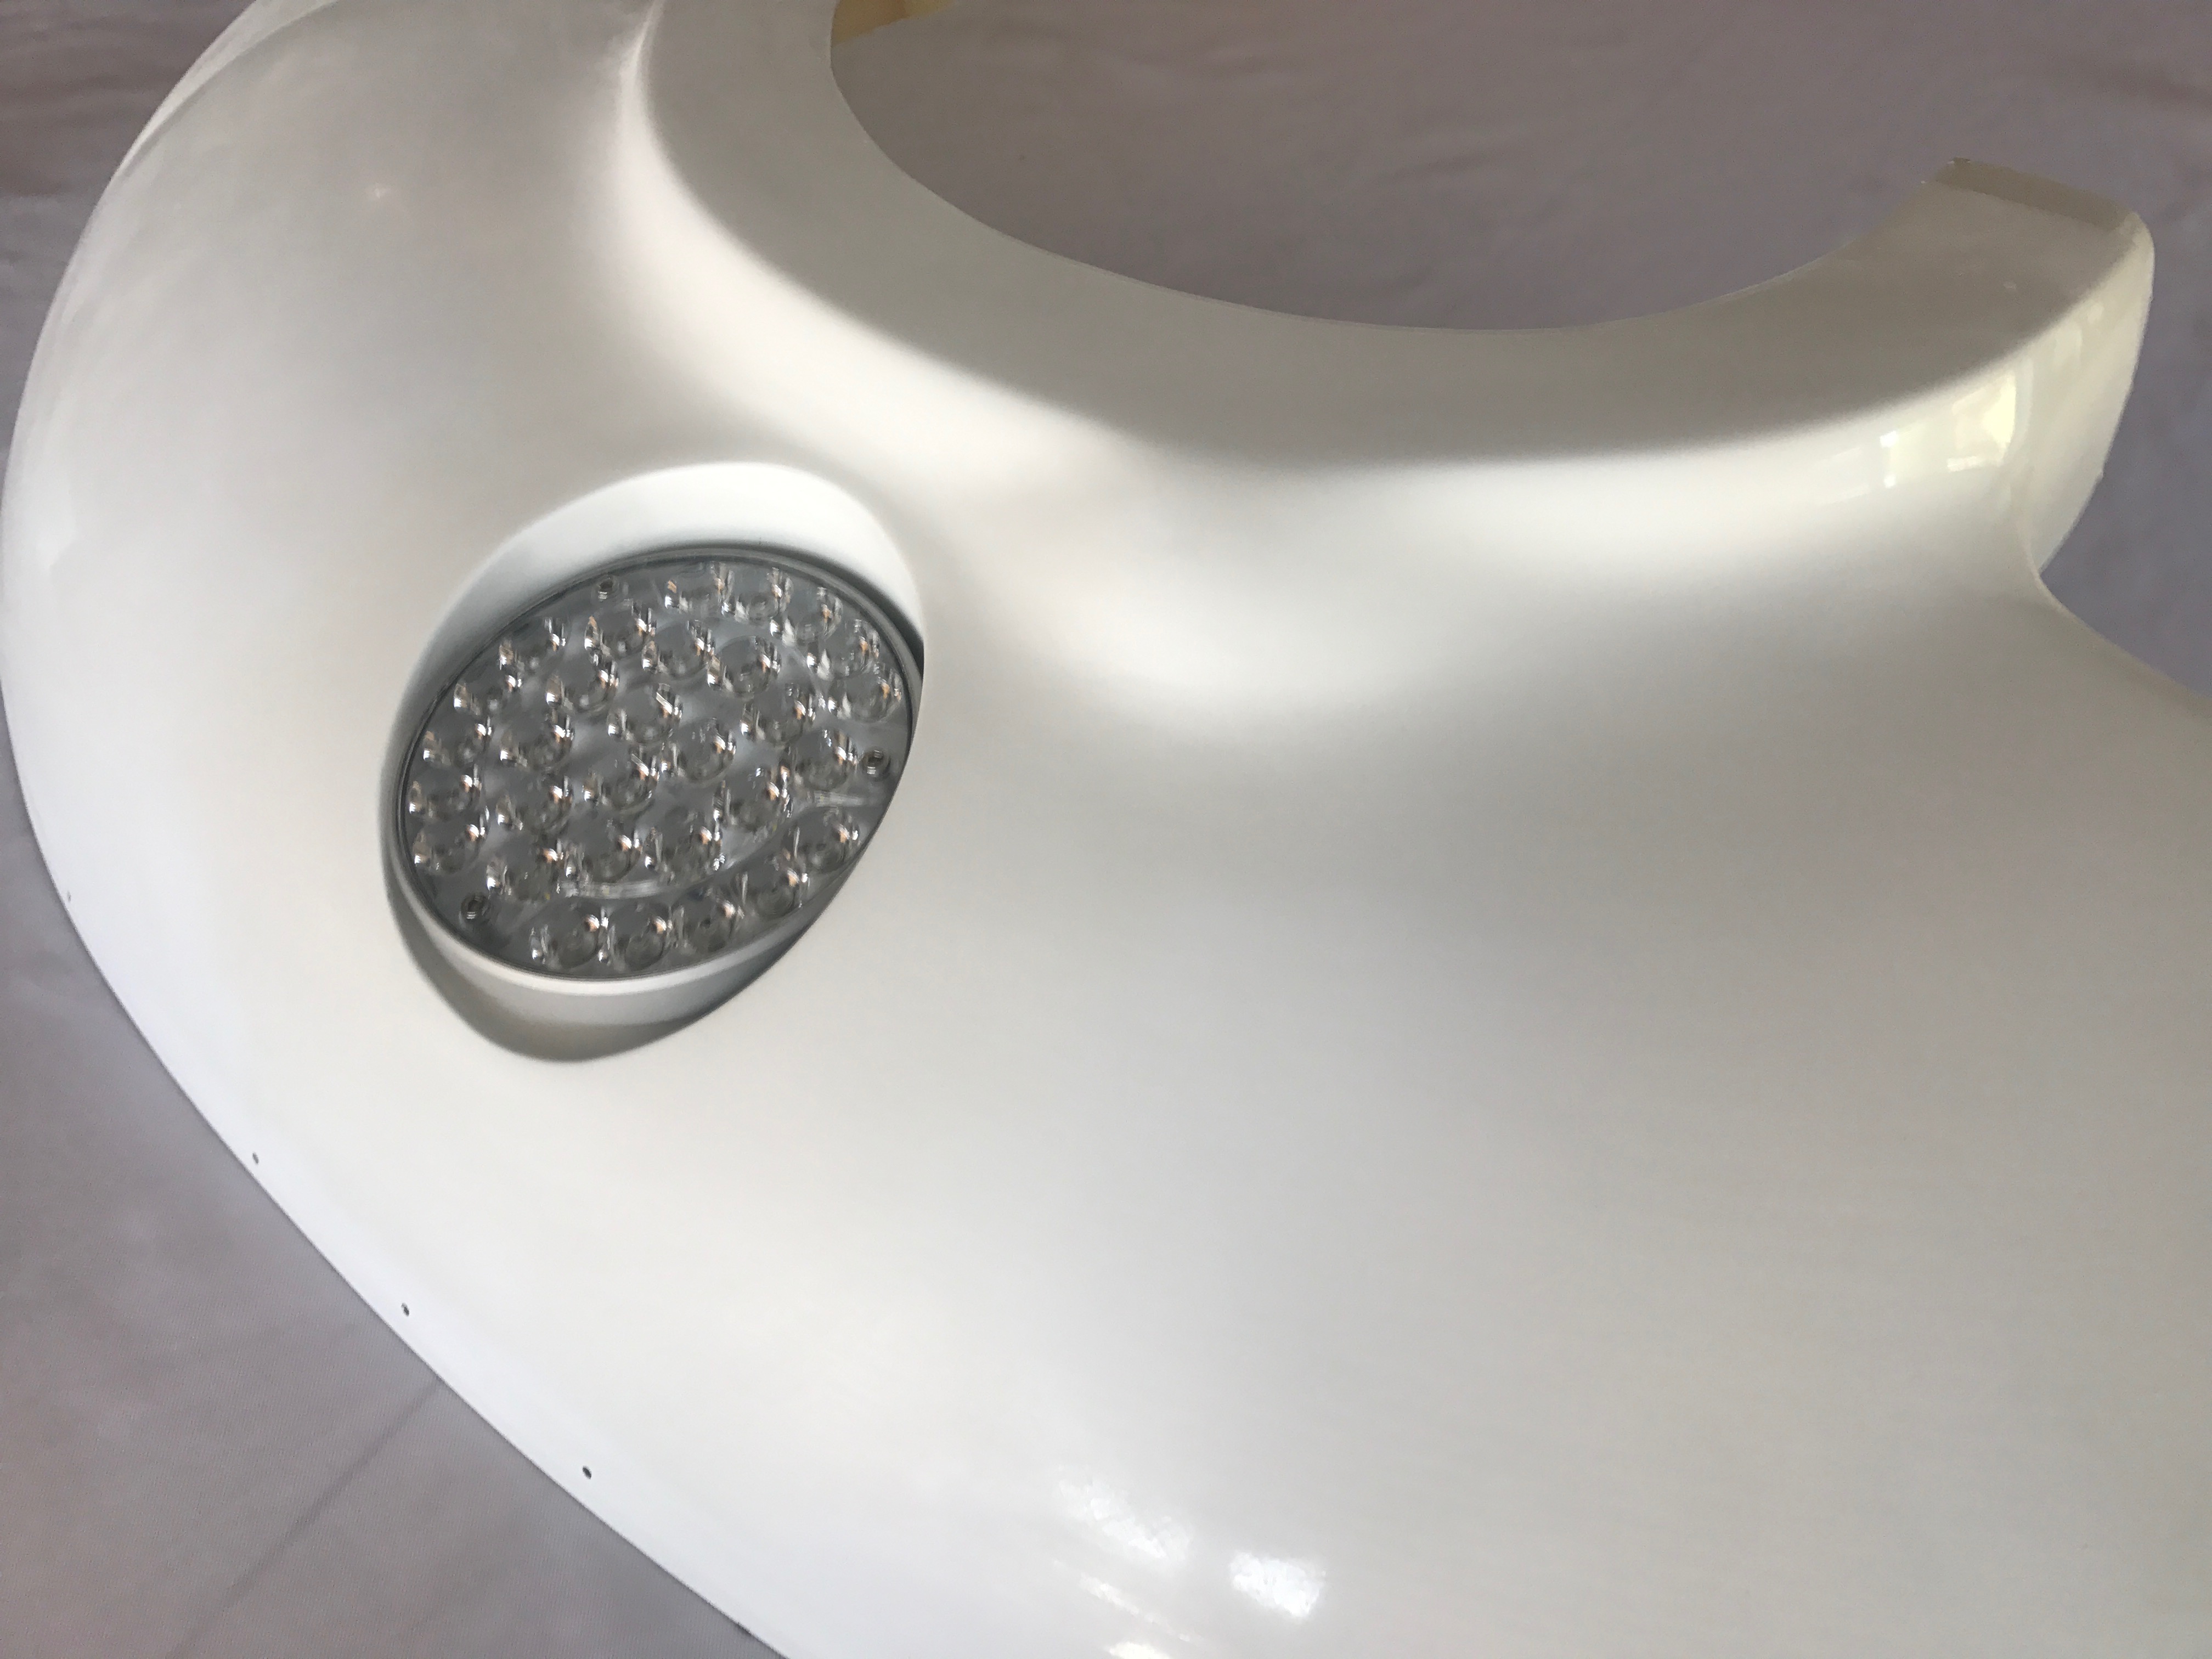
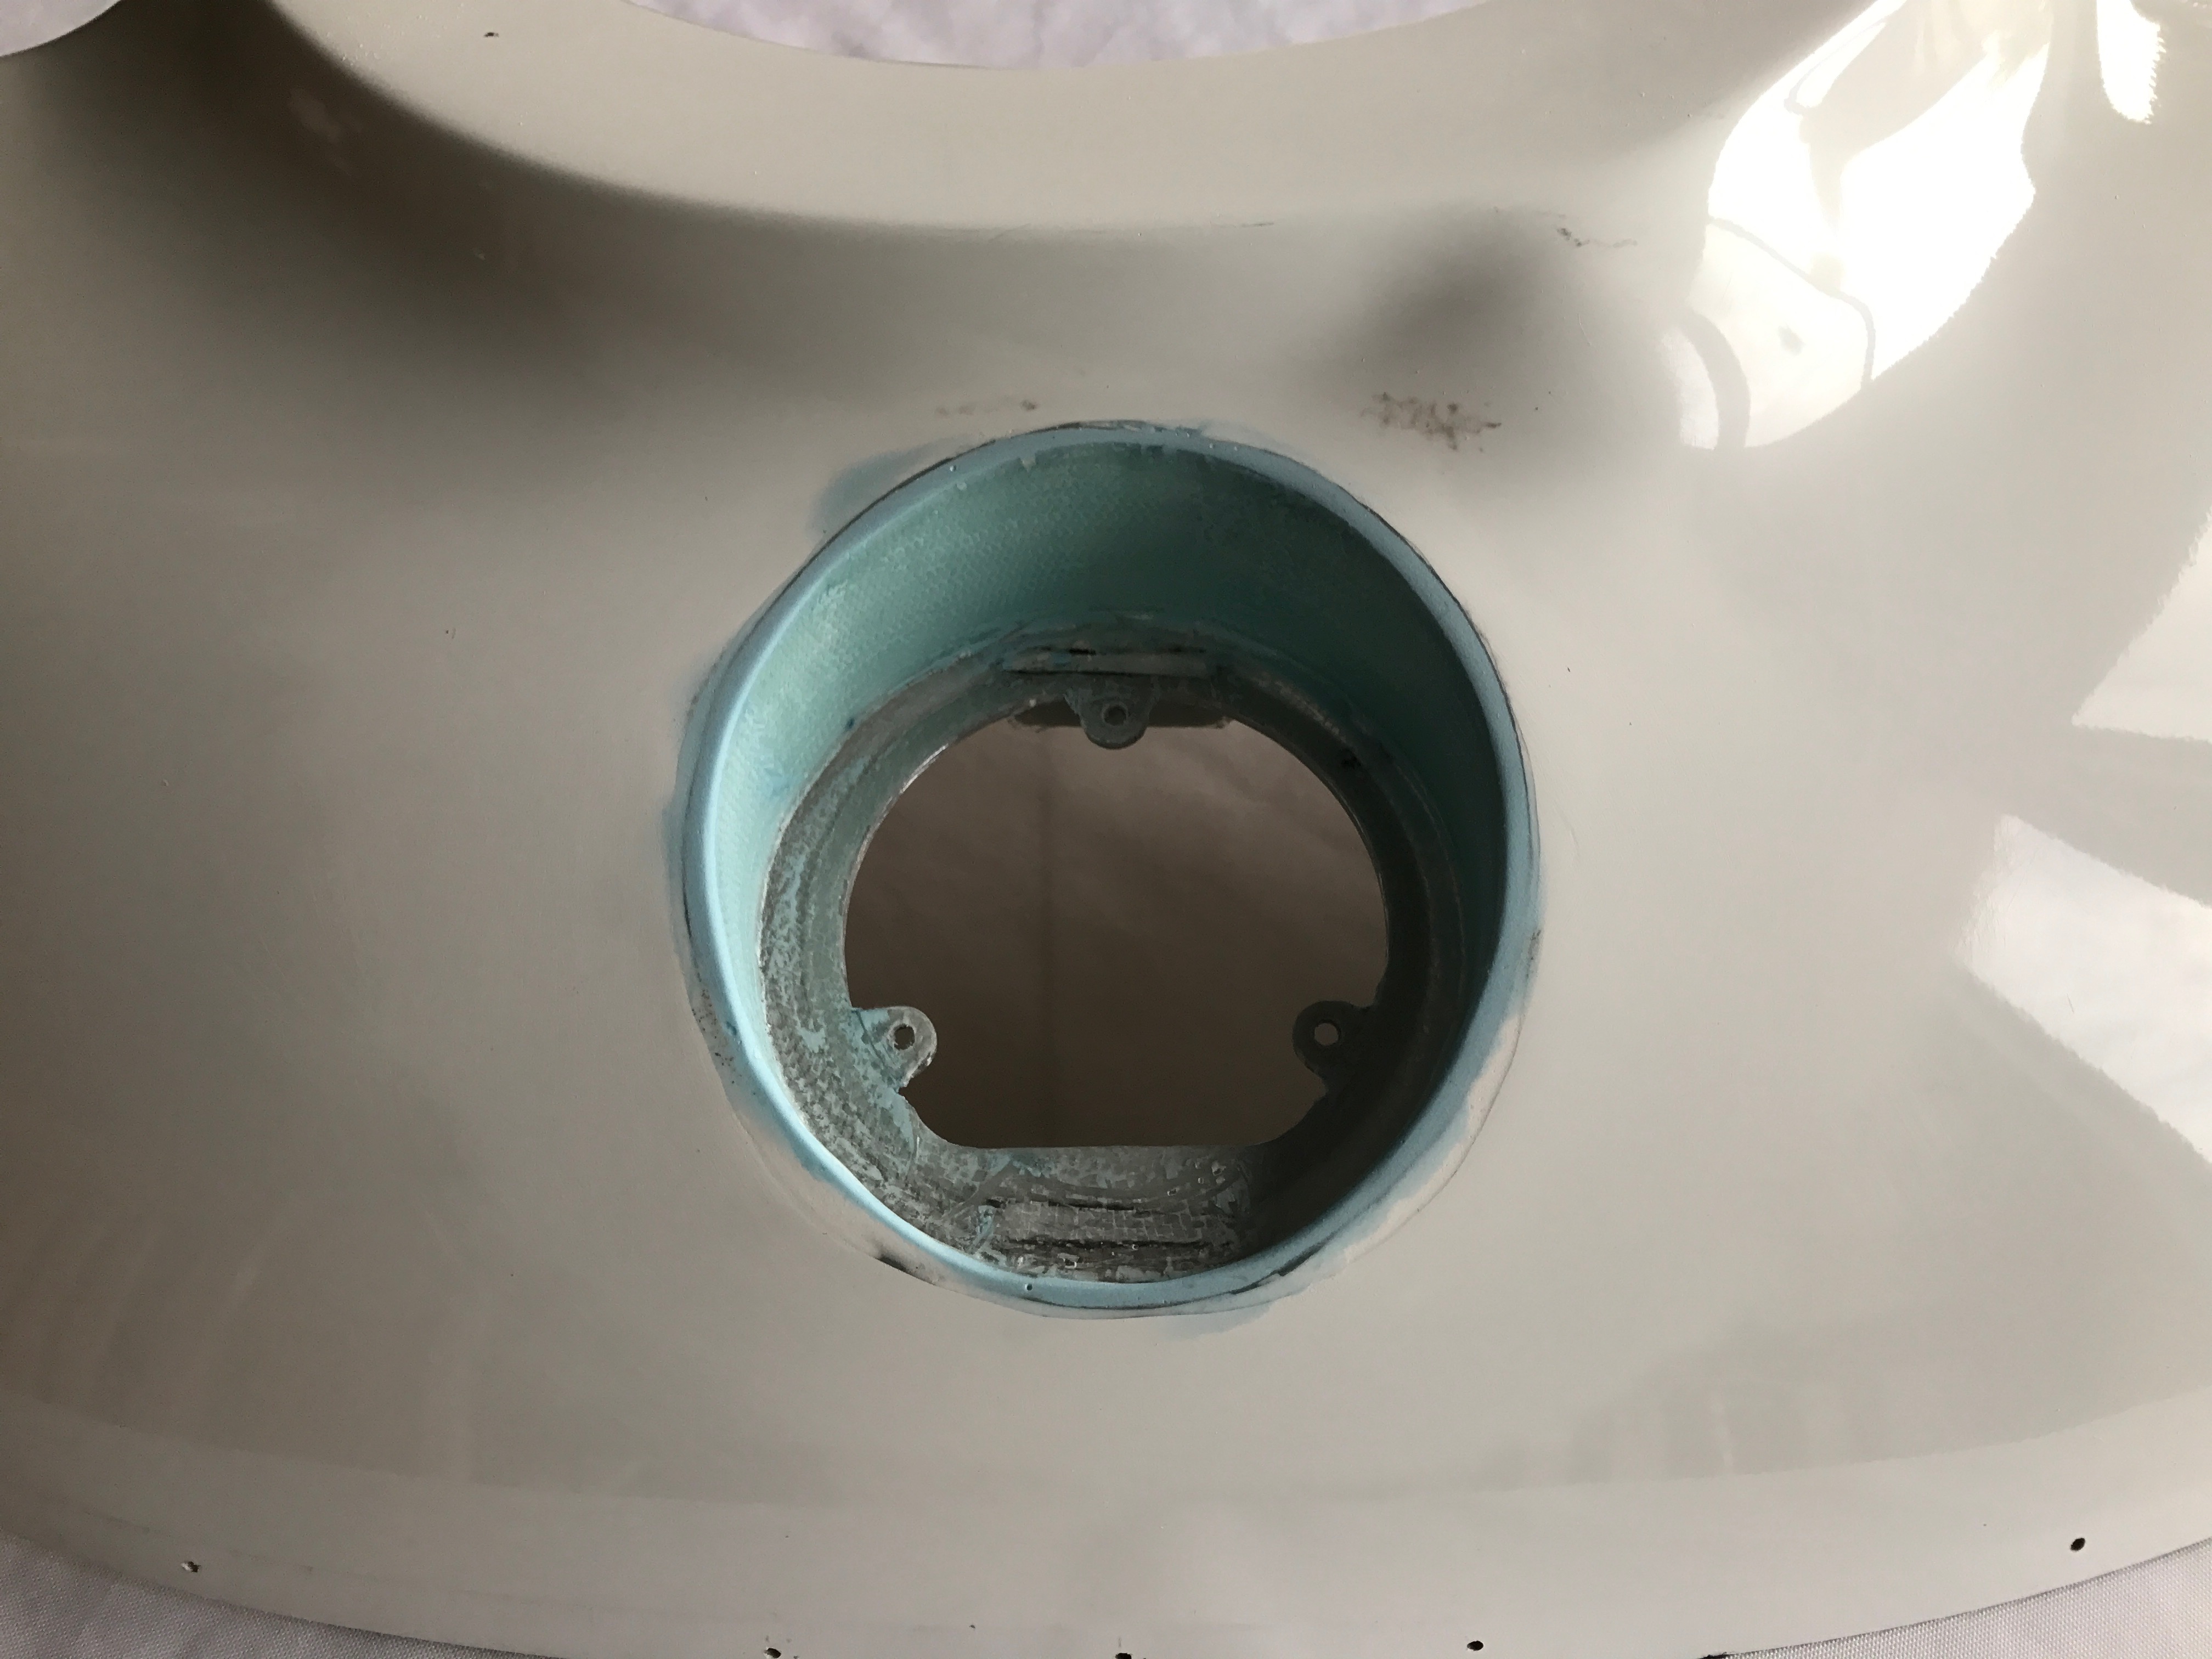
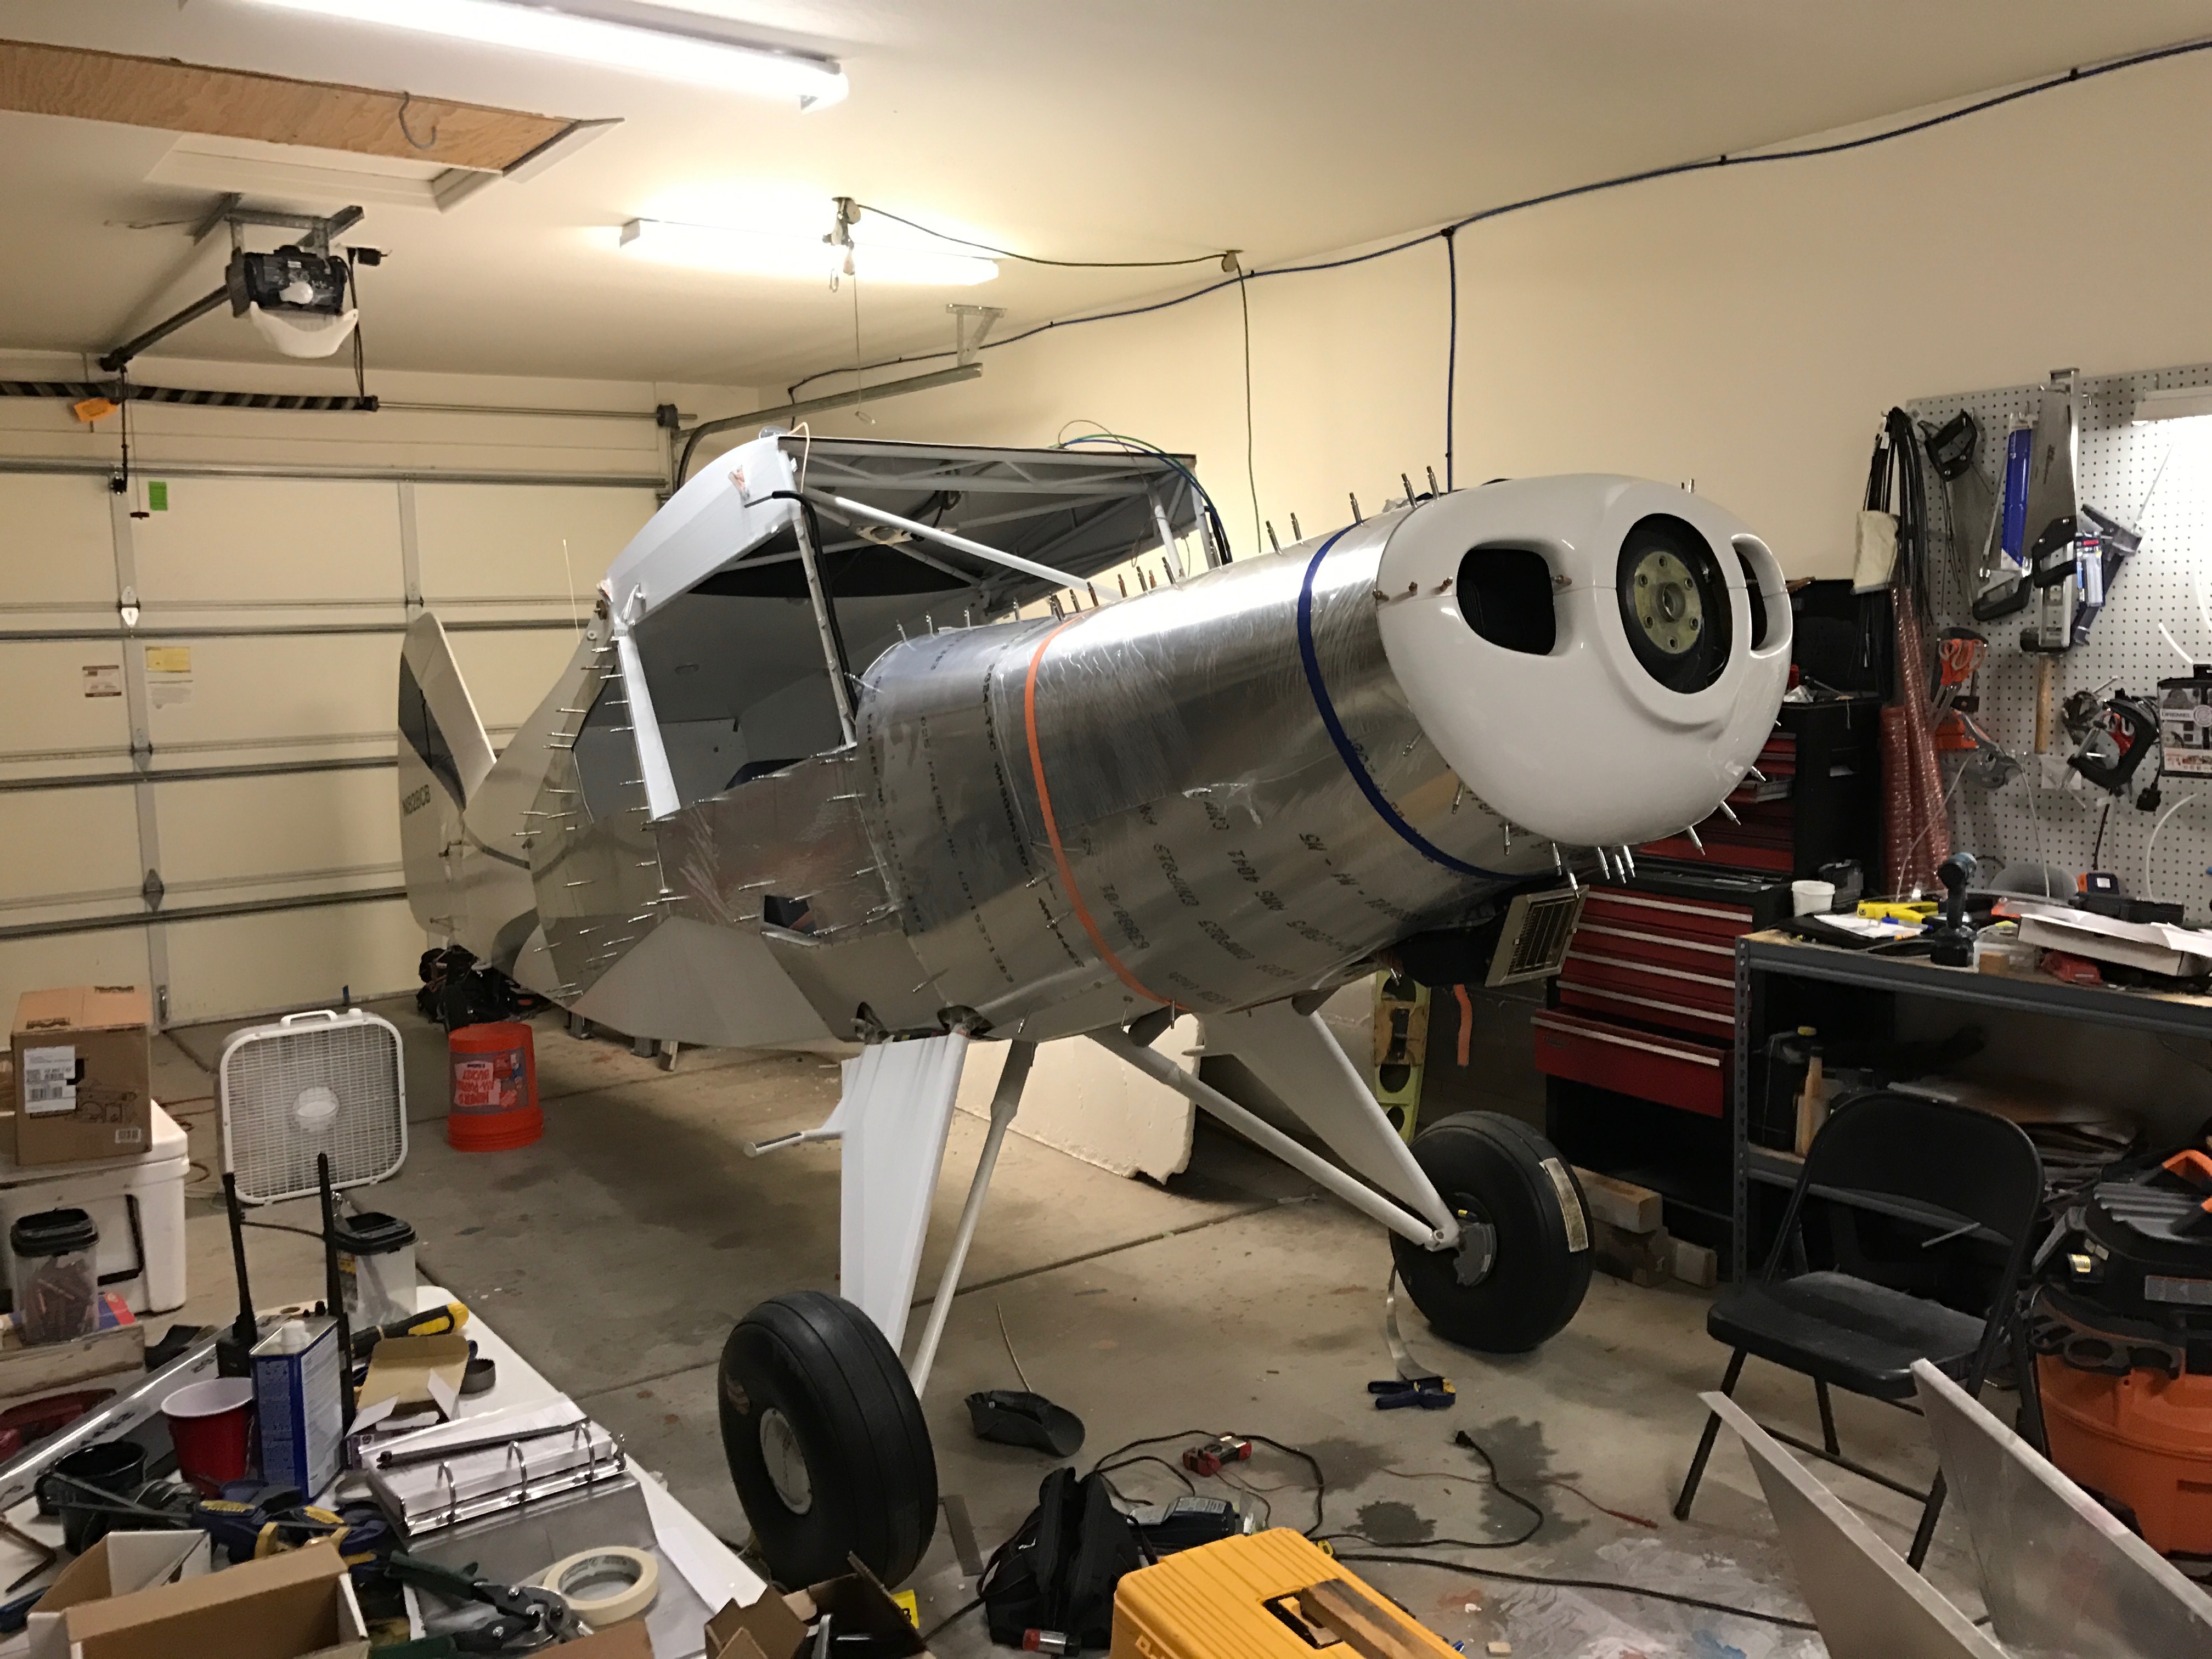
Here’s the end product! I attended a two day fiberglass class that the EAA put on. It was great and taught me the skills necessary to pull this off.
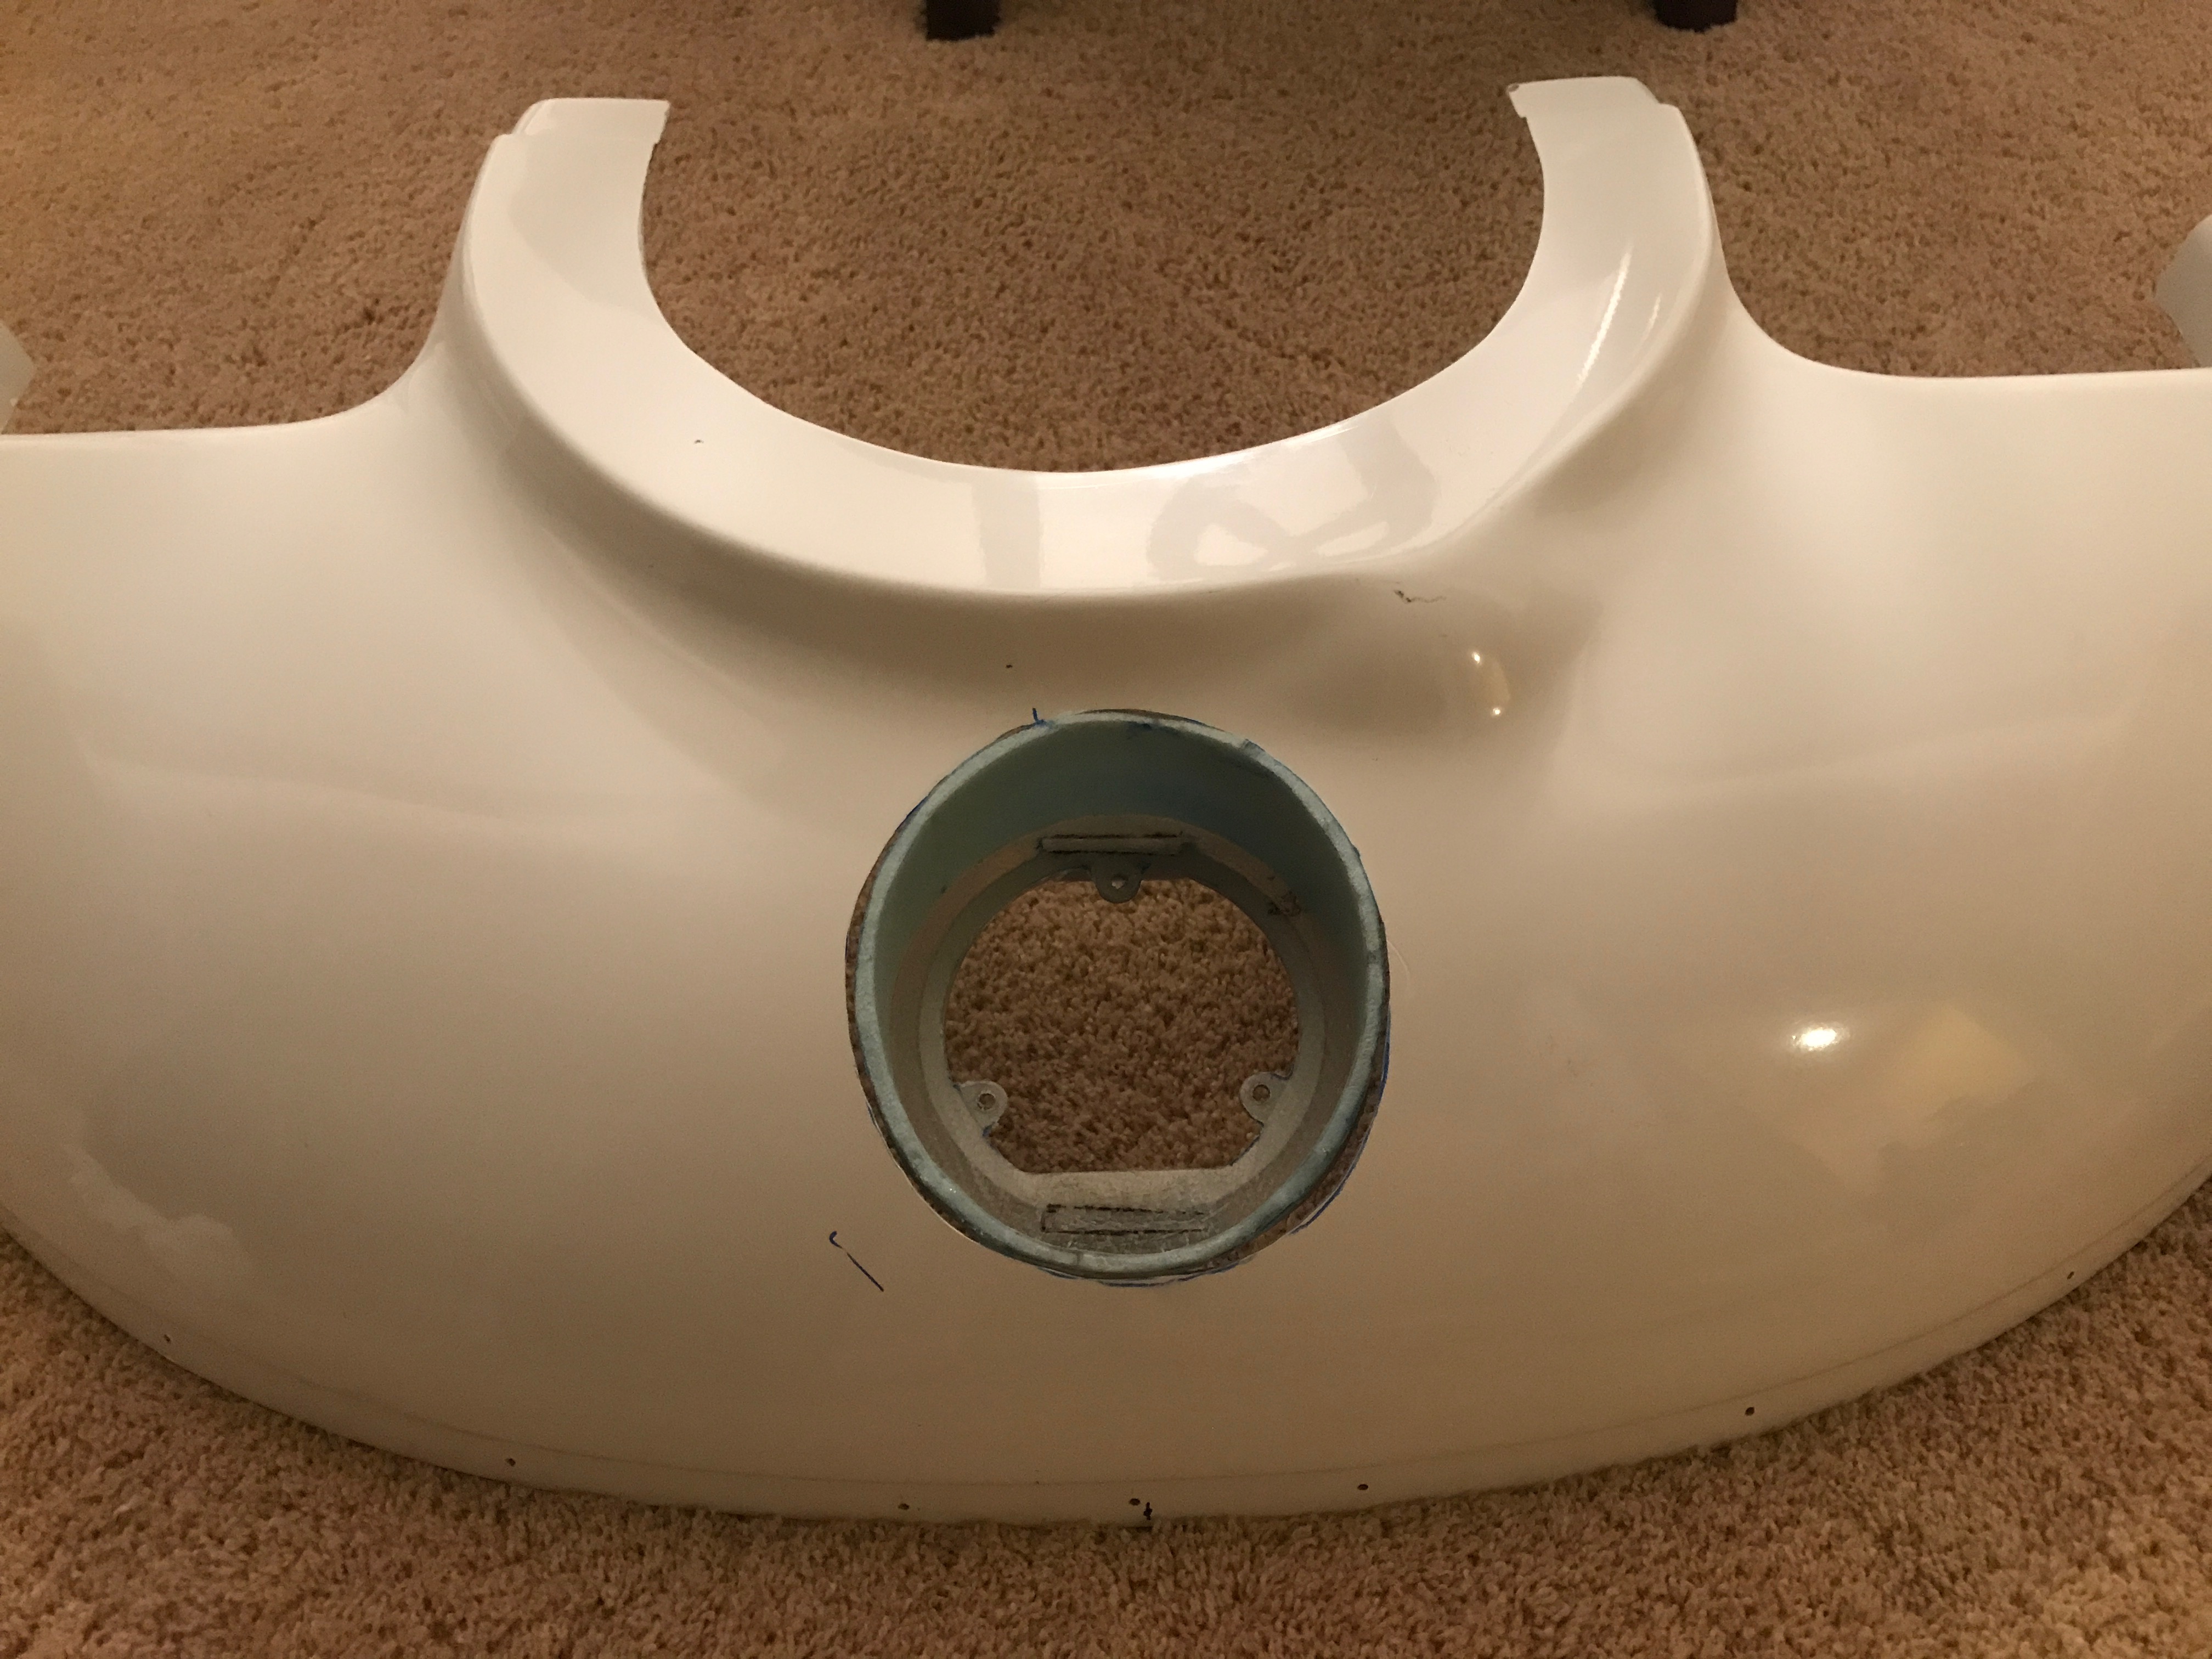
I created a fiberglass cylinder that attached to the light mount then roughly installed it in the hole I cut.
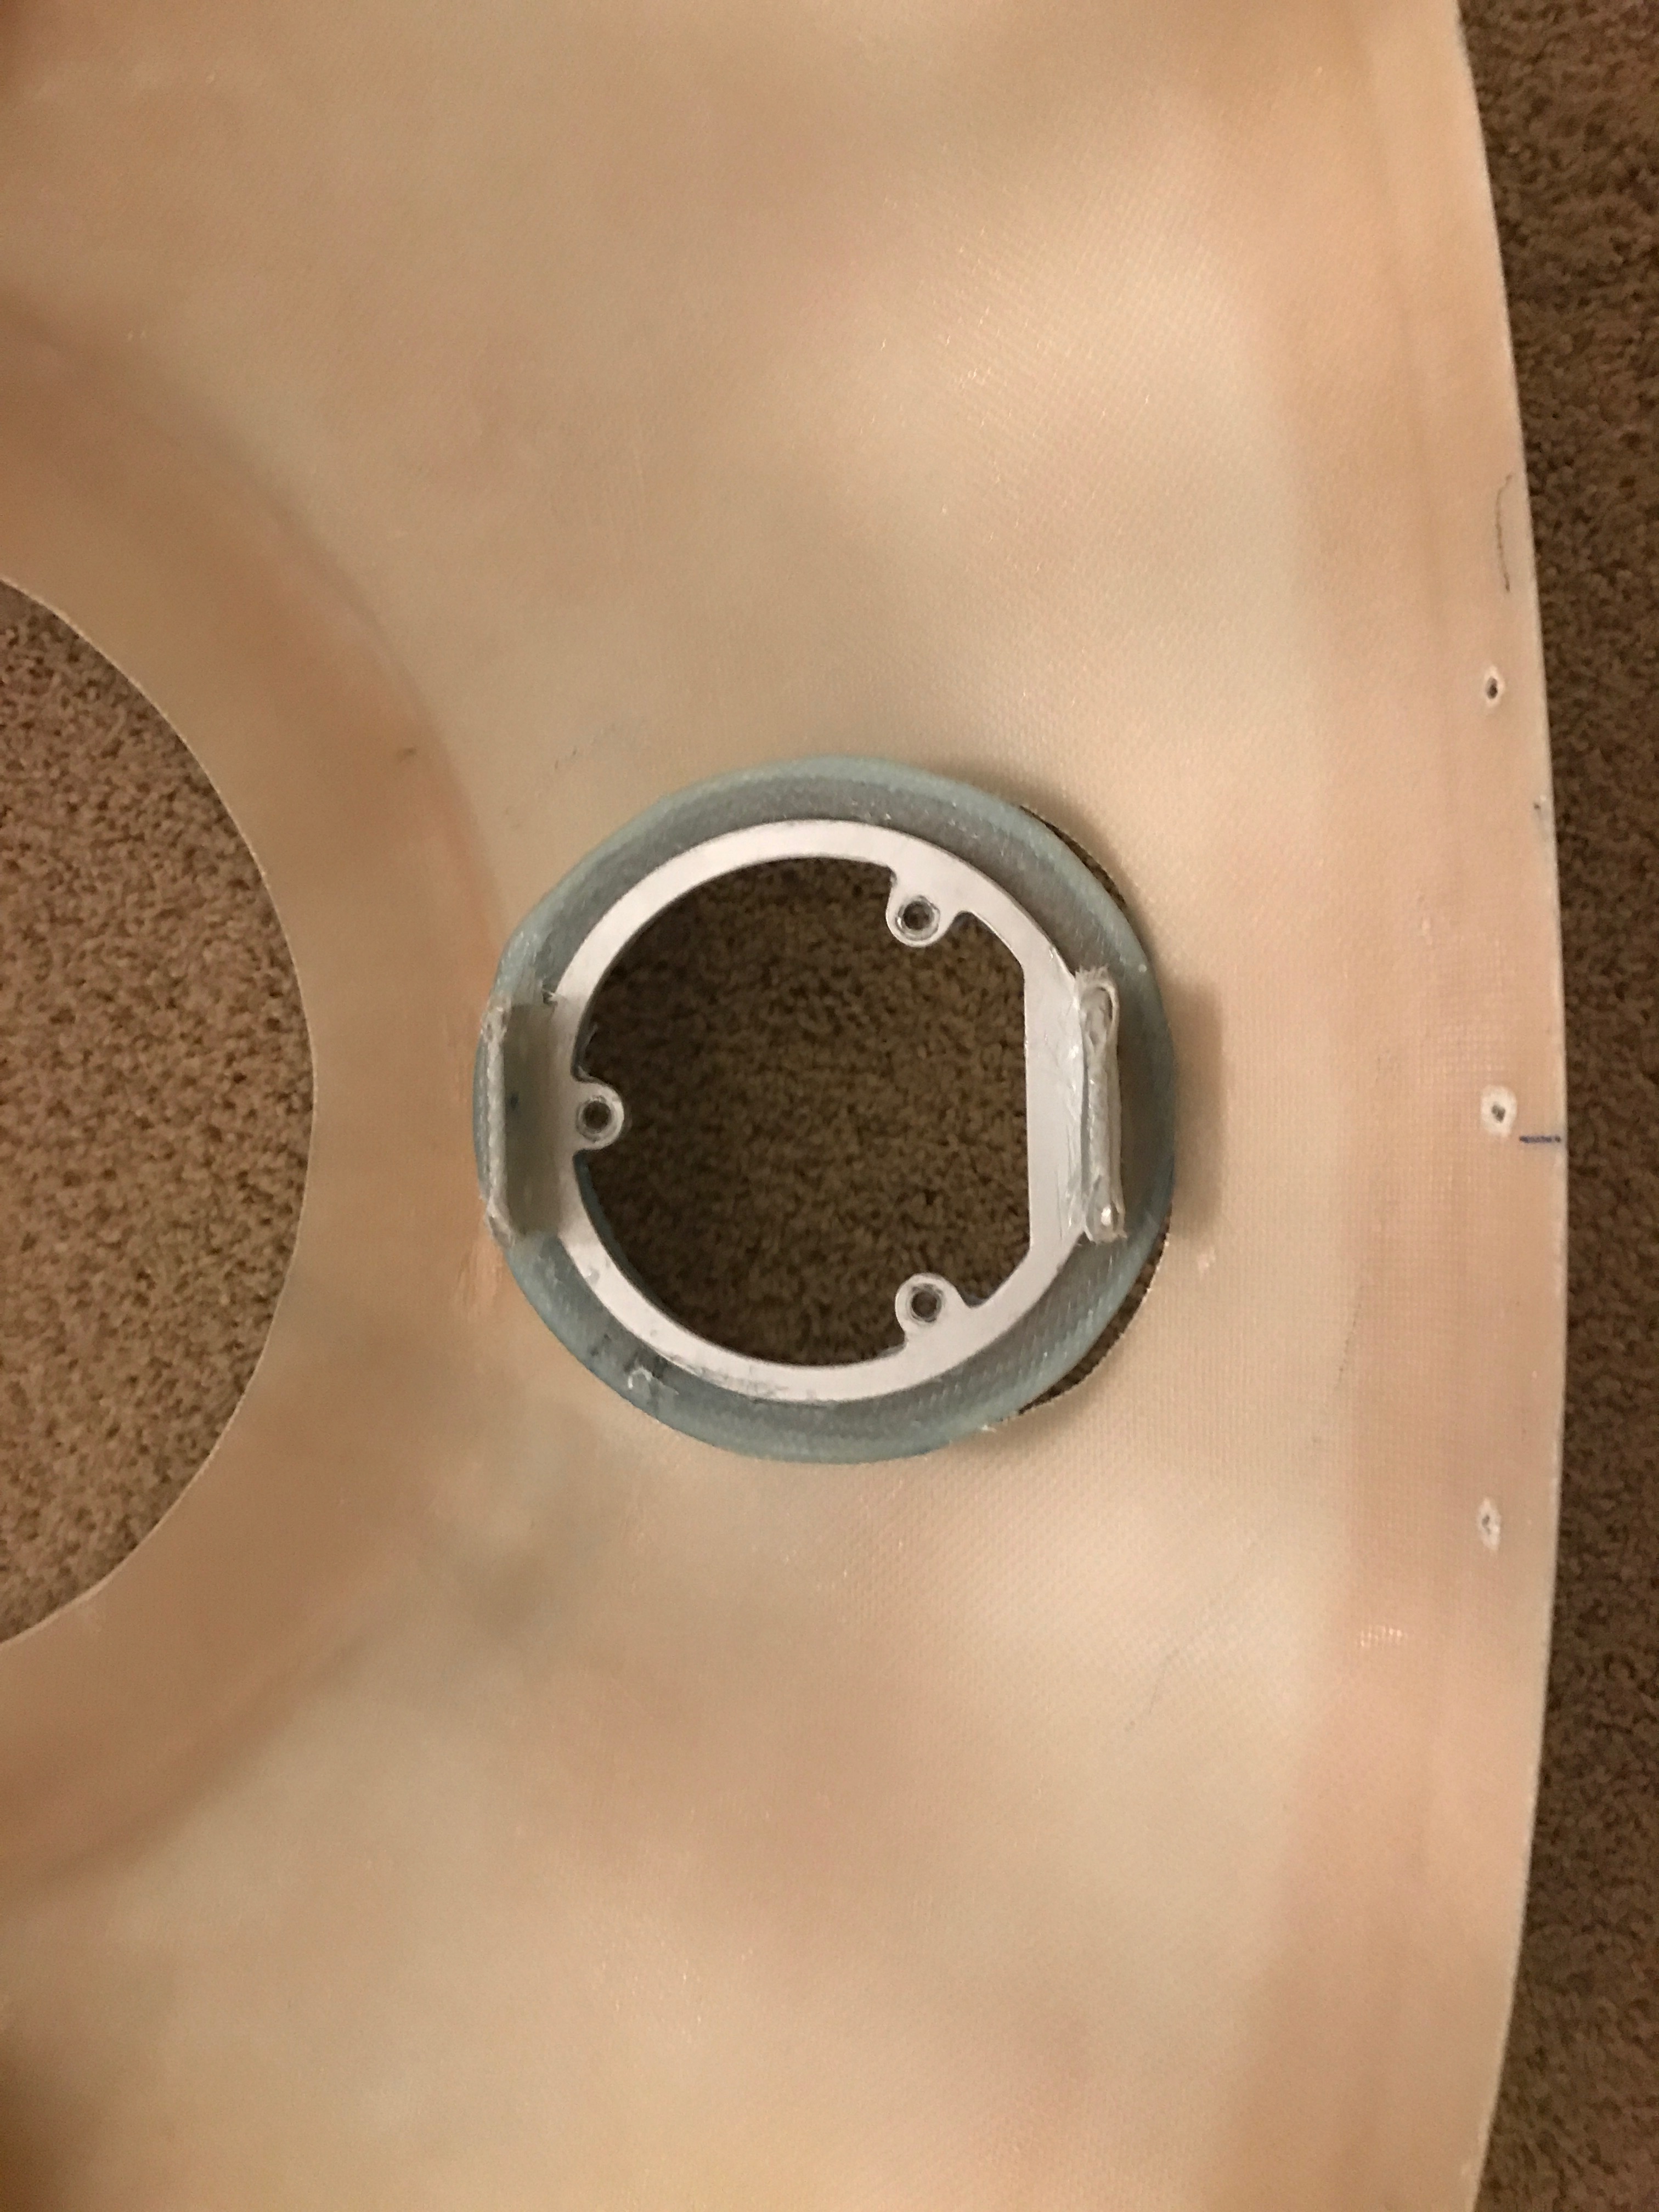
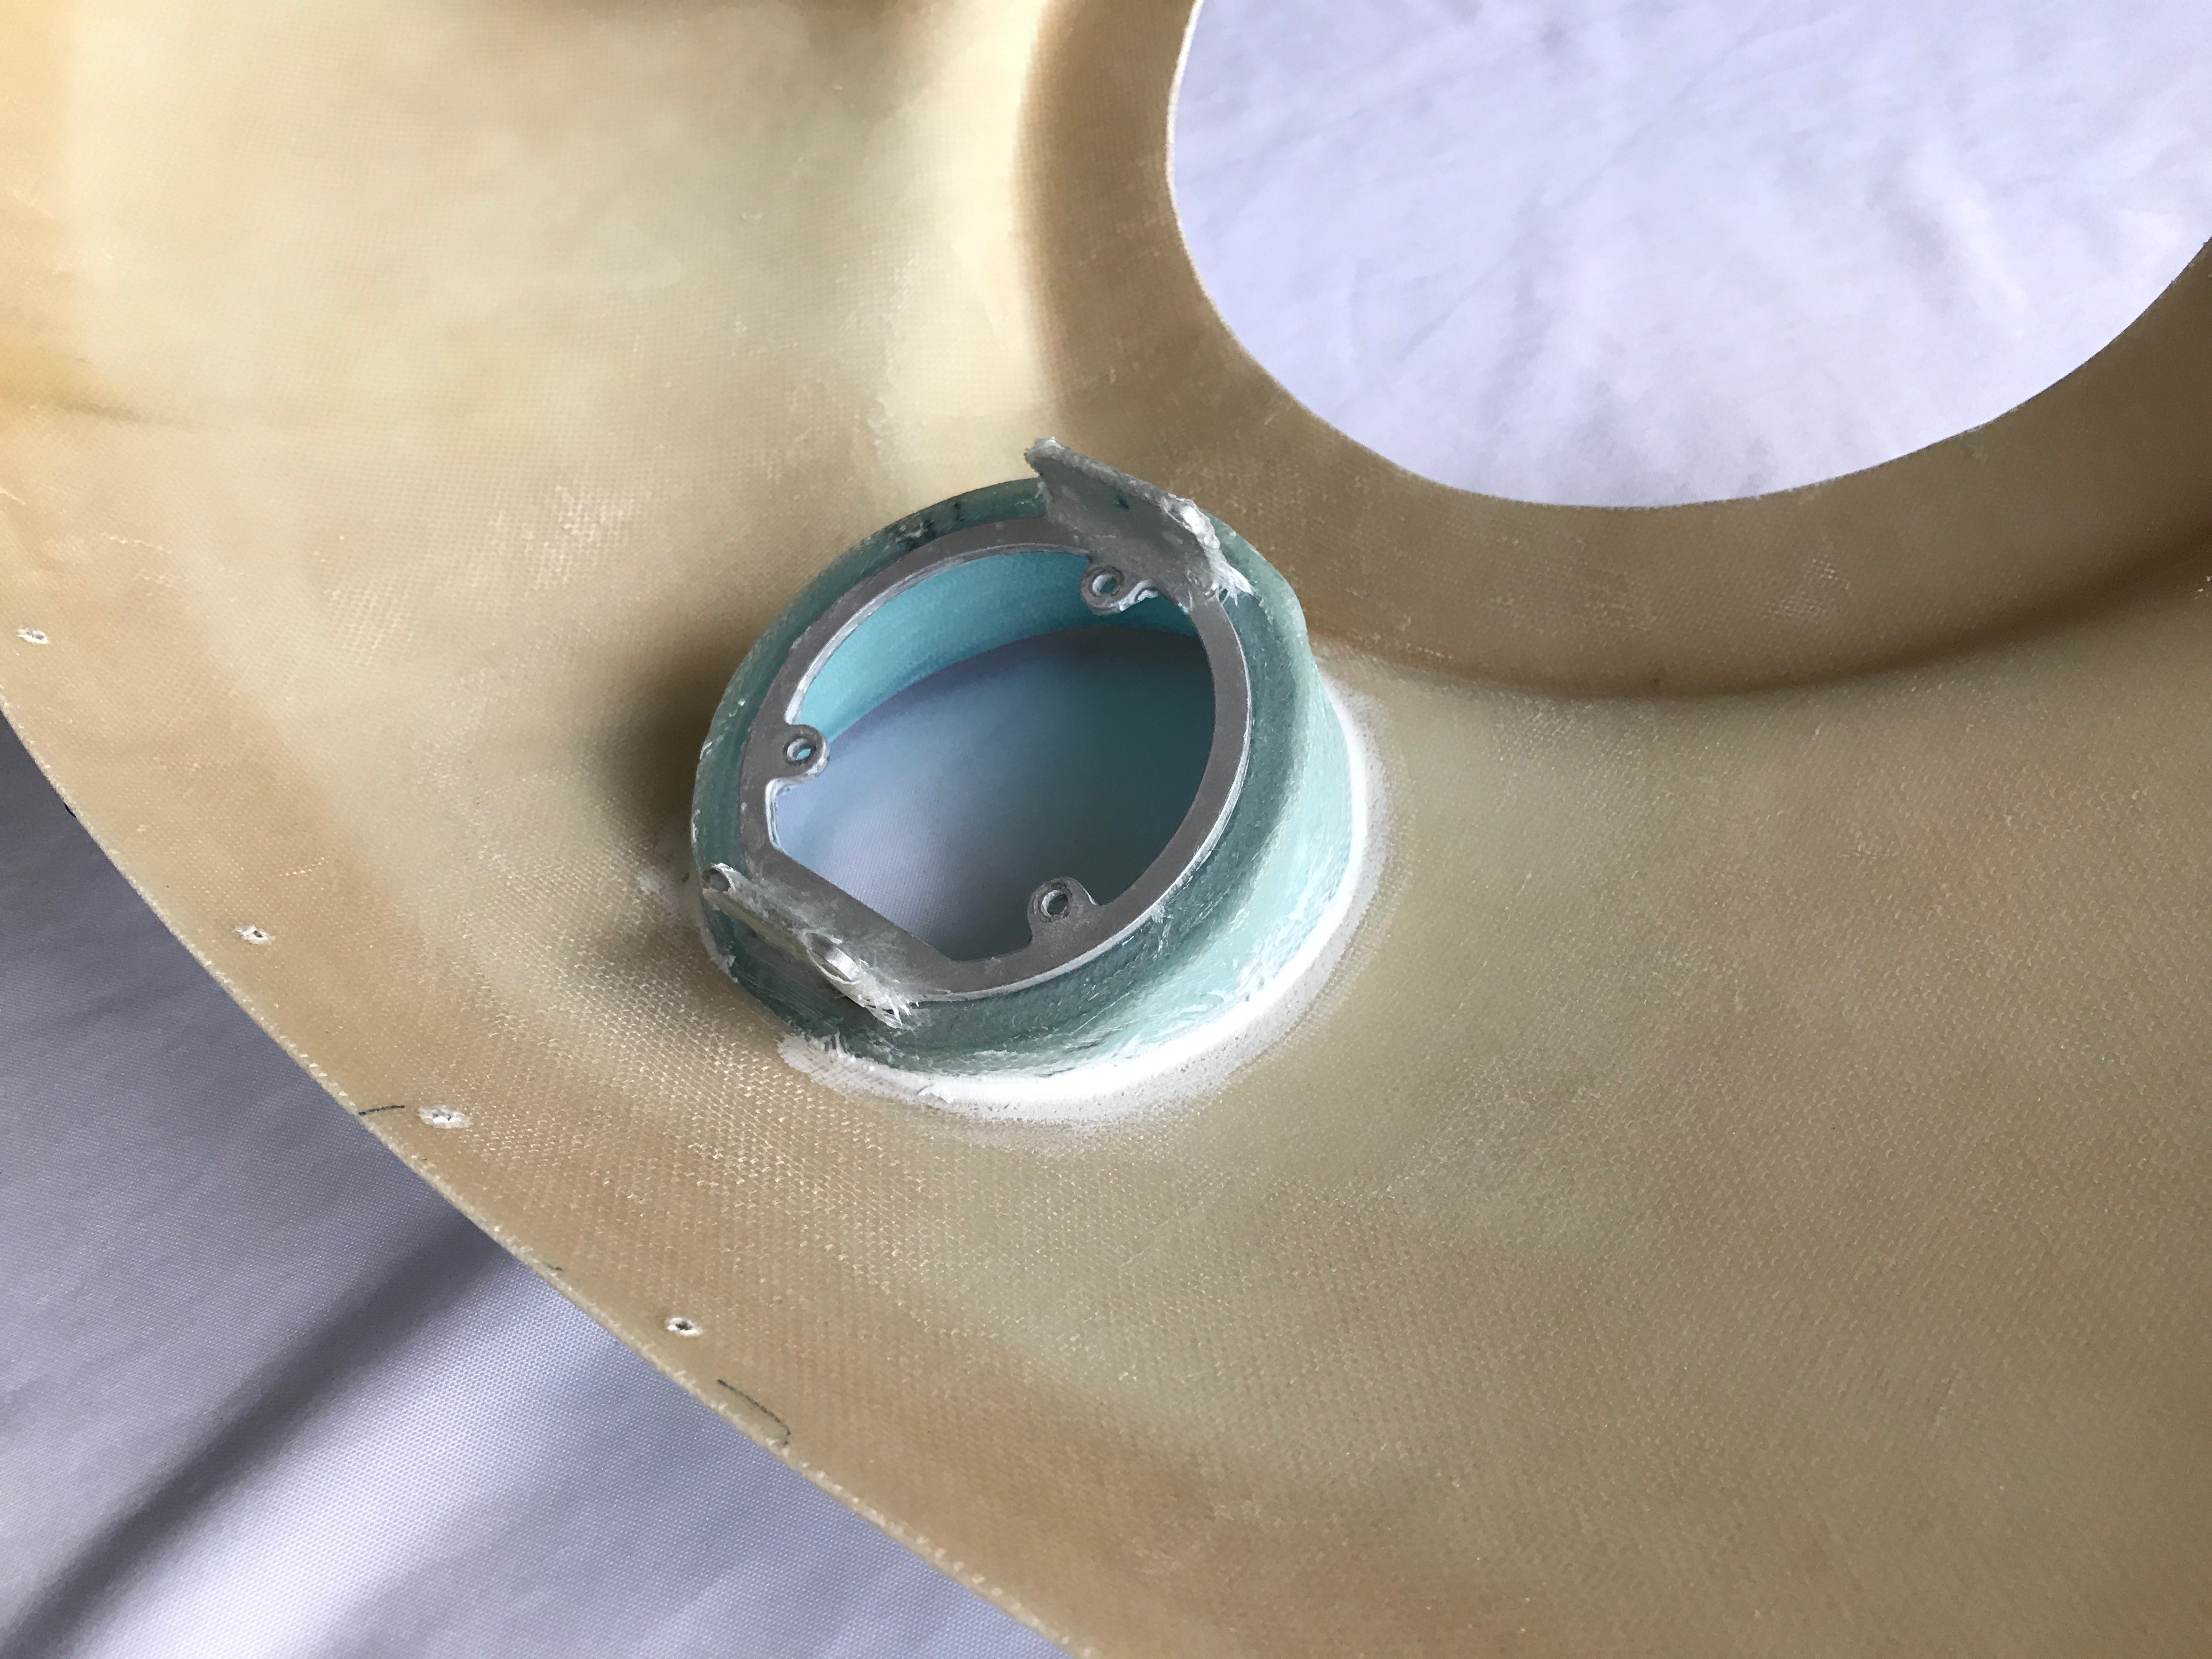
I built up the microspheres around the mount so I could fiberglass it in. I don’t have a picture of what it looked like after the fiberglass on the back, but I made sure it wasn’t going to move! 🙂
Microspheres on the front, then logs of sanding to make it all smooth.
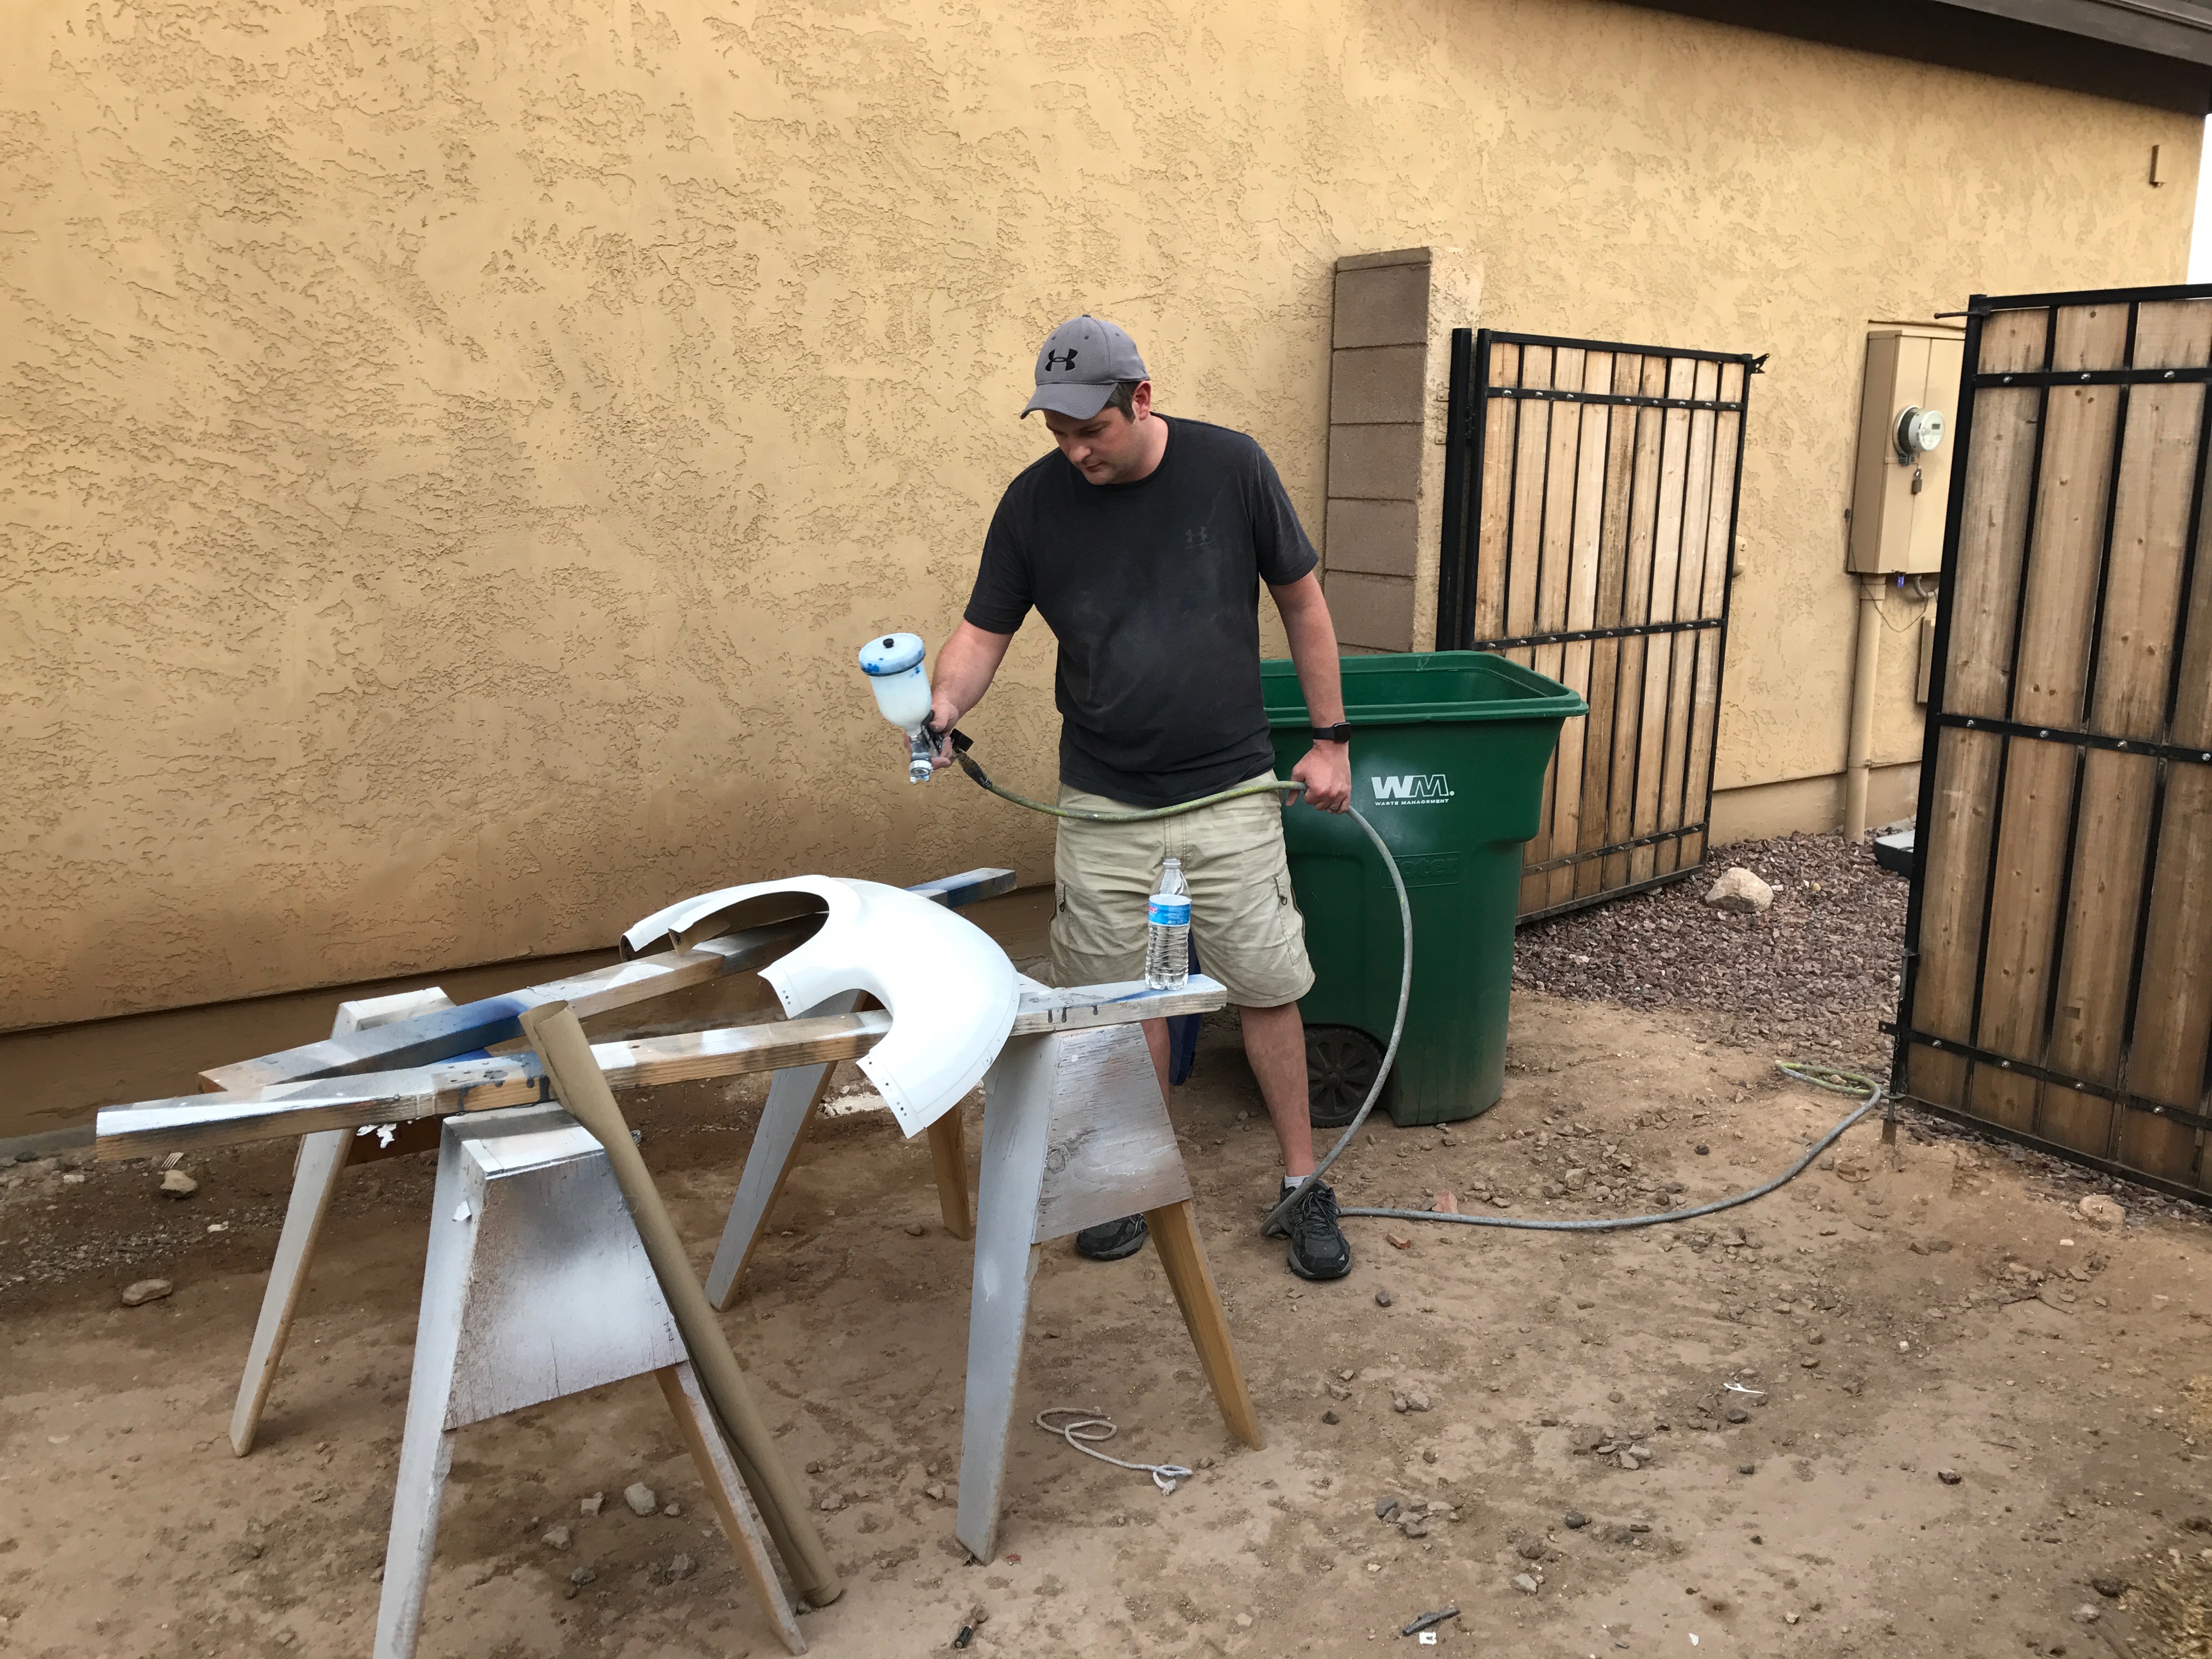
I sprayed on a sandable primer with UV protection.
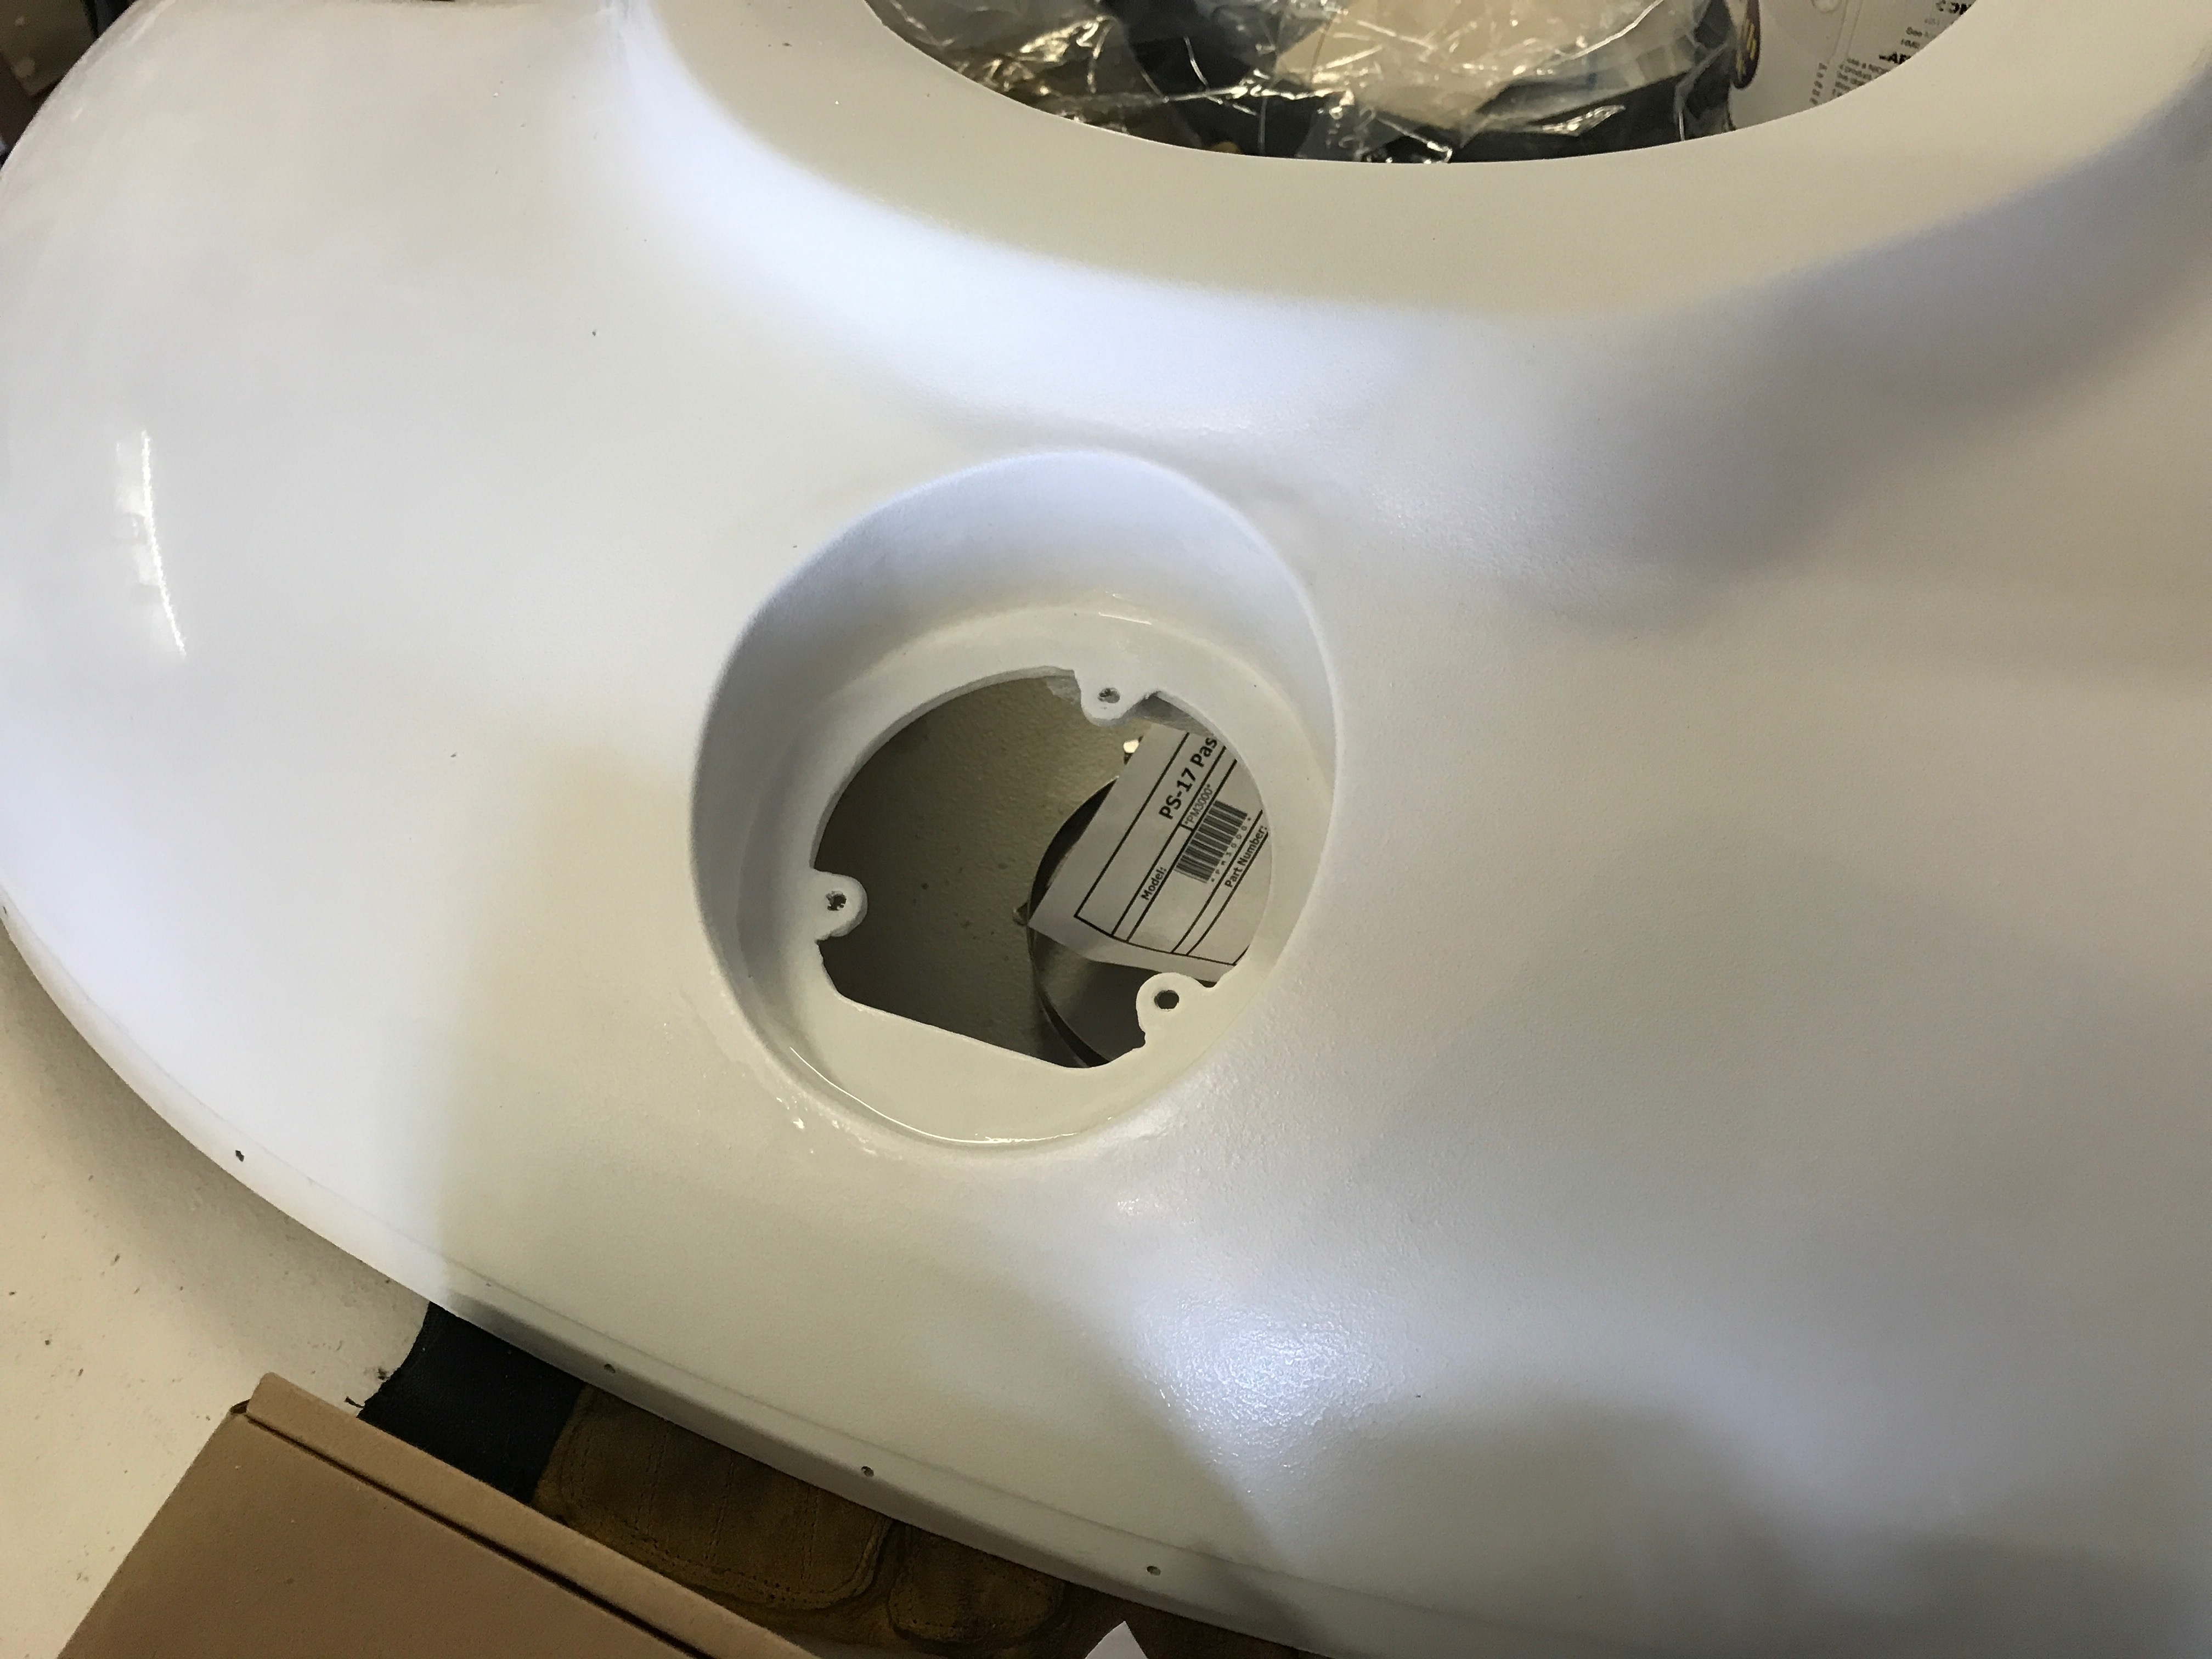
Turned out pretty good!
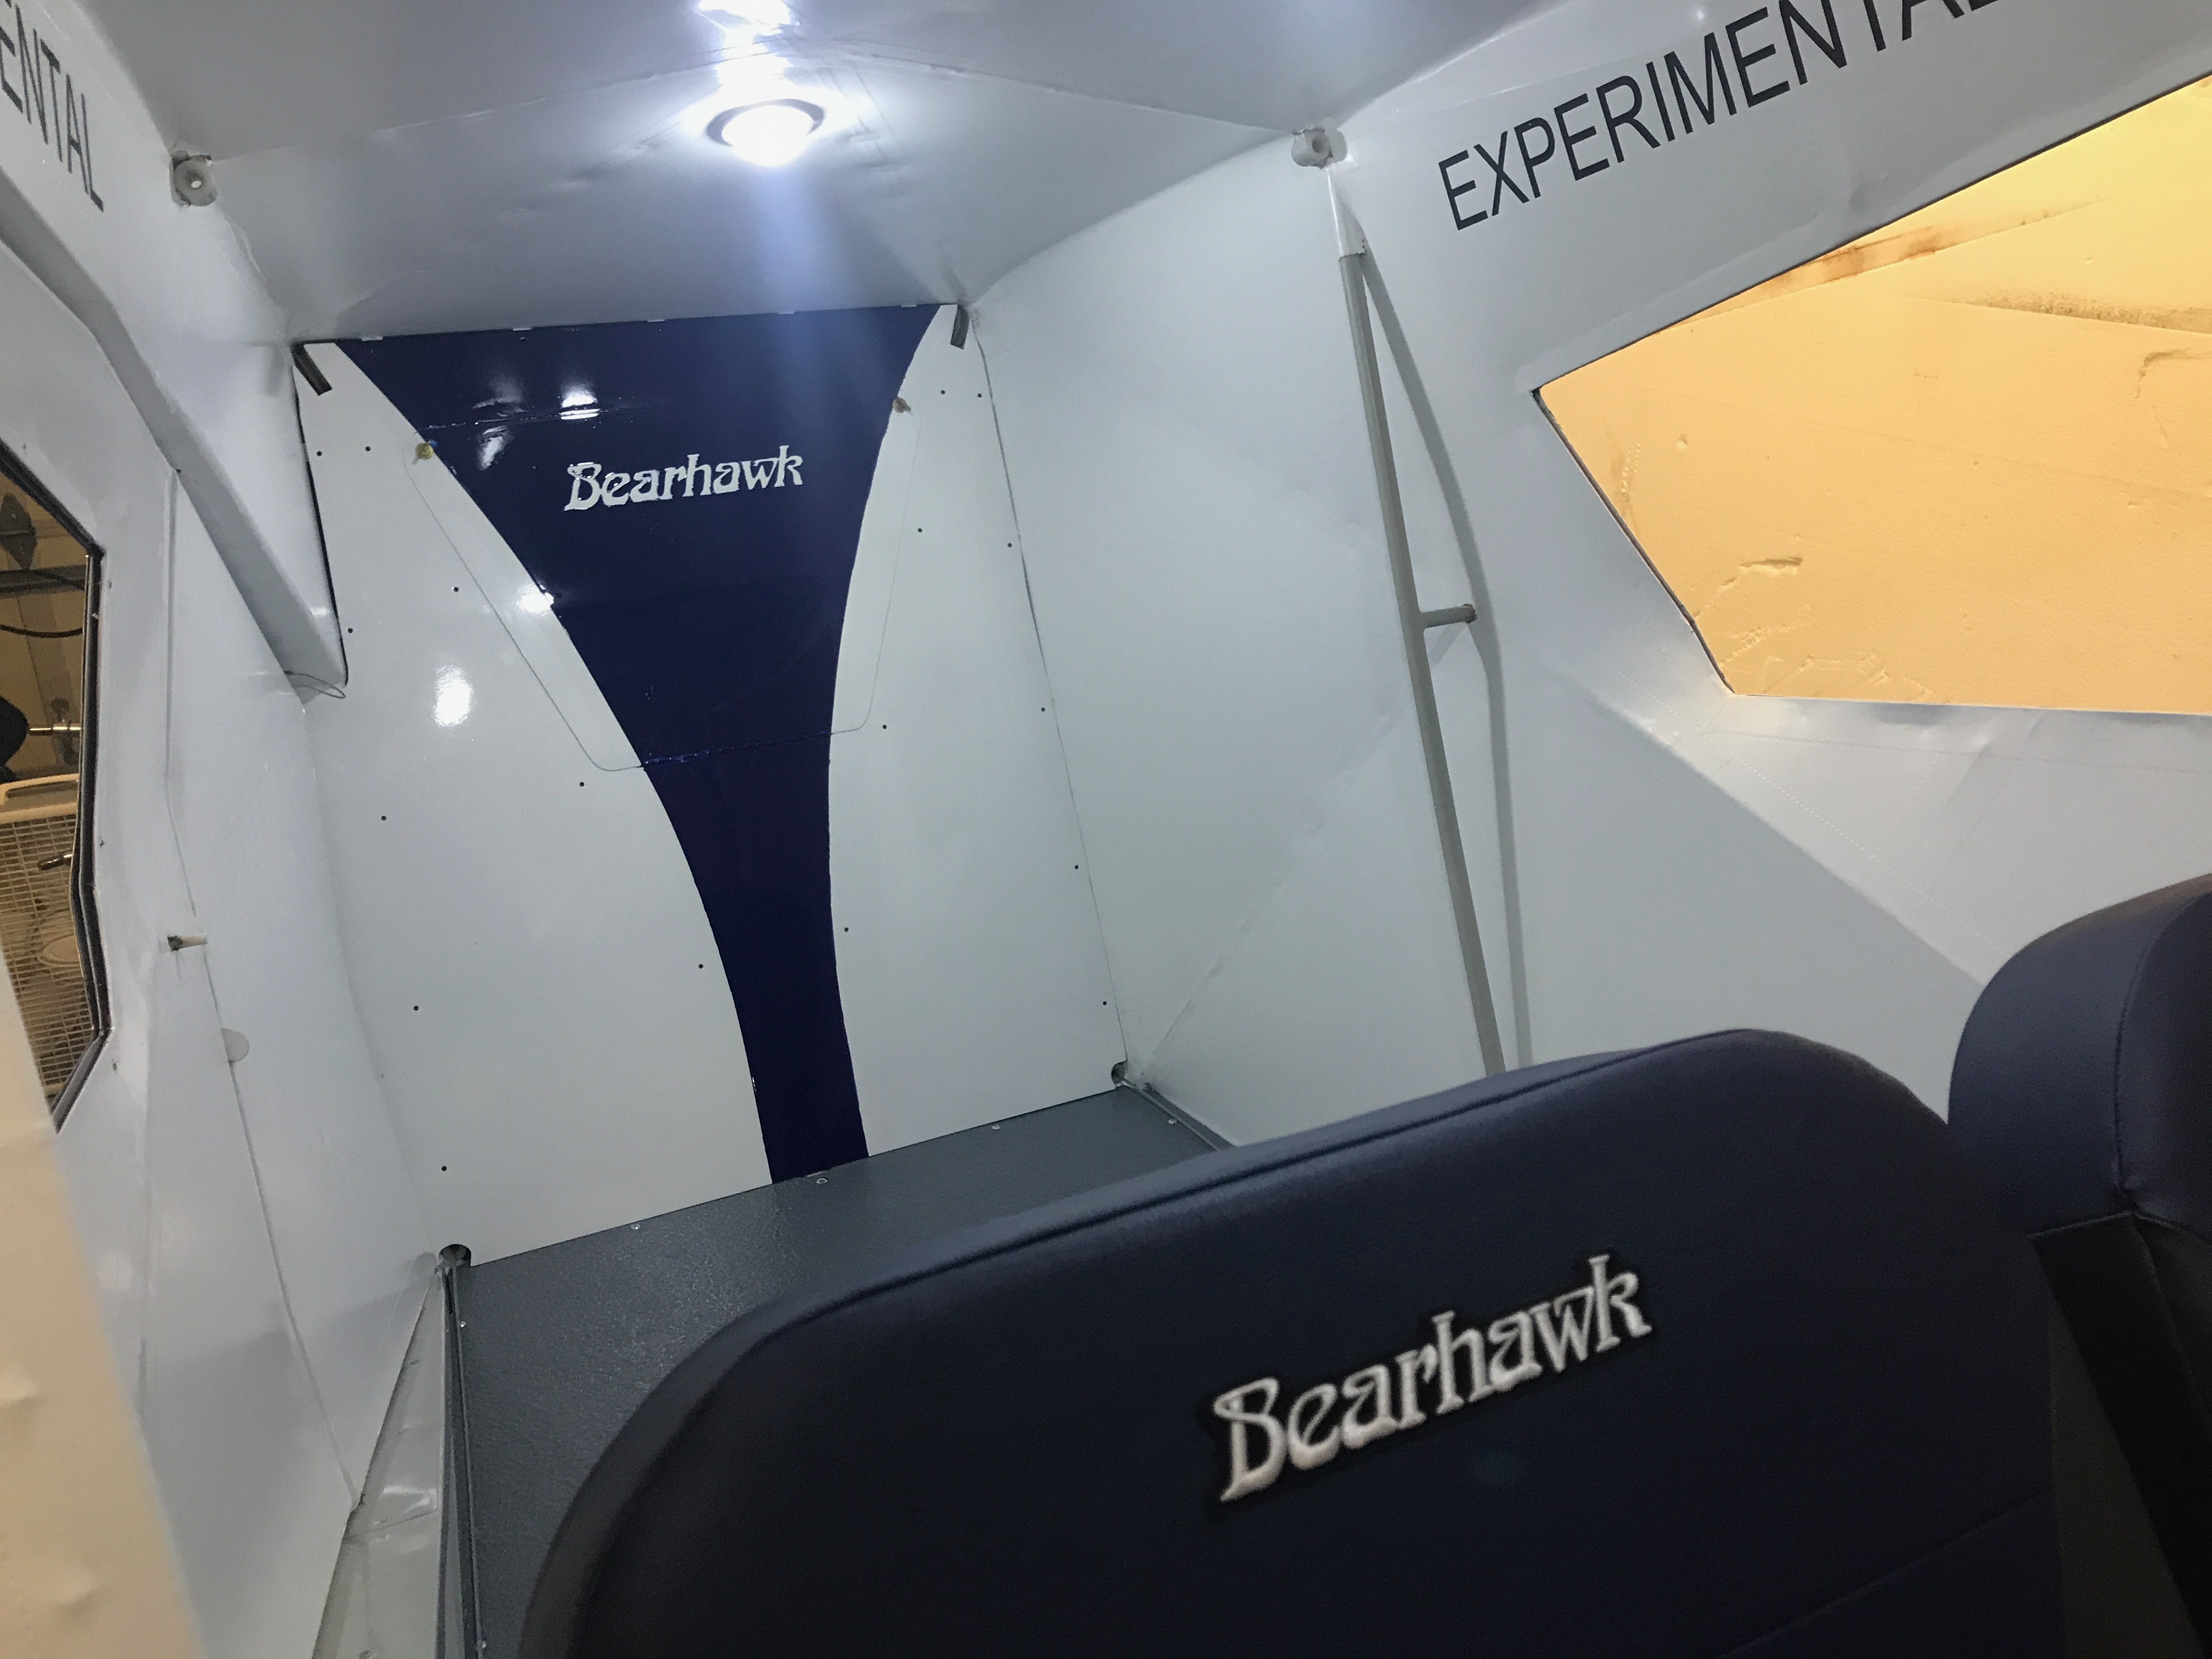
I used a new Mark III paint on the rear bulkhead. I didn’t really like it very much. I was looking for something that worked better on metal than PolyTone. The paint seeped under my masking lines and didn’t end up as crisp as I’d like. Oh, well. I could remake it if it ends up bothering me that bad.
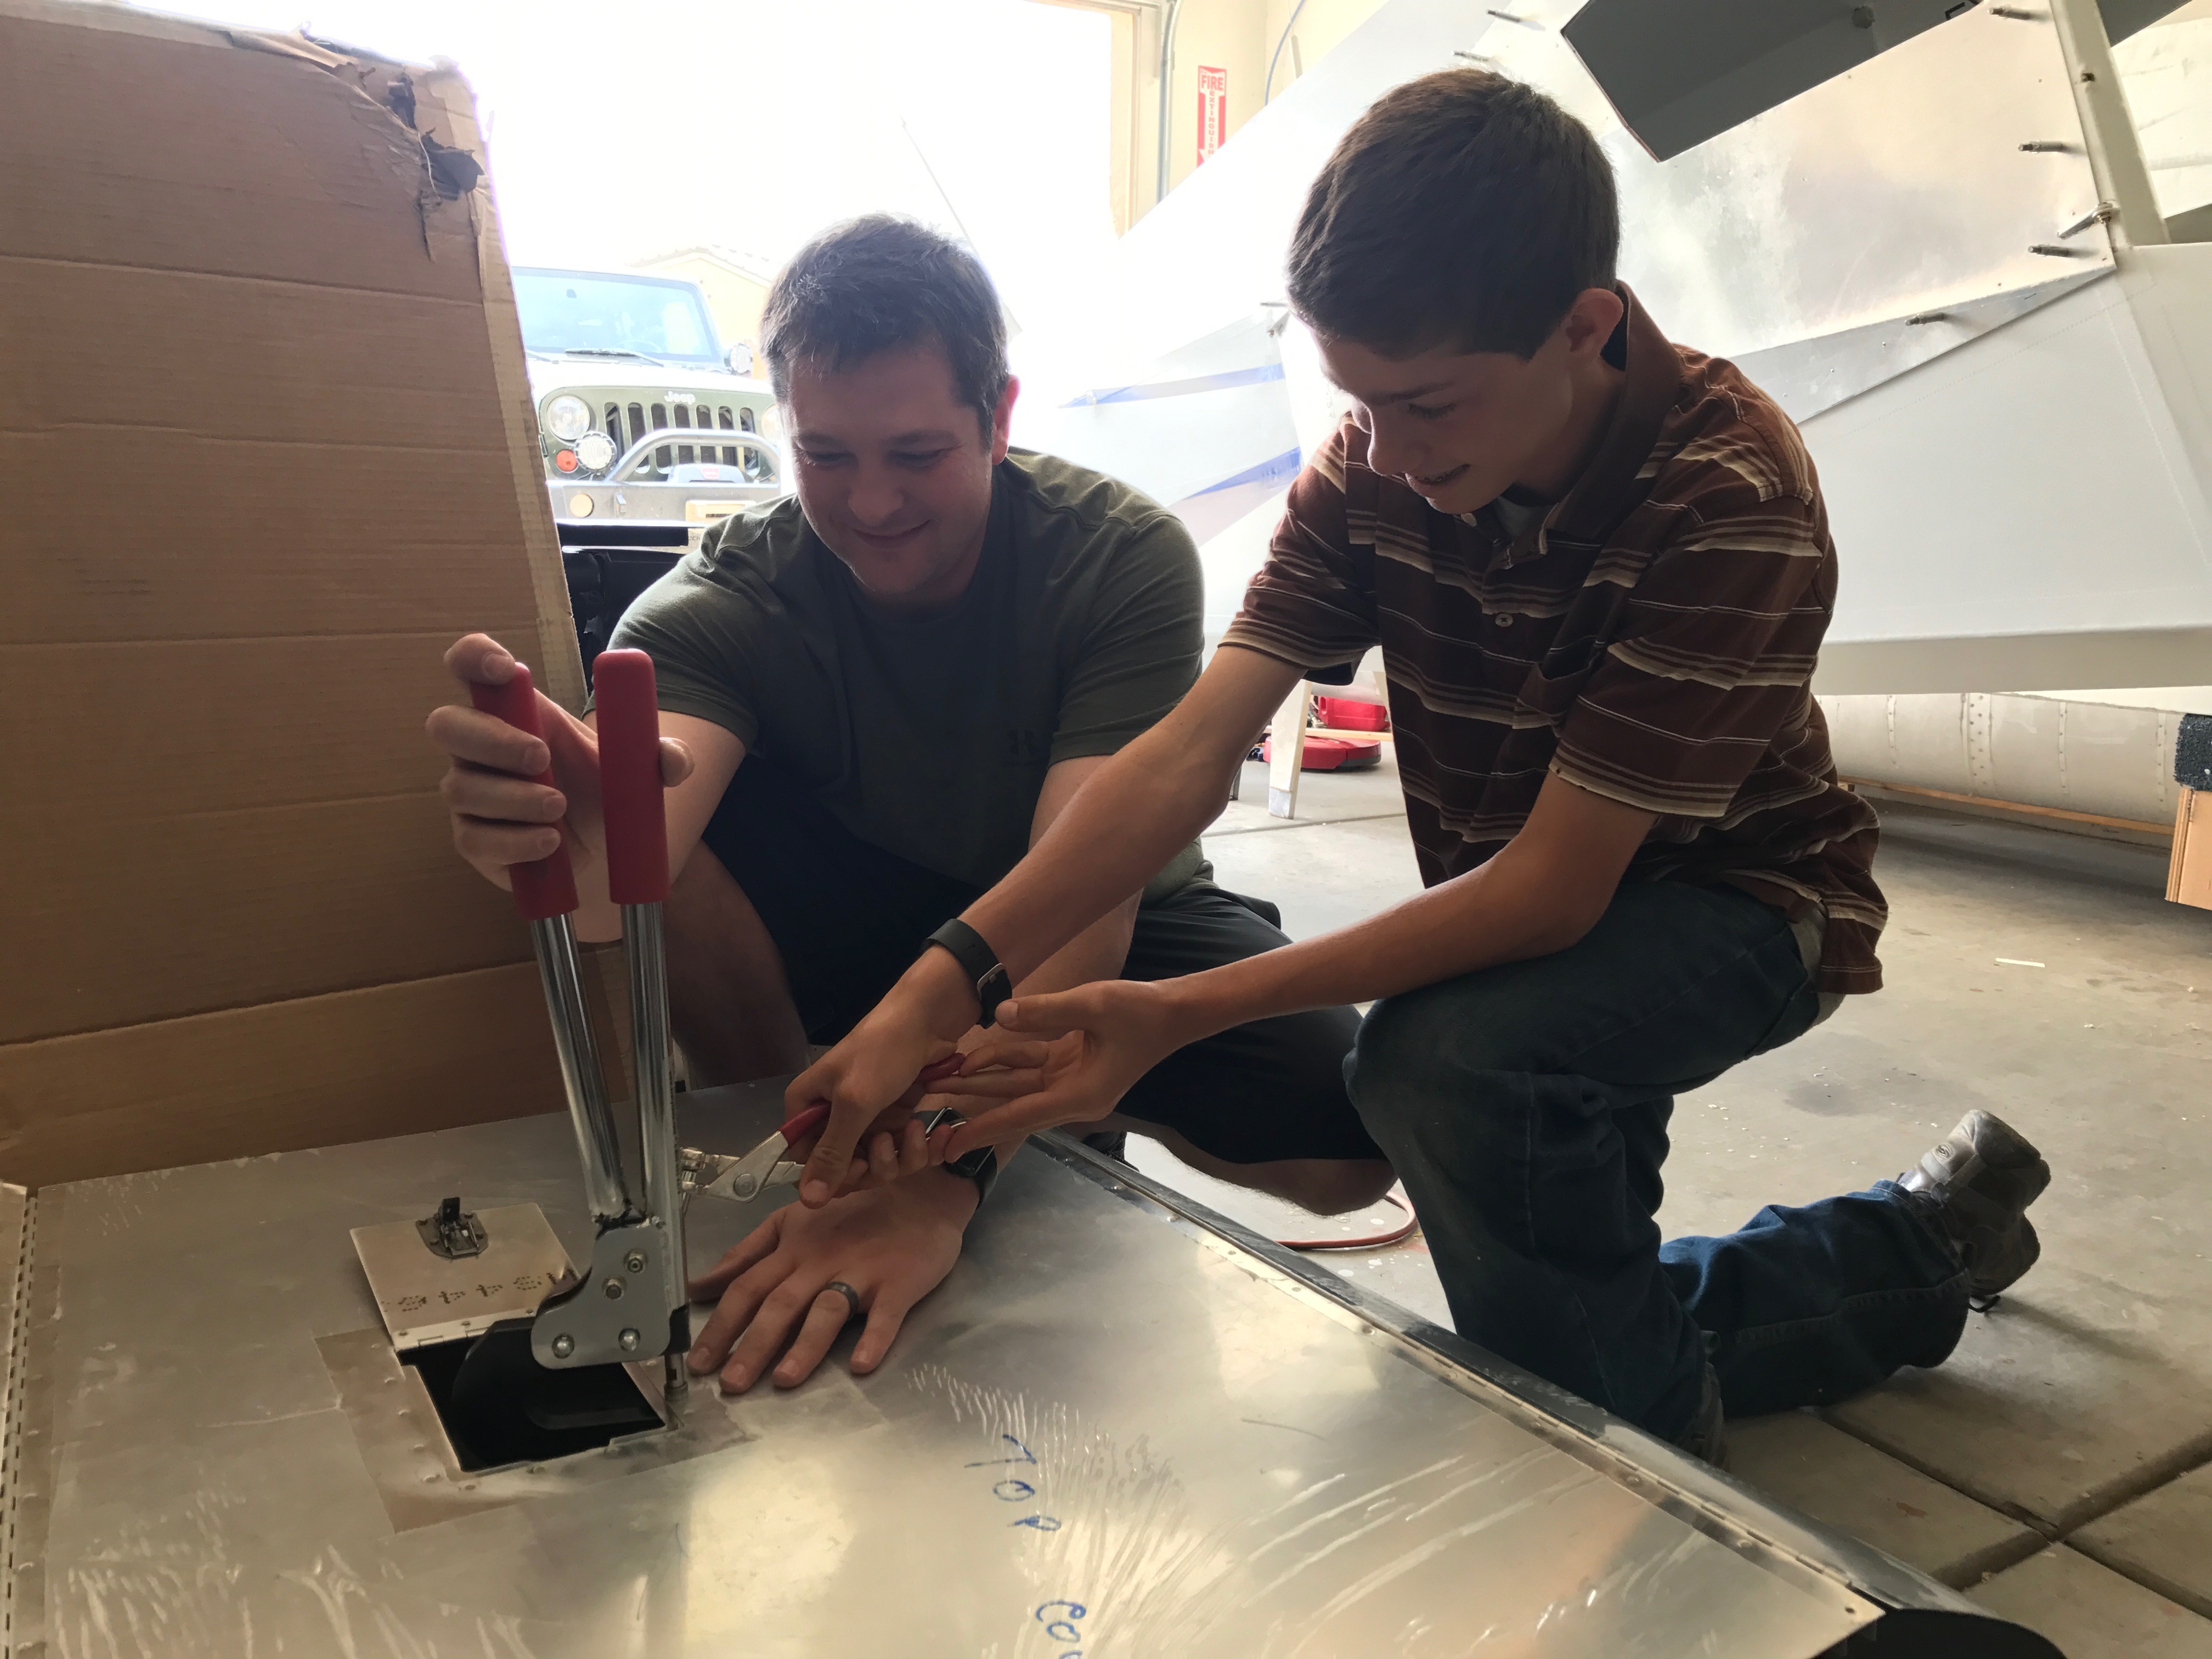
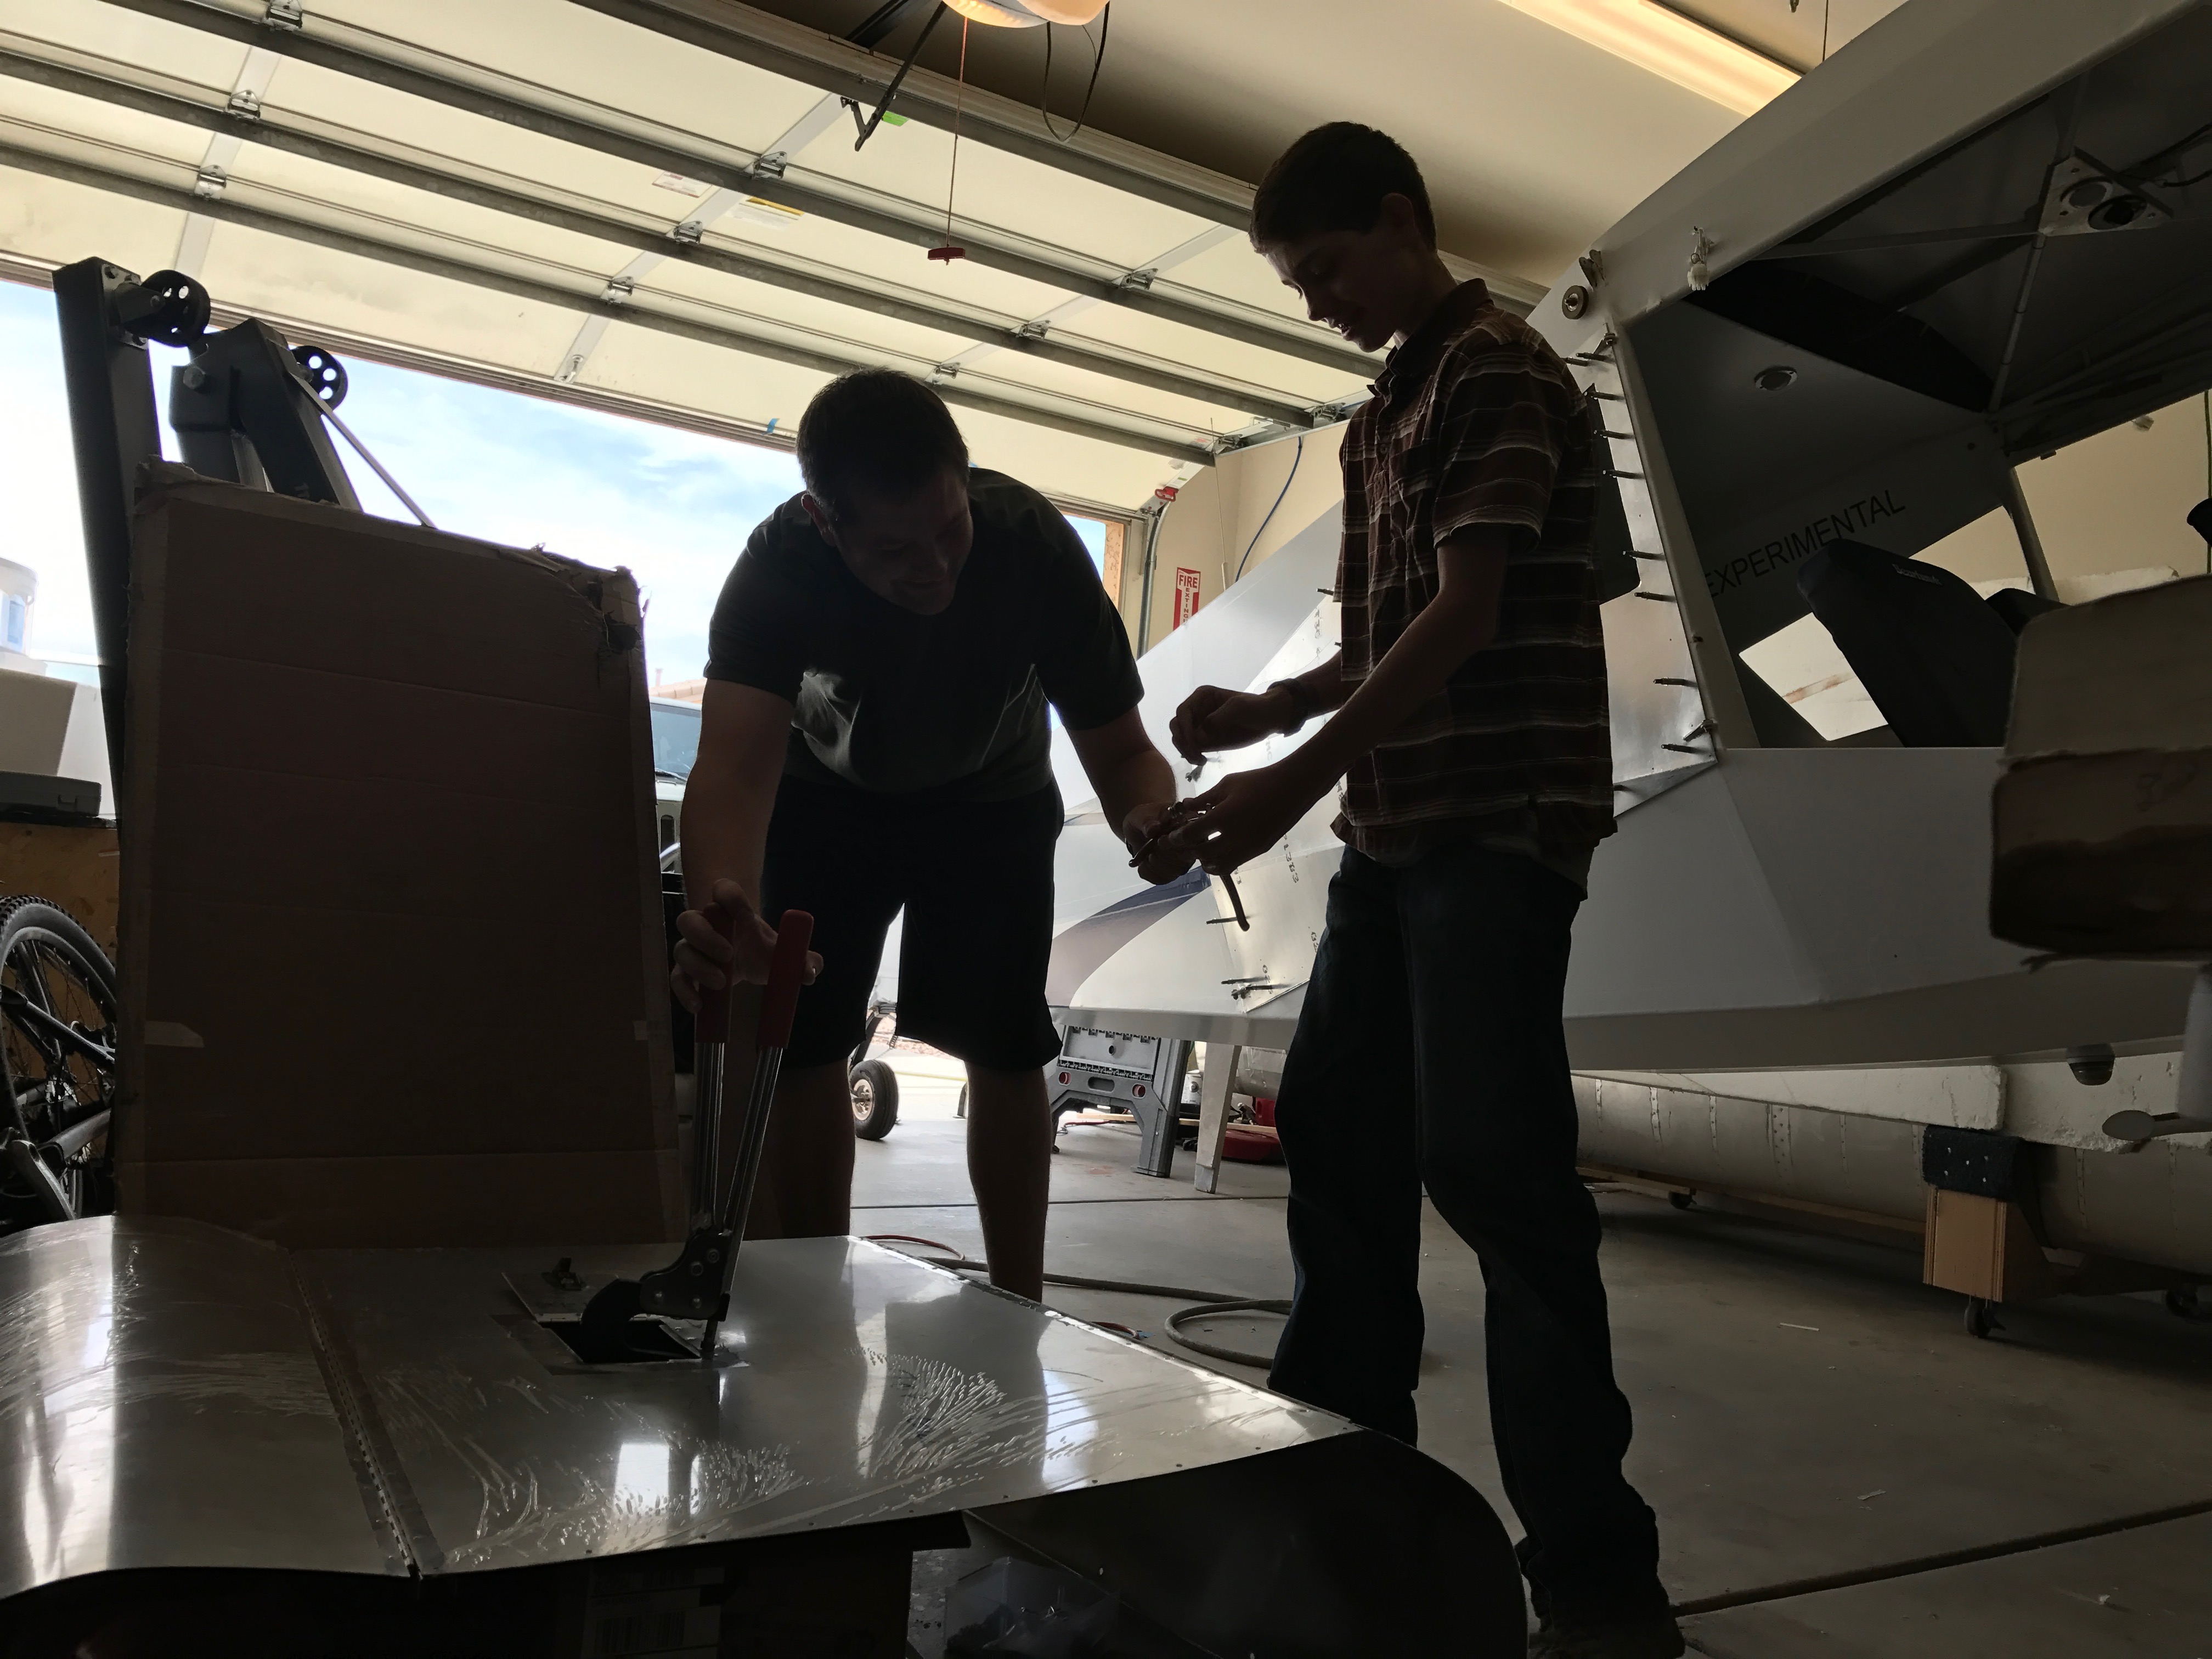
We had a friends son come over to help for the afternoon. He wanted to see how sheet metal work was done. So we installed the oil access door for the top of the cowling.
The carb isn’t exactly square on the engine, so I spent a lot of time trying to make the intake look right.
Ta dah! This is the finished product after several days of measuring, measuring, measuring and oh yeah, measuring. Then a lot of fitting then finally drilling.
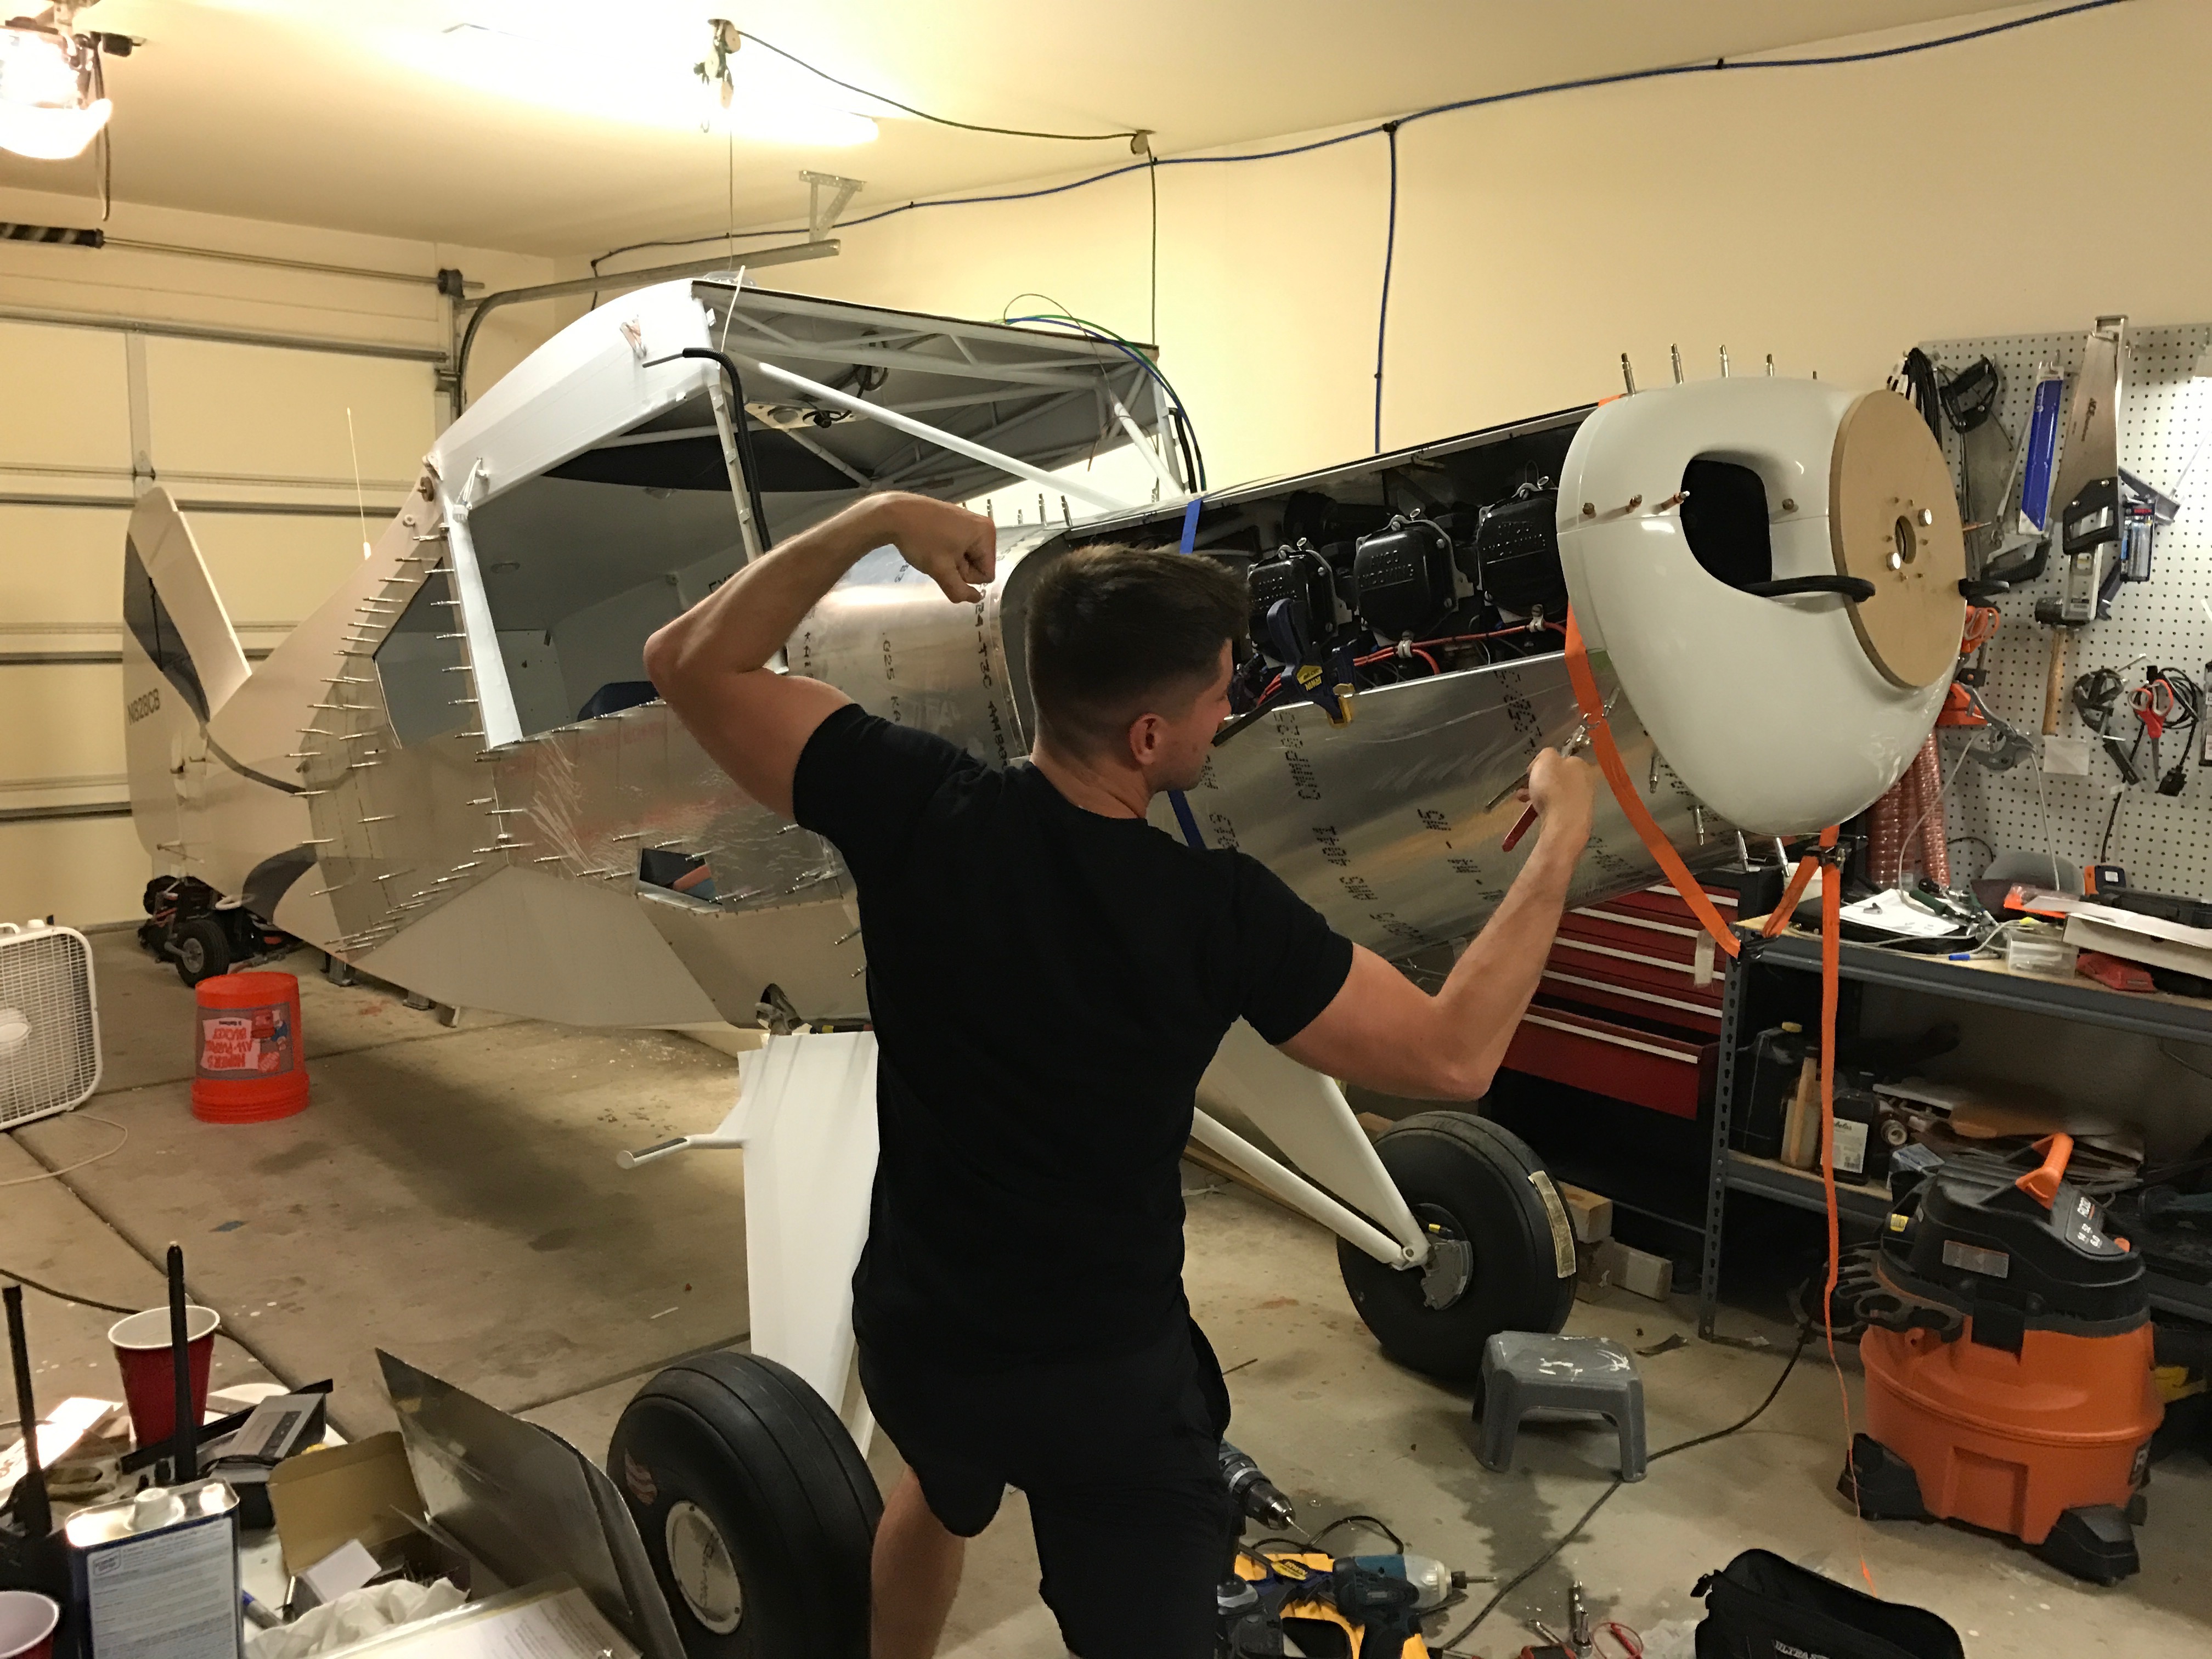
Installing clecos took a very long time with Timmy. He had to strike just the right pose to get the job done.
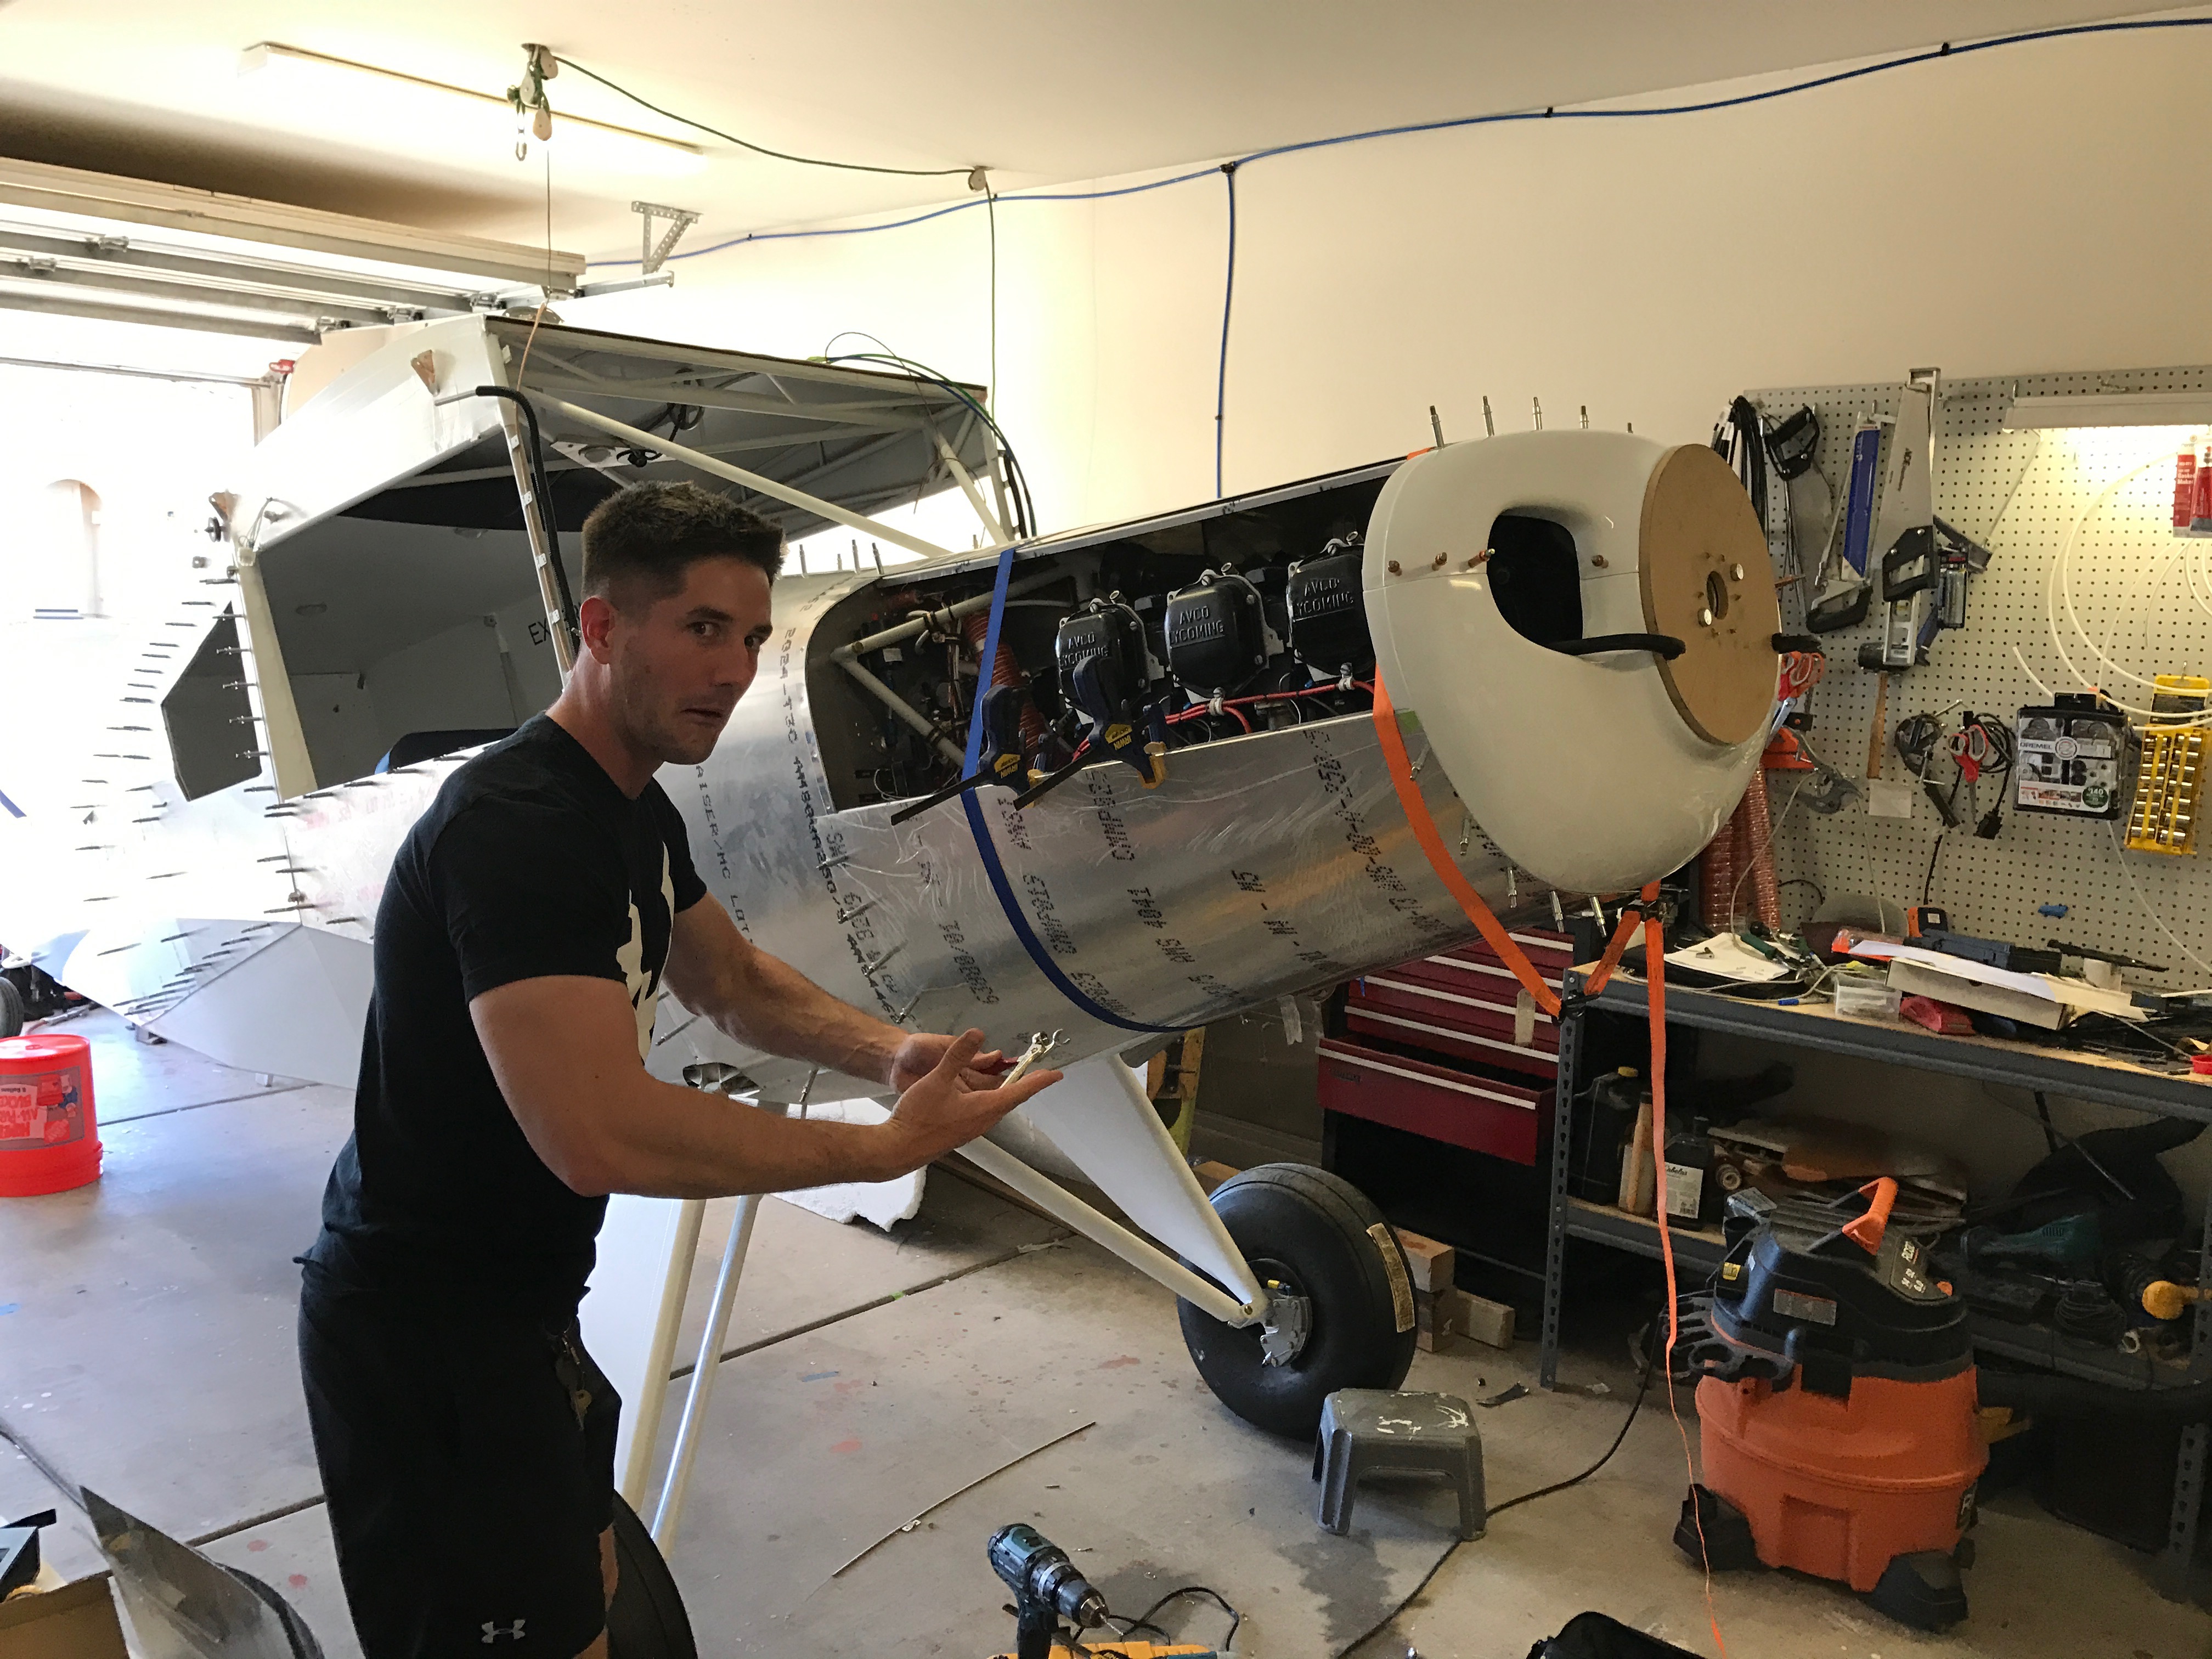
As you can see, he was very, very, very proud of his work installing that cleco.