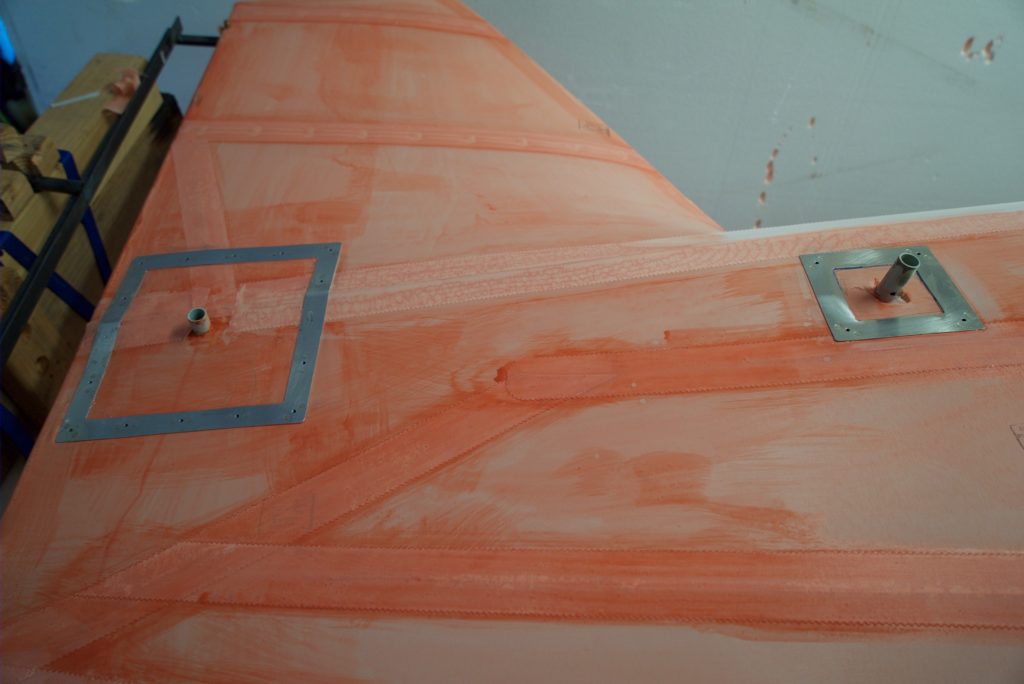
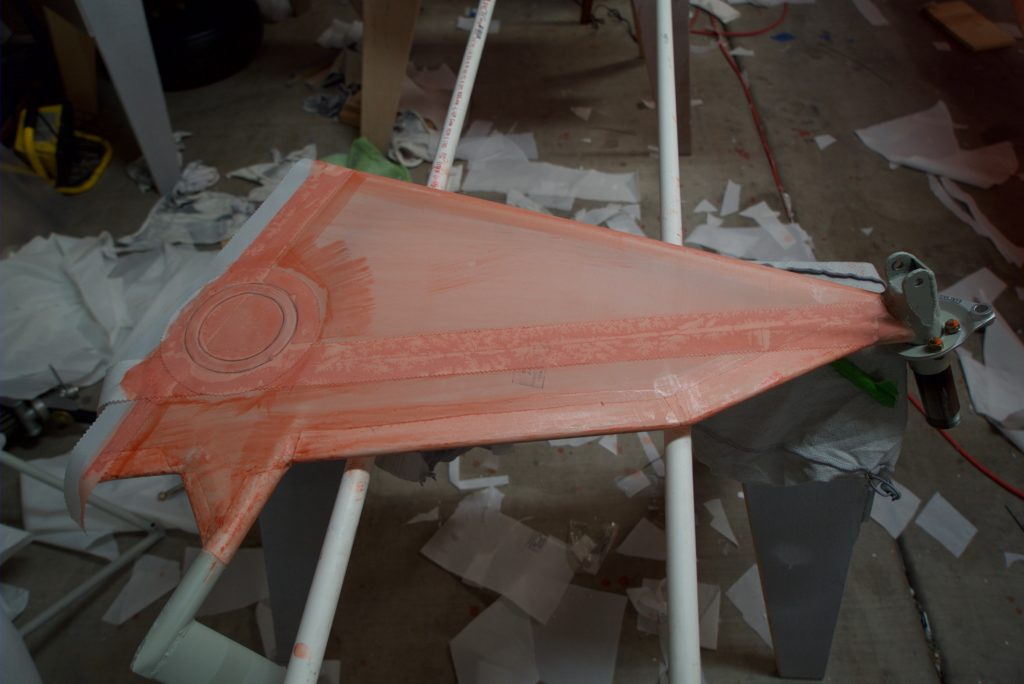
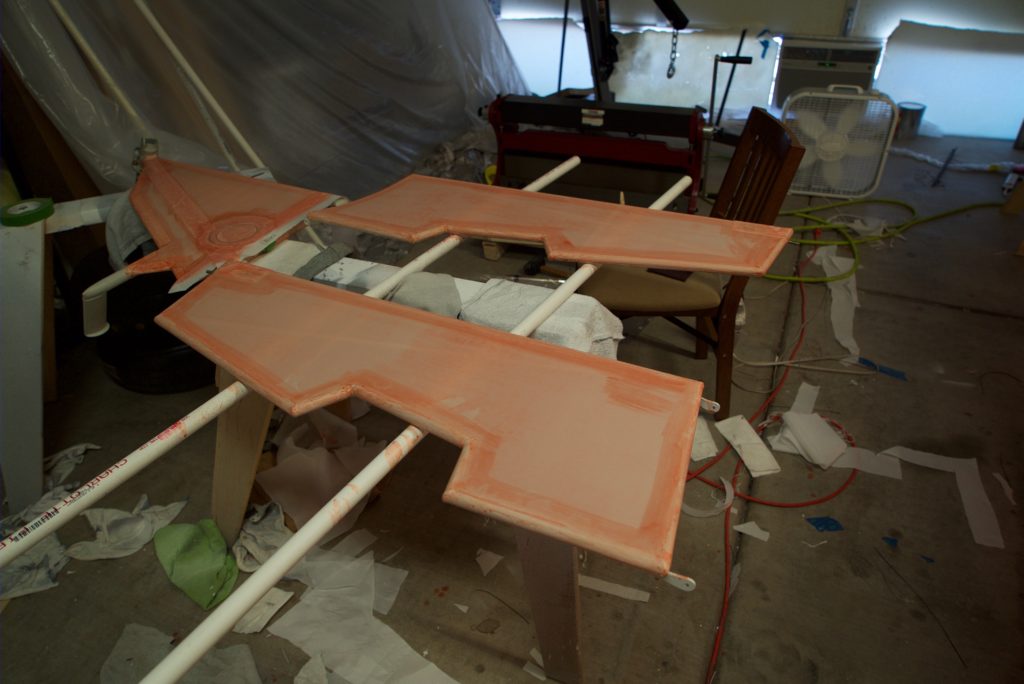
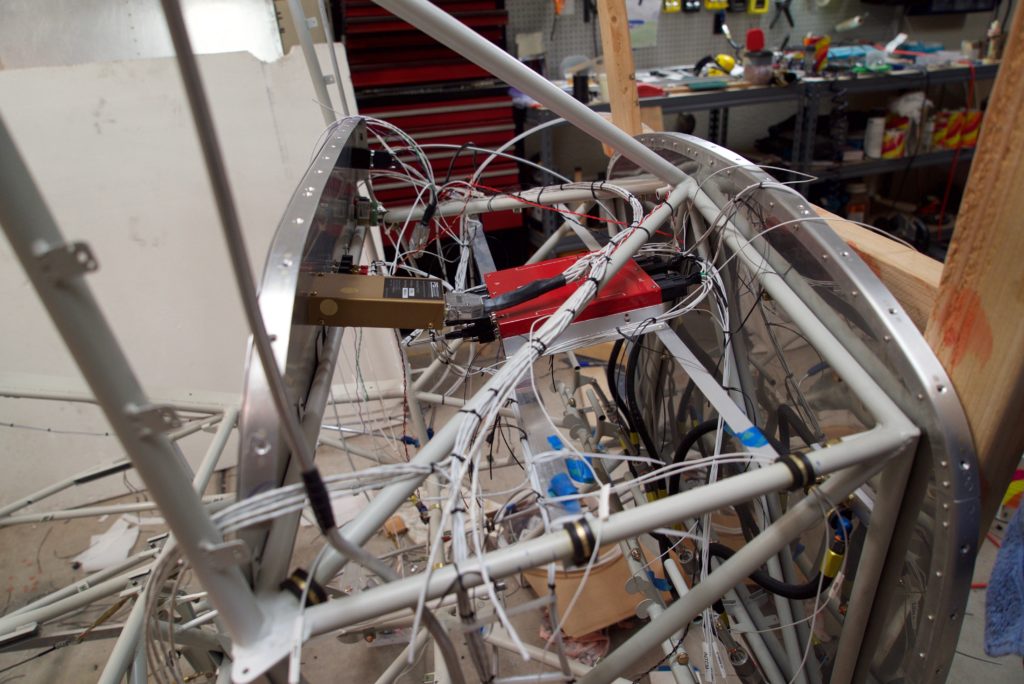
I couldn’t find any inspection rings on Spruce for the elevator connections, so I made some. I put nut plates on the inside and glued the rings in place.
Category: Bearhawk 1175 Building Log
Building log of Bearhawk 1175
Landing Gear Legs & Doors
I decided to finish up all the other odds and ends that needed fabric except for the flaps and ailerons. I put an inspection ring on the inside of the landing gear leg just in case I need to access the brake lines in the future.
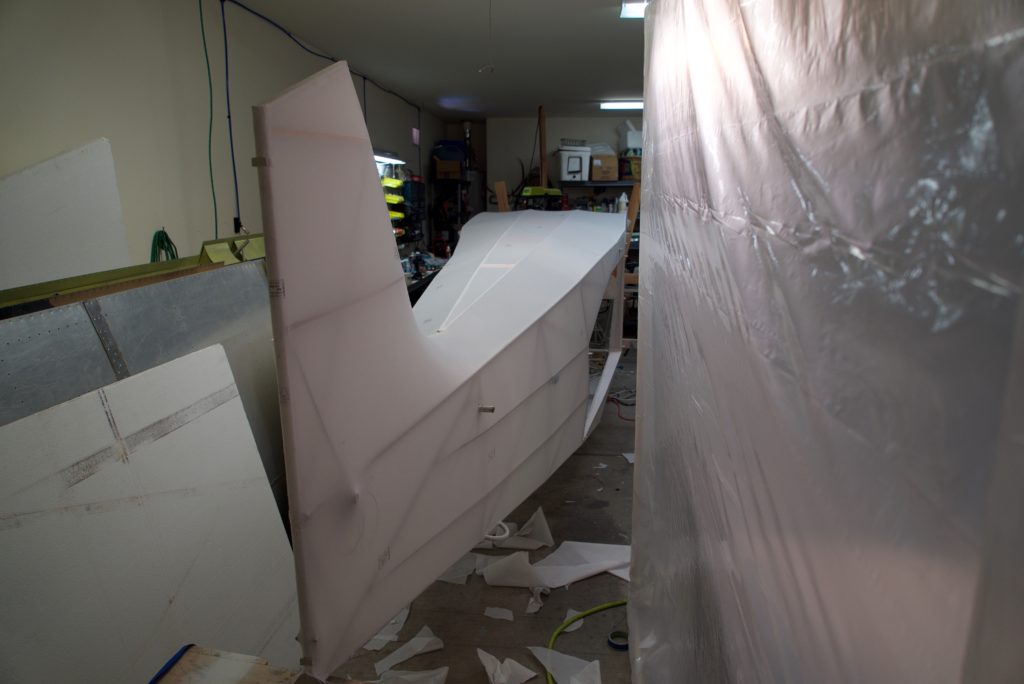
The doors on our Bearhawk will be fabric on the inside and aluminum on the outside.
PolyBrush!
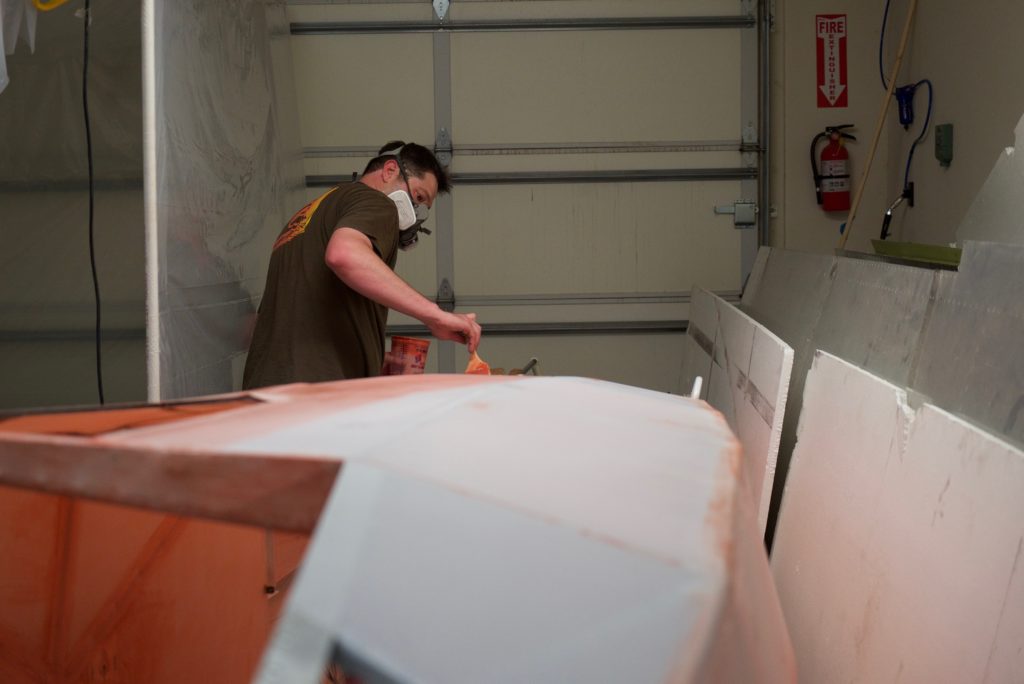
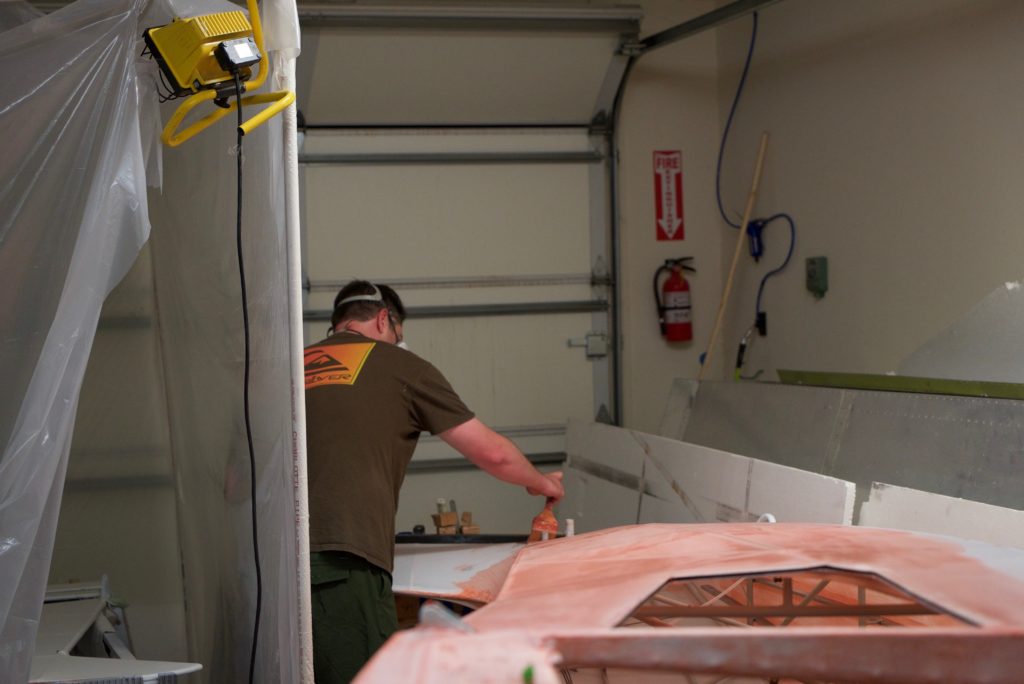
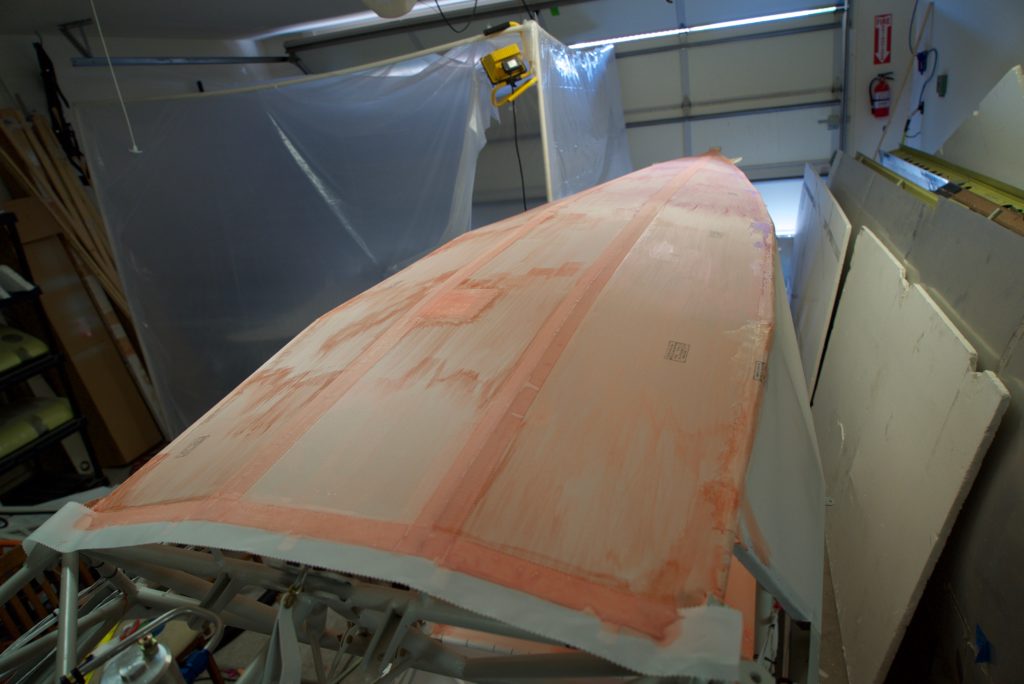
Now comes the task of brushing on the first coat of PloyBrush. This goes pretty fast and allows you to look at every inch of the fabric so far and find anything that I need to fix.
Now comes the process of applying tapes… I think this is one of the most time consuming tasks. The long ones are pretty easy, but getting everything cut just right to go around protrusions can take quite a bit of time. Especially if you want to to look really nice.
I learned in an EAA SportAir Workshop that if someone complements you on your covering job, you should just say “Thank-you”, and then shut up! Only you know of all the tiny imperfections that they’ll never notice unless you point them out!!!
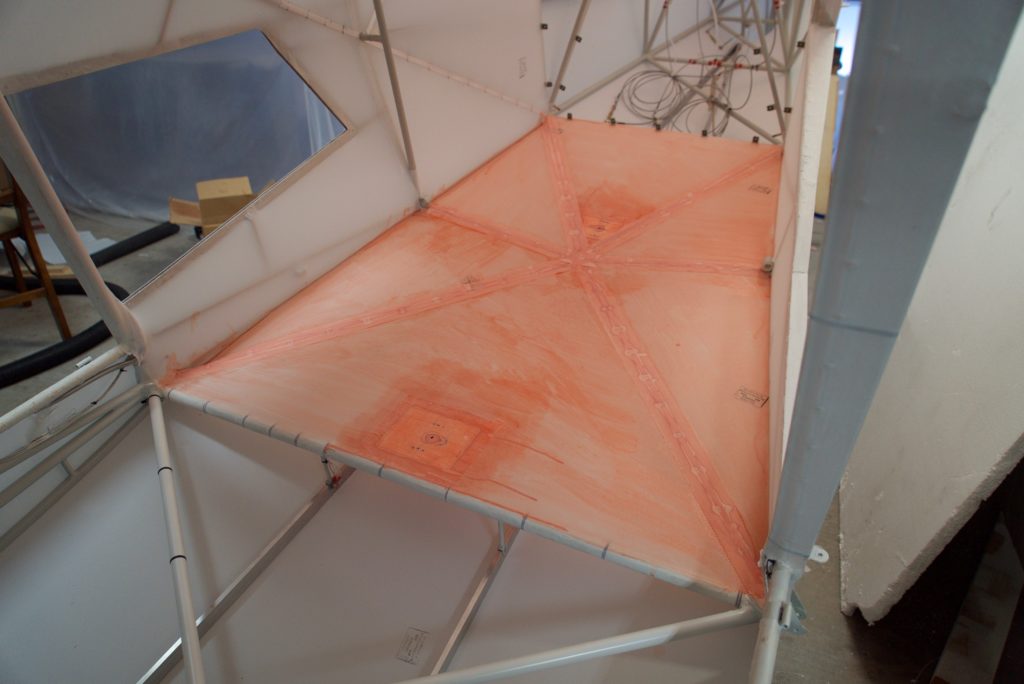
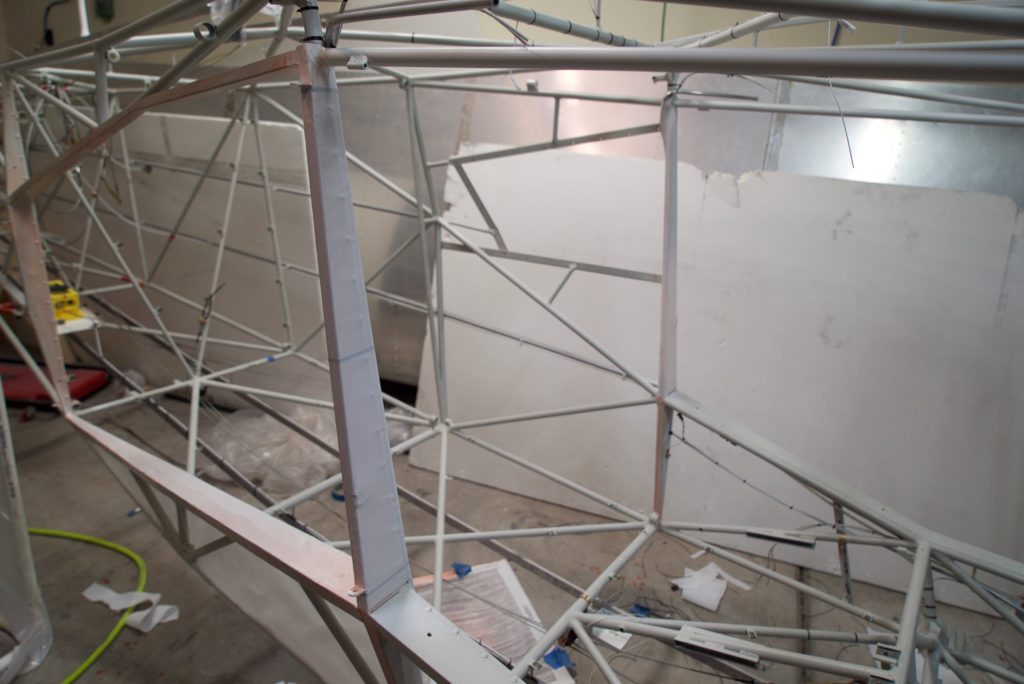
Here the fuselage is upside down. So you’re looking at the ceiling of the cabin. The ceiling and side walls got rib-stitched and mounting plates were attached for the LED overhead lights. A Kydex partition will fill the gap between the passenger cabin ceiling and the cockpit cabin ceiling.
Fuselage fabric!
Sewing!
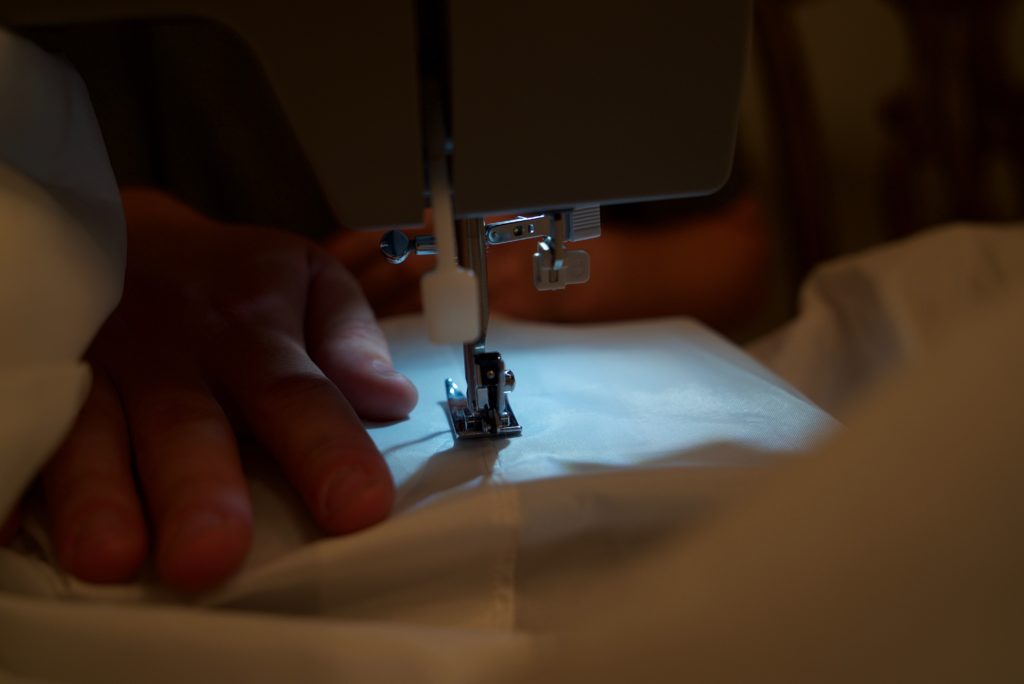
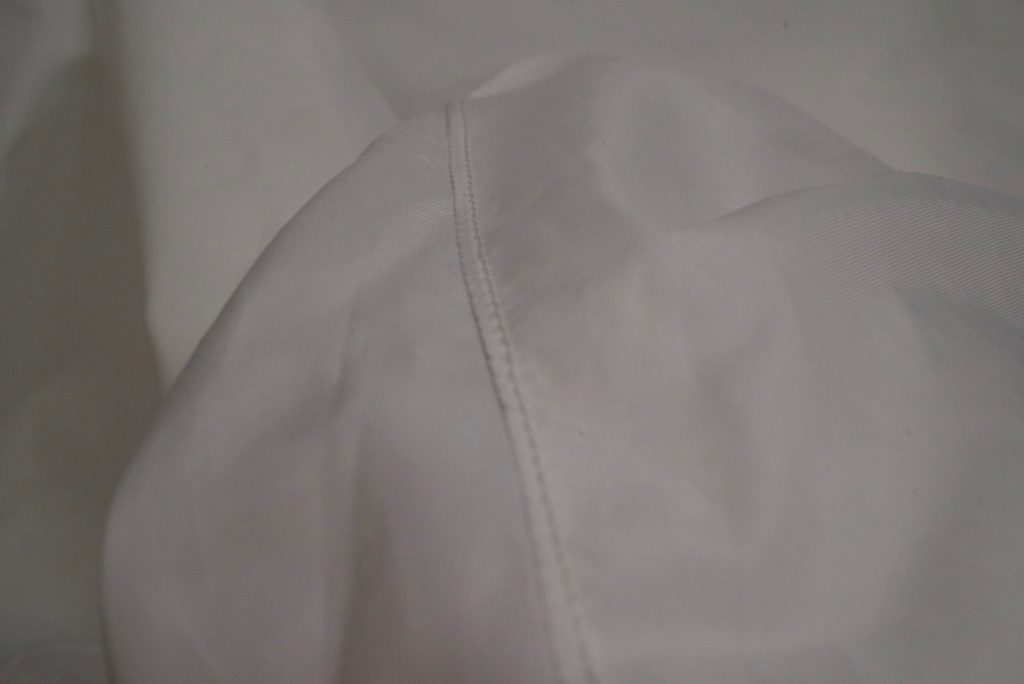
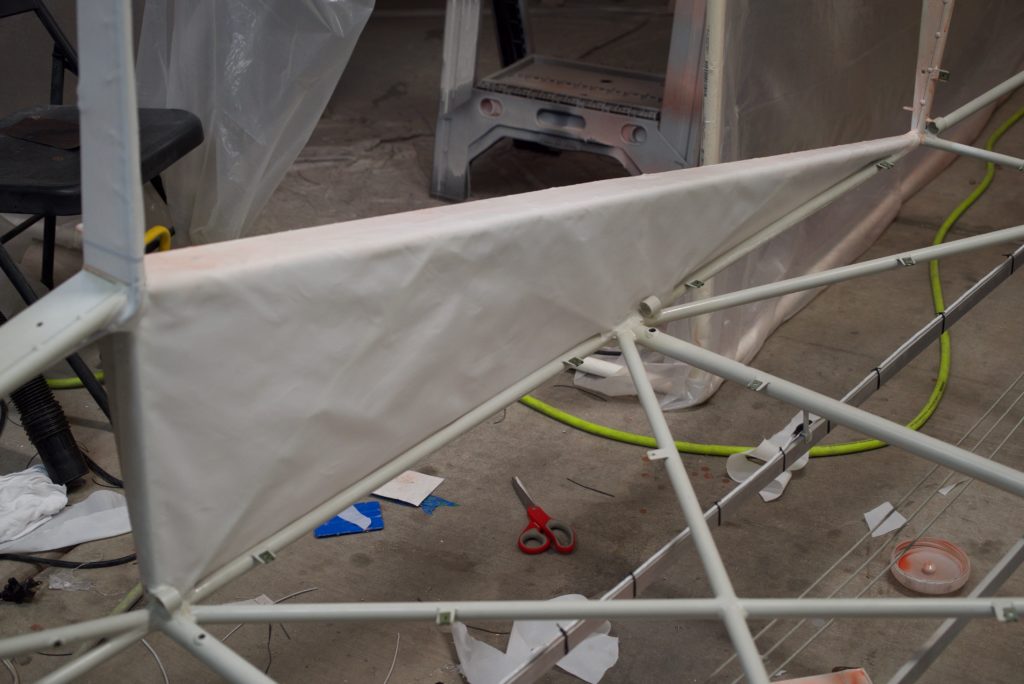
Because the Bearhawk only has stringers on the top, I can’t glue the fabric there. So, I invested in a sewing machine, did some practice. We did a few tests on what kind of seam I wanted to use. After some destructive testing, we decided on a double sewn seam.
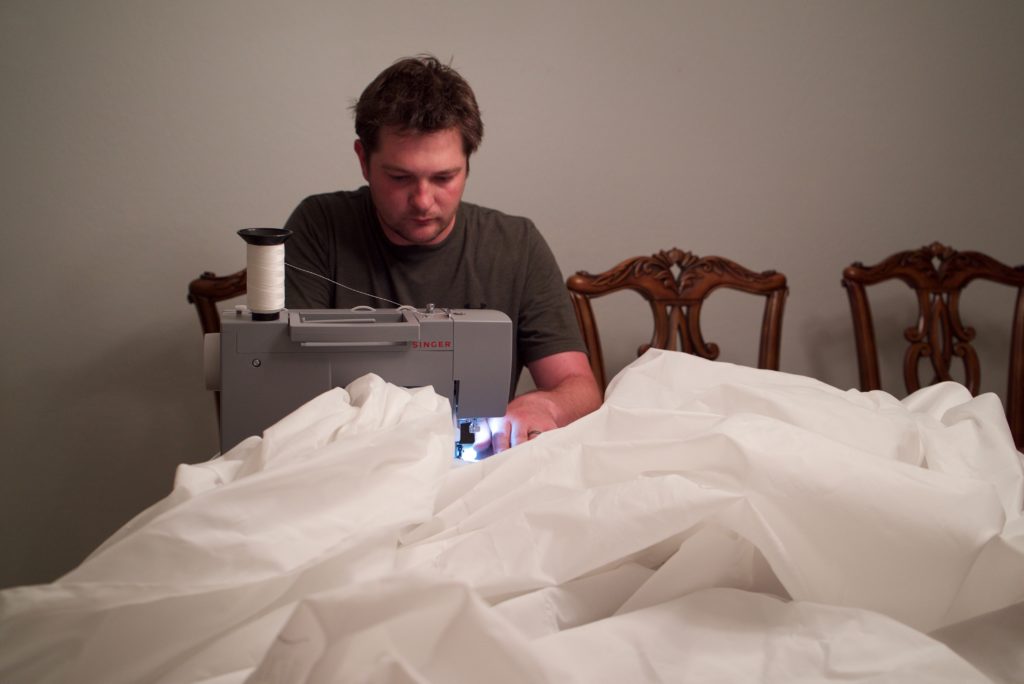
My brother and I clamped two large fabric pieces on either side of the fuselage and drew our pencil lines. I then pinned the two pieces together and started sewing!
I worked very carefully to make sure it all went straight.
The end result turned out very well! It’s very strong and lays pretty flat. I ironed the seam a little more after this photo to make it very flat.
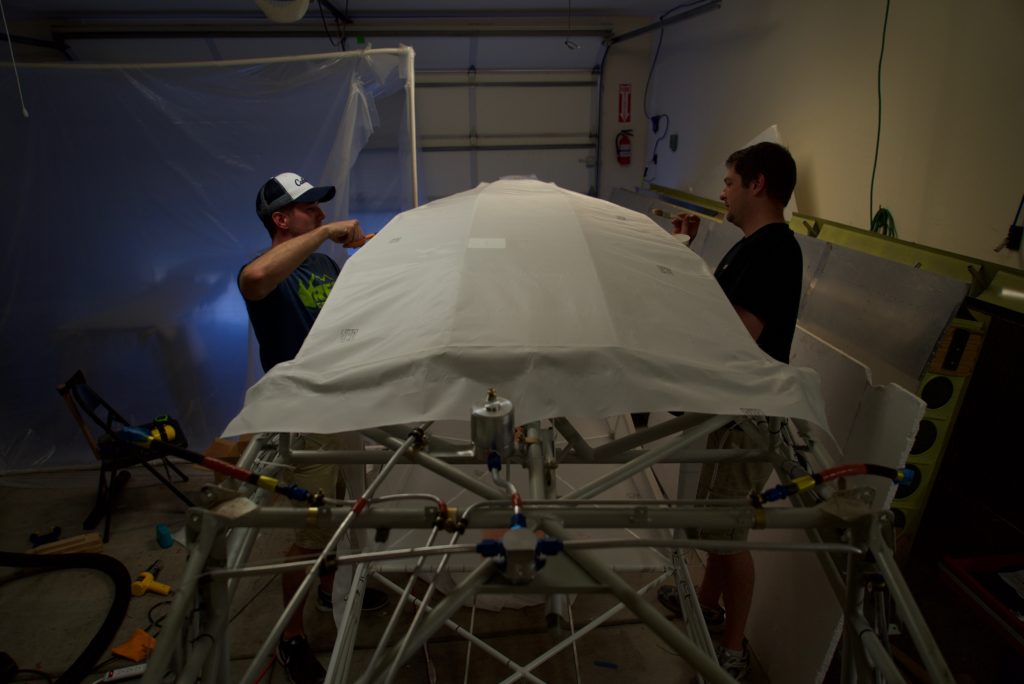
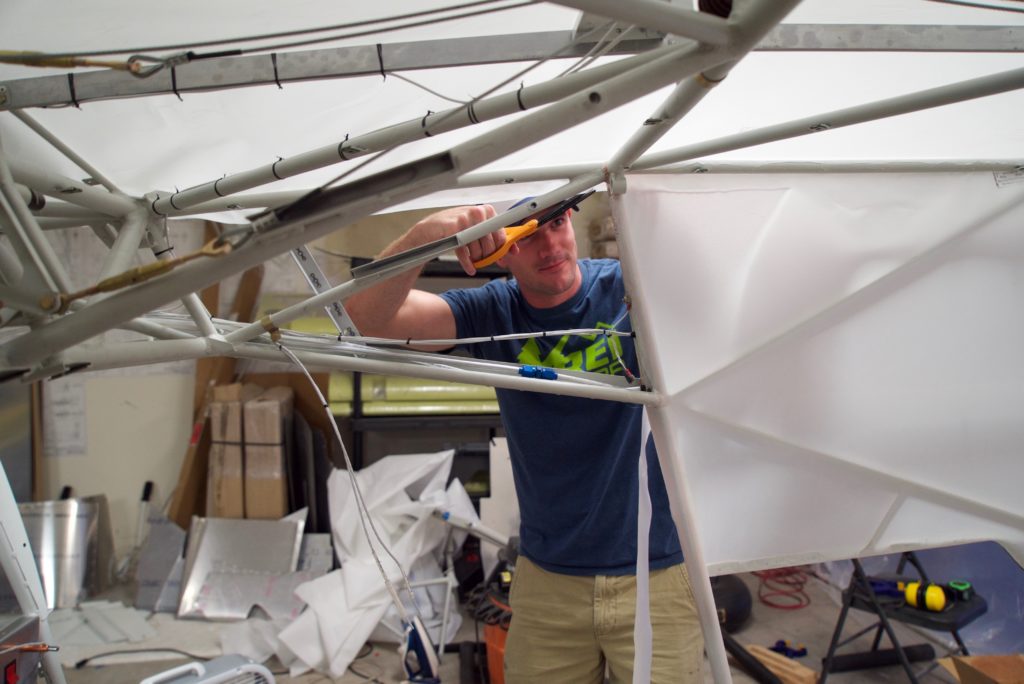
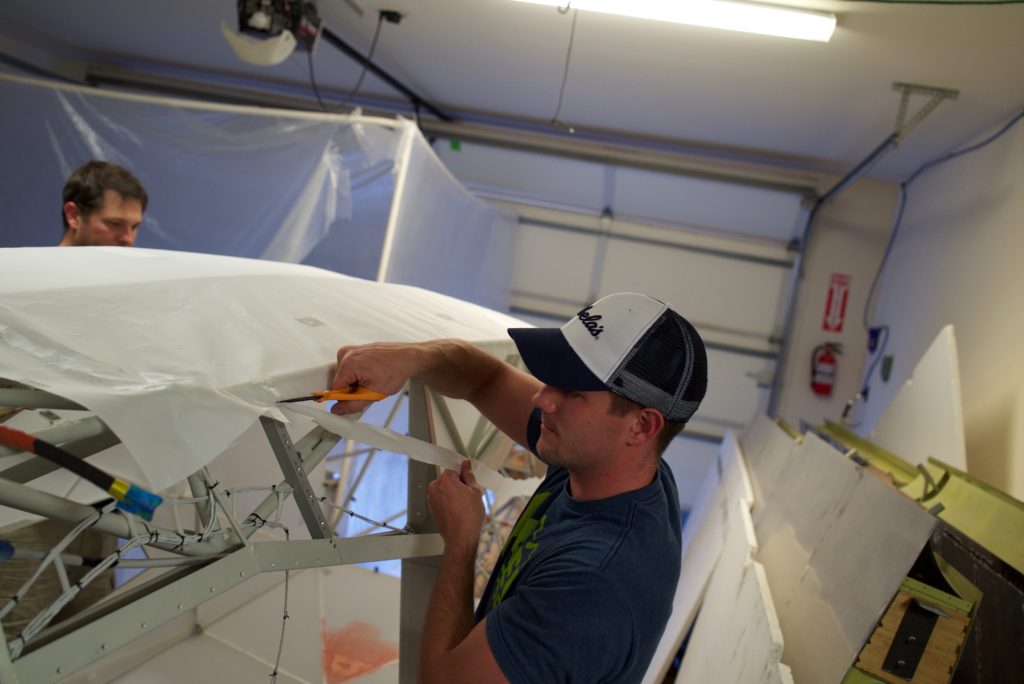
Fabric work with a helper
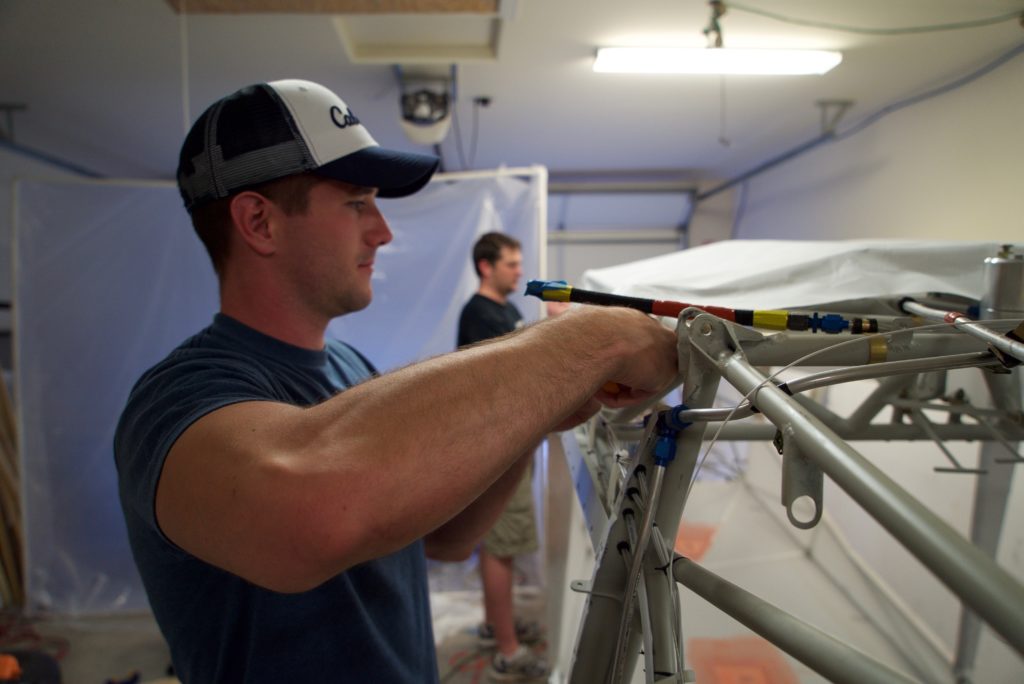
My brother Timmy came out from San Diego to help with the fabric work. Before he got here, I finished the interior fabric.
When he arrived we spent a good day finishing all the final prep for the fuselage before we started covering it.
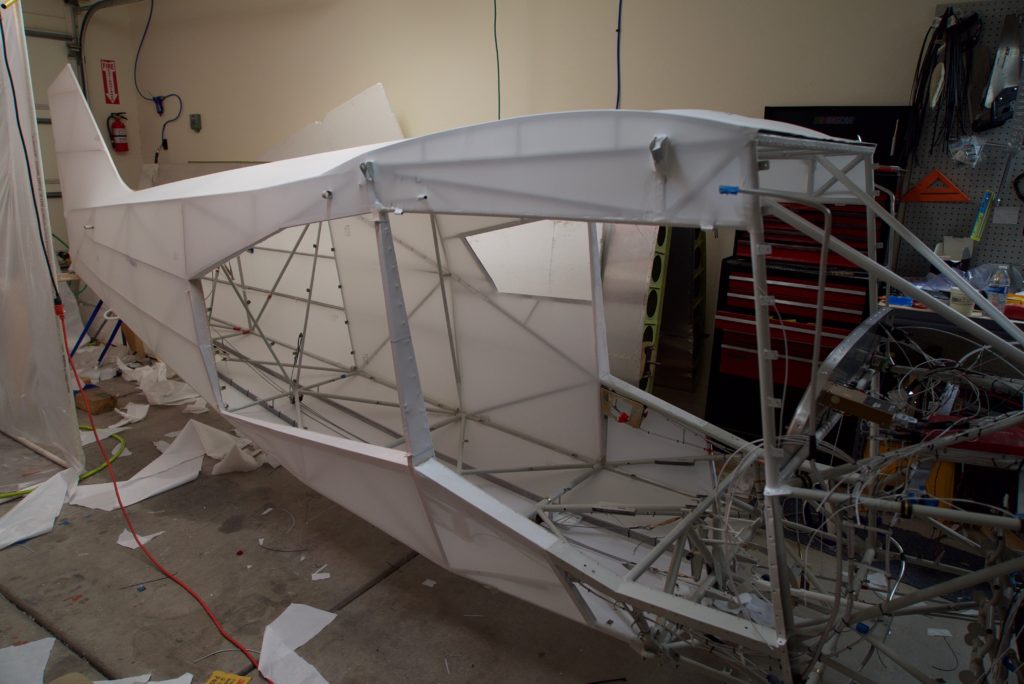
We built a rotisserie for the plane and turned the plane upside down to start on the bottom fabric first using Heavy Fabric.
After attaching the fabric with Poly-Tac we trimmed and finished gluing it to the longerons making sure we had at least 1″ of cemented fabric.
Thank-you for your help Timmy! I’m still waiting on the hub caps…
