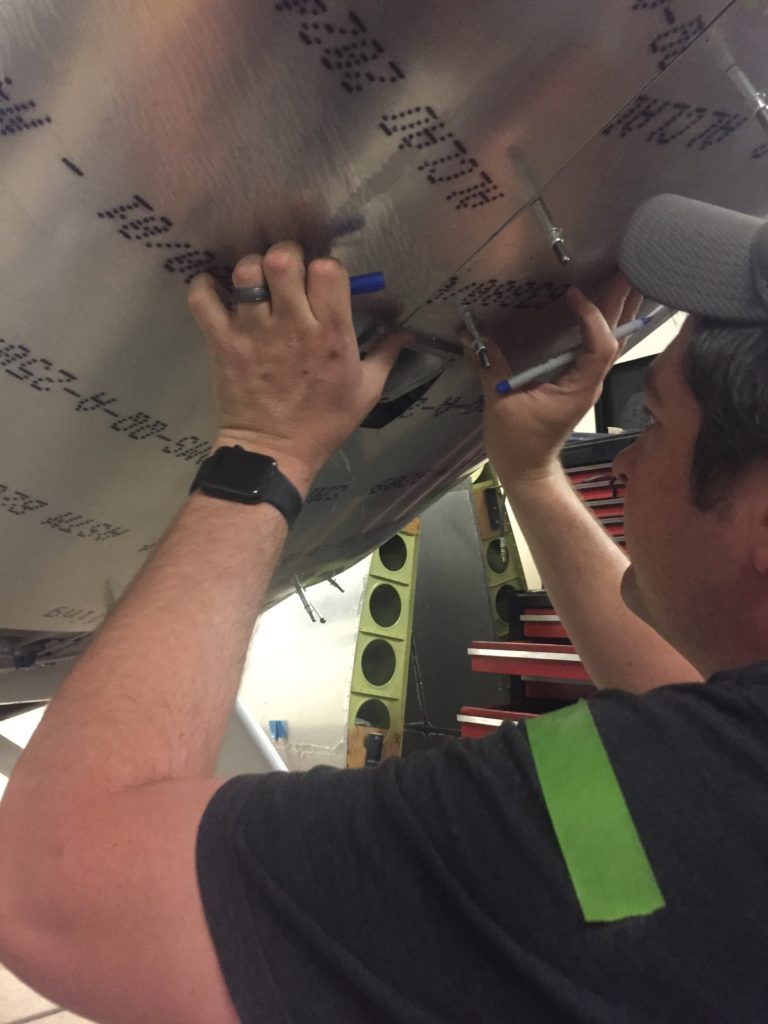
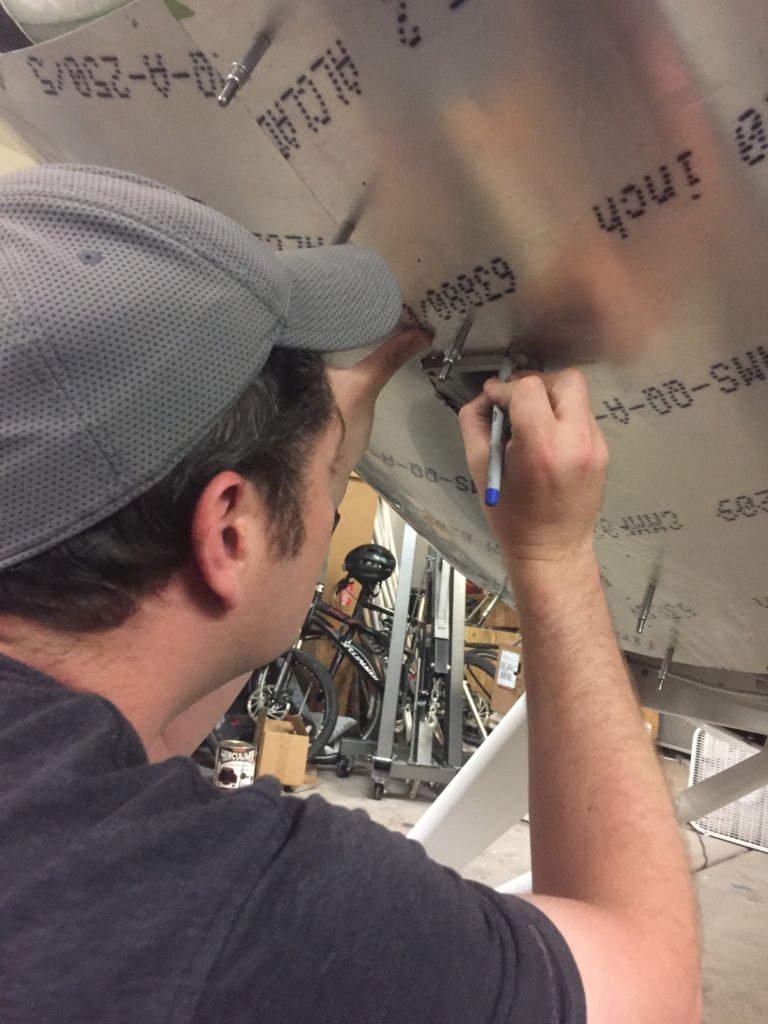
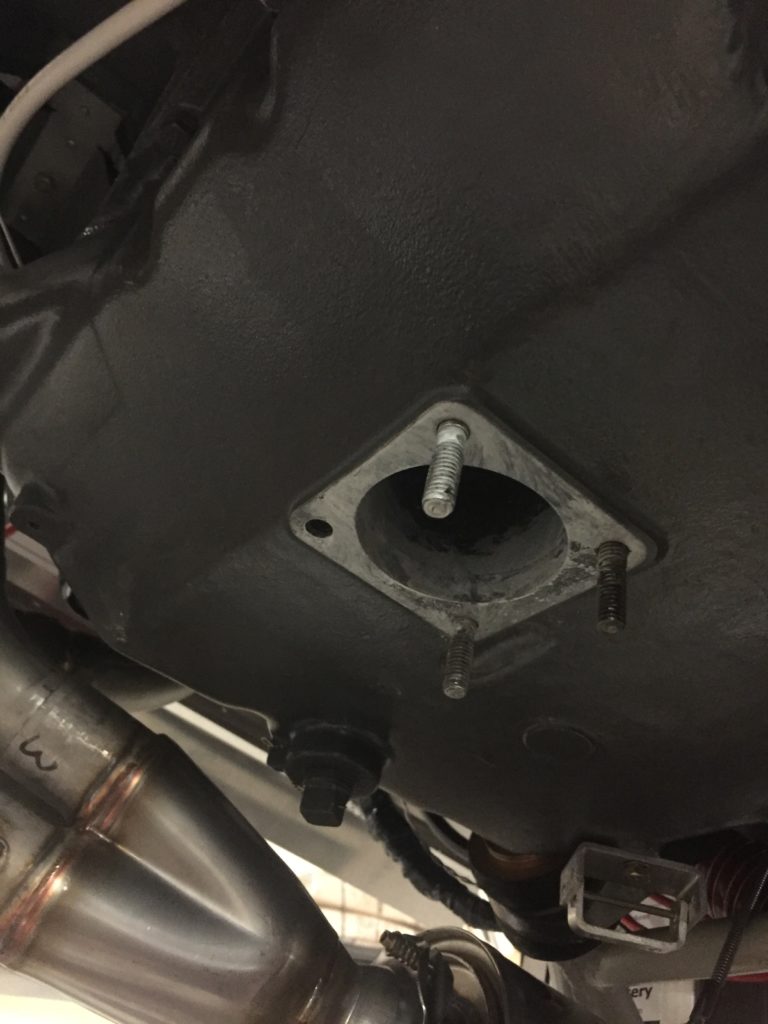
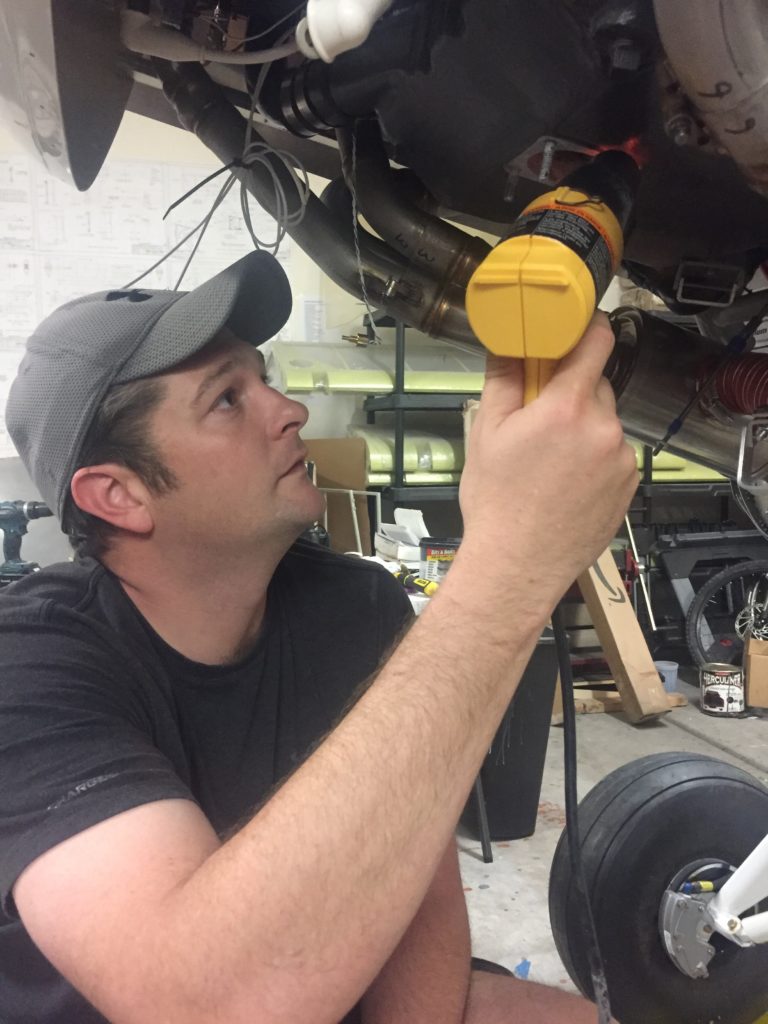
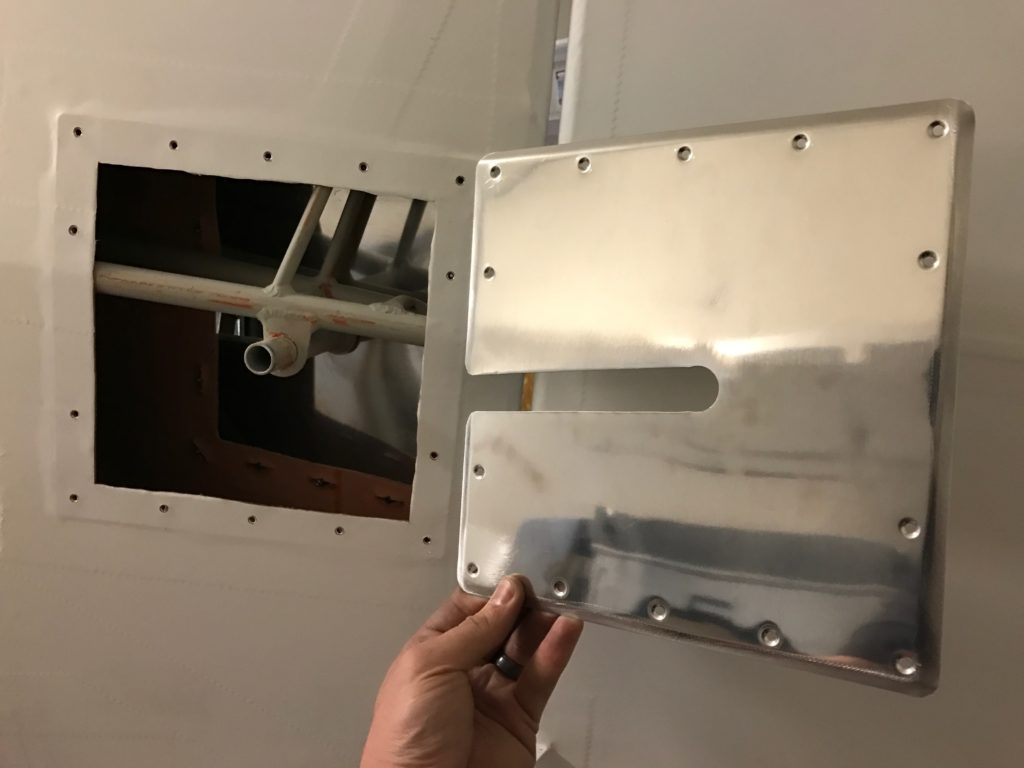
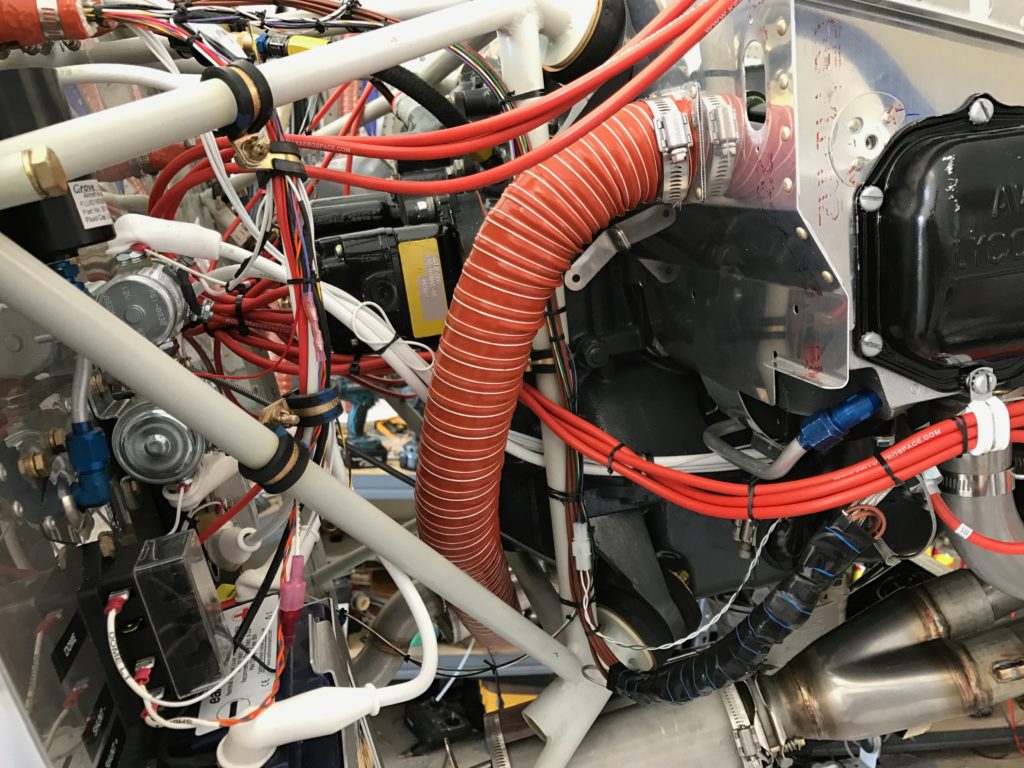
We had to cut a hole to allow the carb through so we could position the cowling without interference. The manual says to take your time and cut the hole close. So we did.
Category: Bearhawk 1175 Building Log
Building log of Bearhawk 1175
Carb Studs
Propeller!!!!!
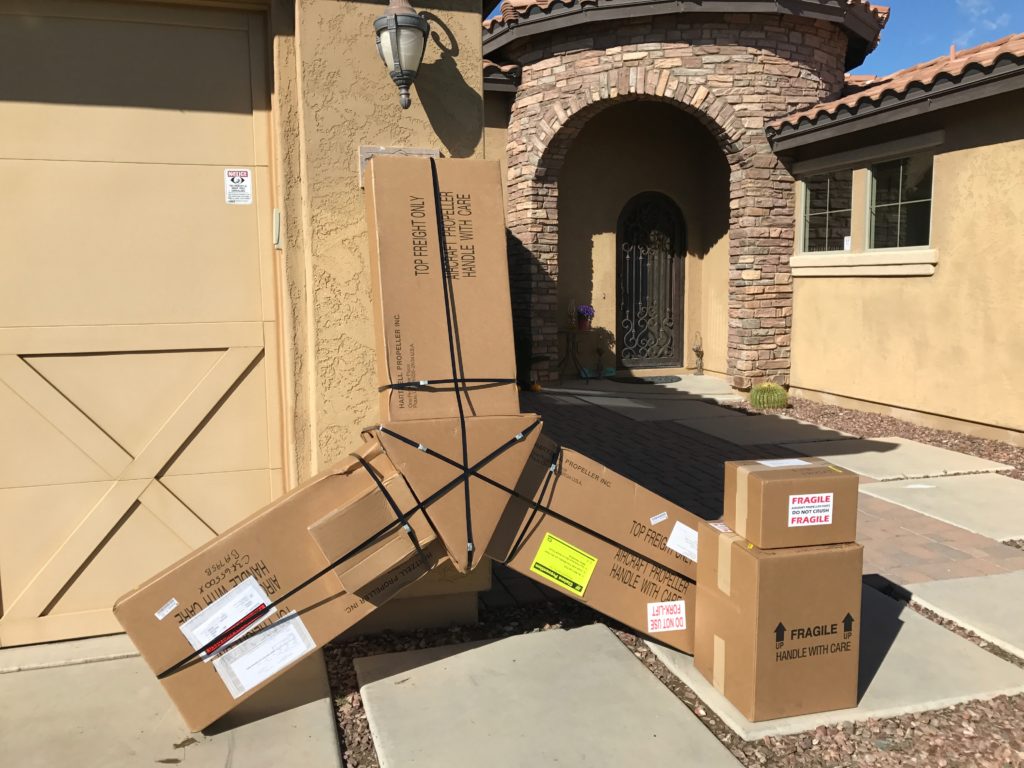
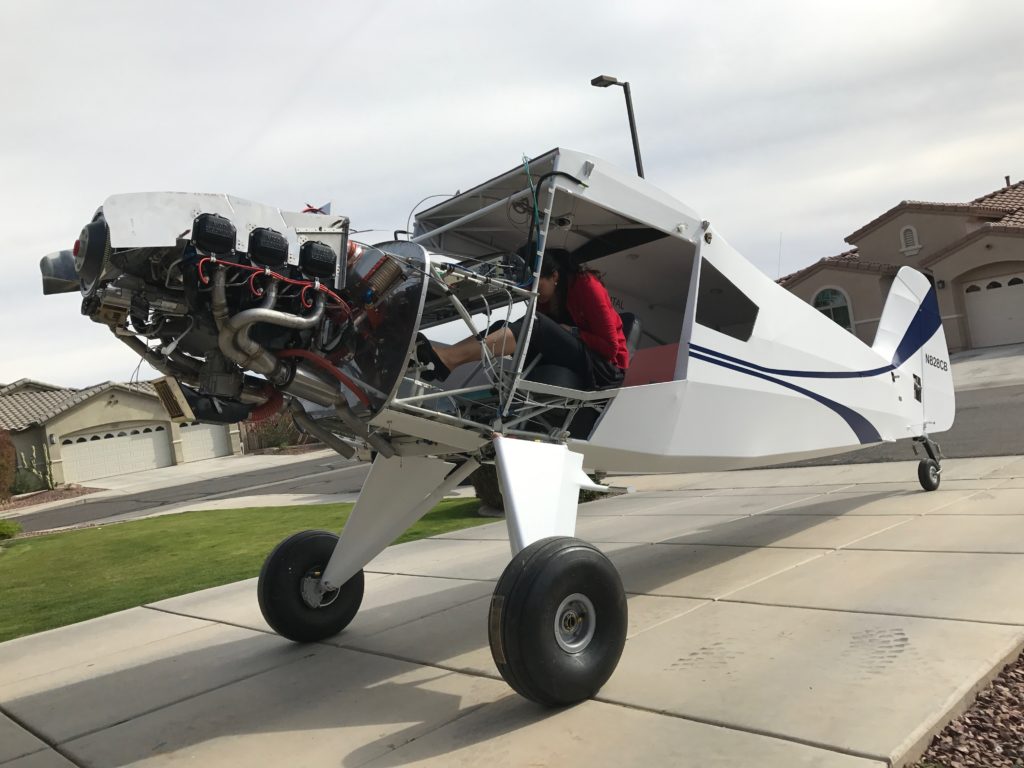
Look what’s in my front yard!!
We decided on the Hartzell Trailblazer Propeller. It’s an awesome prop!
So the next questions was, what diameter? Obviously, you want a big prop to help you get off the ground, but clearance is a consideration. There’s also the issue of supersonic tips at 2700 RPM. After talking with Mark Goldberg and the Hartzell reps, we decided on an 82″ prop.
I did some calculations, an 82” prop tip travels at 658 MPH @ 2,700 RPM. I’d have to get to 35,000 ft msl before the prop tips go supersonic. At sea level the speed of sound is 761 MPH. So, it looks like I’ve got a good margin.
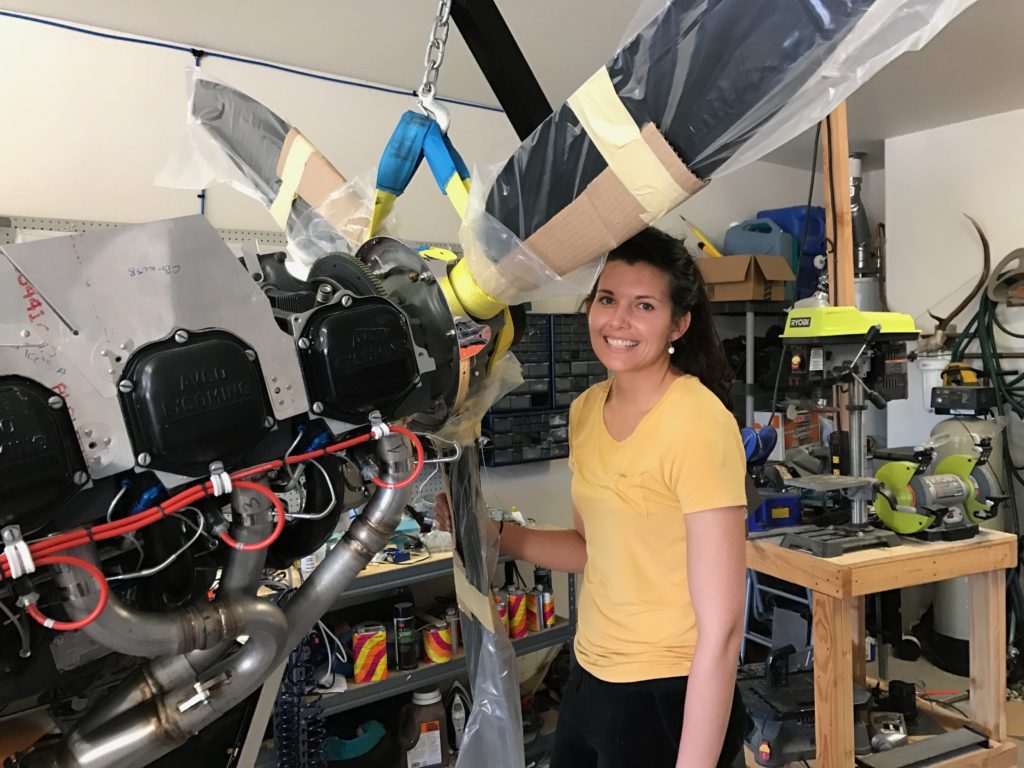
My beautiful wife helped me hang the prop today!
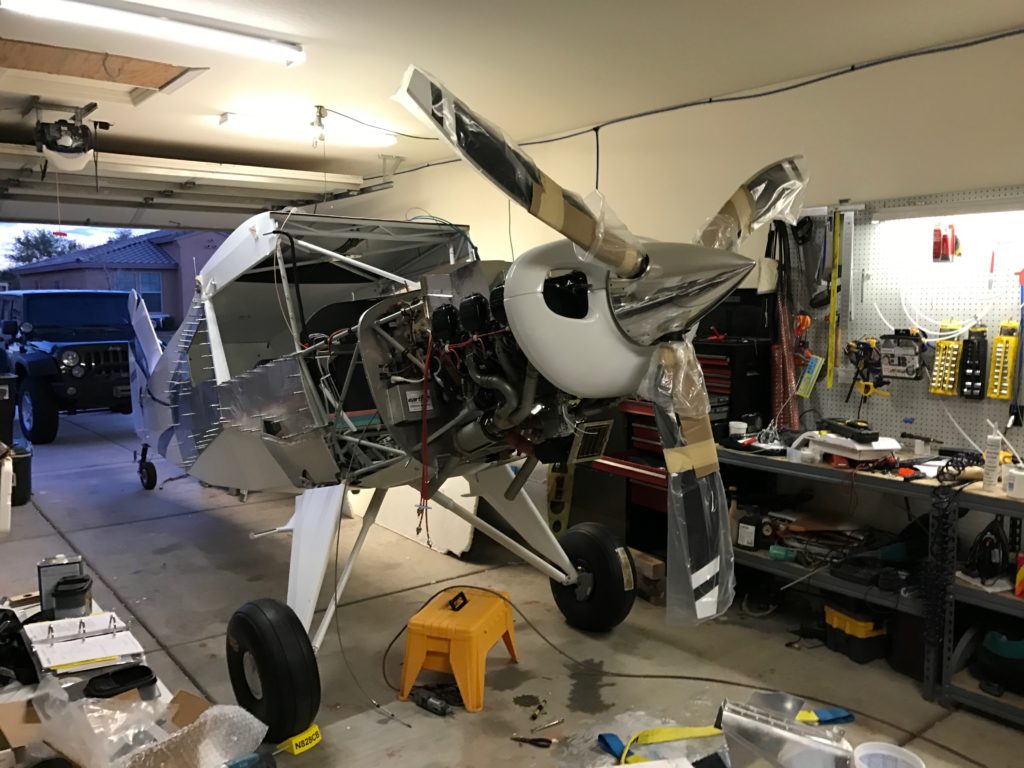
And the real reason we’re hanging the prop now is to get the measurements for where the nose bowl will sit. Now that we have the spacing between the spinner and the nose bowl, we can start on the cowling!
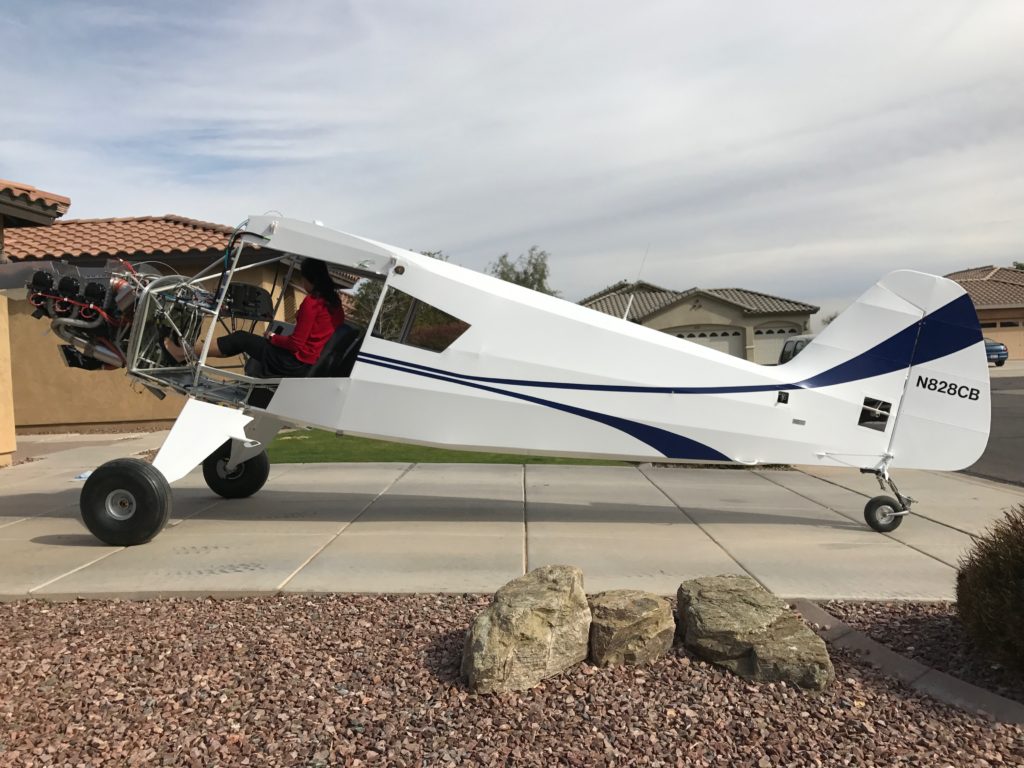
Picture time!
Drilling Axels
Building an airplane includes a lot of little steps and very big steps. The big ones are easy to keep track of. Wings, engine, landing gear, etc. Those are hard to miss. However, all the small things could slip thought the cracks if you’re not organized.
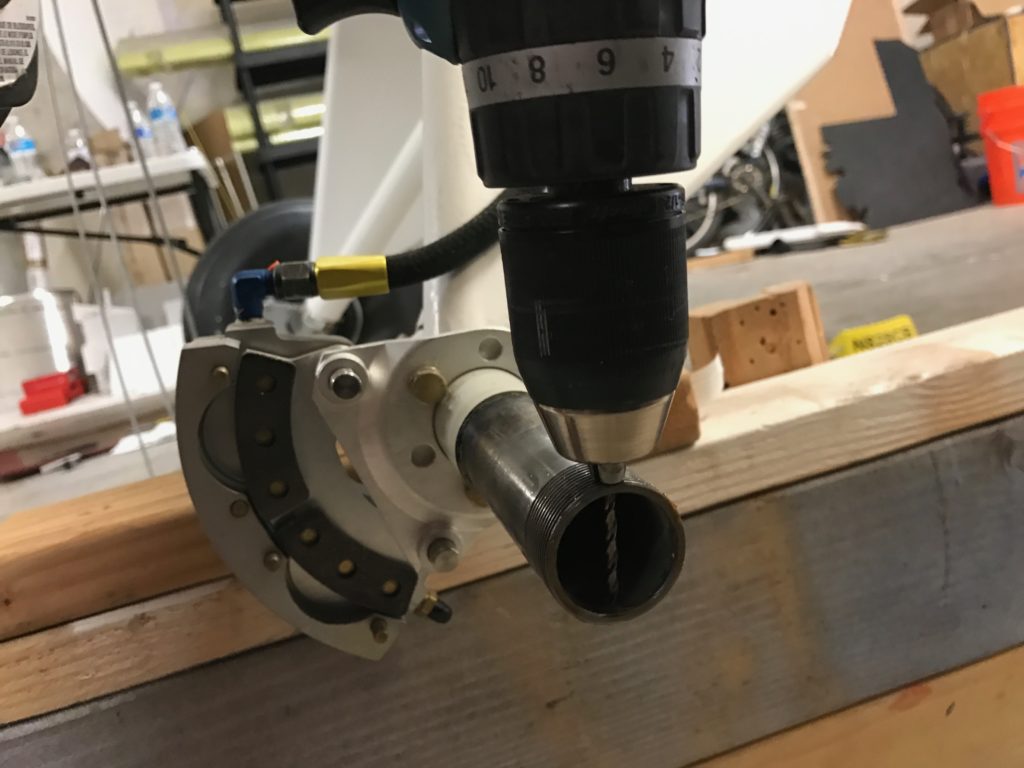
So as I’ve gone along, I’ve made a list of things that need to done as I see/think about them. Drilling the gear axels was on that list, so today I drilled them for the big castle nut and cotter pins.
Ge Strut Reinforcements
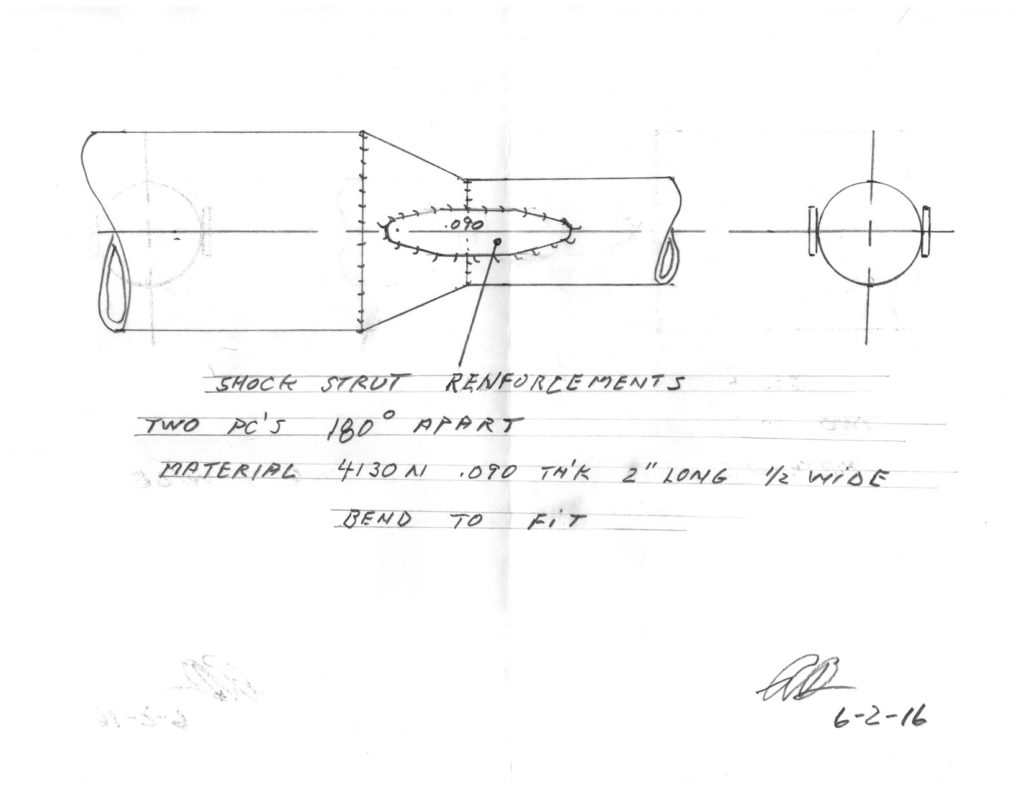
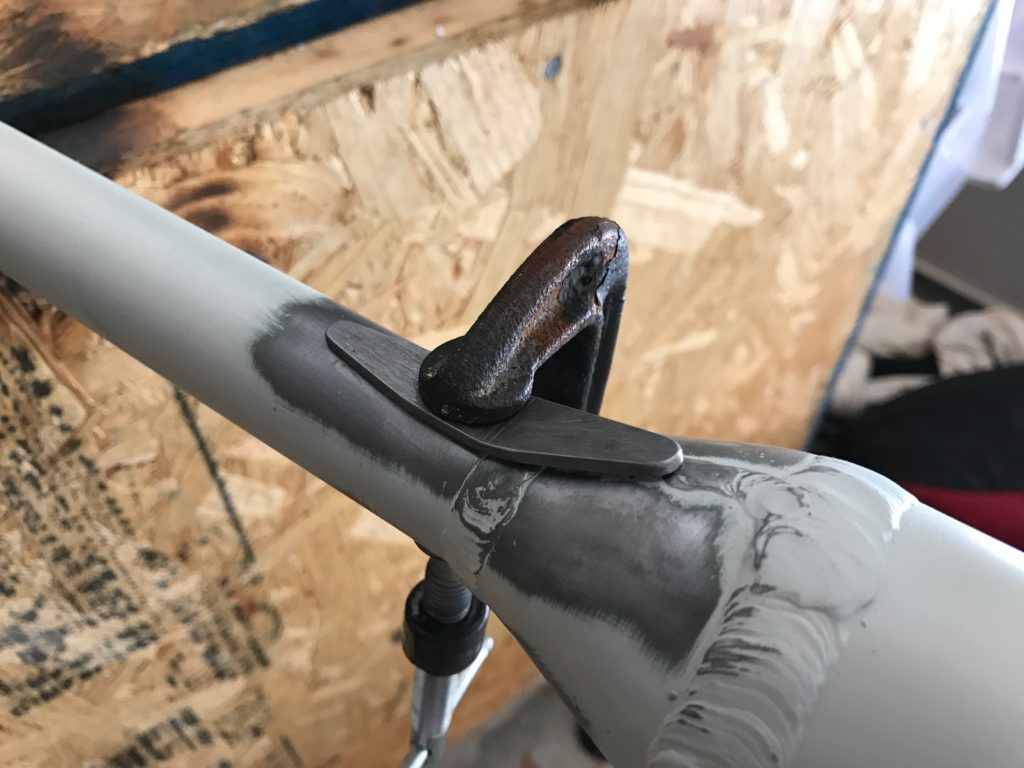
I got the heavy duty round landing gear legs. These are new from Avipro. After production of these, Bob Barrows recommended welding reinforcements to the shock strut.
Mark Goldberg had precut and bent the strips for me, so all that was left to do was the welding.
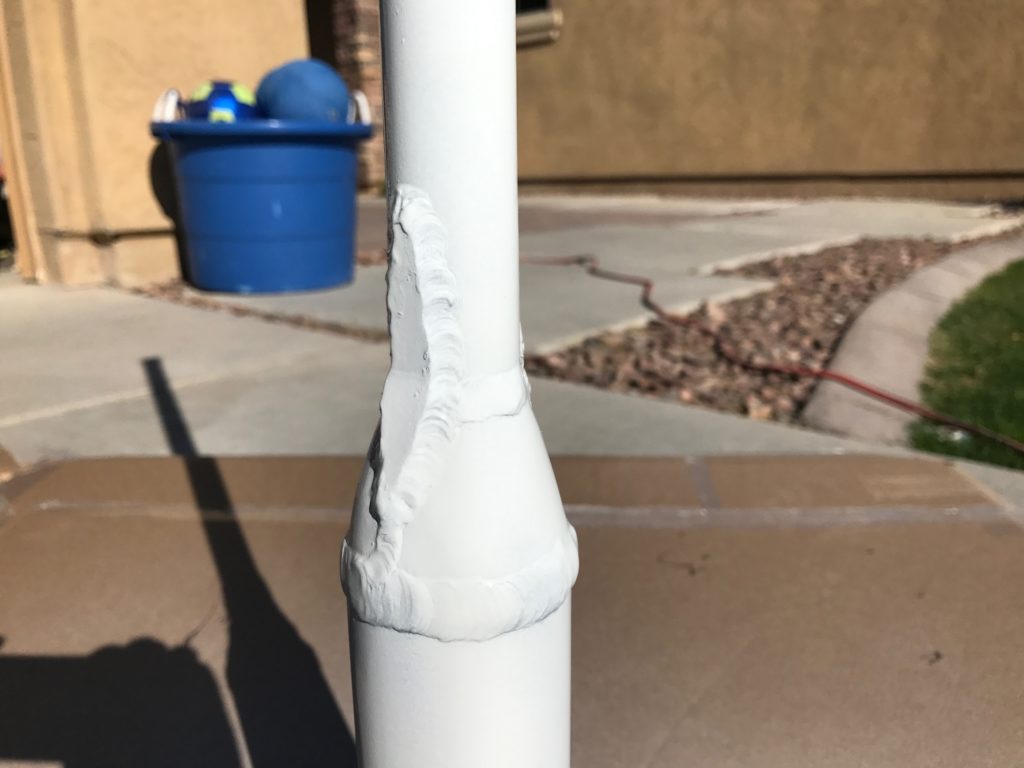
Not too bad for a novice welder like me!
Access Covers
The Panel
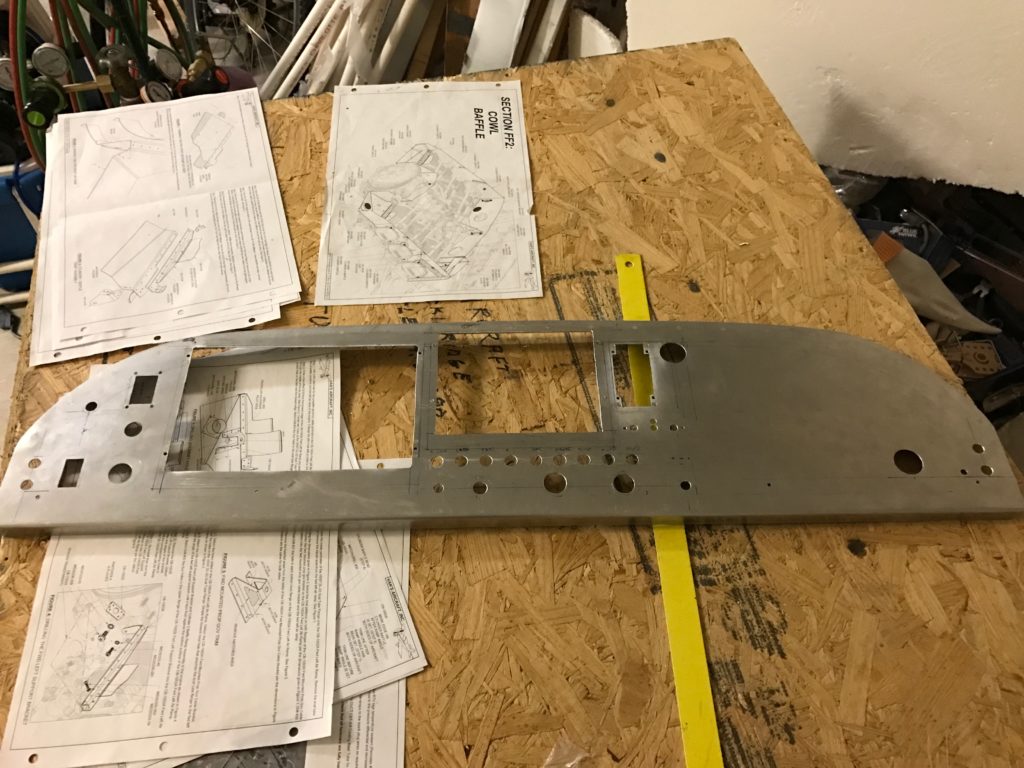
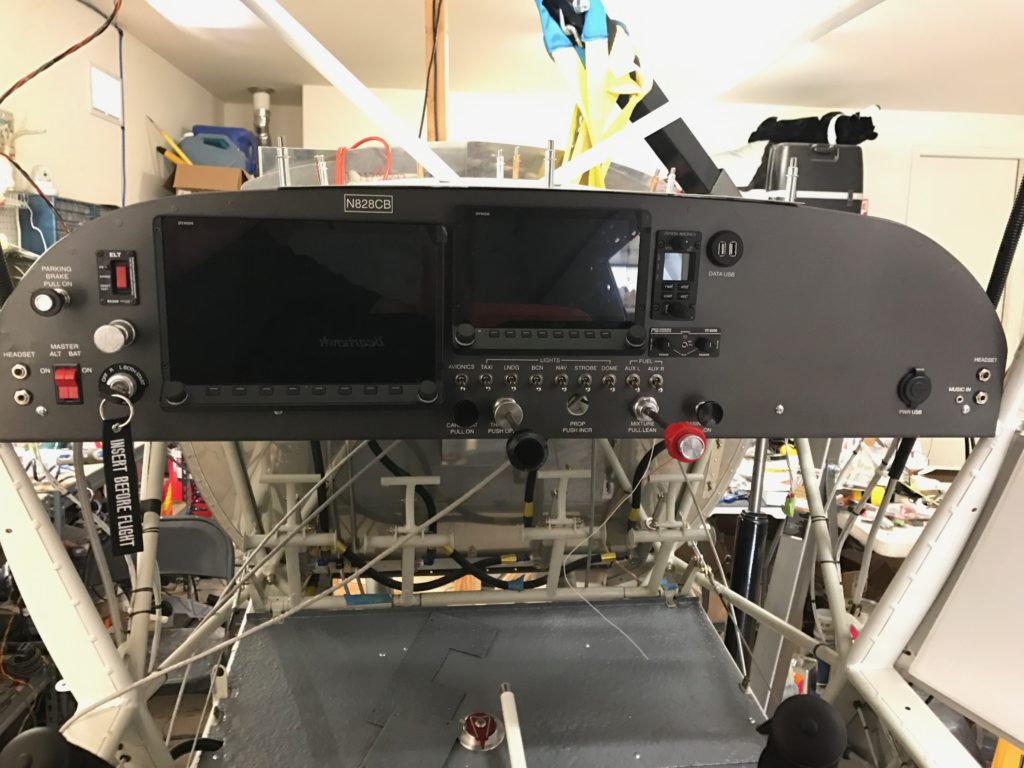
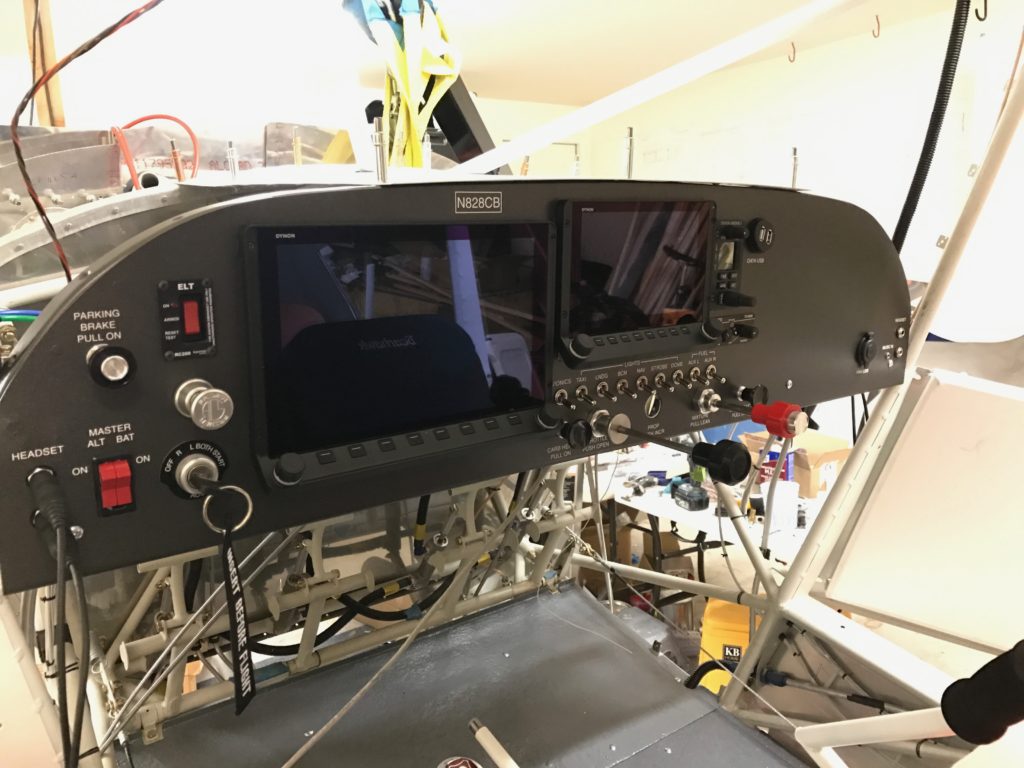
The final layout has been made so it’s time to cut the square holes!
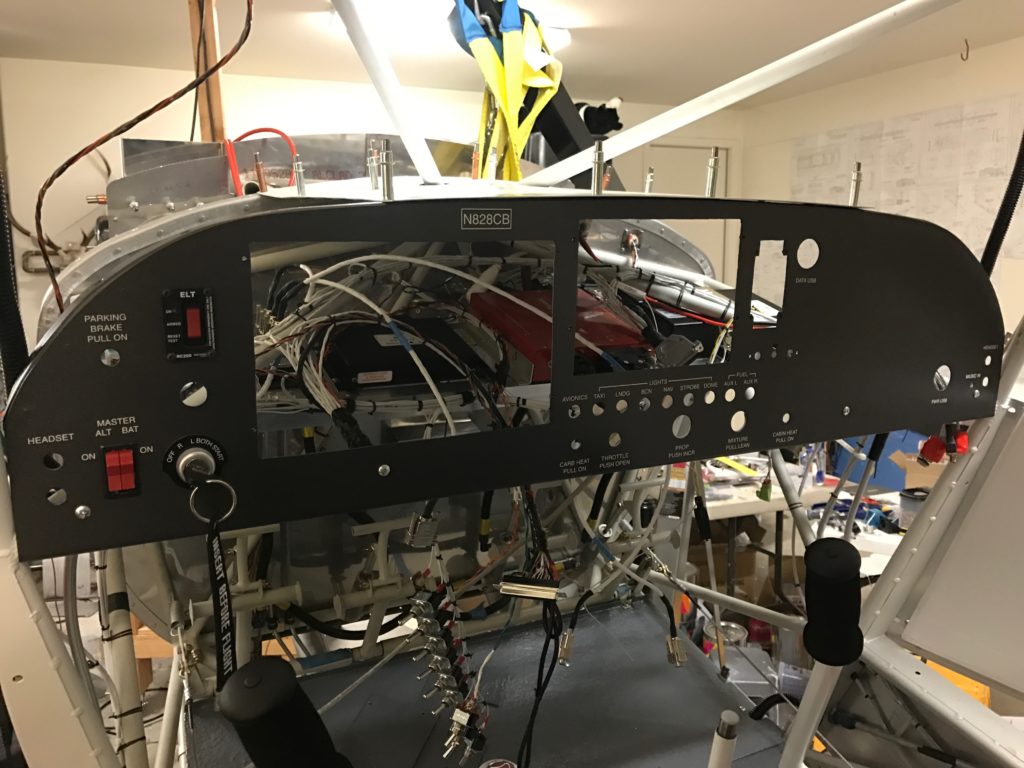
I prepared the aluminum then painted it with a metallic gray. I then added the dry transfer lettering and put a clear coat over top.
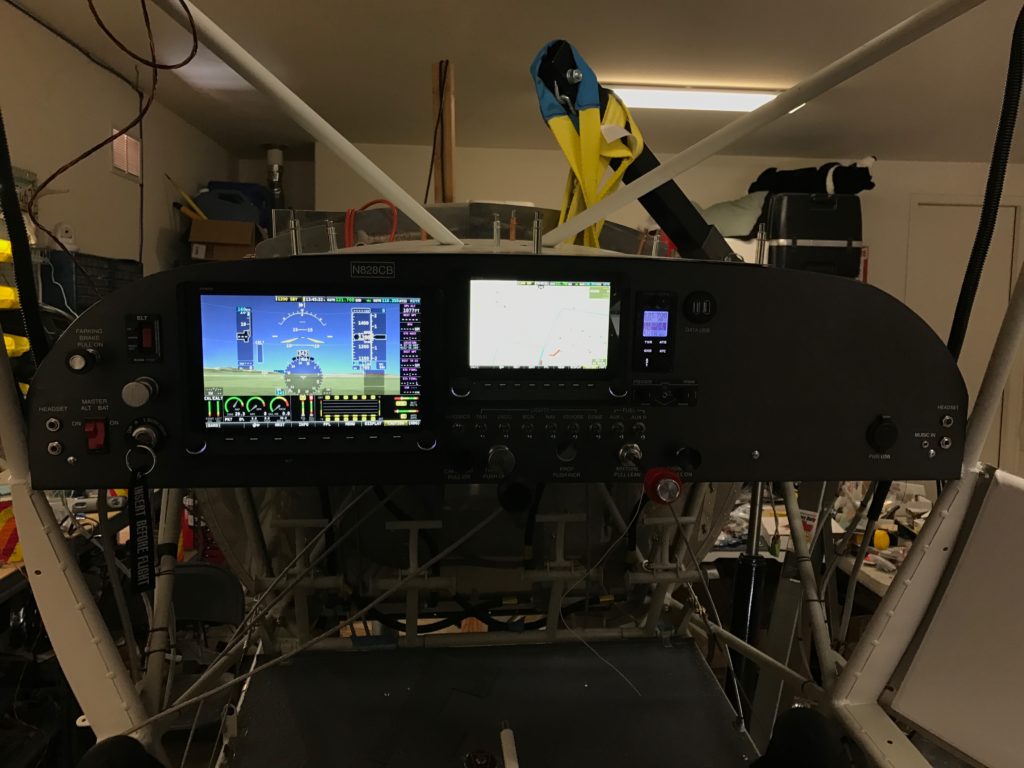
The Dynon Skyview HDX displays finally arrived! I need to get a better picture, but dang! They are nice!
I like the way my panel is shaping up
2nd EAA Tech Couselor Visit
Today Ron Decandia came over to do our 2nd tech visit. Again Ron was very thorough and again he had some very good suggestions. Thanks Ron!
